
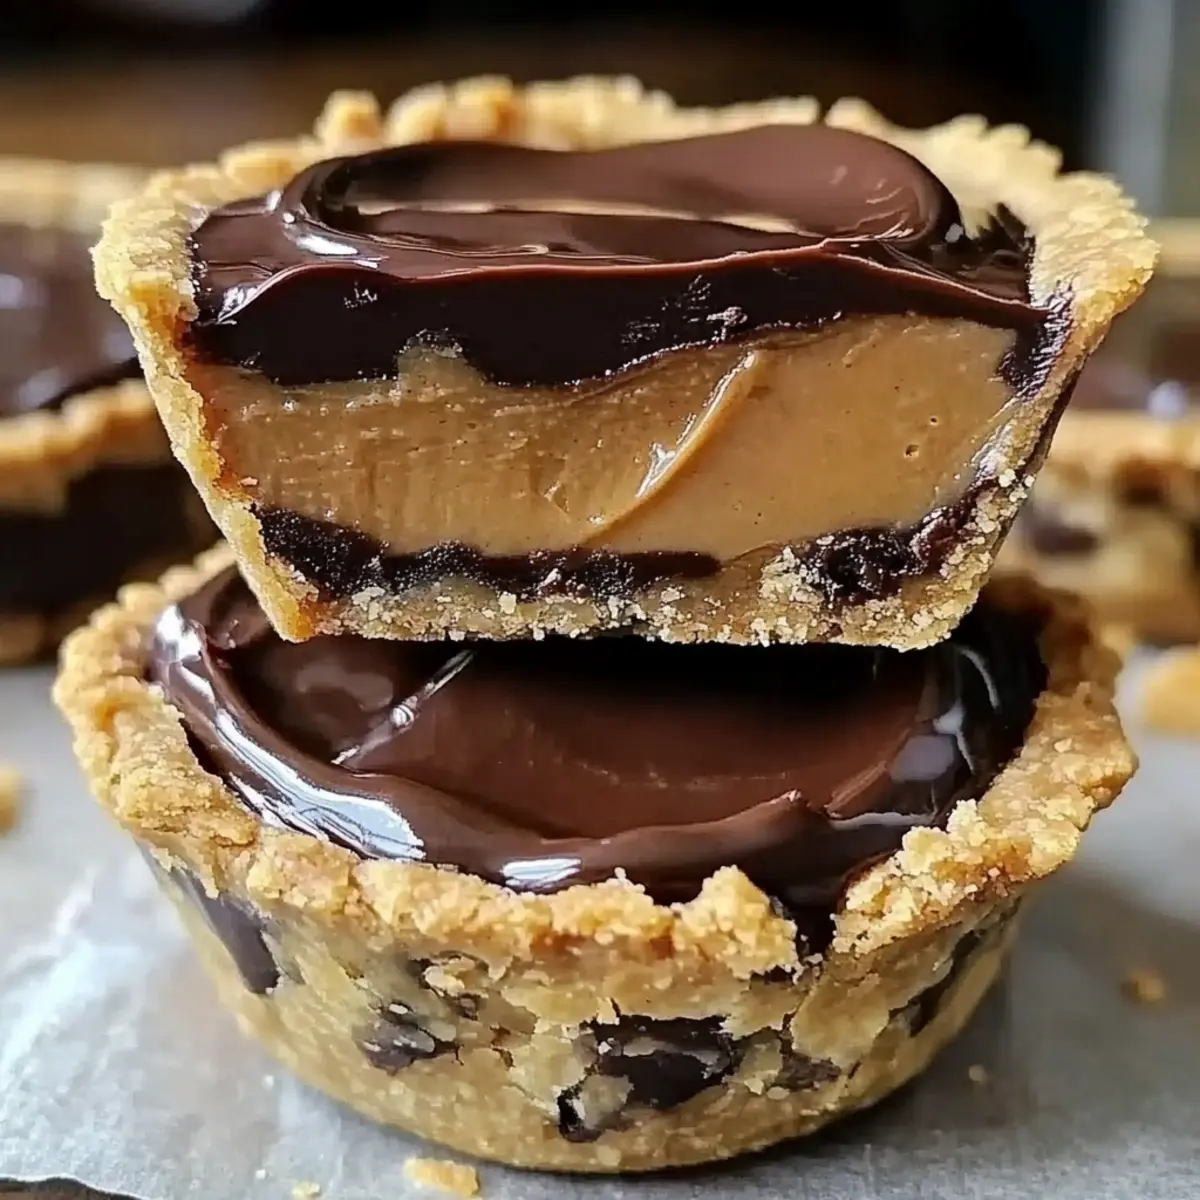
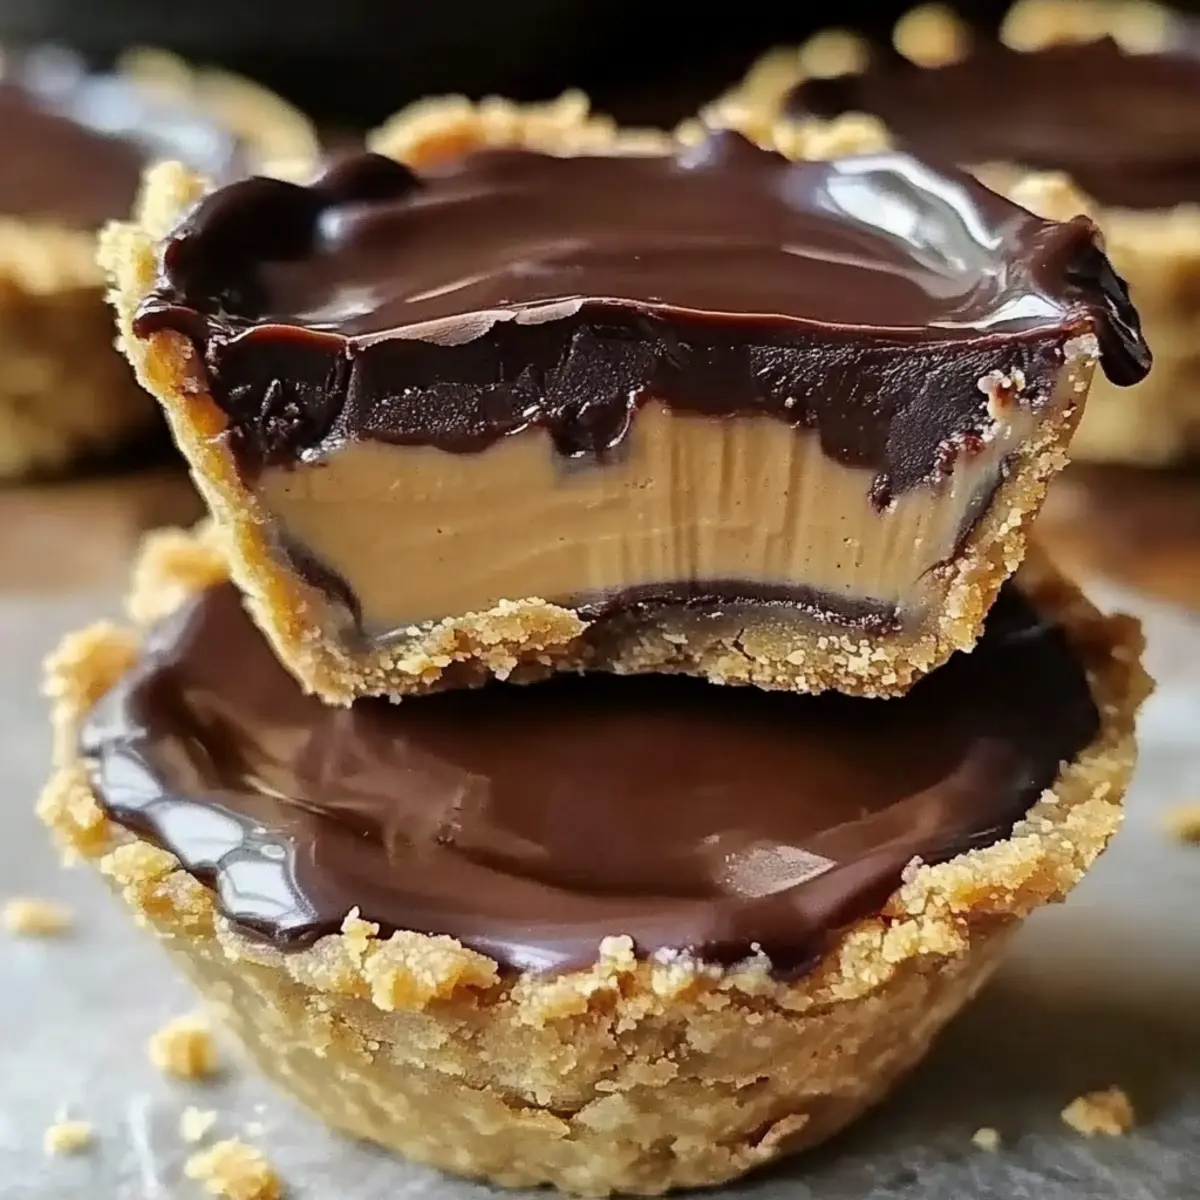
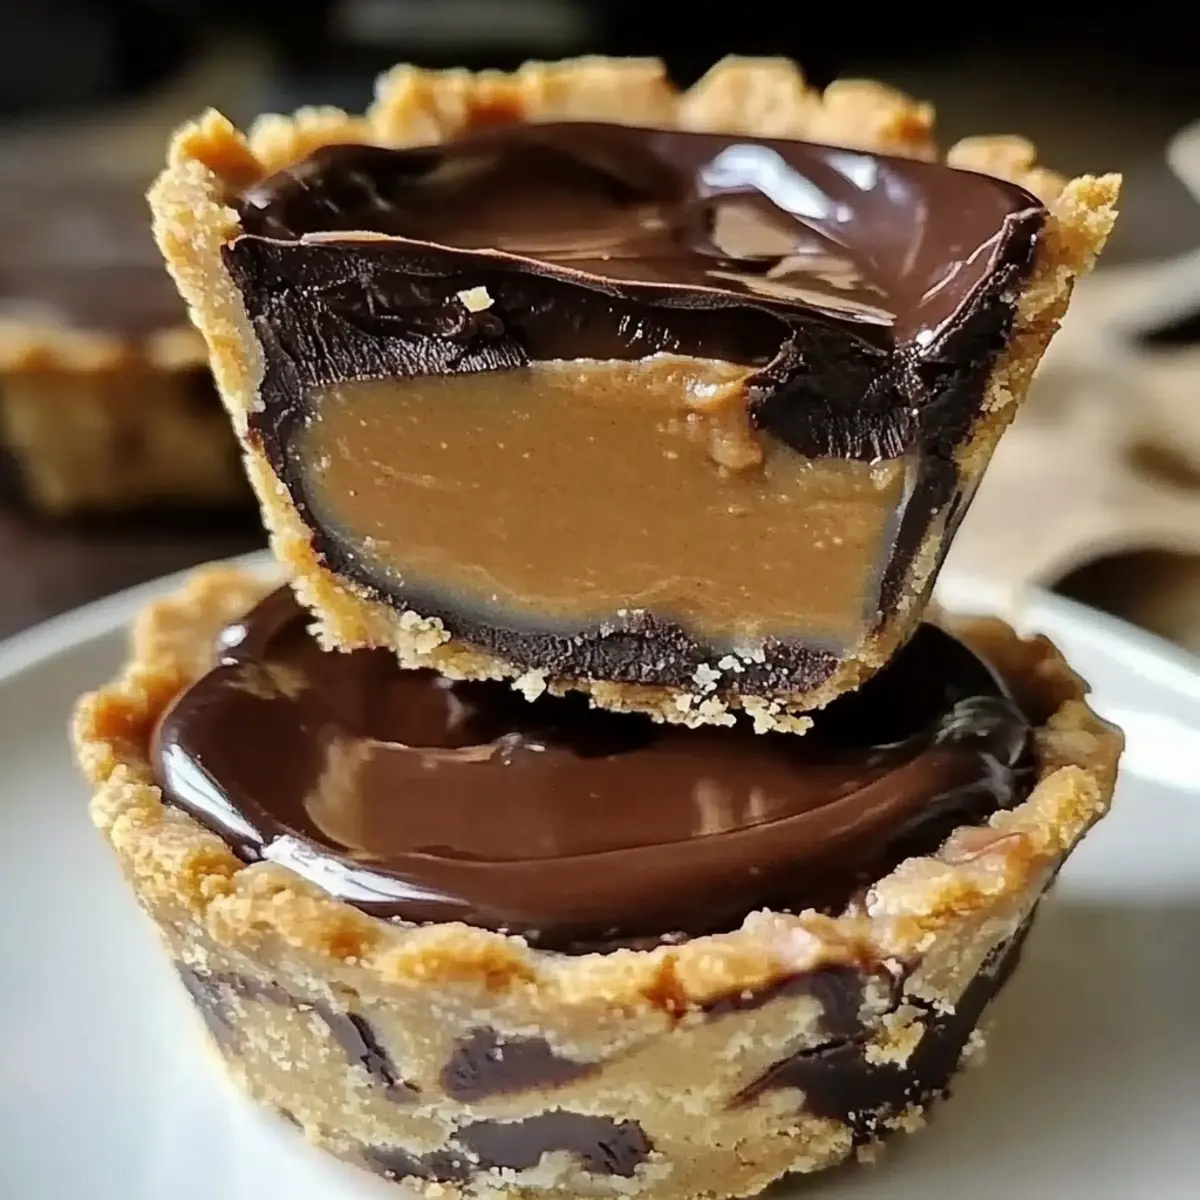
As I reached into my pantry, a little jar of creamy peanut butter caught my eye, and suddenly, inspiration struck! It was time to whip up some irresistible Mini Chocolate Peanut Butter Pies. These easy, no-bake delights meld silky chocolate with the richness of peanut butter, all nestled in a crunchy graham cracker crust. Perfect for satisfying sweet cravings or dazzling your guests at gatherings, they bring a sense of nostalgia that’s impossible to resist. Even better, you can easily customize them for gluten-free or dairy-free diets, making them a versatile treat for everyone. Ready to take your dessert game to a whole new level? Let’s dive into the recipe and discover how simple it is to create these delightful little pies!
Why Are These Mini Pies Irresistible?
Irresistible flavors: The rich combination of silky chocolate and creamy peanut butter creates a luscious experience with every bite.
Easy to make: With just a few ingredients and simple steps, you can whip this up in no time—no baking required!
Customizable options: Whether you prefer gluten-free with a simple swap of graham crackers or dairy-free by choosing non-dairy butter, everyone can enjoy these treats!
Crowd-pleaser: Perfect for parties or family gatherings, these mini pies are sure to impress all your guests and spark joy!
Perfect portion sizes: With each mini pie being a delightful single serving, they are just the right indulgence for satisfying your sweet tooth without overdoing it.
Why not pair them with a scoop of ice cream or explore more delightful versions like our Peanut Butter Brownie Cups for an unforgettable dessert spread?
Mini Chocolate Peanut Butter Pies Ingredients
For the Crust
• Graham Cracker Crumbs – Provides a sweet and crunchy base. Substitution: Use gluten-free graham crackers for a gluten-free crust.
• Butter (1/2 cup, melted) – Acts as a binding agent for the crust. Substitution: Use dairy-free butter for a lactose-free version.
For the Filling
• Creamy Peanut Butter (1 cup) – Adds richness and flavor to the filling.
• Powdered Sugar (1/2 cup) – Sweetens and smooths the filling.
• Cream Cheese (8 oz, softened) – Contributes to the creamy texture of the filling.
• Heavy Cream (1 cup) – Whipped into the filling for lightness.
For the Topping
• Semi-Sweet Chocolate Chips (1 cup) – Creates a decadent chocolate topping.
• Heavy Cream (1/2 cup, for ganache) – Used to melt the chocolate, making a smooth ganache.
• Vanilla Extract (1 tsp) – Enhances flavor.
• Pinch of Salt – Balances sweetness.
• Chocolate Chips (for garnish) – Decorative and add extra chocolate flavor.
As you gather these ingredients for your Mini Chocolate Peanut Butter Pies, get ready to embark on a delightful culinary journey that will leave smiles all around!
Step‑by‑Step Instructions for Mini Chocolate Peanut Butter Pies
Step 1: Prepare the Crust
In a medium bowl, combine graham cracker crumbs with melted butter until well mixed. Using a tablespoon or your fingers, press the mixture firmly into the bottom of muffin tins lined with cupcake liners, creating an even layer. Chill the crusts in the refrigerator for 30 minutes to firm them up before adding the filling.
Step 2: Make the Filling
In a large mixing bowl, beat the softened cream cheese and creamy peanut butter together with an electric mixer until smooth and creamy, about 2 minutes. Gradually add in the powdered sugar and vanilla extract, blending until well combined and the mixture is fluffy. This creamy base will be the heart of your Mini Chocolate Peanut Butter Pies.
Step 3: Whip the Cream
In a separate bowl, pour in the heavy cream and whip it with a hand mixer until stiff peaks form, which should take about 3-4 minutes. Be careful not to over-whip, as it can become grainy. Once ready, gently fold the whipped cream into the peanut butter mixture using a spatula, creating a light and airy filling.
Step 4: Fill the Crusts
Take the chilled crusts from the refrigerator and spoon the peanut butter filling into each one, spreading it with a spatula for an even surface. Be generous with the filling, filling each cup to the top. Once they are all filled, smooth the tops to make them neat and prepare them for the upcoming ganache layer.
Step 5: Prepare the Ganache
In a small saucepan, heat 1/2 cup of heavy cream over medium heat until it starts to simmer, then remove it from the heat. Immediately pour in the semi-sweet chocolate chips and stir until they melt completely and the mixture is smooth and glossy. This luxurious ganache will add the perfect topping to your Mini Chocolate Peanut Butter Pies.
Step 6: Top with Ganache
Carefully pour the chocolate ganache over the peanut butter filling of each mini pie, ensuring it covers the surface completely. Use a spatula to spread it evenly if needed. Allow the ganache to slightly cool before processing to avoid melting the filling, creating a beautiful layer that contrasts with the creamy base.
Step 7: Chill and Serve
Refrigerate the assembled pies for at least 2 hours, or until the ganache is set and firm to the touch. This chilling time allows all the flavors to meld beautifully together. Before serving your Mini Chocolate Peanut Butter Pies, garnish with a sprinkle of chocolate chips for an extra touch of decadence.
What to Serve with Mini Chocolate Peanut Butter Pies
Indulging in these delightful mini creations opens up a world of pairing possibilities that can elevate your dessert experience.
- Fresh Berries: Juicy raspberries or strawberries add a refreshing contrast that brightens each bite. Their tartness balances the rich flavors beautifully.
- Whipped Cream: A dollop of airy whipped cream offers a light texture, making each bite of these mini chocolate peanut butter pies feel even more indulgent. It’s a classic pairing!
- Coffee or Espresso: The boldness of coffee complements the sweetness of the pies, enhancing the rich chocolate and peanut butter flavors effectively. Enjoy this comforting blend with a cozy afternoon treat.
- Chocolate Sauce Drizzle: Adding a drizzle of chocolate sauce not only intensifies the chocolate flavor but also serves as a stunning visual accent atop the pies.
- Crushed Nuts: Chopped almonds or peanuts sprinkled on top provide a delightful crunch and a nutty finish that plays well against the creamy filling.
- Ice Cream: For an unforgettable treat, serve these mini pies with a scoop of vanilla or coffee ice cream. The creamy contrast and cooling effect make for a decadent experience.
- Mint Leaves: A sprig of mint can brighten up the dessert’s presentation while adding a refreshing herbal note that invigorates the palette. It’s a simple touch that makes a big difference.
- Coconut Flakes: Toasted coconut flakes scattered over the top add a tropical flair, enhancing the dessert’s texture and giving it a delightful, chewy contrast.
- Milk or Dairy-Free Beverage: Pairing these mini pies with a glass of cold milk or a plant-based alternative rounds out the indulgence perfectly, quenching your thirst while satisfying your sweet tooth.
Expert Tips for Mini Chocolate Peanut Butter Pies
-
Softened Cream Cheese: Ensure cream cheese is fully softened for the smoothest filling; this avoids lumps that can ruin your mini pies.
-
Whipping Cream Right: Whip cream to stiff peaks but watch closely—over-whipped cream can become grainy and affect the light texture of your pie filling.
-
Cool Ganache: Let ganache cool slightly before pouring over the filling. This prevents it from melting the creamy peanut butter base underneath.
-
Perfect Portion Control: Use a cookie scoop to fill the crusts evenly for consistent portion sizes, keeping in mind that smaller servings can also curb sweet cravings effectively.
-
Chill Time Matters: Allow your pies to chill for a full 2 hours. This time helps set the ganache while blending flavors of the filling beautifully—do not skimp!
-
Customize Wisely: Try using natural sweeteners in place of powdered sugar if desired; just remember, it may change the texture of your mini chocolate peanut butter pies.
Mini Chocolate Peanut Butter Pies Variations
Get ready to unleash your creativity with these customizable ideas that will add a unique touch to each pie!
-
Nut-Free: Use sunflower seed butter instead of peanut butter for a delicious alternative that’s safe for nut allergies.
-
Dairy-Free: Swap cream cheese and heavy cream for coconut cream to keep it rich yet dairy-free. The coconut adds a delightful twist!
-
Fruity Explosion: Layer in fresh banana slices or strawberries on top of the peanut butter filling for a fruity flavor burst that brings freshness to every bite. Add a drizzle of chocolate over the fruits for a beautiful presentation!
-
Minty Delight: Stir in a few drops of peppermint extract into your ganache for a refreshing mint chocolate flavor that’s perfect for the holiday season or just to switch things up.
-
Spicy Kick: For those who love a bit of heat, a dash of cayenne pepper mixed into the peanut butter filling introduces an unexpected spicy kick that beautifully contrasts the sweetness.
-
Crunchy Texture: Fold in some crushed peanuts or toffee bits into the peanut butter filling for extra crunch and textural variation in your mini pies. It takes the experience to another level!
-
Sweetener Swap: Substitute powdered sugar with maple syrup or agave nectar for a more natural, less refined sweetness that complements the peanut butter perfectly.
-
Chocolate Lovers: Drizzle melted dark or white chocolate over the ganache before it sets for a decadent finish. This layering adds a gourmet touch that will impress your guests!
These variations are sure to spark joy in your kitchen and impress your loved ones! For more indulgent recipes, why not take a look at our delightful Peanut Butter Chocolate treats? And if you crave something rich and fudgy, our Peanut Butter Brownie Cups will surely delight your taste buds!
Make Ahead Options
These Mini Chocolate Peanut Butter Pies are perfect for meal prep enthusiasts looking to save time during a busy week! You can prepare the crusts and filling up to 24 hours in advance—just store them separately in airtight containers in the refrigerator to maintain freshness. Assemble the pies by filling the chilled crusts and topping them with ganache when you’re ready to serve. If you prefer, you can also chill the assembled pies for up to 3 days before serving, allowing the flavors to meld beautifully. Just remember to garnish with chocolate chips right before serving for that extra touch of decadence! This way, you’ll enjoy delicious, hassle-free desserts that are just as delightful as if they were freshly made.
How to Store and Freeze Mini Chocolate Peanut Butter Pies
Fridge: Store leftover mini chocolate peanut butter pies in an airtight container in the refrigerator for up to 7 days to maintain their freshness and prevent drying.
Freezer: For longer storage, freeze individual pies in a freezer-safe container or wrap them tightly in plastic wrap for up to 3 months. Thaw in the fridge overnight before serving.
Reheating: These pies are best enjoyed chilled. If desired, let them sit at room temperature for 10-15 minutes before serving to enhance the flavors.
Make-Ahead: Feel free to prepare these mini chocolate peanut butter pies a day in advance—just wait to add any garnishes until you’re ready to serve!
Mini Chocolate Peanut Butter Pies Recipe FAQs
How do I choose ripe ingredients for my Mini Chocolate Peanut Butter Pies?
Absolutely! For the best flavor, opt for fresh ingredients. Make sure your cream cheese is fully softened before whipping; this ensures a smooth filling. When selecting peanut butter, choose a high-quality creamy variety without added sugars for a richer taste. Fresh graham crackers can also elevate the crust’s flavor, so check for any stale ones with dark spots when buying.
How should I store my leftover Mini Chocolate Peanut Butter Pies?
Most definitely! Store any leftover pies in an airtight container in the refrigerator for up to 7 days. This will help maintain their freshness. If they’ve been garnished with chocolate chips, consider covering them with parchment paper to avoid sticks.
Can I freeze Mini Chocolate Peanut Butter Pies?
Absolutely! You can freeze these treats for longer-term storage. Individually wrap each pie tightly in plastic wrap and place them in a freezer-safe container. They can be stored for up to 3 months. When you’re ready to enjoy them, let them thaw in the refrigerator overnight for the best texture.
What should I do if my whipped cream isn’t forming stiff peaks?
Very common to encounter! Make sure your heavy cream is cold, as this helps it whip better. Use a clean mixing bowl, as any fat residues can inhibit the whipping process. If you’re having trouble, start over with chilled cream and whip it on a higher speed until you achieve those stiff peaks, which should take about 3-4 minutes.
Are these Mini Chocolate Peanut Butter Pies suitable for my gluten-free or dairy-free friends?
Definitely! To make these pies gluten-free, simply substitute regular graham cracker crumbs with gluten-free graham crackers. For a dairy-free version, you can use dairy-free butter and try swapping cream cheese for a dairy-free alternative like cashew cream or a dairy-free cream cheese spread. These adjustments make the pies accessible for everyone!
How long do these Mini Chocolate Peanut Butter Pies take to fully set in the fridge?
Certainly! After assembling, refrigerate the pies for at least 2 hours. This time allows the ganache to set properly on top while letting the flavors meld together beautifully. Don’t be tempted to cut the chilling time short, as a good chill is essential for a delightful, well-textured treat!

Decadent Mini Chocolate Peanut Butter Pies You'll Love
Ingredients
Equipment
Method
- In a medium bowl, combine graham cracker crumbs with melted butter until well mixed. Press the mixture into the bottom of muffin tins lined with cupcake liners. Chill in the refrigerator for 30 minutes.
- In a large mixing bowl, beat the softened cream cheese and creamy peanut butter together until smooth. Gradually add powdered sugar and vanilla extract, blending until fluffy.
- Whip the heavy cream in a separate bowl until stiff peaks form. Gently fold the whipped cream into the peanut butter mixture.
- Spoon the peanut butter filling into each chilled crust, filling them to the top and smoothing the surfaces.
- In a small saucepan, heat 1/2 cup of heavy cream until it simmers. Remove from heat and stir in the chocolate chips until smooth.
- Pour the chocolate ganache over the peanut butter filling in each mini pie, ensuring it covers the surface completely. Allow to cool slightly.
- Refrigerate the assembled pies for at least 2 hours until the ganache is set. Garnish with a sprinkle of chocolate chips before serving.