
It all started with an enthusiastic shout from my kitchen: “Let’s make dinner fun!” That’s when I realized how perfect these Easy Mini Mummy Pizzas are for a Halloween gathering or any night craving a bit of whimsy. They transform humble English muffins into spooky delights topped with gooey cheese, zesty pizza sauce, and playful decorations that turn dinner prep into an exciting family event. Not only are these delightful mini pizzas a breeze to whip up, making them an ideal quick dinner option, but they also invite creativity, allowing your little chefs to unleash their artistic flair. Plus, with just a few simple ingredients, you can keep the stress at bay while filling your home with delicious aromas. Who could resist? Ready to create some ghostly good fun in the kitchen?
Why Are Mini Mummy Pizzas so Fun?
Unleashing Creativity: These Easy Mini Mummy Pizzas allow your kids to become little chefs, encouraging them to decorate their spooky pizzas any way they like.
Quick and Easy: In mere minutes, you can whip up this delightful meal, making it the perfect last-minute dinner idea.
Kid-Friendly Fun: They not only taste great but also make dinner an engaging activity for the whole family, turning a mundane meal into a festive celebration.
Customizable Options: Whether it’s switching up the toppings or using different bases like pita bread, the possibilities are endless! Try serving them alongside some carrot sticks or a salad for a balanced meal or even explore other treats like our Bake Mini Banana or Peach Custard Mini for a complete Halloween feast.
Festive Presentation: The adorable mummy look will surely impress your guests at any Halloween gathering! Enjoying these charming bites is as much about the experience as it is about the taste.
Mini Mummy Pizzas Ingredients
For the Base
• English Muffins – These serve as the perfect crispy base for your mini pizzas.
For the Sauce
• Pizza Sauce – Offers delicious flavor and moisture; any marinara sauce works, but Classico is a family favorite.
For the Topping
• Mozzarella String Cheese – This ooey-gooey cheese adds that signature melt; shredded mozzarella is a great alternative if needed.
• Black Olives – These are perfect for creating mummy eyes and mouth; feel free to substitute with pepperoni or bell pepper for fun variations.
Optional Sides
• Carrot Sticks – A crunchy, healthy complement, perfect for balancing out the meal.
• Festive Salad – Add a colorful side to your Halloween dinner for a festive touch.
Step‑by‑Step Instructions for Mini Mummy Pizzas
Step 1: Preheat the Oven
Begin by preheating your oven to 425°F (220°C). This temperature will ensure that your Mini Mummy Pizzas bake to golden perfection, with a crispy crust and bubbly cheese. While the oven heats, gather your ingredients and equipment, like a baking sheet, for an organized cooking experience.
Step 2: Prepare the Muffins
Slice each English muffin in half and lay them cut-side up on a baking sheet. Ensure they are evenly spaced to allow for uniform baking. Take a moment to admire their perfectly perky halves; this will be the base of your delicious Mini Mummy Pizzas, providing a delightful crunch.
Step 3: Add the Sauce
Using a spoon, spread a generous layer of pizza sauce over each muffin half. Let the sauce ooze right to the edges while still leaving a little space to prevent any overflow during baking. The bright red color will contrast beautifully against the golden muffin base, adding a festive touch to your spooky creation.
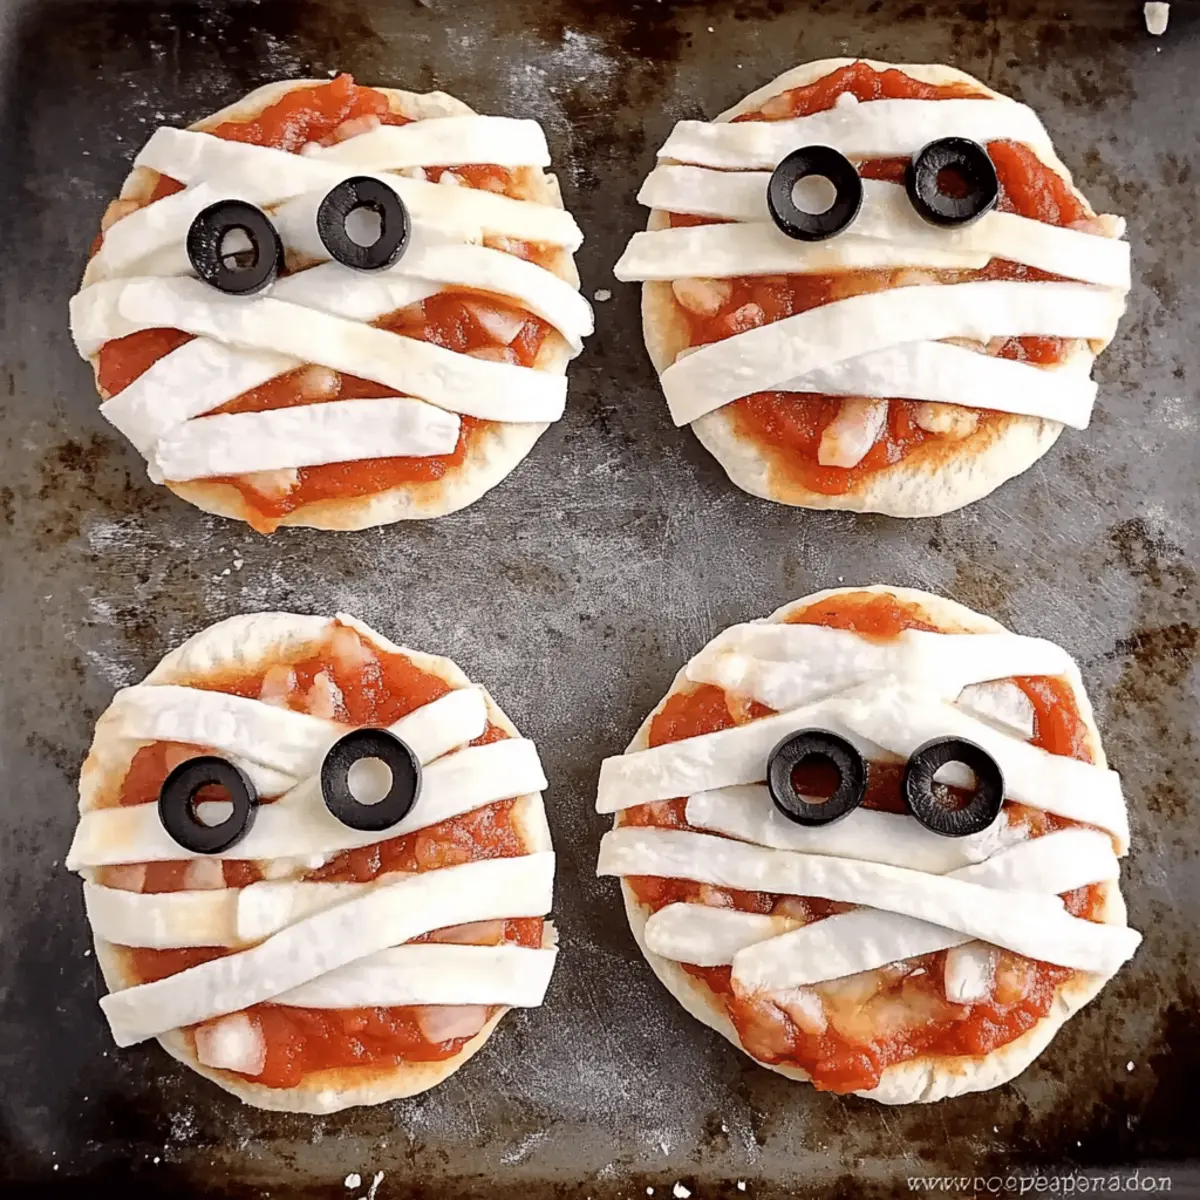
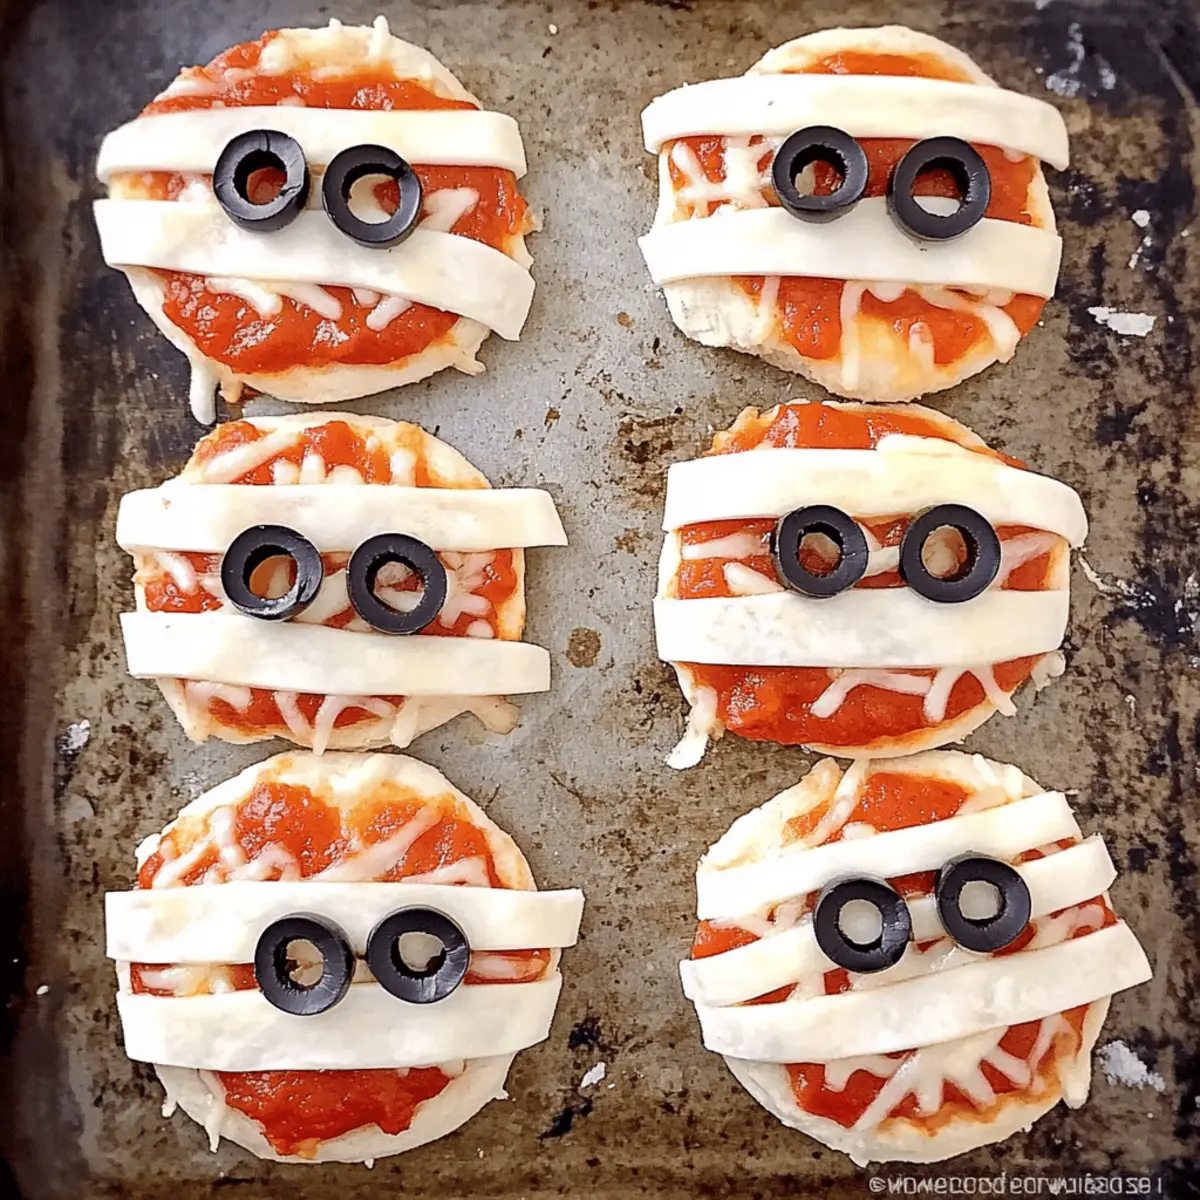
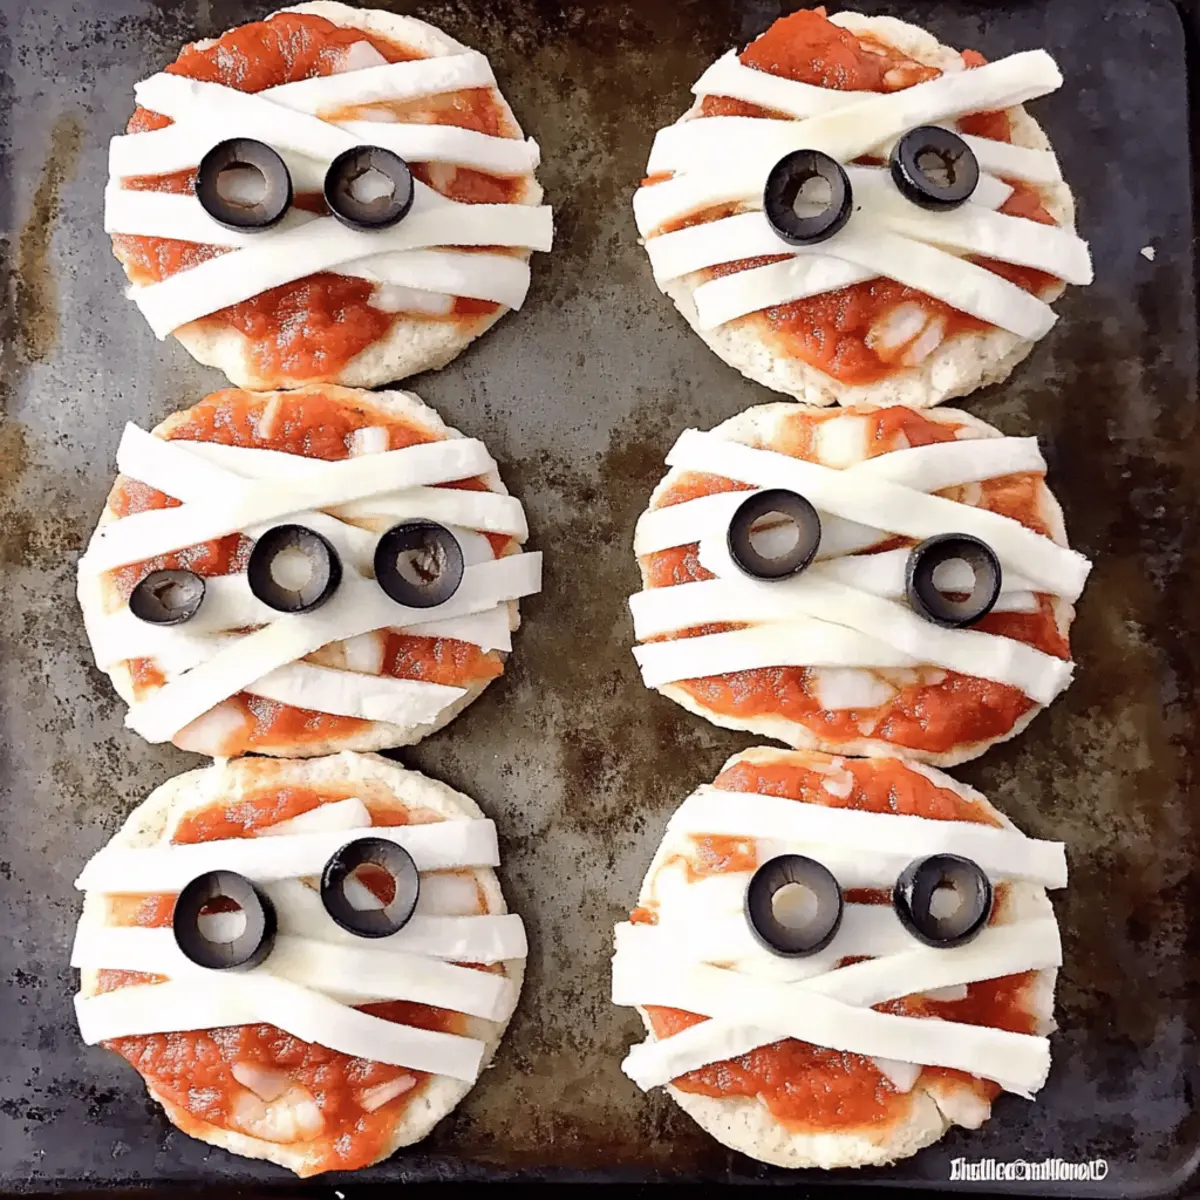
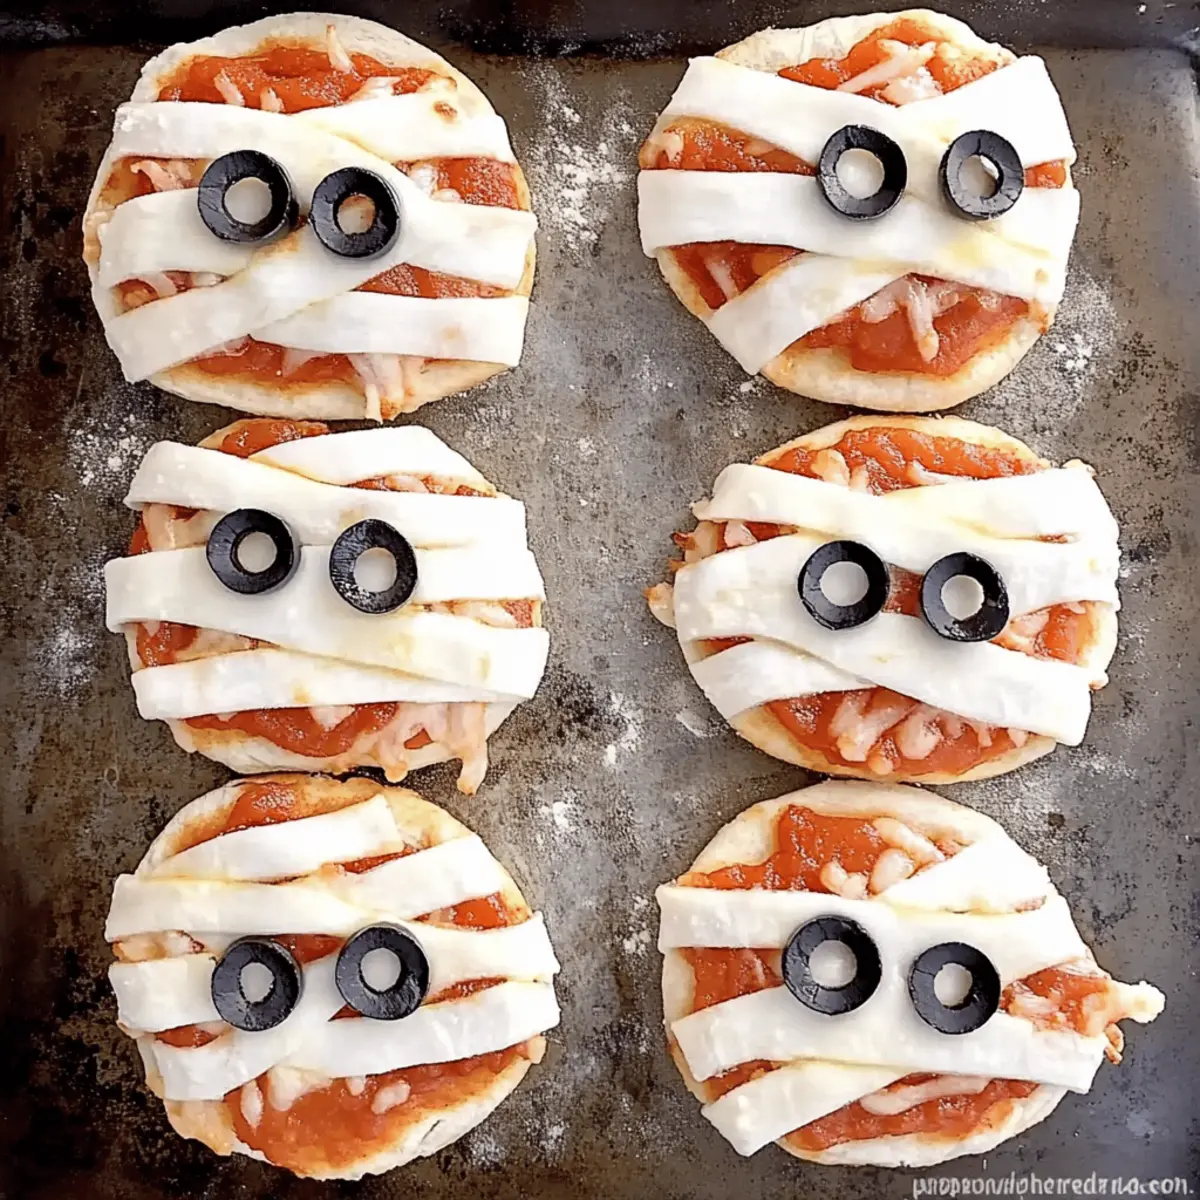
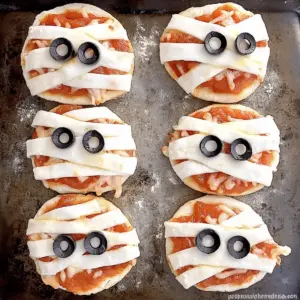
Step 4: Create Mummy Wrappings
Unwrap the mozzarella string cheese and pull apart strips, arranging them in a criss-cross pattern over the sauce. Aim for a whimsical “mummy wrapping” look by leaving small gaps between strips. Watch as the cheese transforms your saucy canvas into something fun and delicious, ready for the next decorations!
Step 5: Add Eyes and Mouth
Slice black olives to create tiny circles for eyes and mouths, then gently place them atop the cheese strips. This step adds personality to your Mini Mummy Pizzas; their little faces will come alive in the oven. Feel free to swap olives with pepperoni or bell pepper if you want to customize your ghoulish treats.
Step 6: Bake to Perfection
Carefully transfer the baking sheet into the preheated oven. Bake for approximately 12 minutes, or until the cheese is bubbly and starting to brown. Peek through the oven door at around 10 minutes to see the transformation unfold; the smell will have everyone excited for this easy Halloween dinner!
Step 7: Enjoy the Spooky Delights
Once baked, remove the Mini Mummy Pizzas from the oven and let them cool for a minute. The muffins should be crispy with gooey cheese, resembling adorable mummies. Serve immediately to revel in the fun and flavor, perhaps alongside carrot sticks or a festive salad to complete the spooky meal experience!
What to Serve with Mini Mummy Pizzas
Serve up a side of fun with delicious accompaniments that make your Halloween dinner complete!
-
Crunchy Carrot Sticks: Fresh and crisp, these carrot sticks add a nutritious crunch to balance the gooey indulgence of the pizzas.
-
Festive Salad: Tossed with colorful veggies, a light salad enhances the meal with freshness, making it visually appealing and delicious.
-
Pumpkin Soup: This warm and creamy soup brings a cozy autumn feel to your Halloween feast, giving a comforting contrast to the savory pizzas.
-
Garlic Bread: Crunchy and aromatic, garlic bread pairs beautifully, offering a complementary texture and flavor that everyone will love.
-
Fruit Skewers: Bright, fresh fruits on skewers provide a sweet and juicy counterpoint to the savory pizzas, making them a hit with kids and adults alike.
-
Spooky Halloween Punch: Serve a colorful punch to sip alongside your meal. A fruity drink adds a fun twist to the festivities and delights guests of all ages.
-
Chocolate-Dipped Pretzels: These sweet and salty treats offer a playful dessert option, making the meal feel even more special with a touch of sweetness.
This collection of side dishes elevates your Mini Mummy Pizzas into a full-fledged Halloween celebration, ensuring that your family dinner is both fun and festive!
Expert Tips for Mini Mummy Pizzas
-
Perfect Baking Time: Keep an eye on the baking time; for a crispy crust and bubbly cheese, bake for 12 minutes, adjusting if necessary for softer cheese.
-
Cheese Variation: Don’t hesitate to swap mozzarella for shredded cheddar or pepper jack for a unique flavor twist, making your Mini Mummy Pizzas extra special!
-
Engage the Kids: Invite your little ones to help decorate their pizzas with cheese and olives, turning dinner into a fun, creative activity that encourages them to get involved in the kitchen.
-
Avoiding Soggy Muffins: Spread just enough sauce to add flavor without soaking the muffin—too much sauce can lead to a soggy bottom.
-
Storage Savvy: Assemble Mini Mummy Pizzas in advance, storing them in the fridge. Bake them right before serving for a warm, delightful treat straight from the oven.
Mini Mummy Pizzas: Endless Creative Twists
Feel free to let your imagination run wild with these Mini Mummy Pizzas to make them uniquely yours!
-
Pita Breads: Substitute English muffins with pita breads for a softer base, which pairs well with various toppings. The airy texture is a delightful change!
-
Different Cheeses: Try swapping mozzarella for cheddar or pepper jack cheese for a deliciously spicy kick. Cheese lovers will appreciate the flavor twist!
-
Veggie Fun: Use colorful bell pepper pieces or cherry tomatoes to create eyes instead of olives. This not only enhances the flavor but adds vibrant colors to your spooky pizzas.
-
Herb Boost: Sprinkle some dried oregano or Italian seasoning over the top before baking to elevate the aroma and flavor. A little herb magic goes a long way in comforting dishes!
-
Pepperoni Mummies: Instead of olives, use slices of pepperoni to create the faces on your mummies. The savory bite complements the melted cheese perfectly.
-
Spicy Kick: For the daring, add a drizzle of sriracha or hot sauce over the cheese before baking for an extra layer of flavor. Only the brave will enjoy this fiery treat!
-
Mini Pizzas Galore: Try using mini bagels as the base for even tinier versions! These little bites are perfect for little hands and great for parties.
-
Freezable Fun: Make double batches and freeze some unbaked Mini Mummy Pizzas! They’ll be your go-to quick meal next time a craving hits. Just pop them in the oven for a spur-of-the-moment treat.
With these variations, you can effortlessly cater to any palate, turning these adorable Mini Mummy Pizzas into a range of delightful options! Explore other fun ideas like our Mini Pecan Pie or Peach Custard Mini for your Halloween feast!
Make Ahead Options
These Easy Mini Mummy Pizzas are perfect for busy home cooks looking to save time! You can assemble them up to 24 hours in advance by prepping each muffin half with sauce and cheese, then covering them tightly with plastic wrap to keep them fresh. For optimal results, store the decorated pizzas in the refrigerator and add the olive eyes just before baking to maintain their vibrant appearance. When you’re ready to serve, simply bake them straight from the fridge for about 12 minutes at 425°F (220°C). This way, you’ll have a quick, spooky dinner option that’s just as delicious as if made fresh!
How to Store and Freeze Mini Mummy Pizzas
Fridge: Store any leftover Mini Mummy Pizzas in an airtight container in the fridge for up to 3 days. Reheat them in the oven or microwave for a quick snack.
Freezer: For longer storage, freeze assembled pizzas without baking. Wrap each one in plastic wrap and store in a freezer-safe bag for up to 2 months. Bake straight from the freezer, adding a few extra minutes to the cooking time.
Reheating: When ready to eat, reheat in a 350°F oven for about 10 minutes, or until warmed through and the cheese is melty again, ensuring every bite is comforting and delicious.
Mini Mummy Pizzas Recipe FAQs
How do I choose the right English muffins?
Absolutely! Look for English muffins that are fresh with a light golden color. Avoid those with dark spots or overly soft textures, as these may not toast well. If you can, choose ones with a nice nooks and crannies texture, which will crisp up beautifully when baked.
How should I store leftover Mini Mummy Pizzas?
I recommend placing any leftovers in an airtight container in the fridge, where they can safely stay for up to 3 days. When you’re ready to enjoy them again, simply reheat in the oven or microwave for a quick snack that’s just as delightful!
Can I freeze assembled Mini Mummy Pizzas?
Yes! For long-term storage, wrap each assembled Mini Mummy Pizza tightly in plastic wrap and place them in a freezer-safe bag. You can keep them frozen for up to 2 months. When you’re ready to bake, just pop them straight from the freezer into the oven—add about 2-4 extra minutes to the cooking time for best results.
What should I do if my cheese isn’t melting properly?
Very good question! If your cheese isn’t melting well, ensure that you’re using fresh mozzarella string cheese, as older cheese may not melt as beautifully. You can also try increasing the oven temperature to 450°F for the final few minutes of baking. Just keep a close eye to prevent burning!
Are there any allergy considerations for this recipe?
Definitely! If you’re making these Mini Mummy Pizzas for someone with dairy allergies, consider using dairy-free cheese alternatives, which are widely available now. For those with gluten sensitivities, you can switch the English muffins for gluten-free options, like gluten-free pita bread—everyone deserves a spooky treat!
Mini Mummy Pizzas: A Fun and Easy Halloween Treat
Ingredients
Equipment
Method
- Preheat your oven to 425°F (220°C).
- Slice each English muffin in half and lay them cut-side up on a baking sheet.
- Spread a generous layer of pizza sauce over each muffin half.
- Unwrap the mozzarella string cheese and pull apart strips, arranging them in a criss-cross pattern over the sauce.
- Slice black olives to create tiny circles for eyes and mouths, then gently place them atop the cheese strips.
- Carefully transfer the baking sheet into the preheated oven. Bake for approximately 12 minutes.
- Remove the Mini Mummy Pizzas from the oven and let them cool for a minute before serving.