
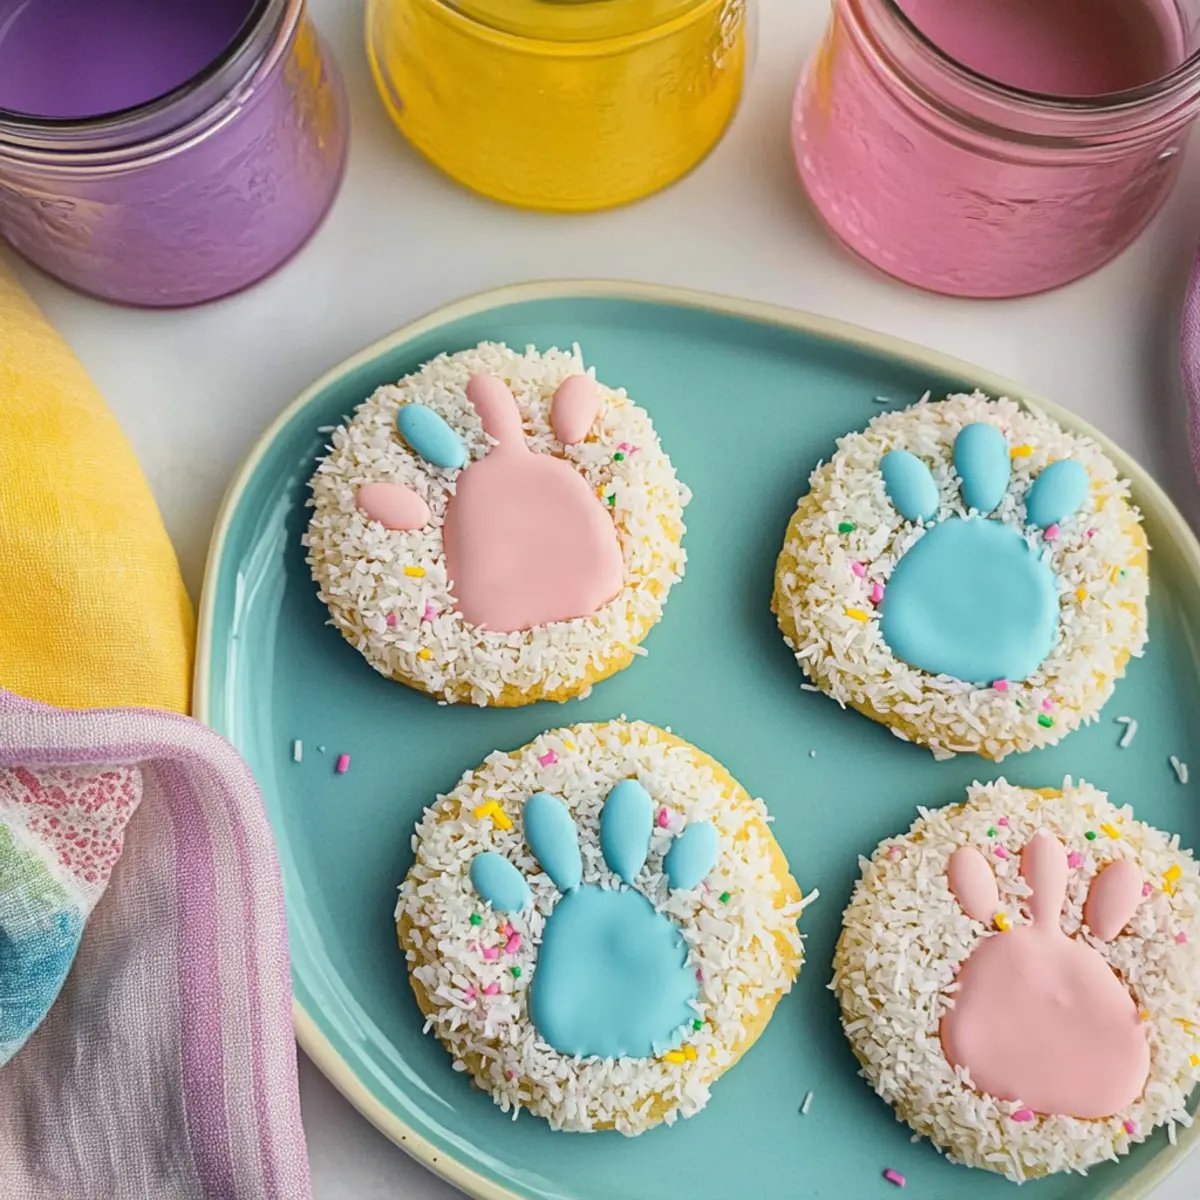
As I grabbed the rainbow sprinkles and a pack of marshmallows, the kitchen buzzed with excitement. Easter was just around the corner, and what better way to celebrate than with these adorable No Bake Bunny Paw Print Cookies? This recipe is a delightful blend of simplicity and creativity, making it the perfect bonding activity with your kids. Not only are these cookies a fun no-bake treat, but they’re also completely customizable—so each little chef can put their own twist on their bunny creations. With just a handful of ingredients and no need for an oven, they’re quick to whip up and sure to impress the young and the young at heart! Ready to hop into the kitchen and make some colorful critters? Let’s get started!
Why Are Bunny Paw Print Cookies So Special?
Endless creativity: Let your kids unleash their imagination by picking their favorite colors and toppings.
No baking required: With no oven involved, this stress-free recipe makes cookie decorating a breeze!
Kid-friendly fun: Perfect for little hands to get involved, these Bunny Paw Print Cookies turn baking into a joyous activity.
Customizable delights: Use your preferred gluten-free cookies and sprinkles for a tailored treat everyone can enjoy.
Easter excitement: These charming cookies aren’t just tasty—they add a festive flair to your holiday gatherings!
Perfect for sweet tooth cravings at children’s parties, they also pair beautifully with other treats like Raspberry Cookies Sweet or Samoa Cookies Homemade.
No Bake Bunny Paw Print Cookies Ingredients
• Dive into the magic of flavor with these adorable no bake bunny paw print cookies!
For the Cookie Base
- Prepared Sugar Cookies – Use store-bought for ease or make your own for an extra special touch.
For the Coconut Coating
- Shredded Coconut – This fluffy texture is essential; opt for sweetened for an extra burst of sweetness.
- Food Coloring – Bring joy to your cookies with vibrant colors; feel free to mix your own pastels!
For the Decoration
- Vanilla Frosting – Acts as the sweet adhesive for coconut; store-bought makes this recipe even easier!
- Sprinkles – Choose any color to add that magical touch of whimsy to your cookie designs.
- Candy Melt Wafers – These are perfect for creating the bunny’s toes; typically, white works best, but let your creativity shine!
- Mini White Chocolate Chips – Serve as the bunny’s adorable “toes”; substitute with any small round candy if preferred.
Let your kids explore their culinary creativity with these No Bake Bunny Paw Print Cookies, making delightful memories in the process!
Step‑by‑Step Instructions for No Bake Bunny Paw Print Cookies
Step 1: Prepare Coconut
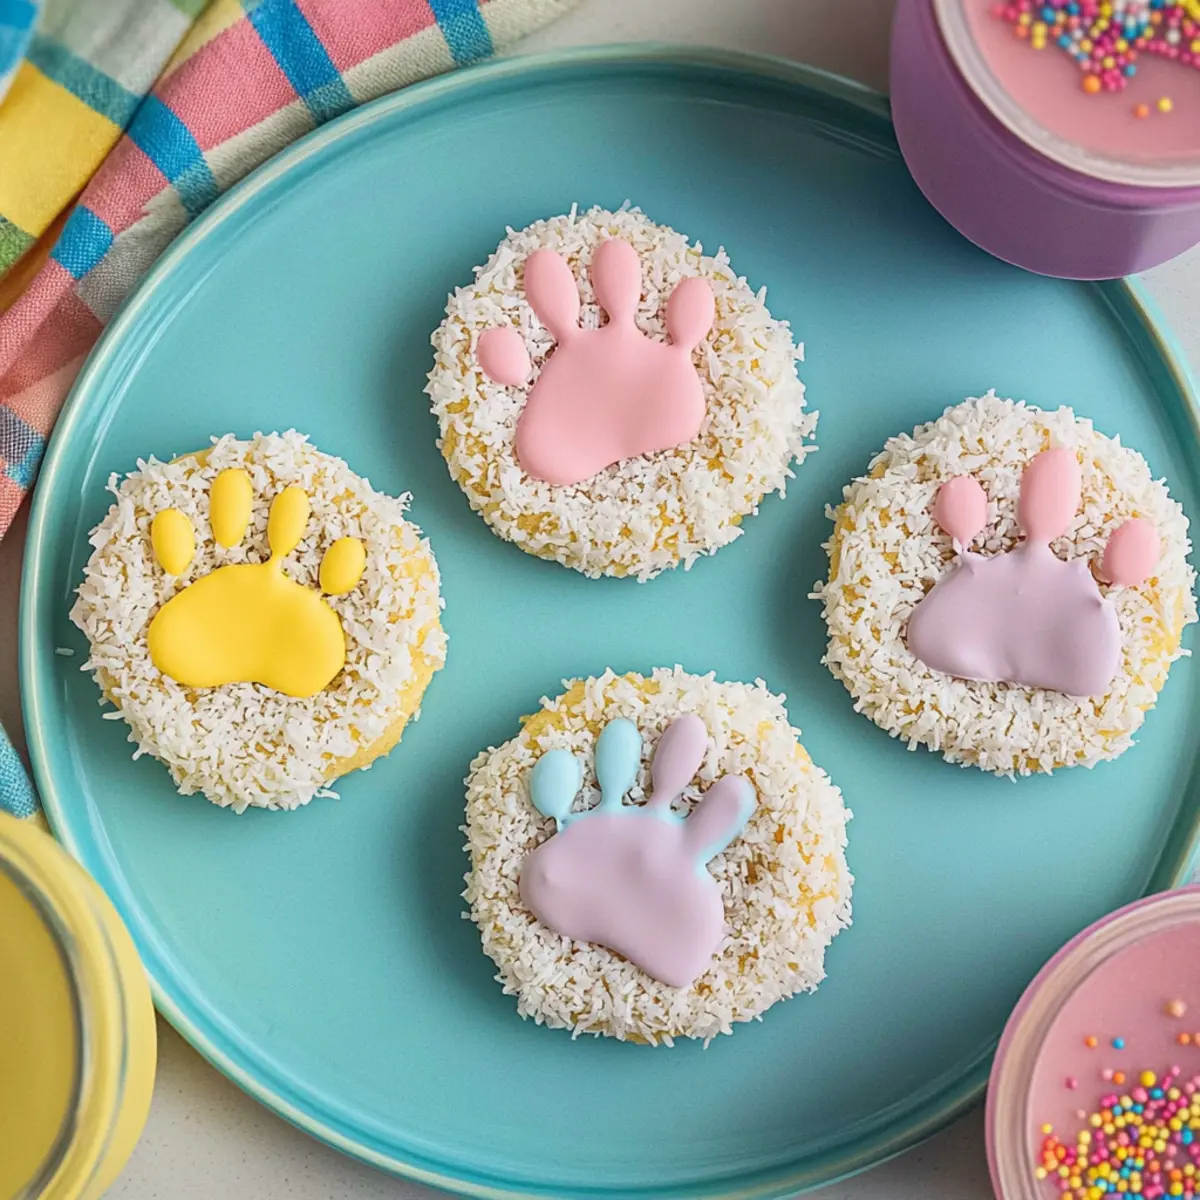
Begin by placing shredded coconut into a food processor. Add a few drops of food coloring, mixing until the coconut reaches your desired pastel shade. If you’re feeling adventurous, prepare multiple colors to make your Bunny Paw Print Cookies even more vibrant! Set the colored coconut aside in separate bowls for easy access.
Step 2: Frost Cookies
Lay out your prepared sugar cookies on a parchment-lined baking sheet, giving them a good amount of space. With a generous dollop of vanilla frosting, evenly spread it over the top of each cookie, ensuring a thick layer for better adhesion. The frosting should be smooth and glossy, providing the perfect canvas for your coconut and decorations.
Step 3: Decorate
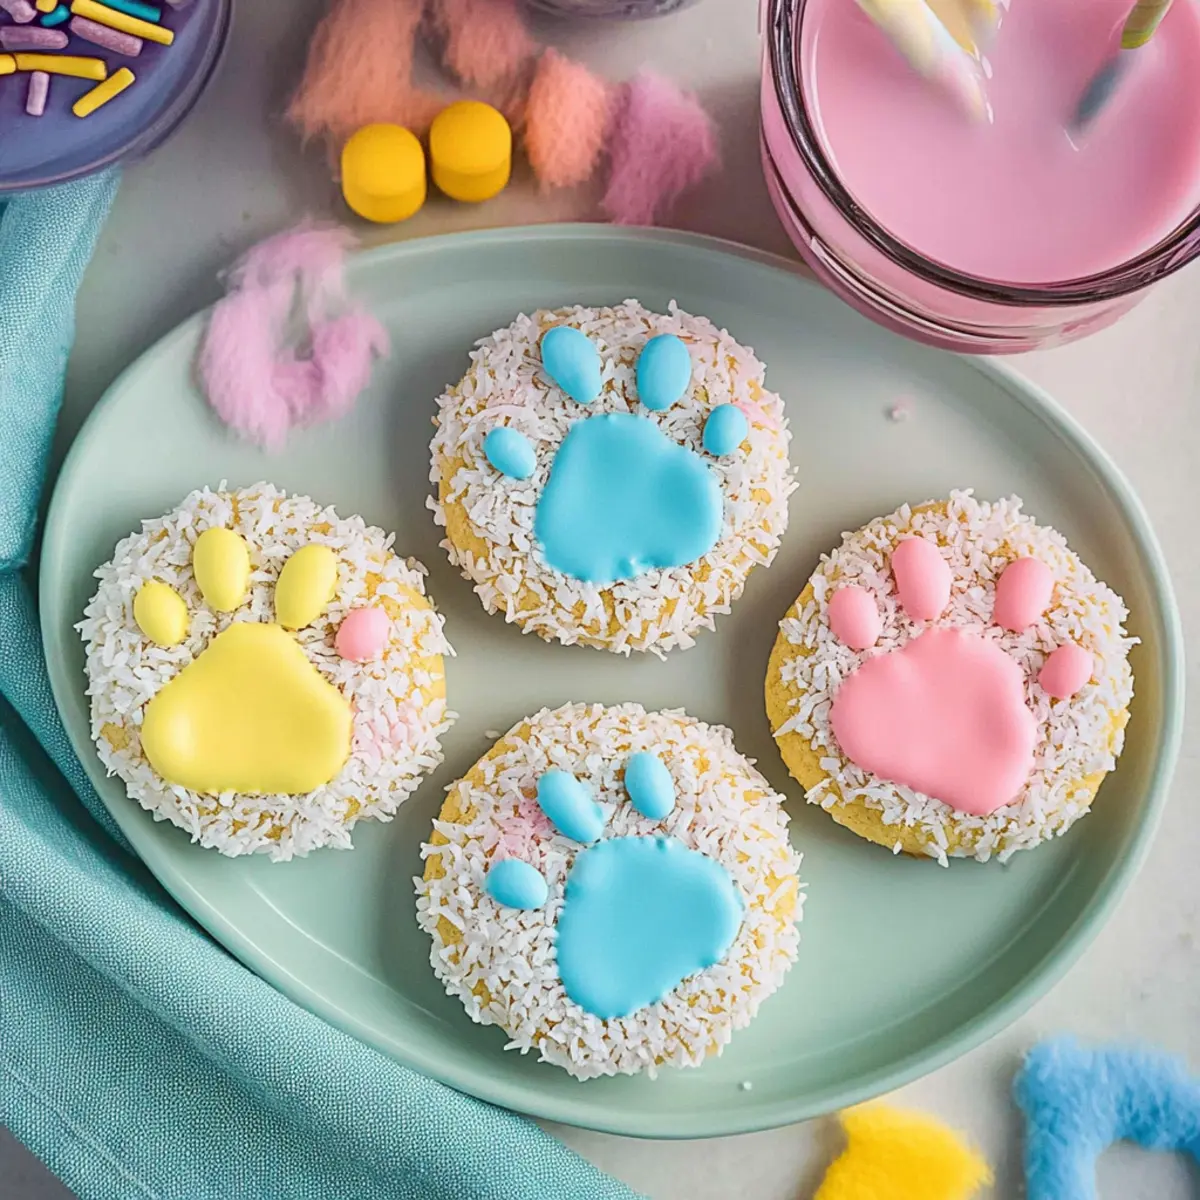
Gently dip each frosted cookie into the bowls of colored coconut, making sure to cover the frosting entirely. Press down lightly to allow the coconut to stick well. Once coated, add a sprinkle of festive decor on each cookie, making your Bunny Paw Print Cookies a delightful sight and adding extra crunch to each bite.
Step 4: Finishing Touches
To create the adorable bunny toes, place a candy melt wafer in the center of each frosted cookie, then add three mini white chocolate chips around it, resembling the little toes of a paw print. Be creative with your placements to showcase whimsical designs. Allow the decorations to set for a few minutes before serving.
Step 5: Serve and Enjoy
Once the Bunny Paw Print Cookies have set, they’re ready to be enjoyed! Place them on a decorative platter and share them with friends and family at your Easter gathering. Their vibrant colors and delightful textures are sure to bring smiles, making them a memorable treat for everyone!
Expert Tips for No Bake Bunny Paw Print Cookies
- Prep Ahead: Store colored coconut in airtight containers beforehand to save time and keep your kitchen organized while working with kids.
- Thick Frosting Layer: Apply a generous amount of frosting; this thicker layer ensures better adhesion for the coconut and other toppings.
- Double the Batch: Kids love these treats, so consider doubling the recipe to guarantee enough cookies to satisfy everyone’s sweet tooth!
- Gluten-Free Options: For those with dietary restrictions, opt for gluten-free cookies and carefully check labels on all ingredients for compatibility.
- Creative Variations: Don’t be afraid to mix things up! Use different candy toppings or try almond extract for a unique flavor twist in your No Bake Bunny Paw Print Cookies.
Make Ahead Options
These No Bake Bunny Paw Print Cookies are a perfect choice for meal prep, especially if you’re planning a festive gathering! You can prepare the colored coconut up to 3 days in advance; simply store it in airtight containers to keep it fresh and fluffy. The sugar cookies can also be frosted and decorated up to 24 hours ahead of time—just remember to refrigerate the frosted cookies to maintain their texture and prevent the coconut from becoming soggy. When it’s time to serve, simply arrange your colorful Bunny Paw Print Cookies on a plate and let the fun begin. You’ll save time and have less stress on the day of your celebration while still enjoying delicious and charming treats!
No Bake Bunny Paw Print Cookies Variations
Feel free to get creative and give your Bunny Paw Print Cookies a personal touch with these delightful twists!
- Dairy-Free: Substitute vanilla frosting for a dairy-free alternative and use coconut-based candies for toppings.
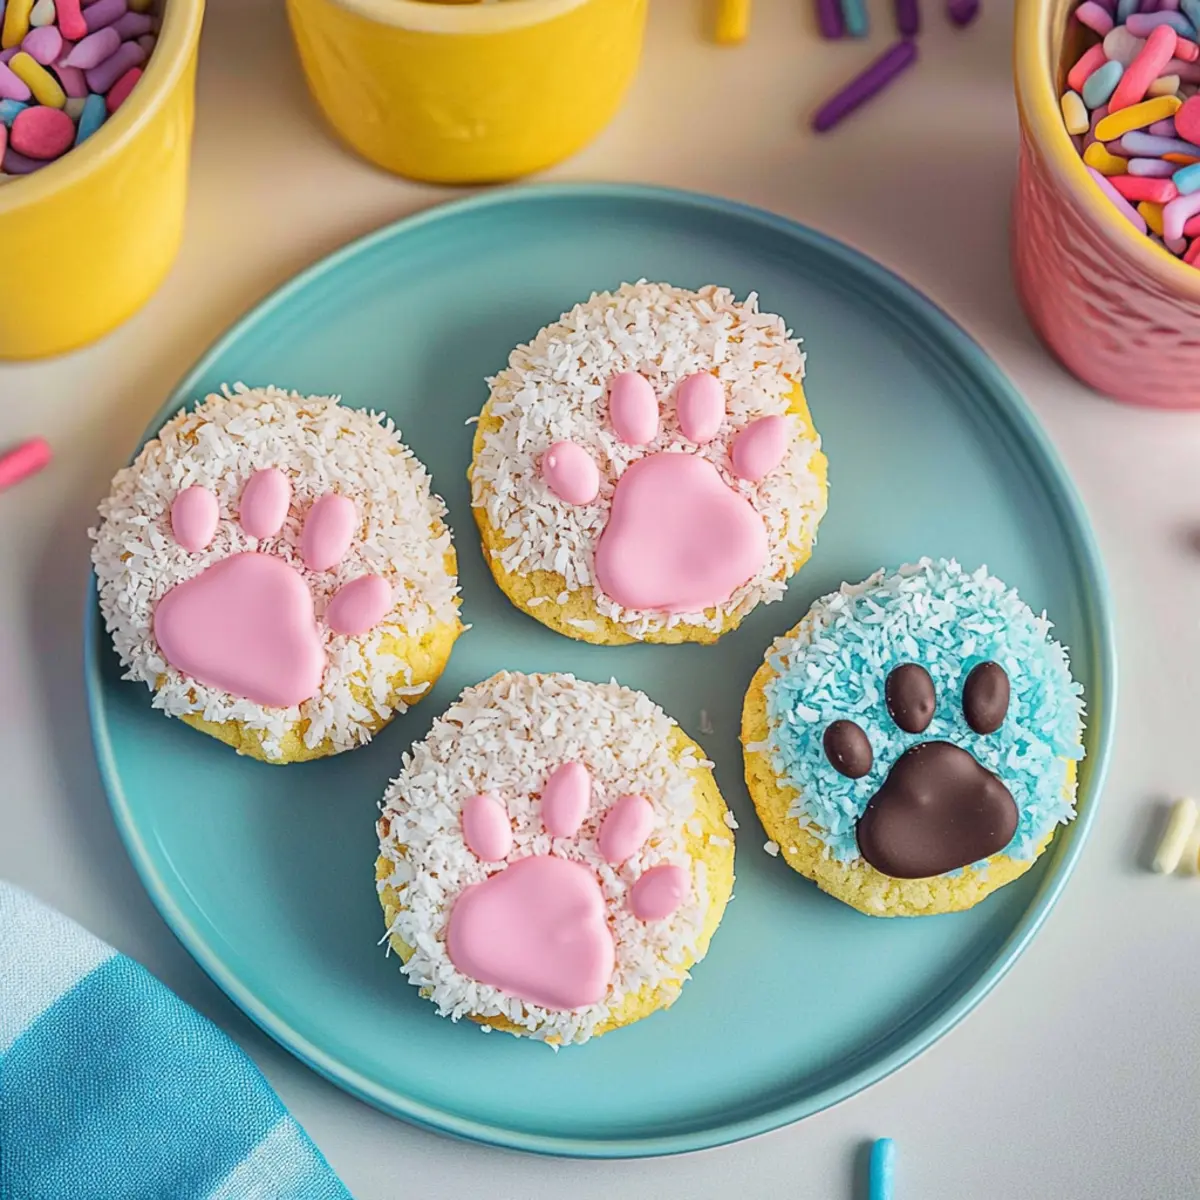
- Chocolate Lovers: Opt for chocolate cookies instead of sugar cookies for a rich, indulgent flavor that pairs wonderfully with coconut.
- Nutty Flavor: Add a sprinkle of almond extract to the frosting for a subtle nutty twist that elevates the sweetness.
- Seasonal Colors: Change up the food coloring to create unique themes; try pastel colors for spring or go bold for a summer picnic.
- Fruity Fun: Incorporate some freeze-dried fruit powder into the frosting for a fruity flavor—think raspberry or strawberry!
- Texture Variety: Mix in some crushed graham crackers with the shredded coconut to add a different crunch to your cookie’s topping.
- Gummy Toppers: Instead of candy melts, use gummy candy for the toes to add a chewy texture that’s fun for kids.
- Festive Sprinkles: Switch sprinkles for edible glitter or themed candies that can reflect other holidays for year-round fun.
As you explore these variations, consider serving these sweet treats alongside other family favorites like Chocolate Blossom Cookies or a batch of quick and easy Fun Bake Cookie. The possibilities are endless, and your baking adventures will surely spark more joy!
How to Store and Freeze No Bake Bunny Paw Print Cookies
Room Temperature: Store the cookies in an airtight container at room temperature for up to 3 days to maintain their freshness and delightful texture.
Fridge: For extended freshness, you can keep the cookies in the fridge for up to a week; just make sure they’re well-covered to prevent drying out.
Freezer: If you want to enjoy these treats later, freeze them in a single layer on a baking sheet, then transfer to an airtight container for up to 1 month.
Reheating: When you’re ready to enjoy frozen cookies, let them thaw at room temperature before serving; avoid reheating as they are best enjoyed chilled or at room temperature.
What to Serve with No Bake Bunny Paw Print Cookies
These vibrant cookies are the perfect canvas for a delightful Easter feast, inviting both flavors and smiles.
-
Fresh Fruit Salad: A refreshing mix of strawberries, blueberries, and melon balances the sweetness of the cookies. Their juiciness is a perfect contrast to the chewy coconut texture.
-
Easter Egg Hunt Cake: This festive cake adds a celebratory touch to your dessert table. The playful decorations tie in perfectly with the bunny theme, making it a hit among guests of all ages.
-
Chocolate Milkshake: A rich, creamy shake enhances the cookie’s sweetness while providing a fun, nostalgic drink option for kids and adults alike. Its chocolatey goodness will keep everyone coming back for more!
-
Mini Carrot Cupcakes: These adorable cupcakes add an element of surprise with their moist texture and warm spices. Topped with cream cheese frosting, they make a delightful pairing that resonates with Easter’s spirit.
-
Coconut Water: For a light and refreshing drink, serve chilled coconut water. Its natural sweetness and tropical flavor complements the coconut in the cookies, making for a thirst-quencher guests will love.
-
Spring-Themed Ice Cream Sundaes: Create an ice cream bar with pastel sprinkles, whipped cream, and your choice of flavors. The fun, colorful setup allows everyone to customize their dessert, just like decorating the Bunny Paw Print Cookies!
No Bake Bunny Paw Print Cookies Recipe FAQs
What type of shredded coconut should I use?
You can use either sweetened or unsweetened shredded coconut depending on your preference. Sweetened coconut will add an extra burst of sweetness to your Bunny Paw Print Cookies, making them deliciously indulgent!
How should I store these cookies once made?
To maintain the freshness of your Bunny Paw Print Cookies, store them in an airtight container at room temperature for up to 3 days. If you’d like to keep them longer, refrigerate them for up to a week, ensuring they’re well-covered to prevent drying out.
Can I freeze Bunny Paw Print Cookies?
Absolutely! To freeze your no bake Bunny Paw Print Cookies, start by arranging them in a single layer on a baking sheet. Once frozen solid, transfer them to an airtight container or a heavy-duty freezer bag, where they can be stored for up to 1 month. When you’re ready to enjoy them, simply let them thaw at room temperature.
What should I do if the coconut doesn’t stick to the frosting?
If you find that the coconut isn’t adhering well to the frosting, you can simply apply a thicker layer of frosting on your cookies. This will not only help the coconut stick better but also ensures each bite is sweet and creamy. Make sure to cover the frosting entirely with the colored coconut and gently press down as you coat it.
Are there gluten-free options available for these cookies?
Yes! You can easily make these Bunny Paw Print Cookies gluten-free by using gluten-free sugar cookies. Be sure to check the labels on all other ingredients like the vanilla frosting and candy toppings to ensure they’re also gluten-free.
How can I customize the colors for the coconut?
To achieve the perfect pastel shades for your coconut, add a few drops of food coloring to the shredded coconut in a food processor. Blend until the desired color is reached. Feel free to create multiple colors for a vibrant and festive look!
Delightful No Bake Bunny Print Cookies for Easy Easter Fun
Ingredients
Equipment
Method
- Prepare coconut by placing shredded coconut into a food processor. Add food coloring and mix until desired pastel shade is reached.
- Frost cookies by spreading a thick layer of vanilla frosting over each cookie.
- Decorate by dipping each frosted cookie into the colored coconut and adding sprinkles.
- Add finishing touches by placing candy melt wafers and mini white chocolate chips on each cookie.
- Serve and enjoy the Bunny Paw Print Cookies once the decorations have set.