
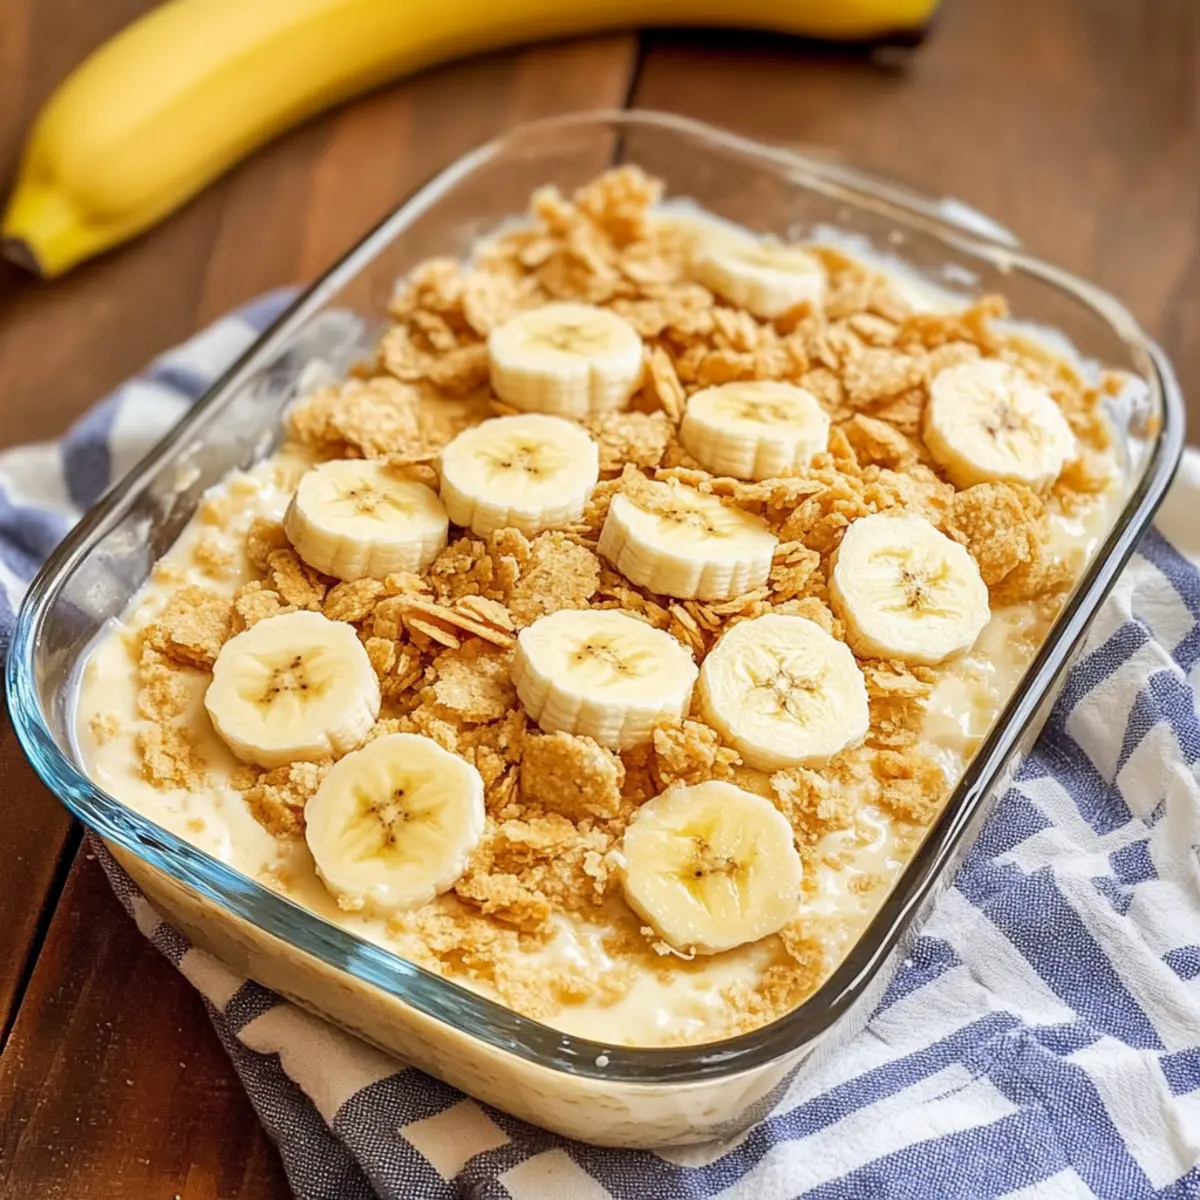
As I rummaged through my grandmother’s old recipe box, a faded card slipped out, revealing the cherished steps for crafting Old-Fashioned Homemade Banana Pudding. This Southern classic is a delightful harmony of creamy custard, crunchy vanilla wafers, and luscious banana slices—each bite a warm hug. Making it from scratch not only keeps things simple and wholesome, but it also turns dessert into a nostalgic experience that friends and family will adore. This recipe whispers comfort and invites you to slow down and savor every layer. The best part? It’s easy to prepare ahead of time, making it a perfect crowd-pleaser for gatherings or family dinners. So, are you ready to take a trip down memory lane and whip up a batch of this creamy goodness? Let’s dive in!
Why is Banana Pudding a Classic?
Nostalgic Delight: This Old-Fashioned Homemade Banana Pudding evokes fond memories of family gatherings and holidays, making it a timeless treat loved by many.
Made From Scratch: The creamy custard is cooked from the heart, providing a fresher, richer flavor than boxed mixes.
Easy Preparation: You’ll love how simple it is to layer the ingredients; just a few steps and you’re on your way to a heavenly dessert!
Perfect for Sharing: Whether it’s a potluck or family dinner, this pudding is a guaranteed hit that brings everyone together.
Versatile Twist: You can easily customize it by adding whipped cream or even a tropical twist with crushed pineapple, letting your creativity shine!
In short, this recipe not only satisfies your sweet cravings but also cultivates special moments with your loved ones.
Old-Fashioned Homemade Banana Pudding Ingredients
For the Custard
- ¾ cup sugar – Sweetness and texture; substitute with brown sugar or honey for a deeper flavor profile.
- ¼ cup flour – Thickening agent for the pudding; no substitutions are recommended to maintain texture.
- ¼ teaspoon salt – Enhances overall flavor.
- 3 cups milk – Provides a creamy base; use whole or low-fat milk, or non-dairy milk for a dairy-free option.
- 3 eggs – Adds richness and helps thicken the pudding; ensure they are at room temperature for optimal mixing.
- 2 teaspoons vanilla extract – Adds essential flavor; use pure vanilla for the best results.
For the Layers
- 1 box vanilla wafers (about 8 oz.) – Provides structure and texture; substitute with graham crackers for a different flavor.
- 4 bananas, sliced – Adds natural sweetness and flavor; opt for ripe bananas for the best taste, and avoid mashing unless you desire a stronger banana flavor.
This Old-Fashioned Homemade Banana Pudding is sure to elevate your dessert game, showcasing delicious layers that everyone will adore!
Step‑by‑Step Instructions for Old-Fashioned Homemade Banana Pudding
Step 1: Combine Dry Ingredients
In a medium saucepan, whisk together ¾ cup sugar, ¼ cup flour, and ¼ teaspoon salt until well combined. This blend will be the backbone of your creamy custard. Make sure there are no lumps, as a smooth mixture is essential for your Old-Fashioned Homemade Banana Pudding.
Step 2: Cook the Mixture
Gradually whisk in 3 cups of milk over medium heat, stirring continuously until the mixture thickens and bubbles, about 5 minutes. The custard should be creamy and coat the back of a spoon. Once this texture is achieved, you can move on to the next step with confidence.
Step 3: Temper the Eggs
In a separate bowl, beat 3 eggs and temper them by gradually adding a small portion of the hot mixture while whisking constantly. This gentle process prevents the eggs from scrambling. After mixing, pour the egg mixture back into the saucepan, ensuring everything is evenly integrated for a luscious custard.
Step 4: Bring to a Gentle Boil
Return the saucepan to medium heat and stir continuously. Cook the mixture, allowing it to come to a gentle boil while thickening even further, about 2 more minutes. You’ll know it’s ready when it begins to bubble softly, providing a lovely aroma of vanilla that fills your kitchen.
Step 5: Add Vanilla and Cool
Remove the saucepan from the heat and stir in 2 teaspoons of pure vanilla extract. This essential flavor will give your Old-Fashioned Homemade Banana Pudding its character. Allow the mixture to cool for about 15 minutes, stirring occasionally to prevent a skin from forming on top.
Step 6: Layer the Ingredients
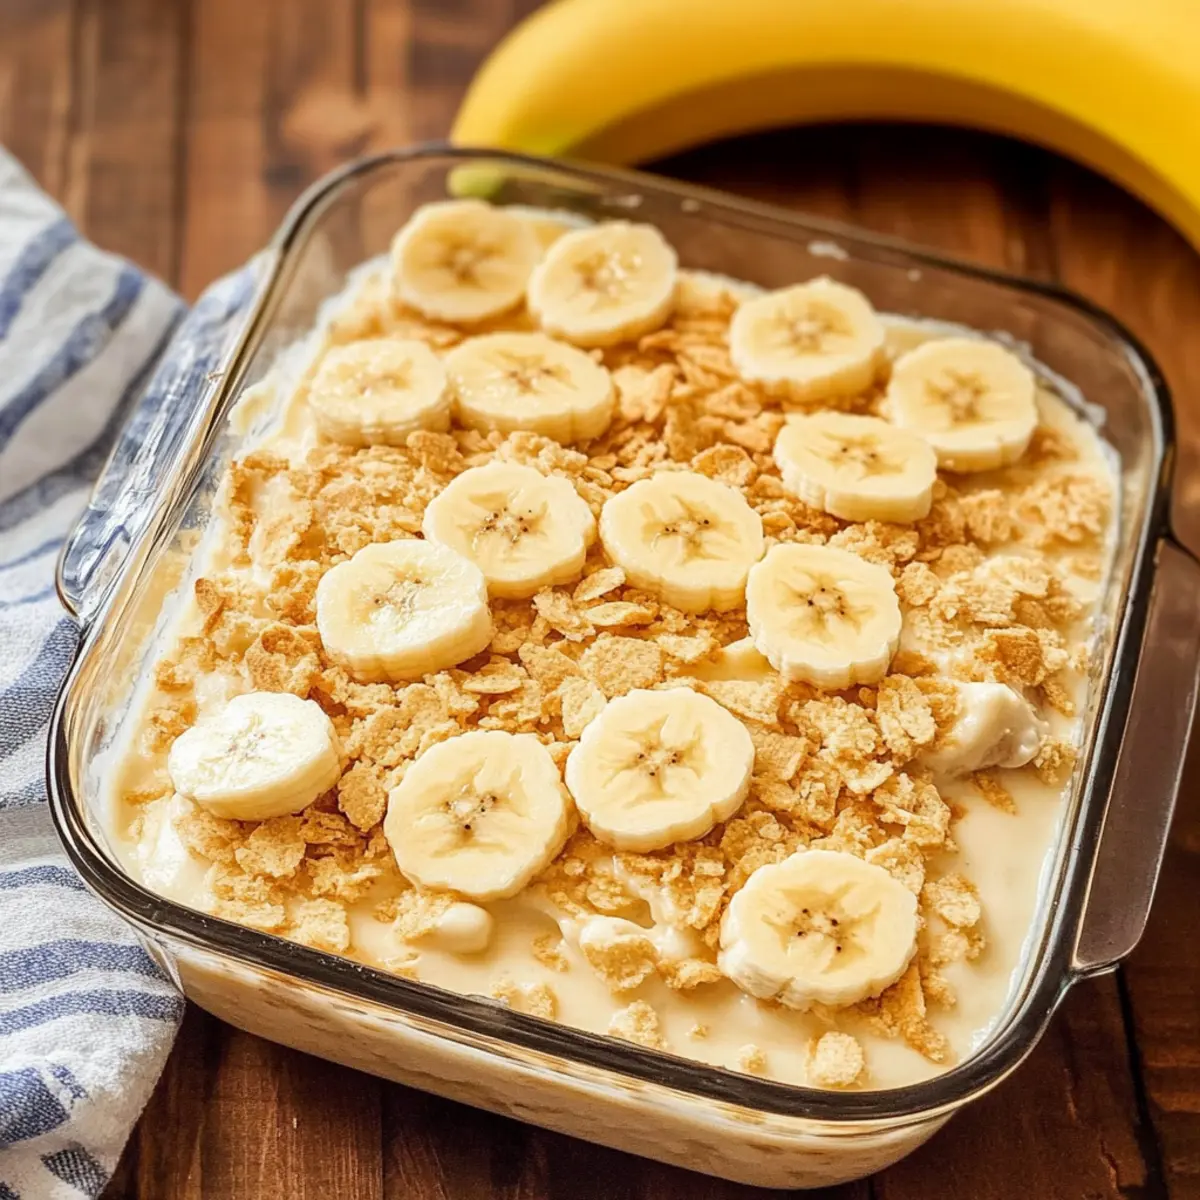
In an ungreased 8×8 inch baking dish, start layering by placing around 25 vanilla wafers on the bottom, closely packed together. Follow this with half of the sliced bananas, and pour half of your cooled pudding mixture over everything. This structure is vital to the iconic layer texture of your banana pudding.
Step 7: Repeat the Layers
Now, add another layer of vanilla wafers and the remaining banana slices. Pour the rest of the custard over the top, ensuring everything is covered well. This layering technique creates that classic look and flavor profile that makes the Old-Fashioned Homemade Banana Pudding a favorite.
Step 8: Chill Before Serving
Cover the dish with plastic wrap and refrigerate for at least 4 hours, preferably overnight. This chilling step allows the layers to meld together and enhances the flavors beautifully. Creating this pudding ahead of time makes serving a breeze, ensuring it’s a hit at any gathering.
Step 9: Final Touches
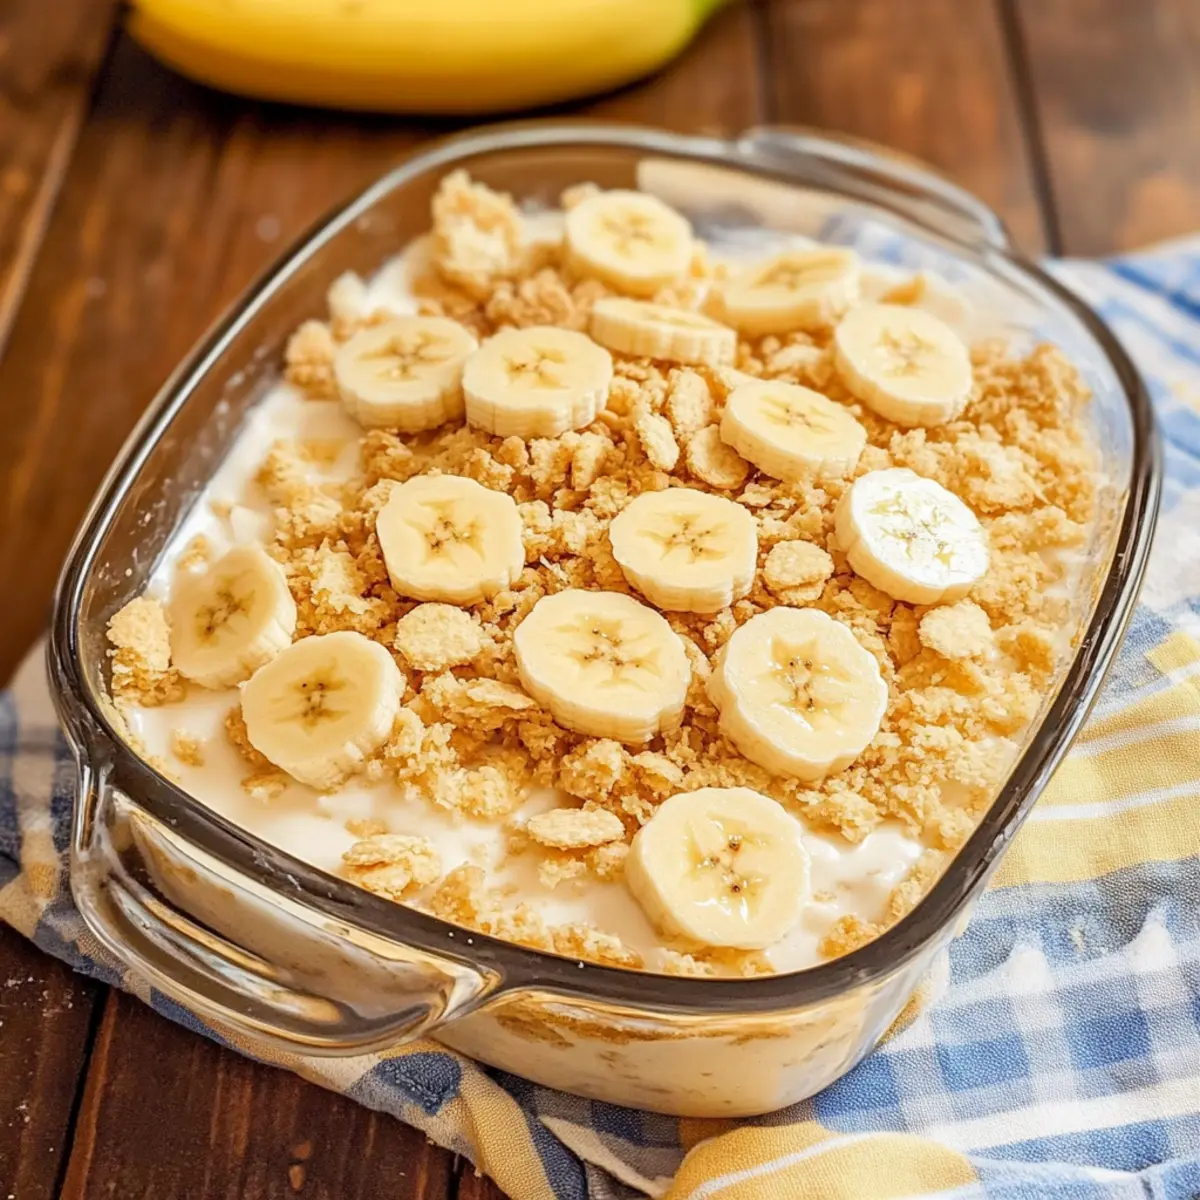
Before serving, crush any remaining vanilla wafers and sprinkle them generously on top for an extra crunch. Serve the pudding cold, perhaps with fresh banana slices or a dollop of whipped cream. This final garnish elevates the Old-Fashioned Homemade Banana Pudding, adding a delightful finishing touch to your delicious creation.
What to Serve with Classic Southern Old-Fashioned Banana Pudding
Imagine a warm gathering where sweet aromas mingle with laughter, and every bite of dessert is met with content sighs of delight.
- Creamy Whipped Cream: Adds a light, airy contrast to the luscious pudding, enhancing its flavors and providing a delightful texture.
- Fresh Fruit Salad: A refreshing mix of seasonal fruits brightens the palette and balances the richness of the pudding, ensuring a light end to your meal.
- Chocolate Chip Cookies: The chewy texture and sweetness of cookies create a perfect pairing, making each bite a nostalgic treat.
- Toasted Almonds: A sprinkle of toasted almonds adds a delightful crunch and nutty flavor, creating an interesting contrast with the creamy pudding.
- Iced Tea: A glass of sweetened iced tea serves as a classic Southern refreshment, complementing the dessert’s richness without overwhelming it.
- Caramel Sauce: Drizzling warm caramel over the pudding enhances its sweetness, adding a luxurious twist that will surprise your guests.
Whether indulging in comfort food or celebrating with friends, these accompaniments create a symphony of flavors that elevate your Old-Fashioned Homemade Banana Pudding experience.
How to Store and Freeze Old-Fashioned Homemade Banana Pudding
- Fridge: Store your Old-Fashioned Homemade Banana Pudding covered in the refrigerator for up to 4 days. This keeps it fresh while the flavors deepen.
- Room Temperature: Avoid leaving it out at room temperature for more than 2 hours to maintain food safety and texture.
- Freezer: It’s best not to freeze your banana pudding, as the texture can change dramatically, making the custard watery when thawed.
- Reheating: If you have leftovers, simply enjoy them cold straight from the fridge, as this dessert is best served chilled for a creamy delight!
Expert Tips for Old-Fashioned Homemade Banana Pudding
- Chill Overnight: This pudding tastes even better the next day! Allow it to chill overnight to let the flavors meld beautifully.
- Fresh Bananas Last: To prevent brown bananas, add the sliced fruit just before serving. This keeps your Old-Fashioned Homemade Banana Pudding looking fresh and appealing.
- Check Your Heat: If your custard isn’t thickening, the mixture may not have cooked long enough. Make sure to stir continuously until it reaches a thick, bubbly state.
- Choose Ripe Bananas: Use ripe, speckled bananas for the best flavor. They add natural sweetness and create a delightful contrast with the creamy pudding.
- Consider Nut Milks: For a non-dairy twist, substitute regular milk with almond or oat milk, ensuring everyone can enjoy this classic dessert!
Old-Fashioned Homemade Banana Pudding Variations
Feel free to get creative and tailor this delightful dessert to suit your tastes!
- Chocolate Twist: Substitute vanilla wafers for chocolate wafers to give your pudding a rich, chocolatey taste that is simply irresistible.
- Tropical Delight: Mix in a layer of crushed pineapple for a refreshing, fruity twist that transports you to a sunny beach. Combine this with your classic recipe for a beautiful blend of flavors!
- Banana Boost: For an intense banana flavor, mash a ripe banana into the pudding mixture before layering. This adds a luscious creaminess and extra sweetness!
- Citrusy Zing: Add a splash of fresh lemon or orange juice to the custard for a hint of brightness that balances the sweetness perfectly. It’s a delightful surprise!
- Nutty Crunch: Incorporate chopped pecans or walnuts into the layers for a delightful crunch and rich flavor contrast. This adds an extra layer of texture with every spoonful.
- Whipped Cream Topping: Before serving, dollop whipped cream or spread meringue on top for a light, airy finish that enhances the overall experience. It’s like a little cloud of sweetness!
- Fruity Layers: Experiment with other fruits, such as fresh strawberries or blueberries, layered between the bananas for a burst of color and flavor. Each layer offers its own unique charm!
- Spices Galore: Sprinkle ground cinnamon or nutmeg into the pudding for a warm spice that complements the sweetness beautifully. Just a pinch can transform the whole dish!
No matter how you choose to customize, this classic dessert is sure to make hearts sing! Don’t forget to check out Covered Banana Pudding or Hawaiian Banana Bread for more delicious twists!
Make Ahead Options
These Old-Fashioned Homemade Banana Pudding layers are perfect for those busy days when time is of the essence! You can prepare the creamy custard up to 24 hours in advance, keeping it covered in the refrigerator to maintain its rich texture. Additionally, layer the vanilla wafers and bananas but wait to assemble the final pudding until just before serving to prevent the bananas from browning. Simply pour the cooled pudding mixture over the layered ingredients and cover again to chill for another 4 hours or overnight. This allows the flavors to meld beautifully, ensuring that when you’re ready to serve, your dessert remains just as delicious and impressive for any gathering!
Old-Fashioned Homemade Banana Pudding Recipe FAQs
What type of bananas should I use for this recipe?
Opt for ripe bananas with a few brown spots for the best sweetness and flavor. Avoid using overly ripe bananas that are mushy, as they won’t provide the desired texture in your Old-Fashioned Homemade Banana Pudding.
How should I store the banana pudding?
Keep your Old-Fashioned Homemade Banana Pudding covered in the refrigerator for up to 4 days. Make sure it’s well-sealed to prevent any odors from other foods penetrating your delightful dessert.
Can I freeze Old-Fashioned Homemade Banana Pudding?
Absolutely not! It’s best not to freeze this pudding, as freezing can alter the texture significantly, making the custard watery and separating after thawing. Stick to refrigeration for optimal enjoyment!
What should I do if my pudding doesn’t thicken?
If your pudding isn’t thickening, it likely hasn’t cooked long enough. Make sure to stir continuously while it cooks, checking that it becomes thick and bubbly for about 5-7 minutes. If you’re still having troubles, try cooking it for an additional 2-3 minutes over medium heat while stirring constantly until you achieve that luscious custard consistency.
Can I make this banana pudding dairy-free?
Very! Simply replace the milk with almond milk, oat milk, or any other non-dairy milk of your choice. This way, everyone can indulge in the creamy deliciousness of your Old-Fashioned Homemade Banana Pudding regardless of dietary preferences.
How do I prevent my sliced bananas from browning?
To keep your bananas looking fresh and vibrant, add the sliced bananas on top just before serving. This will protect them from browning, ensuring your pudding looks as lovely as it tastes!
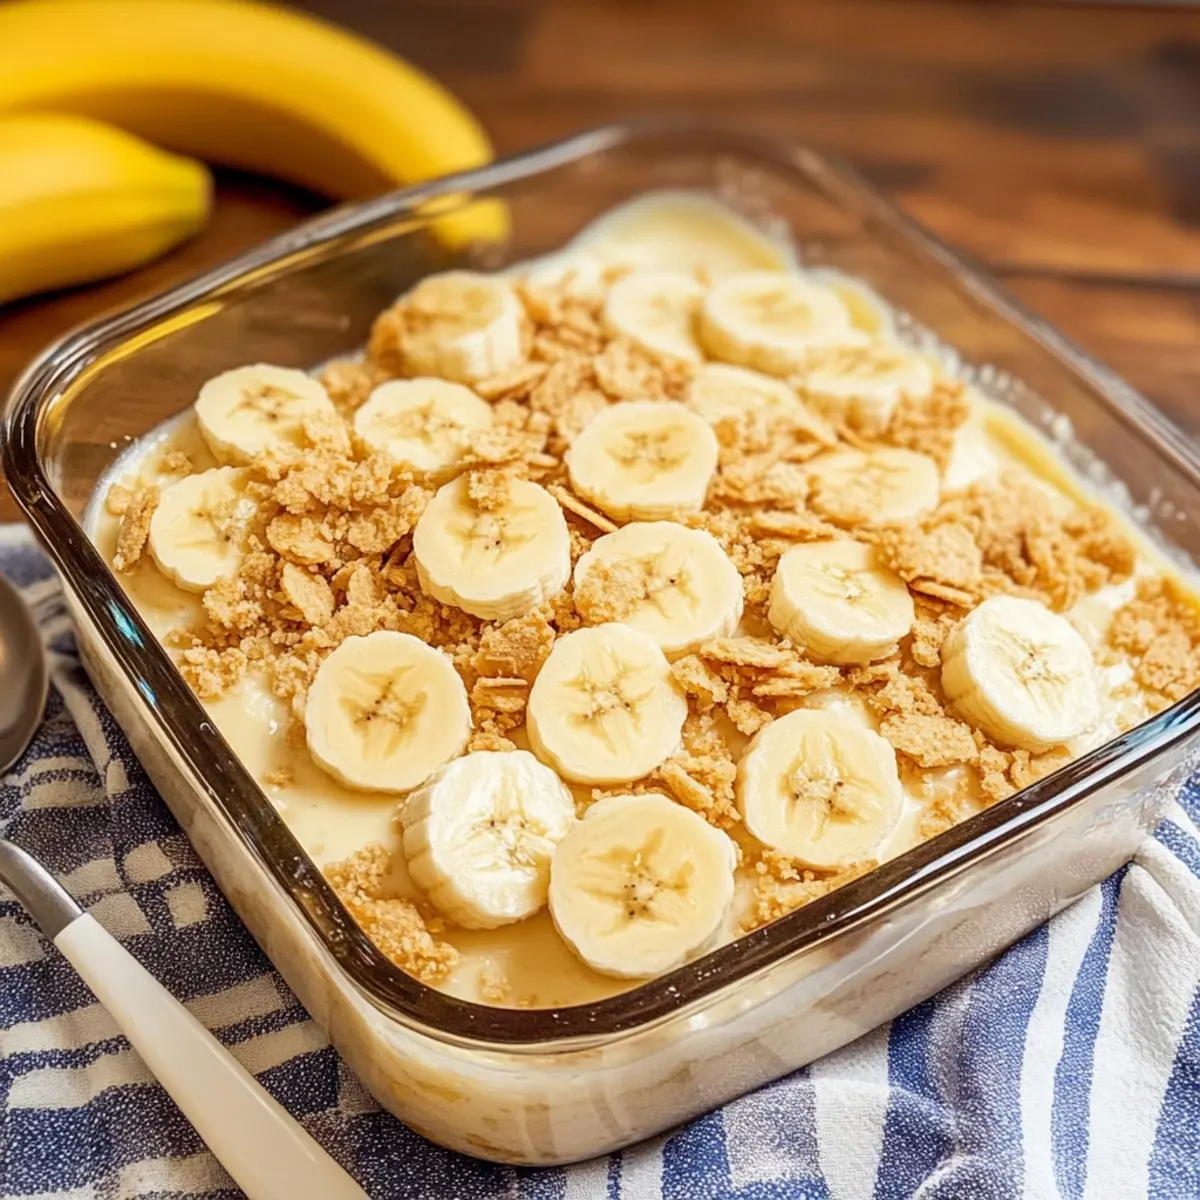
Deliciously Creamy Old-Fashioned Homemade Banana Pudding Recipe
Ingredients
Equipment
Method
- In a medium saucepan, whisk together ¾ cup sugar, ¼ cup flour, and ¼ teaspoon salt until well combined.
- Gradually whisk in 3 cups of milk over medium heat, stirring continuously until the mixture thickens and bubbles, about 5 minutes.
- In a separate bowl, beat 3 eggs and temper them by gradually adding a small portion of the hot mixture while whisking constantly.
- Return the saucepan to medium heat and stir continuously, allowing it to come to a gentle boil while thickening, about 2 more minutes.
- Remove the saucepan from the heat and stir in 2 teaspoons of pure vanilla extract. Allow the mixture to cool for about 15 minutes.
- In an ungreased 8x8 inch baking dish, layer around 25 vanilla wafers on the bottom. Follow with half of the sliced bananas, and pour half of the cooled pudding mixture over everything.
- Add another layer of vanilla wafers and the remaining banana slices. Pour the rest of the custard over the top.
- Cover the dish with plastic wrap and refrigerate for at least 4 hours, preferably overnight.
- Before serving, crush any remaining vanilla wafers and sprinkle them on top. Serve cold.