
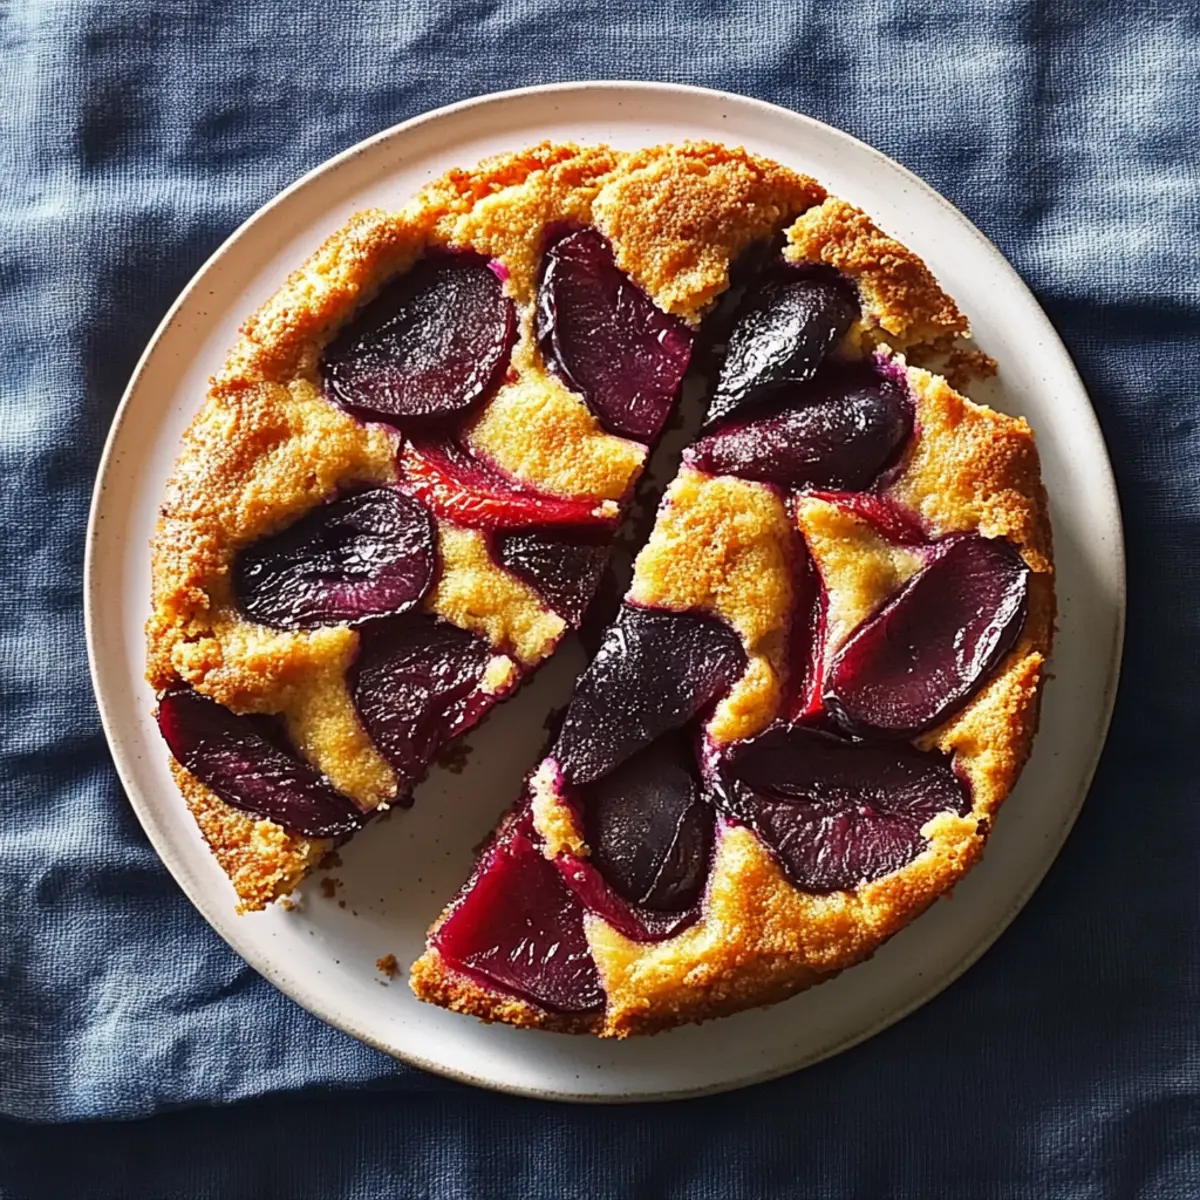
As the air cools and leaves begin their vibrant transformation, the promise of comfort in the kitchen is irresistible. This Classic Plum Torte is a delightful indulgence that captivates with its sweet-tart purple plums cradled in a tender, buttery cake. What I adore most about this recipe is its simplicity, making it perfect for bakers of all skill levels. Plus, you can easily customize it by choosing between two sugar options, ensuring just the right amount of sweetness for your taste. Whether served warm with a dollop of whipped cream or chilled for a refreshing dessert, this torte is an elegant way to celebrate the turn of the seasons. Ready to entice your taste buds and fill your home with delectable aromas? Let’s dive into the world of baking magic!
Why is Plum Torte a Must-Try?
Simplicity meets elegance: This classic recipe is incredibly easy to make, perfect for bakers at any level.
Fruity goodness: The fresh purple plums provide a mouthwatering contrast, balancing sweetness with that delightful tartness.
Versatile indulgence: Customize it by swapping fruits or adjusting sugar levels, and make it your own!
Crowd-pleaser: Serve it warm with whipped cream or chilled for a casual dessert, and watch everyone rave about it.
Seasonal delight: Celebrate autumn flavors, reminding you of cozy gatherings with family and friends. Discover more about seasonal baking with this guide for year-round inspiration!
Original Plum Torte Ingredients
For the Torte
- ¾ to 1 cup sugar – Sweetness and moisture; adjust based on the plums’ natural sweetness.
- ½ cup unsalted butter, softened – Provides richness and moisture; use unsalted for better salt control.
- 1 cup unbleached flour, sifted – Adds structure and texture; be careful to sift after measuring for lighter cake.
- 1 teaspoon baking powder – Acts as the leavening agent; ensure freshness for optimal results.
- Pinch of salt (optional) – Enhances the flavor; you can skip it if using salted butter.
- 2 eggs – Acts as a binding agent; use room temperature eggs for easier incorporation.
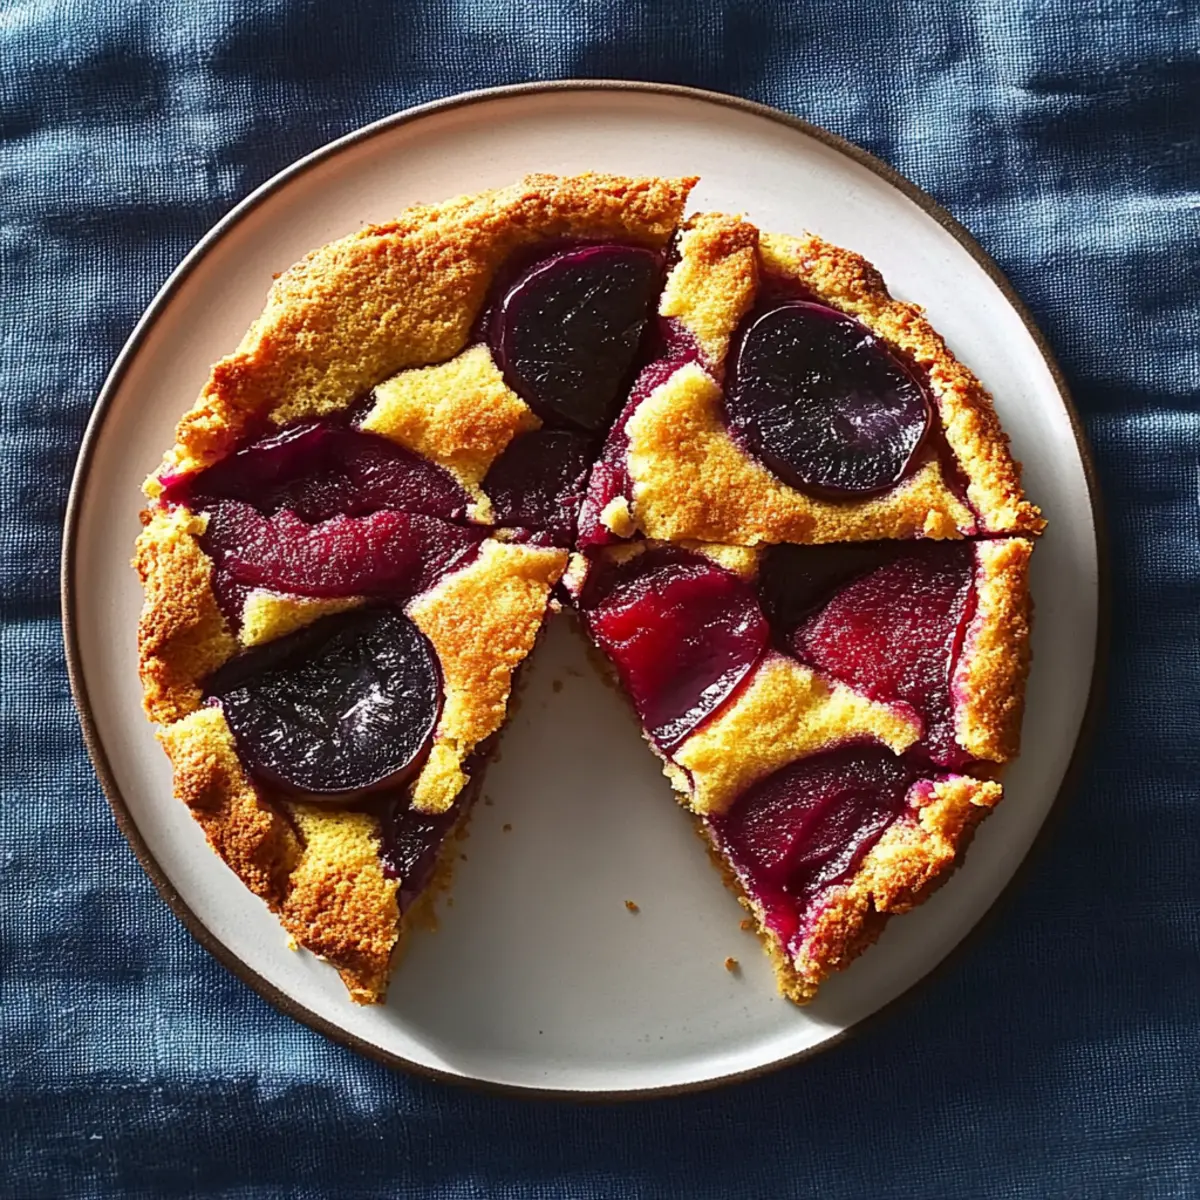
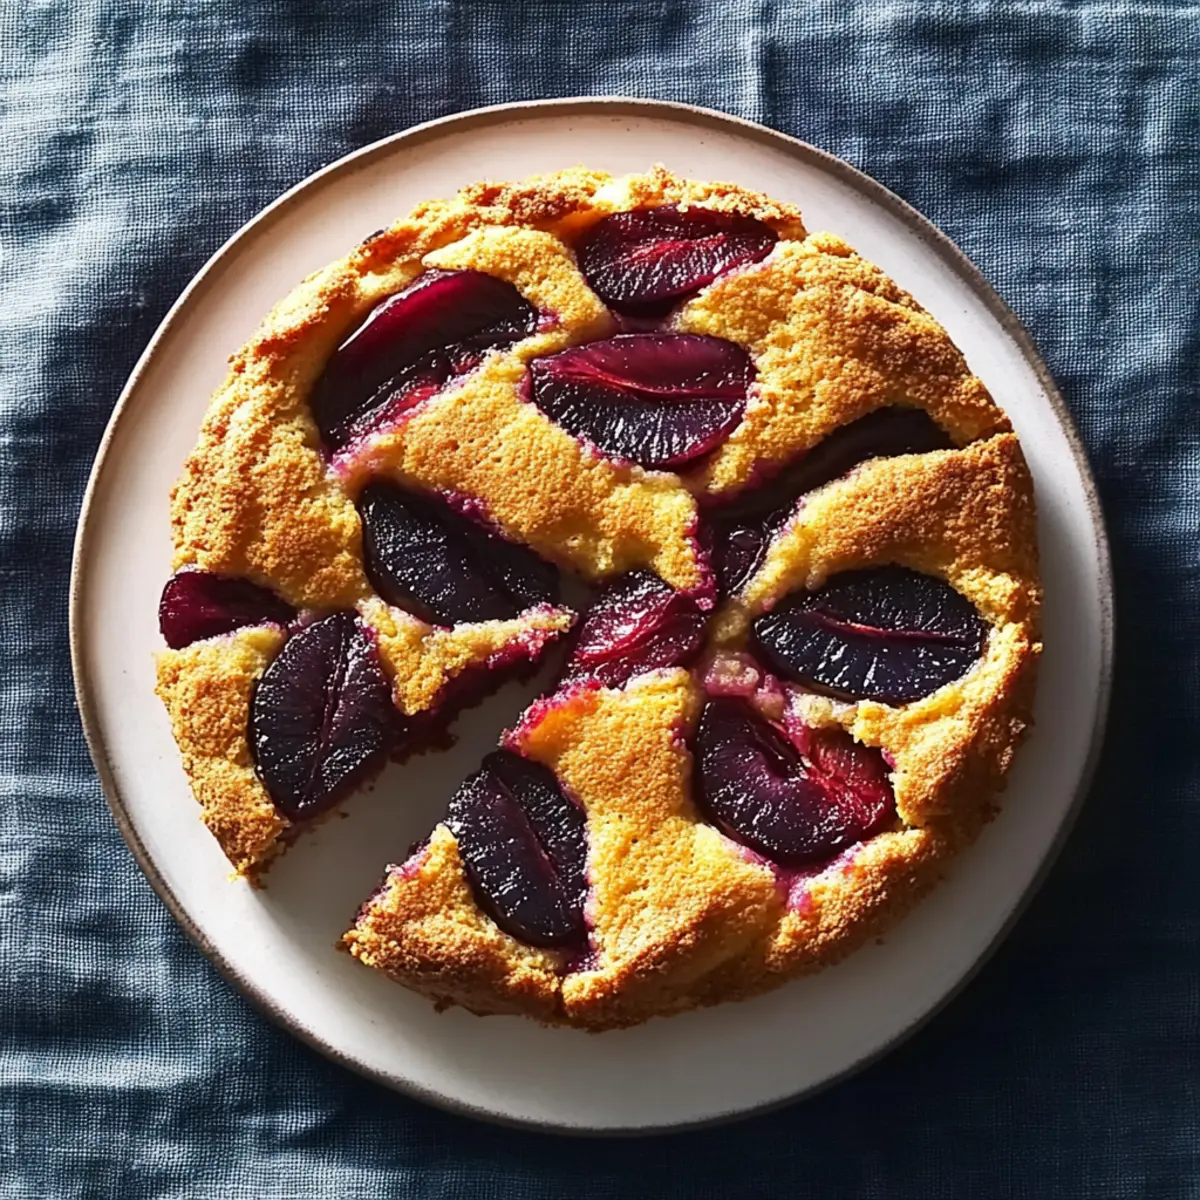
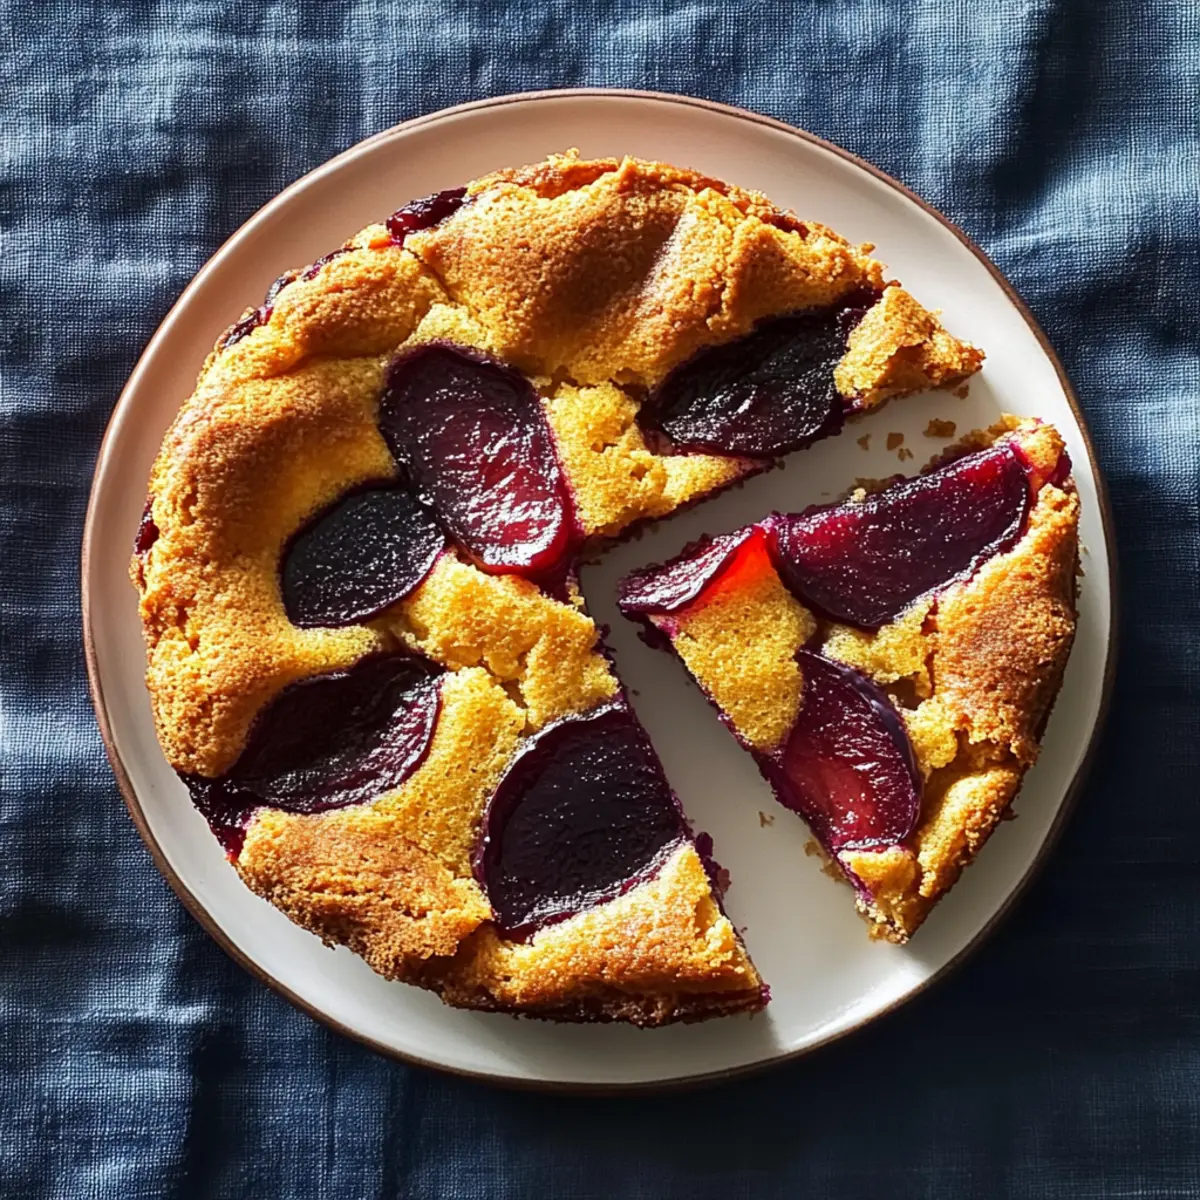
- 24 halves pitted purple plums – The star ingredient offering sweet-tart flavor; substitute with seasonal fruits like peaches or pears if plums aren’t available.
- Sugar, lemon juice, and cinnamon for topping – Add depth to the fruit; adjust these to your flavor preference for the perfect Original Plum Torte.
Step‑by‑Step Instructions for Original Plum Torte
Step 1: Preheat the Oven
Begin by preheating your oven to 350°F (175°C). This ensures a perfectly baked Original Plum Torte with a golden crust. While the oven heats up, gather your ingredients and prepare your baking equipment, including a springform pan for easy removal later on.
Step 2: Cream Sugar and Butter
In a large mixing bowl, use an electric mixer to cream together ¾ to 1 cup of sugar and ½ cup of softened unsalted butter until the mixture is light and fluffy, approximately 3-5 minutes. You’re aiming for a pale color and a texture that creates slight peaks, which adds airiness to the batter for your torte.
Step 3: Combine Dry Ingredients and Eggs
Next, incorporate 1 cup of sifted unbleached flour, 1 teaspoon of baking powder, and 2 room temperature eggs to the creamed mixture. Mix on medium speed until just combined, ensuring there are no lumps, which typically takes about 1-2 minutes. The batter should be smooth and slightly thick, ready for the tantalizing plums.
Step 4: Prepare the Springform Pan
Carefully grease your springform pan with butter or non-stick spray to prevent sticking. Spoon the batter into the pan, spreading it evenly with a spatula to create a level surface. This will provide a sturdy base for the deliciously sweet and tart plums to rest on top.
Step 5: Add the Plums
Now, take your 24 halved, pitted purple plums and arrange them skin side up on the batter. Gently press the plums into the batter to ensure they bake evenly. To enhance the flavor, sprinkle a light dusting of sugar, lemon juice, and cinnamon over the plums, creating an aromatic topping for your Original Plum Torte.
Step 6: Bake the Torte
Place the springform pan in your preheated oven and bake for approximately 1 hour. Check for doneness by inserting a toothpick into the center; it should come out clean when the torte is ready. The top will be beautifully golden brown, and the aroma will fill your kitchen, beckoning everyone to the table.
Step 7: Cool and Serve
Once baked, remove the torte from the oven and allow it to cool for about 15-20 minutes on a wire rack. This cooling time helps the flavors meld and makes it easier to slice. Serve the Original Plum Torte warm, plain, or with whipped cream for added indulgence, or let it chill in the fridge for a refreshing treat later.
Expert Tips for Original Plum Torte
-
Butter and Sugar Creaming: Ensure you cream the butter and sugar thoroughly for a lighter and fluffier texture in your Original Plum Torte.
-
Baking Time Awareness: Keep an eye on your torte, checking for doneness around 45 minutes. Ovens can vary, and you want that perfect golden crust.
-
Springform Pan Magic: Use a springform pan for easy removal; if opting for a glass pie plate, adjust baking time as needed for even cooking.
-
Plum Ripeness Check: Make sure your plums are ripe for optimal flavor. Unripe fruit can lend a tartness that may not be ideal for the torte.
-
Storage Strategy: Store any leftover torte tightly wrapped in the refrigerator for up to 5 days or freeze for up to 2 months; thaw overnight before serving to retain moisture.
What to Serve with Classic Plum Torte
As the sweet-tart aroma of baked plums wafts through your kitchen, creating a cozy atmosphere is just as important as the torte itself.
-
Creamy Mashed Potatoes: The richness of buttery mashed potatoes offers a delightful contrast to the light, fruity torte.
-
Fresh Green Salad: A crisp salad with mixed greens and a tangy vinaigrette refreshes the palate between bites of sweet torte, balancing flavors beautifully.
-
Scoop of Vanilla Ice Cream: A scoop of velvety vanilla ice cream melts over the warm torte, enhancing the dessert’s natural sweetness with creamy goodness.
-
Toasted Almonds: The crunch and nutty flavor of toasted almonds add a delightful texture that complements the soft cake and juicy plums.
-
Spiced Apple Cider: A warm cup of spiced apple cider rounds out the meal, with autumnal notes that echo the seasonal flavor of the torte.
-
Lemon Sorbet: A refreshing lemon sorbet serves as a palate cleanser, offering a zesty contrast to the soft sweetness of the torte.
-
Decaf Coffee or Herbal Tea: Sipping decaf coffee or a fragrant herbal tea provides a comforting, cozy finish to this delightful dessert experience.
Each pairing invites you to savor the moments around the table, making this torte one to remember!
Make Ahead Options
These Original Plum Torte preparations are fantastic for busy home cooks looking to save time! You can prepare the batter up to 24 hours ahead by mixing the sugar, butter, eggs, flour, and baking powder, then storing it in the refrigerator. Additionally, when ready to bake, arrange the plums on top immediately before placing it in the oven for the freshest flavor. For optimal quality, avoid sprinkling the topping ingredients until just before baking to keep the plums from becoming mushy. If you want to bake it in advance, the torte can be stored tightly wrapped in the fridge for up to 3 days, allowing the flavors to deepen. Simply reheat gently in the oven before serving, and you’ll enjoy a delightful dessert with minimal effort!
Original Plum Torte Variations & Substitutions
Feel free to get creative with this recipe and give your Plum Torte a personal twist that excites your senses!
- Sugar Swap: Use brown sugar for a deeper, caramel-like flavor that complements the plums beautifully.
- Gluten-Free: Substitute with a gluten-free flour blend to accommodate gluten-sensitive family members, ensuring they can join in the scrumptious experience.
- Nutty Delight: Add a handful of chopped walnuts or almonds to the batter for a delightful crunch and rich flavor contrast.
- Fruit Medley: Mix in seasonal fruits like peaches or pears instead of plums for a fragrant variation that keeps everything fresh and exciting.
- Cinnamon Kick: Increase the cinnamon for a spicier profile, or blend in nutmeg for a cozy, fall twist that warms the heart.
- Lemon Zest: Add the zest of a lemon to the batter for a bright citrus touch that elevates the torte and harmonizes with the plums.
- Vegan Option: Replace eggs with flaxseed or chia seeds mixed with water for a plant-based friendly dessert that everyone will still love.
- Serving Style: For a creamy treat, serve with a scoop of homemade vanilla ice cream or a drizzle of warm caramel sauce for indulgent decadence.
Experiment with these variations to find your favorite, and remember, baking is all about joy and discovery!
How to Store and Freeze Original Plum Torte
Fridge: Store the Original Plum Torte tightly wrapped in plastic wrap or foil for up to 5 days. This keeps it fresh and ready to delight your taste buds!
Freezer: For longer storage, freeze the torte for up to 2 months. Wrap it securely in plastic wrap and then in foil to prevent freezer burn.
Thawing: When ready to enjoy, thaw the torte overnight in the fridge. Reheat briefly in the oven for a warm, comforting treat that brings back the original aroma.
Reheating: Serve warm or at room temperature. If reheating, place slices in a preheated oven at 350°F (175°C) for about 5-10 minutes for the best texture.
Original Plum Torte Recipe FAQs
How do I select the right plums for my Plum Torte?
Absolutely! Look for plums that are slightly soft to the touch, indicating ripeness. You want a vibrant color and avoid ones with dark spots or dents, as these could mean the fruit is overripe. If you can’t find purple plums, feel free to substitute with equally ripe seasonal fruits like peaches or pears.
What’s the best way to store leftover Plum Torte?
Very! To keep your Original Plum Torte fresh, wrap it tightly in plastic wrap or aluminum foil and store it in the refrigerator for up to 5 days. Just make sure it’s cool before wrapping, as this helps maintain its moist texture and prevents sogginess.
Can I freeze my Plum Torte? How do I go about it?
Certainly! To freeze, let the torte cool completely, then wrap it securely in plastic wrap, followed by aluminum foil to prevent freezer burn. It can be stored in the freezer for up to 2 months. When you’re ready to enjoy it, thaw it overnight in the refrigerator, and for the warm, freshly-baked experience, reheat in a preheated oven at 350°F (175°C) for about 5-10 minutes.
What if my Plum Torte is too dense or doesn’t rise properly?
No worries! If your torte ends up dense, it could be due to overmixing the batter, which can happen in the final mixing phase. Remember, mix just until combined! And if it doesn’t rise well, double-check the freshness of your baking powder – it should be active for the best results!
Is there a way to make the Original Plum Torte healthier?
Absolutely! You can reduce the sugar content by using just ¾ cup or even swapping in natural sweeteners like honey or maple syrup. Also, consider using whole wheat flour for a healthier option. Just note that it might alter the texture slightly, but it will still be delicious!
Are there any dietary restrictions I should be aware of?
Very good question! This Original Plum Torte is vegetarian-friendly. However, if you have allergies, keep in mind that it contains eggs and dairy. Consider using egg substitutes or dairy-free butter for an alternative, though the final texture may vary slightly. Always check for any personal allergies related to fruits as well, especially if using different variations!
Indulge in Original Plum Torte: A Simple Treat Awaits
Ingredients
Equipment
Method
- Preheat your oven to 350°F (175°C).
- Cream together ¾ to 1 cup of sugar and ½ cup of softened unsalted butter until light and fluffy.
- Incorporate 1 cup of sifted unbleached flour, 1 teaspoon of baking powder, and 2 room temperature eggs to the creamed mixture.
- Grease your springform pan and spoon the batter into it.
- Arrange 24 halved pitted purple plums skin side up on the batter and sprinkle with sugar, lemon juice, and cinnamon.
- Bake for approximately 1 hour, checking for doneness.
- Allow to cool for 15-20 minutes before serving.