
With the distinct aroma of roasted garlic wafting through my kitchen, I can’t help but feel a warm wave of nostalgia wash over me. This Creamy Roasted Garlic Aioli is not just a condiment; it’s a culinary creation that transforms ordinary meals into extraordinary experiences. Made with just a handful of simple ingredients—think roasted garlic, tangy Dijon mustard, and zesty lemon juice—this delightful sauce is ready in fewer than 45 minutes and is gluten-free, inviting everyone to the table with open arms. Not only is it a breeze to whip up, but it also serves as a versatile companion for everything from crispy fries to gourmet sandwiches. Are you ready to elevate your homemade dishes? Let’s dive into this creamy and mouthwatering recipe that will leave your taste buds dancing!
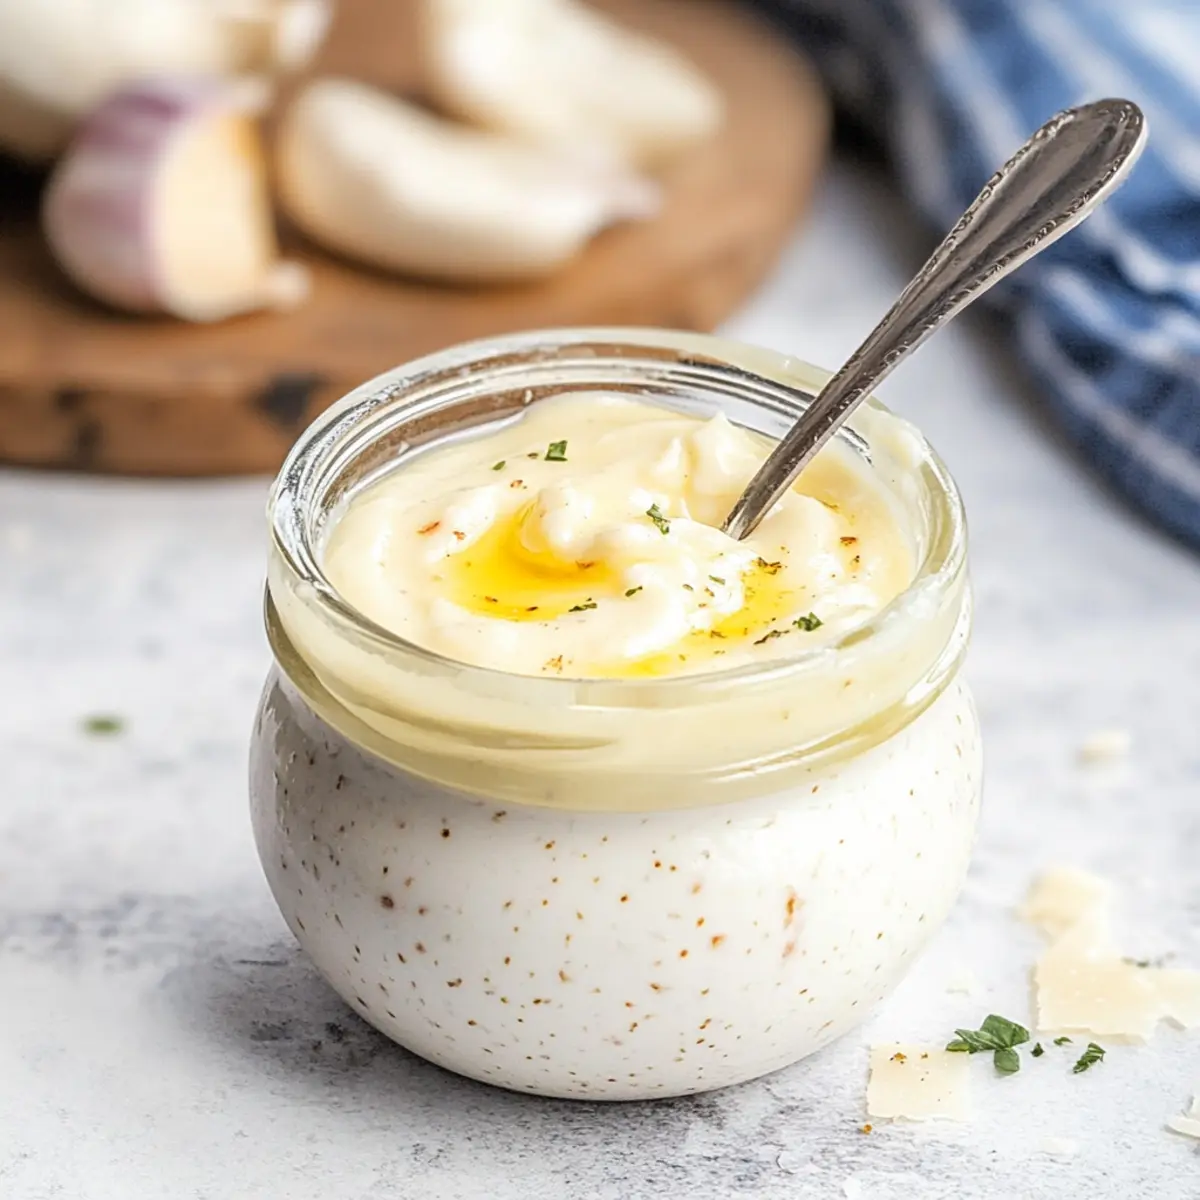
Why is Roasted Garlic Aioli So Amazing?
Unmatched Flavor: This roasted garlic aioli brings a deep, sweet richness to your meals that no store-bought condiment can match.
Versatile Usage: Perfect for dipping or spreading, it pairs beautifully with everything from french fries to sandwiches, ensuring there’s always a tasty way to enjoy it!
Quick & Easy: With just 45 minutes, you can create a gourmet sauce that will impress your family and friends without the hassle.
Crowd-Pleaser: Everyone loves aioli! This gluten-free delight caters to various dietary needs, making it the perfect addition to your next gathering.
Customizable Options: Feeling creative? Easily transform it into herbed or spicy aioli for endless variations—check out my Roasted Apples Blue for more inspiration in your homemade condiments.
Healthy Fats: Rich in flavor yet light in calories, you can indulge without the guilt, making it a delicious and healthy choice for your kitchen.
Roasted Garlic Aioli Ingredients
For the Aioli
• Roasted Garlic – Adds a sweet, rich flavor; fresh or store-bought can be used for convenience.
• Dijon Mustard – Provides tanginess and depth; substitute with yellow mustard if you prefer a milder taste.
• Parmesan Cheese – Offers a creamy texture and umami flavor; nutritional yeast is a great vegan option.
• Lemon Juice – Brightens the aioli and balances richness; fresh lemon is ideal, but bottled works in a pinch.
• Olive Oil – The main fat for emulsifying; opt for high-quality extra virgin for the best flavor.
• Salt & Black Pepper – Enhances the overall taste; adjust according to your personal preference.
Step‑by‑Step Instructions for Roasted Garlic Aioli
Step 1: Preheat and Roast the Garlic
Begin by preheating your oven to 400°F (200°C). Wrap whole heads of fresh garlic tightly in aluminum foil, ensuring a good seal to trap the steam. Roast the garlic in the oven for about 40 minutes, or until the cloves are soft and golden. Once done, remove from the oven and let it cool slightly; the aroma will fill your kitchen!
Step 2: Squeeze in the Garlic
After cooling, carefully unwrap the foil and squeeze the roasted garlic cloves from their skins into a high-powered blender or food processor. The soft, caramelized cloves will blend beautifully. This step is essential for achieving that rich flavor in your Roasted Garlic Aioli, so make sure to get every last bit!
Step 3: Add the Flavor Components
To the blender, add a tablespoon of Dijon mustard, a sprinkle of grated Parmesan cheese, and the juice of half a lemon. The tanginess of the mustard and brightness from the lemon will enhance the flavors, making your aioli vibrant and delicious. Blend these initial components together until they’re well-combined.
Step 4: Emulsify with Olive Oil
With the blender running on low speed, slowly drizzle in about one cup of high-quality extra virgin olive oil. This gradual addition is key to achieving that creamy, emulsified texture characteristic of a perfect Roasted Garlic Aioli. Continue blending until the mixture is velvety and smooth, taking care not to rush this process.
Step 5: Season to Perfection
Once your aioli is fully emulsified, taste and season with salt and freshly cracked black pepper. Adjust the seasoning based on your personal preference, as this helps to enhance the flavors of the garlic and cheese. Give it a quick blend to combine the seasoning evenly throughout the aioli.
Step 6: Store and Chill
Transfer the finished Roasted Garlic Aioli into an airtight container. Seal it tightly and refrigerate for at least 30 minutes before serving. This chilling step allows the flavors to meld, creating an even richer taste. The aioli can be stored in the fridge for up to a week, making it a convenient condiment for various dishes.
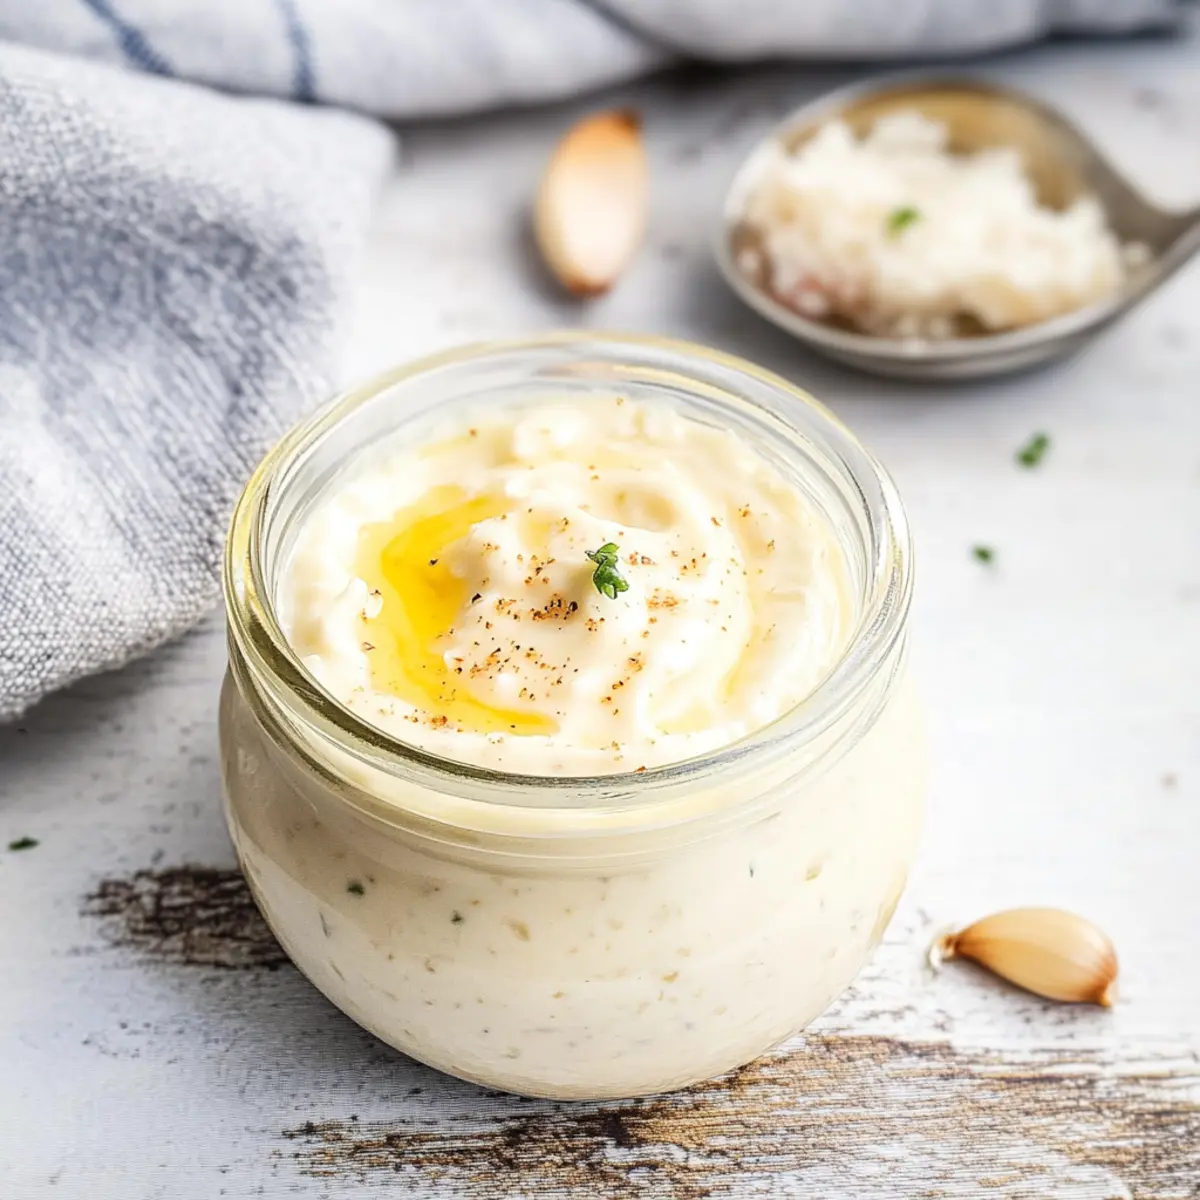
What to Serve with Creamy Roasted Garlic Aioli
Elevate your meals with a selection of flavorful companions that will enhance this luxurious aioli experience.
- Crispy French Fries: Perfect for dipping, the crunch of fries beautifully complements the creamy texture of roasted garlic aioli. Enjoy each bite as it transforms the ordinary into extraordinary.
- Baked Pita Chips: Light and crispy, these chips pair perfectly with the richness of the aioli, making them a delightful appetizer or snack at your next gathering.
- Grilled Vegetables: The smoky flavors of grilled veggies create a fantastic contrast with the creamy sweet garlic, making each bite unforgettable. Add some fresh herbs for a burst of freshness.
- Savory Burger Sliders: Spreading this aioli on sliders takes them to the next level, adding a richness and gourmet touch that will impress your guests.
- Roasted Chicken: Drizzling the creamy garlic aioli enhances the savory notes of roasted chicken, creating a harmonious balance that everyone will love.
- Crisp Salad: Use the aioli as a dressing or dip for salad vegetables, adding a bold garlicky punch that elevates simple greens to a new flavor profile.
- Grilled Seafood: Pair with shrimp or fish for a delightful umami experience; the aioli complements the natural sweetness of the seafood beautifully.
- Cheesy Garlic Bread: Spread this delightful condiment on garlic bread to double up on that rich, garlicky goodness—perfect for dipping into an aioli bath!
- Cold Beer: For a refreshing contrast, enjoy your meal with a cold beer, as its crispness balances the creaminess of the aioli perfectly.
- Lemon Tart: End your meal on a sweet note; the tangy brightness of lemon tart offers a refreshing contrast to the richness of roasted garlic aioli.
How to Store and Freeze Roasted Garlic Aioli
Fridge: Store your roasted garlic aioli in an airtight container and refrigerate for up to one week. Make sure to stir well before serving to reintegrate the flavors.
Freezer: While it’s best enjoyed fresh, you can freeze the aioli in small portions for up to three months. Use freezer-safe bags or containers, but note that the texture may change upon thawing.
Thawing: To thaw, transfer the aioli to the fridge overnight before using. Whisk to restore creaminess as needed.
Reheating: Reheating isn’t typically necessary, but if you choose to warm it slightly, do so gently in a bowl over hot water to avoid separation.
Roasted Garlic Aioli Variations
Feel free to unleash your creativity and personalize this recipe for a unique aioli experience that tantalizes your taste buds!
-
Herbed Aioli: Blend in fresh herbs like basil or cilantro for an aromatic twist that freshens every bite. Imagine a summer garden in your kitchen as you enjoy this delightful addition to sandwiches and grilled veggies.
-
Spicy Aioli: Stir in a pinch of cayenne pepper or a splash of sriracha for an exciting kick of heat. Perfect for those who love a little fiery flavor, this version adds depth to fries and burgers alike.
-
Cheesy Spinach Aioli: Incorporate sautéed spinach and a touch of feta for a nutrient-rich alternative. This blend not only boosts the flavor profile but also adds a vibrant color, making it perfect for spreading on crostini.
-
Smoky Aioli: Mix in a few drops of liquid smoke or smoked paprika for a captivating, smoky flavor. This variation shines alongside grilled meats or veggies, taking your barbecue to the next level.
-
Lemon-Dill Aioli: Introduce fresh dill and an extra squeeze of lemon for a bright, fresh taste. This refreshing twist pairs exceptionally well with seafood, making it an ideal condiment for fish tacos.
-
Avocado Aioli: Substitute half of the olive oil with ripe avocado for a creamy, luscious textural twist. This version brings healthy fats to the forefront, wonderfully complementing sandwiches and wraps.
-
Chipotle Aioli: Blend in chipotle peppers in adobo sauce for a rich, smoky, and spicy flavor. This zesty aioli is the ultimate companion for roasted vegetables or sweet potato fries.
-
Roasted Butternut Squash Aioli: Add pureed roasted butternut squash for a creamy, mildly sweet aioli. This captivating version will surprise and delight, perfect for slathering on autumn-inspired sandwiches, or even as a dip with crispy baked pita chips—much like my Roasted Butternut Squash recipe!
Let each variation guide you on a flavor journey, transforming your aioli into a new favorite each time you make it!
Expert Tips for Roasted Garlic Aioli
• Wrap the Garlic Well: Ensure the garlic is well-wrapped in foil to trap steam. This critical step enhances the sweetness and flavor of your roasted garlic.
• Slow Drizzle: When adding the olive oil, do it slowly while the blender is running. Skipping this can lead to separation, so patience is key for a creamy Roasted Garlic Aioli.
• Taste as You Go: Adjust salt and pepper to your liking. Tasting during the process allows you to customize the flavor and ensure a delicious result!
• High-Powered Tools: Use a powerful blender or food processor for a smooth consistency. A weak blender may yield a chunky aioli that doesn’t emulsify well.
• Chill Before Serving: Allow the aioli to chill for at least 30 minutes before serving. This helps the flavors meld, giving you a more vibrant and delicious sauce.
Make Ahead Options
Preparing this Creamy Roasted Garlic Aioli ahead of time is a game-changer for busy home cooks! You can roast the garlic up to 3 days in advance, storing the roasted cloves in an airtight container in the refrigerator. Simply squeeze the roasted garlic into your blender on the day you plan to serve and continue with the recipe as usual. Additionally, you can combine all ingredients—except the olive oil—and refrigerate the mixture for up to 24 hours. When you’re ready to finish, blend in the olive oil and season as directed for just as delicious, creamy results! This prep-ahead method saves time and allows you to enjoy flavorful homemade aioli whenever you need it.
Roasted Garlic Aioli Recipe FAQs
What’s the best way to choose the right garlic for roasting?
Absolutely! When selecting garlic for roasting, look for heads that are firm and plump, with no visible dark spots or mold. The outer layers should be dry and papery—these indicate freshness. Avoid any garlic that feels soft or has green shoots, as they may have a bitter flavor when roasted.
How long can I store roasted garlic aioli, and how should I do it?
You can store your roasted garlic aioli in an airtight container in the refrigerator for up to one week. Be sure to give it a good stir before serving; the flavors tend to settle. It’s best to keep it chilled at or below 40°F (4°C) to maintain freshness and taste.
Can I freeze roasted garlic aioli? If so, how should I do it?
While I generally recommend enjoying your roasted garlic aioli fresh, you can freeze it! To do this, portion the aioli into ice cube trays or freezer-safe containers. Freeze for up to three months. When you’re ready to use it, thaw your aioli in the fridge overnight and whisk it to restore creaminess—keep in mind the texture may change slightly after thawing.
Why does my aioli sometimes split, and how can I fix it?
Very! A common reason for aioli separation is adding olive oil too quickly during blending. Ensure you drizzle the oil in slowly while the blender is running. If your aioli does split, you can reincorporate it by adding a teaspoon of warm water or an egg yolk and blending again until it emulsifies.
Is this recipe suitable for vegetarians or vegans?
Absolutely! To make this roasted garlic aioli vegan, simply substitute the parmesan cheese with nutritional yeast. Since this recipe is already gluten-free, it accommodates many dietary needs. Always double-check any store-bought ingredients, like mustard, for gluten content.
Can pets eat roasted garlic aioli?
No, garlic is toxic to dogs and cats, so avoid sharing any leftovers with your furry friends. Ensuring you keep your roasted garlic aioli stored safely from them is crucial, as even small amounts can cause gastrointestinal distress or more serious health issues in pets.
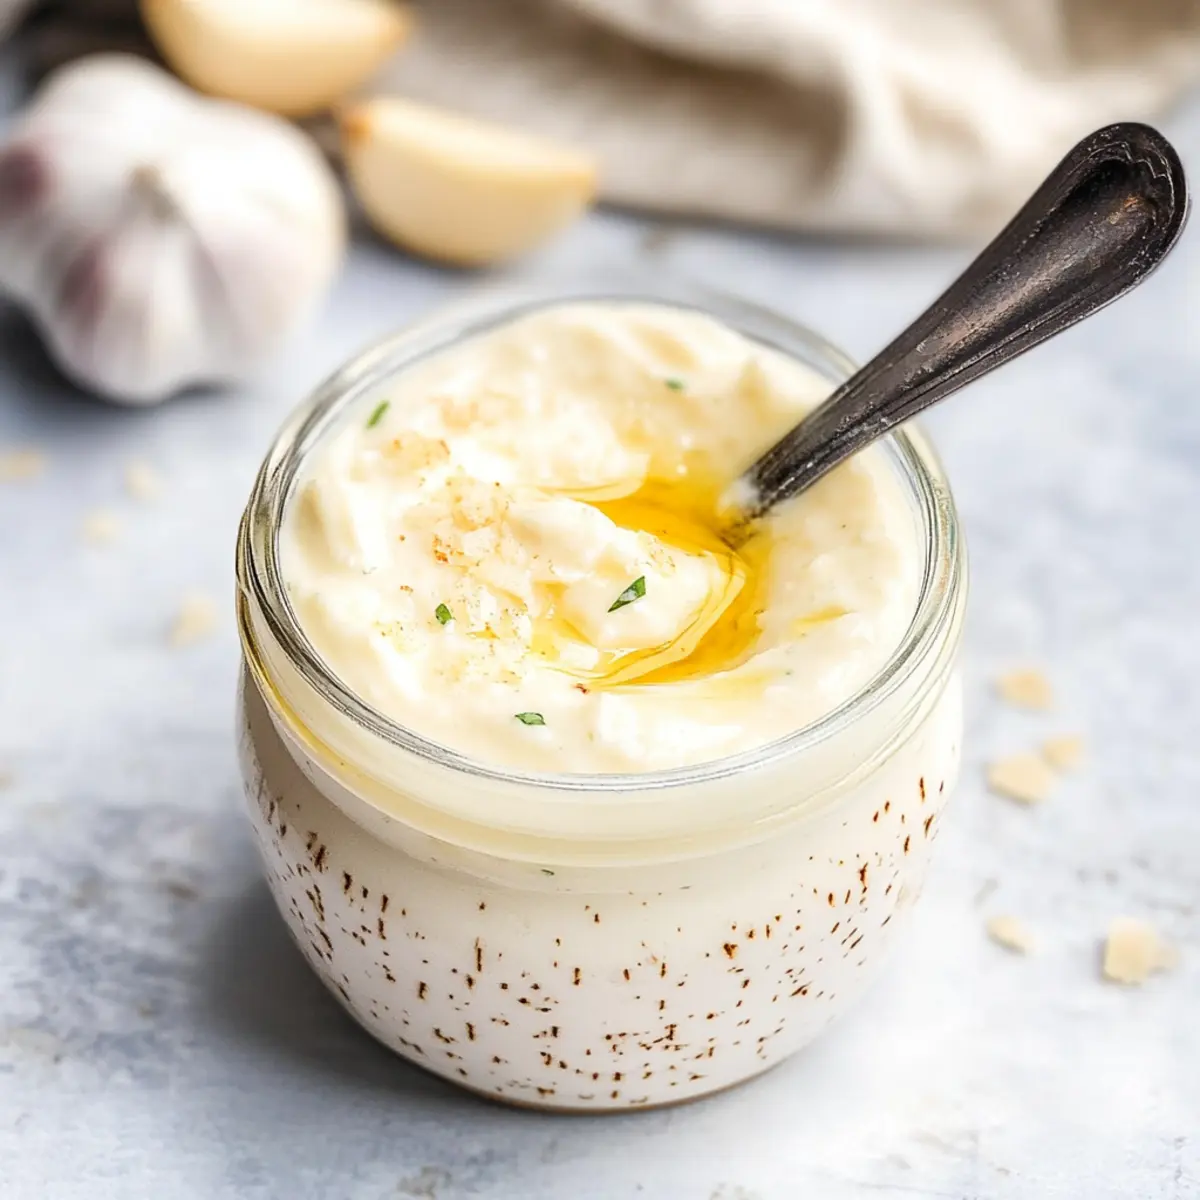
Creamy Roasted Garlic Aioli That Elevates Any Dish
Ingredients
Equipment
Method
- Preheat your oven to 400°F (200°C). Wrap whole heads of fresh garlic in aluminum foil. Roast in the oven for about 40 minutes, until soft and golden.
- After cooling, unwrap the foil and squeeze the roasted garlic cloves into a blender.
- Add Dijon mustard, grated Parmesan cheese, and the juice of half a lemon. Blend until well combined.
- With the blender running on low, slowly drizzle in about one cup of olive oil until the mixture is smooth and creamy.
- Taste and season with salt and freshly cracked black pepper. Blend briefly to combine.
- Transfer to an airtight container and refrigerate for at least 30 minutes before serving.