
As I stood in my kitchen, the aromas of fresh salmon and toasted nori filled the air, instantly transporting me to my favorite sushi restaurant. This Baked Salmon Sushi Bake captures the essence of traditional sushi but makes it accessible and comforting, layered into a creamy, baked dish that’s great for dinner gatherings or an easy weeknight meal. The best part? You can skip the rolling and get right to savoring those mouthwatering flavors! With its delightful combination of savory seafood and creamy textures, this dish offers both convenience and a touch of indulgence that everyone will appreciate. Ready to elevate your homemade sushi game? Let’s dive into this show-stopping recipe!
Why is this Salmon Sushi Bake a must-try?
Creamy Delight: This dish combines the lusciousness of cream cheese and Kewpie mayo, creating a rich, velvety texture that melts in your mouth.
Simplicity: Forget the intricate rolling; this recipe is straightforward, designed for all skill levels, making it perfect for weeknight dinners or special occasions.
Crowd-Pleaser: With the harmonious blend of flavors and textures, you’ll have friends and family coming back for more. Serve it alongside a refreshing salad or Berry Croissant Bake for a delightful spread!
Make-Ahead Option: Easily prep it the night before and pop it in the oven when you’re ready to serve—ideal for busy evenings!
Versatile Ingredients: Mix and match your seafood choices; try grilled shrimp or crab for a delightful twist. This Salmon Sushi Bake will quickly become your go-to comfort dish.
Salmon Sushi Bake Ingredients
For the Sushi Base
• Sushi Rice – Essential for that characteristic chewy texture; remember to rinse to remove excess starch.
• Water – Vital for cooking the rice; precise proportions yield perfect results.
• Lite Seasoned Rice Vinegar – Adds a tangy flavor to the rice; use regular rice vinegar if needed, adjusting sweetness if desired.
For the Salmon Mixture
• Salmon Filet – The star of the dish, providing rich flavor; aim for skinless, boneless fillets for the best texture.
• Imitation Crab Meat – Offers additional seafood flavor and texture; can be completely swapped with more salmon or other seafood.
• Kewpie Mayo – This Japanese mayo enriches the dish with creaminess; regular mayo works if you’re in a pinch.
• Cream Cheese – Delivers a luscious creamy element; lighter options include sour cream or Greek yogurt.
• Sriracha – Brings heat, which you can adjust depending on your spice preference.
• Soy Sauce or Tamari – Infuses umami; opt for tamari if you prefer a gluten-free dish.
• Green Onions – Adds a fresh, mild crunch; chop them finely to incorporate evenly.
For Finishing Touches
• Furikake – This delightful Japanese seasoning enhances umami; substitute with sesame seeds if unavailable.
• Unagi Sauce – Sweet and savory, perfect for drizzling; you can make your own or grab eel sauce from the store.
• Spicy Mayo – A mixture of mayo and sriracha; use it as a delicious condiment for serving.
• Avocado, Cucumbers, Sesame Seeds, Nori Sheets – These toppings add flavor, texture, and vibrant presentation to your dish.
With these simple yet essential ingredients, your Salmon Sushi Bake will come together beautifully, delivering a comforting experience that everyone will love!
Step‑by‑Step Instructions for Salmon Sushi Bake
Step 1: Prepare Sushi Rice
Begin by rinsing the sushi rice in a fine mesh strainer under cold water until the water runs clear, which removes excess starch. Next, soak the rice for 15 minutes, allowing it to absorb moisture. Then, combine the rice with the appropriate water in a pot and bring it to a boil over medium heat. Reduce the heat to low, cover, and simmer for 18-20 minutes until the rice is tender and all liquid is absorbed.
Step 2: Season Rice
Once the rice is cooked, remove it from heat and let it rest for 10 minutes, still covered. In a separate bowl, mix the seasoned rice vinegar with the warm rice. Gently fold the mixture, ensuring that every grain is coated, while allowing it to cool to room temperature. This seasoning is crucial for achieving the delightful flavor profile in your Salmon Sushi Bake.
Step 3: Prepare Salmon Mixture
While the rice cools, dice your salmon filet into small cubes, ensuring that it’s skinless and boneless. In a mixing bowl, combine the diced salmon with Kewpie mayo, cream cheese, sriracha, soy sauce, and finely chopped green onions. Stir well until everything is evenly incorporated, then cover and refrigerate for 15-30 minutes. This resting time allows the flavors to meld perfectly in your Salmon Sushi Bake.
Step 4: Make Unagi Sauce
To add a flavorful glaze, prepare the unagi sauce by combining soy sauce, mirin, sake, and sugar in a small saucepan. Heat the mixture over medium heat, stirring occasionally until it thickens slightly, about 5-7 minutes. Once ready, remove it from the heat and set it aside. This sauce will enhance the overall flavor of your Salmon Sushi Bake.
Step 5: Preheat Oven
Preheat your oven to 425°F (220°C) while you prepare your baking dish. Lightly coat a medium-sized baking dish with nonstick spray and line the bottom with parchment paper for easy removal later. This ensures that your Salmon Sushi Bake will not stick and will come out perfectly golden and delicious.
Step 6: Assemble Bake
Begin assembling the Salmon Sushi Bake by pressing the seasoned sushi rice evenly into the bottom of the prepared baking dish. Once the rice is uniformly spread, sprinkle a generous layer of furikake over the rice, infusing it with umami. Then, evenly layer the chilled salmon mixture on top of the rice, spreading it out to cover the surface completely and ensure every bite is packed with flavor.
Step 7: Bake
Place your assembled Salmon Sushi Bake in the preheated oven and bake for about 10-15 minutes. You want the salmon to be cooked through and the top to start turning a light golden brown. For an extra touch, you can broil it for an additional 1-2 minutes at the end, watching carefully to avoid burning, which will create a deliciously caramelized finish.
Step 8: Finish & Serve
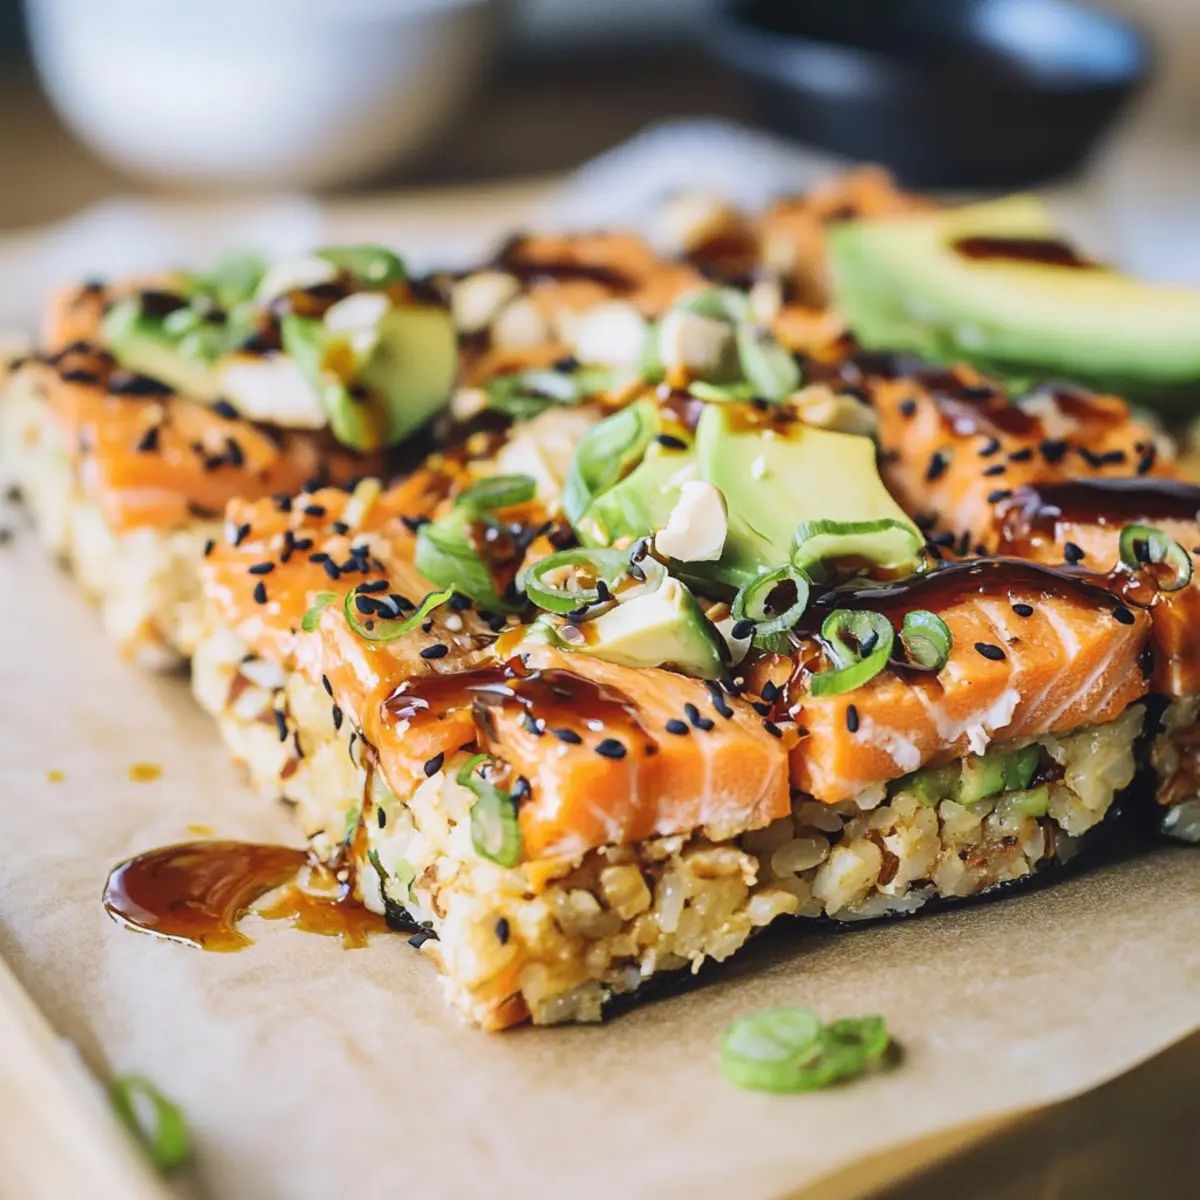
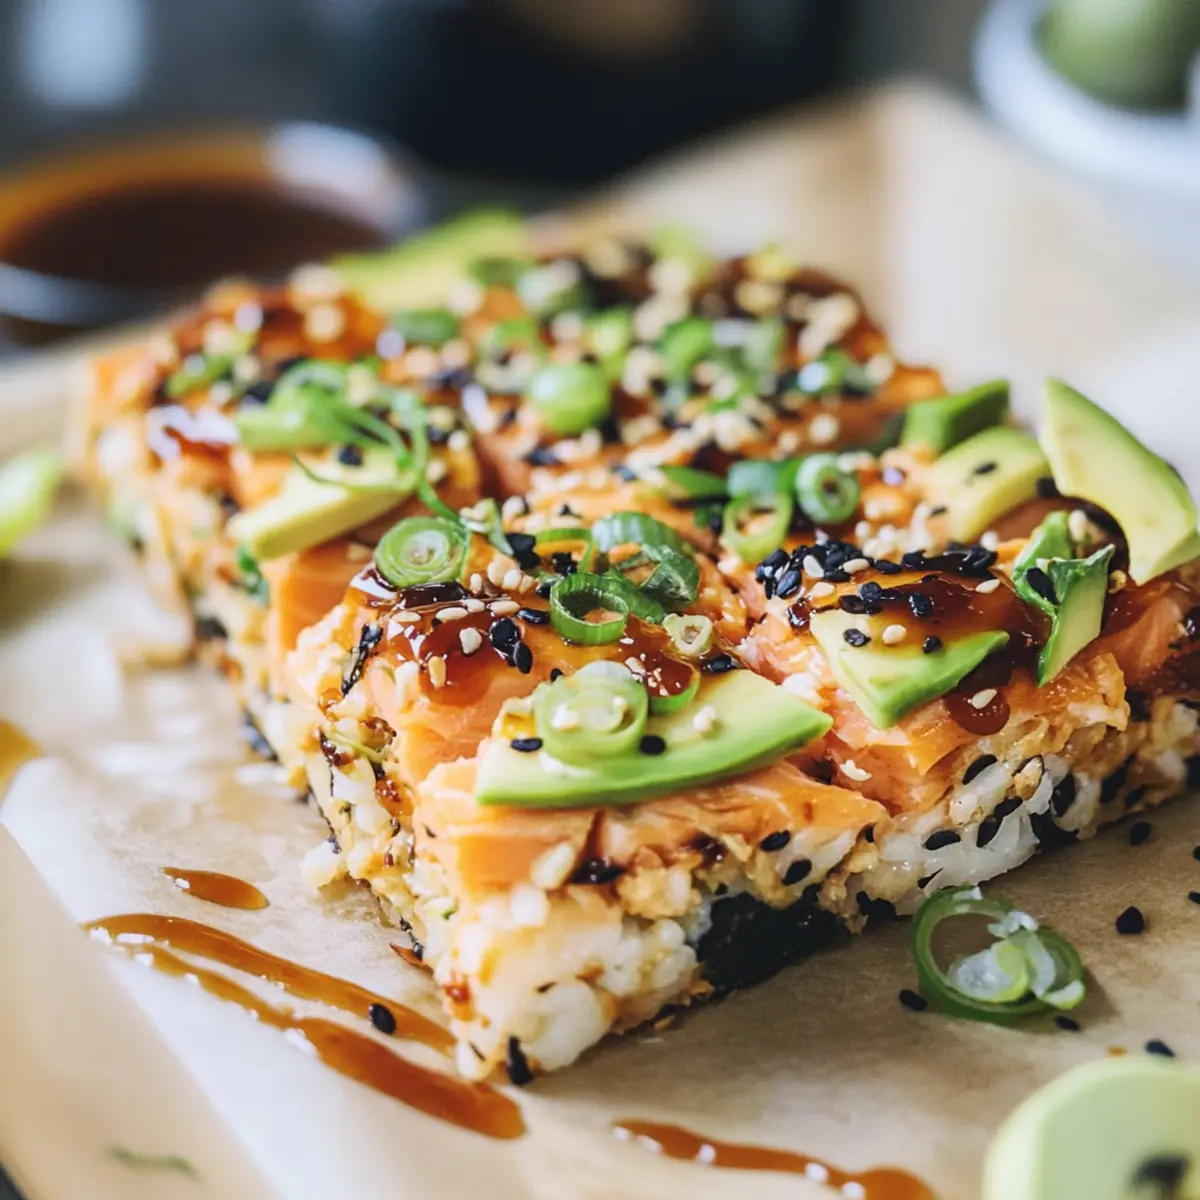
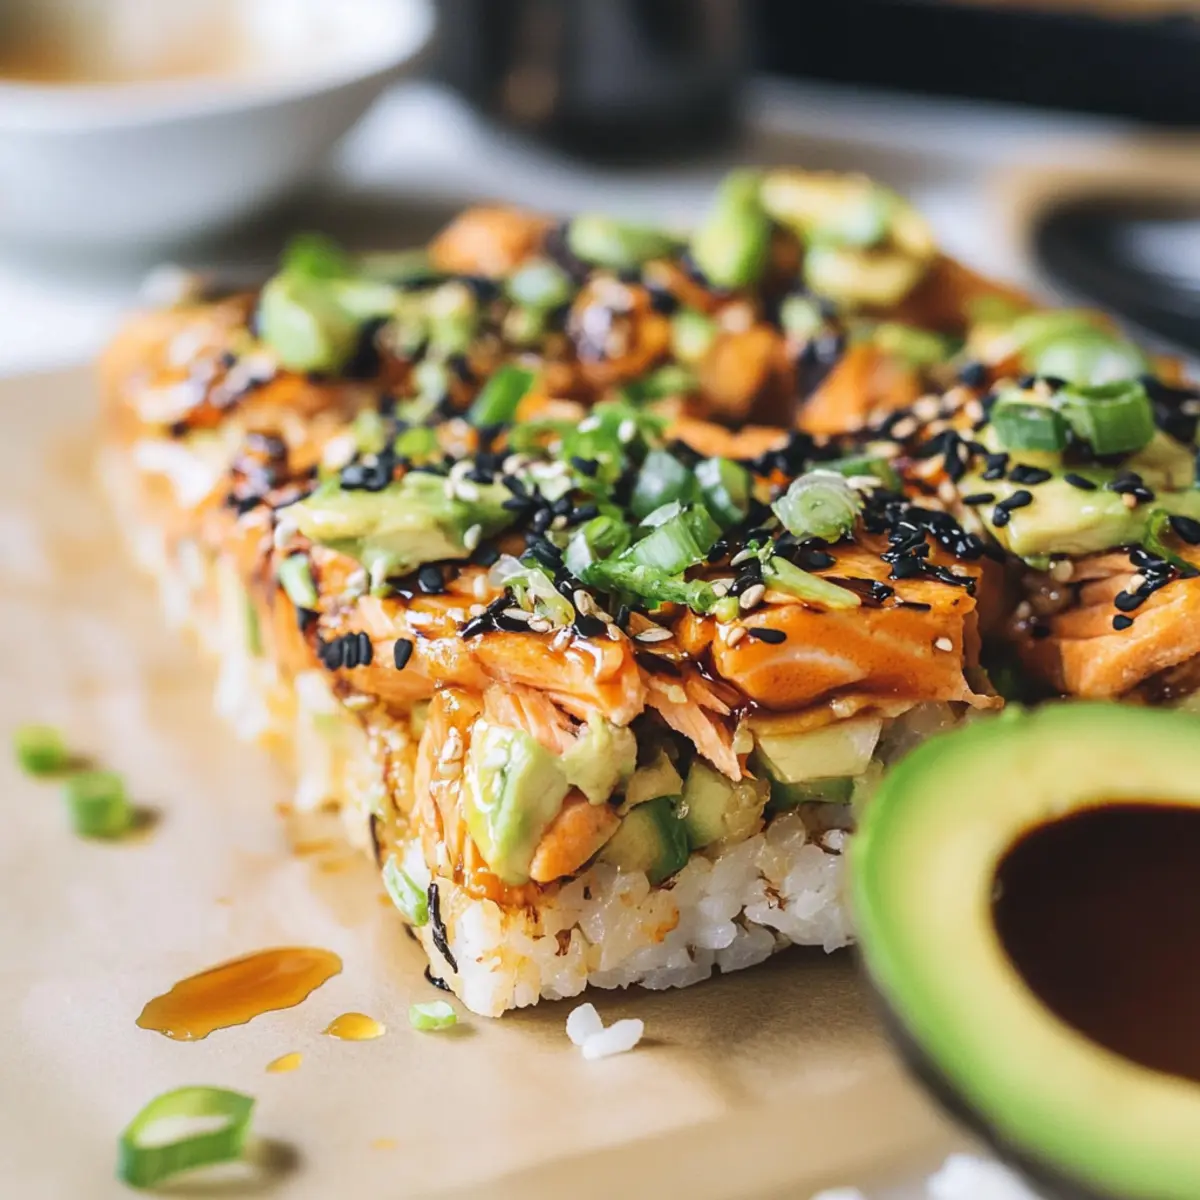
After baking, remove the dish from the oven and allow it to cool for a few minutes. Drizzle the unagi sauce over the top, along with a dollop of spicy mayo. Garnish with fresh avocado slices, cucumber, sesame seeds, and additional green onions to add color and fresh flavor. Serve warm alongside crispy nori sheets for a delightful presentation that complements your Salmon Sushi Bake!
Salmon Sushi Bake Variations
Feel free to get creative with this recipe—there are so many delicious ways to customize your dish!
-
Grilled Shrimp: Swap out the salmon for grilled shrimp for a fun twist on flavors and textures. The shrimp will add a delightful sweetness that complements the creamy elements perfectly.
-
Cauliflower Rice: For a low-carb option, use cauliflower rice instead of sushi rice. It brings a whole new texture and is a fantastic alternative for those watching their carbs.
-
Spicy Sesame Dressing: Drizzle spicy sesame dressing over the top before baking for an extra layer of flavor. It adds a delicious kick that enhances the dish’s overall appeal.
-
Radish Slices: Top the bake with thinly sliced radishes for a crunchy contrast. They’re perfect for balancing out the creamy textures and add a vibrant color.
-
Baked Crab: Incorporate baked crab in place of imitation crab meat. It gives a fresh, succulent taste that elevates the dish to a new level of indulgence.
-
Edamame: Add cooked edamame into the salmon mixture for a protein boost. It provides a pop of color and a slightly nutty flavor that complements the creamy base.
-
Fresh Herbs: Fresh cilantro or basil sprinkled on top right before serving adds a fragrant brightness. It’s an easy way to take the dish from good to great!
-
Sriracha Mayo Dip: For those who love a little heat, whip up a sriracha mayo dipping sauce. Serve it on the side for an extra burst of flavor, just like you’d find in your favorite sushi rolls!
Embrace the joy of cooking and let your taste buds guide you! Each variation is not only a delightful twist but can also complement dishes like the Air Fryer Salmon Patties or even Fun Bake Cookie Balls as you build the perfect spread. Enjoy experimenting!
Expert Tips for Salmon Sushi Bake
- Rinse Rice Thoroughly: Rinsing sushi rice well is essential to remove excess starch, preventing a sticky mess. Aim for clear water!
- Flavor Absorption: Mix the seasoned rice vinegar into warm rice; this helps the rice absorb flavors effectively, enhancing your Salmon Sushi Bake.
- Prep Ingredients Ahead: Consider preparing the salmon mixture and rice in advance to simplify the assembly process on meal day—it’s a real time-saver!
- Broiler Caution: If broiling for caramelization, watch it closely! Broilers can burn quickly, so keep an eye on that golden goodness.
- Check Salmon Doneness: Your salmon should be fully cooked after baking. A quick check is to ensure it flakes easily with a fork—delicious!
How to Store and Freeze Salmon Sushi Bake
Fridge: Store leftover Salmon Sushi Bake in an airtight container to keep it fresh for up to 3 days. Reheat individual portions in the microwave or oven until warmed through.
Freezer: For longer storage, freeze portions of the cooked dish in airtight containers or freezer bags for up to 2 months. Thaw in the fridge overnight before reheating.
Reheating: To reheat, cover the dish with foil and place it in a preheated oven at 350°F (175°C) for about 15-20 minutes, or until heated through, ensuring a warm and creamy texture is preserved.
Make-Ahead: This dish can be prepared a day in advance and stored in the fridge. Simply bake before serving for a delicious and effortless meal at any gathering.
What to Serve with Baked Salmon Sushi
Elevate your meal experience with delightful sides and complements that enhance the creamy, umami-rich flavors of your new favorite comfort dish.
- Crispy Edamame: Lightly salted and roasted, these add a delightful crunch and are both nutritious and satisfying.
- Miso Soup: This warm, savory broth pairs beautifully, providing a comforting contrast to the rich sushi bake. It’s a traditional touch that warms the heart!
- Seaweed Salad: The tangy sesame dressing on this fresh salad perfectly balances the creamy textures of the salmon sushi bake, adding a refreshing zing.
- Toasted Rice Crackers: Their lightness works wonders against the creaminess of the bake. Pair with dipping sauces for extra fun!
- Cucumber Slices with Wasabi Dip: Crisp and cool, cucumbers add a refreshing element, while a hint of wasabi gives a flavor kick that complements the dish beautifully.
- Chilled White Wine or Sake: A light, fruity white wine or a chilled sake enhances the overall flavor experience, allowing every bite to shine.
- Green Tea: This soothing beverage is an excellent palate cleanser, balancing the richness of the baked dish while adding Asian-inspired flair.
- Fruit Sorbet: End your meal with a refreshing scoop of sorbet, offering a sweet contrast to the savory sushi flavors and delightful texture.
With these delightful pairing options, your Baked Salmon Sushi will shine even brighter, providing a meal that’s memorable and satisfying!
Make Ahead Options
These delicious Salmon Sushi Bake is perfect for meal prep aficionados! You can prepare the sushi rice and salmon mixture up to 24 hours in advance. Just cook the rice and mix it with seasoned vinegar; cool before storing in an airtight container in the fridge. Likewise, dice your salmon and combine it with Kewpie mayo, cream cheese, and seasonings, then refrigerate to let the flavors meld. When you’re ready to enjoy, simply assemble and bake—this ensures a delightful, creamy texture that’s just as delicious as if you’d made it fresh! Be sure to enjoy it within 3 days for optimal quality.

Salmon Sushi Bake Recipe FAQs
How should I select the sushi rice?
When selecting sushi rice, look for short-grain Japanese rice, which creates that perfect chewy texture typical of sushi. Make sure it appears plump and uniform in size. Rinsing the rice until the water runs clear is crucial as it removes excess starch, preventing your dish from becoming overly sticky.
How do I store leftover Salmon Sushi Bake?
To store leftover Salmon Sushi Bake, keep it in an airtight container in the fridge for up to 3 days. For optimal taste and quality, reheat individual portions in the microwave or in the oven until warmed through. Be sure to cover it with foil if using the oven to maintain moisture.
Can I freeze Salmon Sushi Bake?
Absolutely! To freeze, portion the cooked Salmon Sushi Bake into airtight containers or freezer bags, ensuring all air is removed. It can be stored for up to 2 months. When you’re ready to enjoy it again, simply thaw it overnight in the fridge before reheating.
What should I do if my salmon doesn’t seem cooked through?
If you’re concerned about the doneness of your salmon after baking, the fish should easily flake apart when tested with a fork. If it feels firm and still looks slightly translucent, return it to the oven for an additional few minutes. Broiling for a minute or two at the end can also help to ensure thorough cooking and add a nice color on top.
Is this dish safe for those with seafood allergies?
While the Salmon Sushi Bake is delicious and packed with flavor, it’s not suitable for those with seafood allergies due to its main ingredients like salmon and imitation crab meat. Always ensure you use substitute proteins that comply with dietary needs, like chicken or tofu, for a safe alternative if allergies are a concern.
Can I prepare the Salmon Sushi Bake ahead of time?
Yes! This dish can be prepped the night before. Simply assemble it up to the baking step, cover it tightly, and store it in the fridge. When you’re ready to serve, pop it in the oven and bake as directed. This make-ahead option is perfect for busy weeknights or gatherings!
Creamy Salmon Sushi Bake – Your New Favorite Comfort Dish
Ingredients
Equipment
Method
- Rinse sushi rice until water runs clear, then soak for 15 minutes. Combine with water, boil, then simmer for 18-20 minutes.
- Remove cooked rice from heat, let it rest for 10 minutes, then mix in seasoned rice vinegar until cooled.
- Dice salmon filet into small cubes. Mix with Kewpie mayo, cream cheese, sriracha, soy sauce, and green onions. Refrigerate for 15-30 minutes.
- Combine soy sauce, mirin, sake, and sugar in a saucepan. Heat until slightly thickened, about 5-7 minutes.
- Preheat oven to 425°F (220°C) and prepare a baking dish with nonstick spray and parchment paper.
- Press seasoned rice into the bottom of the baking dish, sprinkle furikake, layer with salmon mixture, and spread evenly.
- Bake for 10-15 minutes or until salmon is cooked and the top is golden brown. Broil for extra caramelization if desired.
- Let cool for a few minutes, drizzle with unagi sauce and spicy mayo, garnish with avocado, cucumber, sesame seeds, and green onions. Serve warm with nori sheets.