
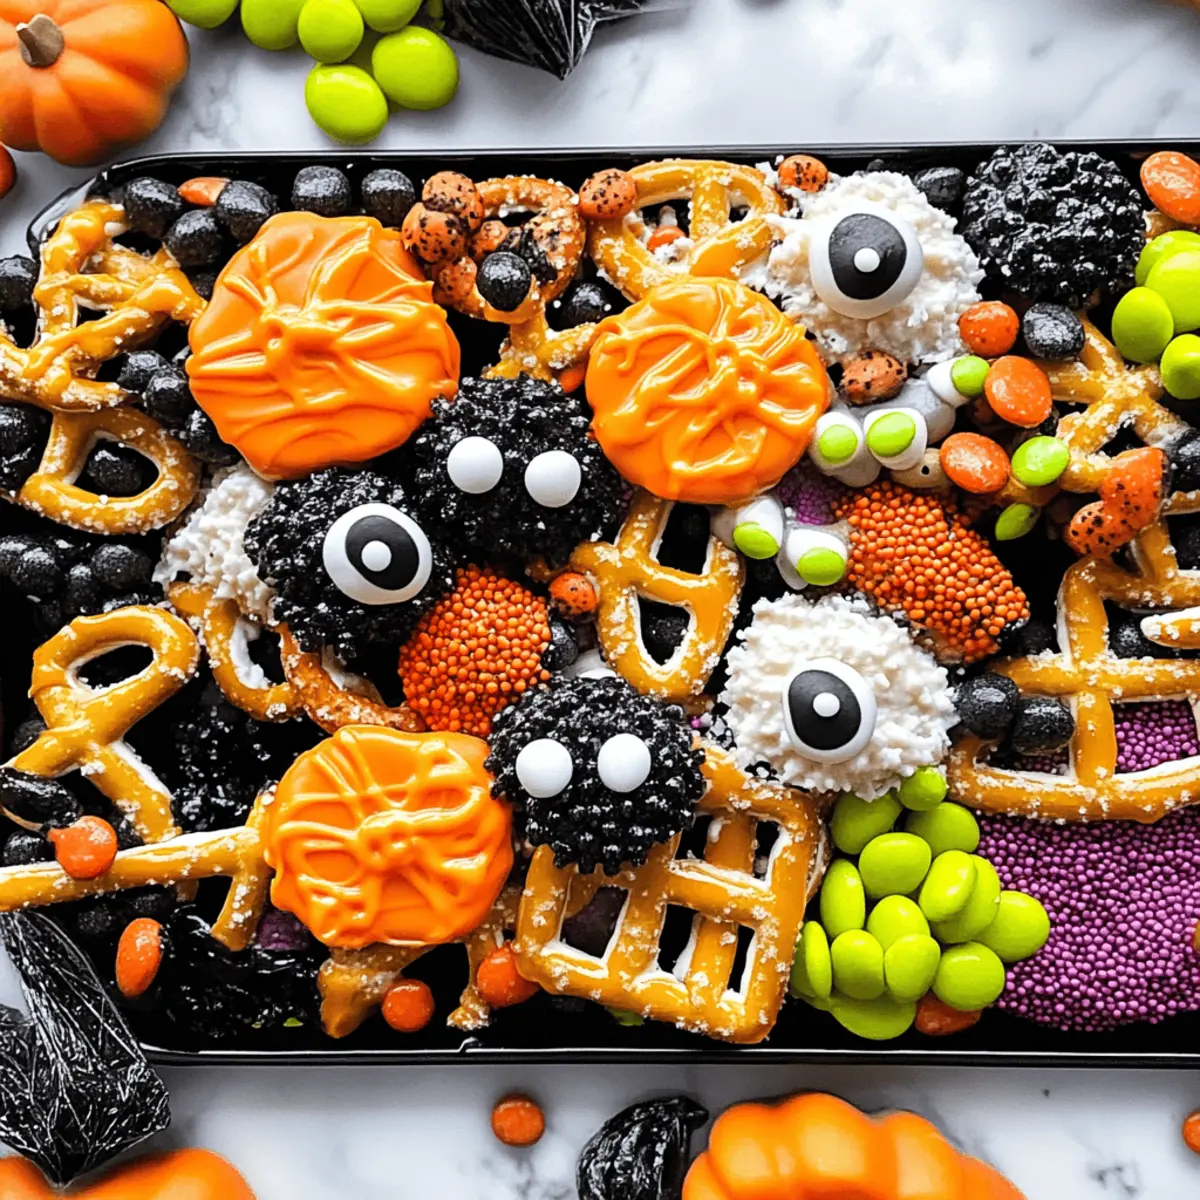
As the leaves turn golden and the air gets a little crisp, I can’t help but feel the excitement of Halloween creeping in. What better way to celebrate than with these Easy No-Bake Halloween Pretzels? In just 20 minutes, you can whip up a batch of these crunchy delights that are as fun to make as they are to eat! Not only are they perfect for parties, but they also double as a creative project for the kids, allowing everyone to get their hands a bit sticky with colorful candy melts and festive sprinkles. Plus, there’s a gluten-free option, so everyone can join in on the spooky fun. Curious to see how a crunchy pretzel transforms into a hauntingly delightful treat? Let’s dive in!
Why Are Halloween Pretzels So Fun?
Kid-Friendly Fun: These Easy No-Bake Halloween Pretzels are perfect for getting the whole family involved in spooky crafts, allowing everyone to personalize their creations.
Quick and Easy: Ready in just 20 minutes, you won’t be stuck in the kitchen for long—ideal for busy Halloween festivities!
Sweet and Salty Delight: The unique combination of salty pretzels and sweet candy melts creates a satisfying flavor explosion that adults and kids can’t resist.
Customizable Creations: With a variety of toppings and sprinkles, each pretzel can reflect individual creativity, making every batch a one-of-a-kind masterpiece!
Gluten-Free Option: A gluten-free twist ensures everyone can indulge, so no one misses out on the deliciousness!
Perfect for Parties: These treats not only look festive but are sure to please any crowd, making them a must-have for your Halloween celebrations!
Halloween Pretzel Ingredients
Get ready for a spooky treat!
For the Pretzels
• Mini Pretzels – Serve as the salty base; either twists or rods work perfectly!
For the Coating
• Candy Melts (White, Orange, Black) – Adds sweetness and a fun candy coating that binds toppings; melt as per package instructions.
For the Decoration
• Halloween Sprinkles – A fun way to add color and creativity; choose various shapes for a festive flair.
• Candy Eyes – These add an extra spooky touch; sprinkle liberally for a fun surprise!
• Crushed Oreos (Optional) – Incorporate a chocolatey flavor and crunchy texture if desired!
For Clean-up
• Parchment Paper – A must-have for easy clean-up and prevention of sticking during the setting process.
Get your ingredients ready and let the spooky fun begin with these delightful Halloween pretzels!
Step‑by‑Step Instructions for Easy No-Bake Halloween Pretzels
Step 1: Prepare Your Workspace
Begin by lining a baking sheet with parchment paper. This will ensure your Halloween pretzels don’t stick and make for easy cleanup later. Gather all your ingredients—mini pretzels, candy melts, sprinkles, and candy eyes—so you’re ready to dive into the fun.
Step 2: Melt the Candy Melts
In a microwave-safe bowl, microwave your candy melts—either white, orange, or black—according to the package instructions. Heat in short intervals of 30 seconds, stirring in between, until the melts are smooth and completely melted. This should take about 1-2 minutes. A smooth consistency is essential for coating your pretzels evenly.
Step 3: Coat the Pretzels
Once your candy melts are ready, dip each mini pretzel into the melted candy until fully coated. Alternatively, you can use a spoon to drizzle the candy over the pretzels for a decorative touch. Be sure to coat enough pretzels to make this Halloween treat both fun and visually appealing.
Step 4: Add Toppings
While the candy coating is still wet, sprinkle your favorite Halloween sprinkles generously over the pretzels. Place candy eyes on top as you go, making sure they stick into the wet candy. This step is where your creativity can shine, so let the kids help and make each pretzel uniquely spooky!
Step 5: Allow to Set
Carefully place the coated pretzels on the parchment-lined baking sheet and let them sit for about 15 minutes. This time allows the candy coating to harden completely, ensuring a delightful crunch when you bite into your Halloween pretzels. Keep an eye on them to check when they are fully set.
Step 6: Store or Serve
Once the pretzels have hardened, you can either serve them immediately or store them in an airtight container at room temperature. These Easy No-Bake Halloween Pretzels can be kept for up to 7 days, making them perfect for sharing at parties or as festive snacks during Halloween week. Enjoy the spooky celebrations!
What to Serve with Easy No-Bake Halloween Pretzels
These delightful treats can easily be part of a festive spread that makes your Halloween gathering truly memorable.
-
Ghoulishly Green Apple Slices: The crisp tartness of fresh apple slices provides a refreshing contrast to the sweetness of the pretzels, making them a perfect palate cleanser.
-
Spooky Fruit Salad: Combine seasonal fruits like oranges, pears, and grapes for a colorful dish that adds a healthy touch to your Halloween festivities.
-
Pumpkin Spice Hot Chocolate: Warm and rich, this creamy drink complements the sweetness of the pretzels while capturing the essence of the fall season.
-
Monster Energy Drinks: Brightly colored and fun, these beverages add an extra layer of excitement and energy to your Halloween snack table.
-
Creamy Pumpkin Dip: Pair your pretzels with a tangy pumpkin dip for a sweet and savory combination that surprises the taste buds.
-
Chocolate-Covered Strawberries: These familiar favorites provide a luscious, fruity bite that balances out the crunchy pretzel texture and sugary coating.
-
Ghostly Marshmallow Pops: Fun for kids and adults alike, these pops are a playful addition that fits the spooky theme while offering a chewy contrast.
-
Spiced Cider: Warm or iced, the aromatic flavors of spiced cider will warm your soul and harmonize with the festive atmosphere inspired by your Halloween pretzels.
Expert Tips for Halloween Pretzels
• Smooth Melting: Keep stirring the candy melts while heating to avoid burning, which ensures a smooth coating for your Halloween pretzels.
• Gluten-Free Swap: If you need a gluten-free option, make sure to use gluten-free pretzels and check that your sprinkles are gluten-free as well.
• Creative Mixing: Mix different colored candy melts for a marbled effect, or use colored chocolate chips for a unique twist on these Halloween pretzels.
• Kid Participation: Let the little ones help with decorating! It adds an extra layer of fun and creativity to the process.
• Storage Reminder: Store your prepared pretzels in an airtight container to maintain freshness; they’ll stay delicious for up to a week!
• Toppings Galore: Don’t hesitate to experiment with various toppings—think nuts, mini marshmallows, or even a drizzle of caramel to elevate your Halloween pretzels!
Make Ahead Options
These Easy No-Bake Halloween Pretzels are perfect for meal prep enthusiasts! You can prepare and coat your pretzels up to 5 days in advance and store them in an airtight container at room temperature to keep them fresh and crunchy. To maintain quality, make sure the candy coating is fully hardened before storing. If you’re in a rush, you can simply dip the pretzels into the melted candy and add toppings, then allow to set before sealing them away. When you’re ready to serve, just pull them out and enjoy a delicious treat that’s just as festive as when you made them!
Halloween Pretzels Variations & Substitutions
Feel free to let your creativity run wild; there are so many delightful ways to customize these treats!
- Dairy-Free: Substitute candy melts with dairy-free chocolate chips for an allergy-friendly coating that’s equally delicious.
- Texture Twist: Add crushed pretzels or nuts on top for an extra crunch that pairs beautifully with the sweetness.
- Spicy Kick: Drizzle your pretzel creations with a bit of cayenne-infused chocolate for a surprising heat that makes for an adventurous treat!
- Seasonal Sprinkles: Use autumn-themed sprinkles instead of Halloween ones for a festive fall touch that can transition into Thanksgiving celebrations.
- Fruit Flavors: For a zesty twist, mix in citrus-infused candy melts, creating a refreshing flavor contrast to the salty pretzels.
- Caramel Drizzle: Drizzle warm caramel over the finished pretzels for added decadence and a gooey texture that makes every bite irresistible.
- Gluten-Free: Just swap regular pretzels for gluten-free varieties, and ensure your toppings are also gluten-free to keep everyone happily munching.
- Nutty Flavor: Try adding a sprinkle of chopped nuts or a swirl of nut butter for added richness and a unique flavor variation!
These fun ideas can transform your Halloween pretzels into something personal and delicious! If you want to get even more adventurous, consider using these homemade chocolate toppings or enjoying them with some festive Halloween beverages to complete your spooky treat experience!
Storage Tips for Halloween Pretzels
Room Temperature: Store your Halloween pretzels in an airtight container at room temperature for up to 7 days. This keeps them fresh and crunchy!
Fridge: If you prefer a cooler treat, you can place your pretzels in the refrigerator, but allow them to come to room temperature before serving for the best texture.
Freezer: For longer storage, freeze your pretzels in a single layer before transferring them to an airtight container for up to 3 months. Thaw at room temperature when ready to enjoy!
Reheating: There’s no need to reheat these no-bake treats; simply enjoy them as is. If they become a bit soft, a quick stint in the fridge can help firm them up again.
Halloween Pretzels Recipe FAQs
What type of pretzels should I use for Halloween pretzels?
Absolutely! Mini pretzels are perfect for this treat. You can use either twisted or rod-shaped pretzels, as they provide a great salty base that pairs beautifully with the sweet candy coating. Look for ones that are crispy and not broken for the best results.
How should I store my Halloween pretzels?
Very simply! Store your Halloween pretzels in an airtight container at room temperature for up to 7 days. This keeps them fresh and crunchy. If you prefer to eat them chilled, you can also refrigerate them, but let them sit at room temperature for a few minutes before serving to restore their delightful texture.
Can I freeze Halloween pretzels?
Yes, keep some on hand for later! To freeze your Halloween pretzels, lay them out in a single layer on a baking sheet and freeze until solid. Then, transfer them to an airtight container or a freezer bag. They’ll keep well in the freezer for up to 3 months. When you want to enjoy them, simply thaw them at room temperature for a few hours.
What do I do if my candy melts don’t melt smoothly?
No worries! If your candy melts aren’t getting smooth, it might be because they’re being heated too quickly. Try microwaving them in shorter intervals of 15-20 seconds, stirring in between, until you reach a completely melted and smooth consistency. If they seem too thick, adding a teaspoon of coconut oil can help achieve that glossy shine for your pretzels.
Are there any dietary considerations I should keep in mind?
Definitely! For a gluten-free version of these Halloween pretzels, make sure to use gluten-free pretzels and check that your sprinkles and candy melts do not contain any gluten. Additionally, if you or your family have allergies, be cautious with toppings like crushed Oreos or sprinkles, as they can often contain allergens. Always read labels to ensure they meet your dietary needs.
Can I customize the toppings on my Halloween pretzels?
You bet! The more the merrier when it comes to toppings! Feel free to get creative with different sprinkles, colored chocolate drizzles, or even crushed nuts. You could also try adding mini marshmallows or a drizzle of caramel for a fun twist. Each batch can be a unique masterpiece that reflects your personal style!
Delicious Halloween Pretzels: Quick No-Bake Family Fun
Ingredients
Equipment
Method
- Prepare Your Workspace: Line a baking sheet with parchment paper and gather all your ingredients.
- Melt the Candy Melts: Microwave candy melts in short intervals of 30 seconds until smooth.
- Coat the Pretzels: Dip each mini pretzel into the melted candy until fully coated.
- Add Toppings: Sprinkle Halloween sprinkles and place candy eyes on top while the candy is wet.
- Allow to Set: Place pretzels on the baking sheet and let them sit for about 15 minutes to harden.
- Store or Serve: Serve immediately or store in an airtight container at room temperature.