
As the savory aromas waft through my kitchen, I can’t help but feel transported to a bustling ramen shop, where each bowl tells a unique story. This DIY Ramen Soup is my love letter to those moments, crafted with the intention of being a healthier, customizable alternative for anyone seeking a delicious homemade meal. In just 25 minutes, you’ll find yourself enjoying tender ramen noodles paired with vibrant veggies and optional proteins that cater to your personal taste. This dish is not only quick to whip up but also offers the versatility to satisfy both vegetarians and meat-lovers alike. So, why settle for a bland takeout when you can create a comforting, aromatic bowl of ramen right at home? Are you ready to dive into this culinary adventure?
Why Choose DIY Ramen Soup?
Customization, this recipe lets you personalize every element, ensuring each bowl reflects your unique tastes. Healthier alternative, it’s packed with fresh ingredients, offering a nourishing twist on traditional ramen. Quick and easy, in just 25 minutes, you can have a delicious meal ready, saving you from fast food fatigue. Crowd-pleaser, perfect for dinner parties or family meals—everyone can tailor their soup to their liking! Plus, if you’re seeking more delightful soup options, check out these Treats Delightful Diy that’ll warm your heart!
DIY Ramen Soup Ingredients
For the Soup Base
- Ramen Noodles – A hearty foundation; skip the seasoning packet for a fresh flavor boost.
- Reduced-Sodium Chicken Base – Delivers depth of flavor; swap for vegetable broth for a vegetarian option.
For the Spice and Aromatics
- Sriracha Chili Sauce – Adds a kick of heat; adjust the amount to match your spice preference.
- Minced Fresh Gingerroot – Infuses a zesty kick; ginger powder is a great substitute if fresh isn’t on hand.
For the Veggies
- Shredded Carrots – Offers natural sweetness and vibrant color; feel free to use bell peppers or spinach instead.
- Shredded Cabbage – Adds crunch and nutrition; bok choy or kale can also work beautifully.
- Radishes – Provides a peppery crunch; optional but delightful if you enjoy their unique flavor.
- Fresh Shiitake Mushrooms – Brings umami richness to the mix; you can swap with button or portobello for variety.
For the Protein
- Shredded Cooked Chicken Breast – Adds a savory element; tofu is a fantastic substitute for a vegetarian twist.
For the Garnish
- Fresh Cilantro Leaves – Brightens the overall taste with herbal notes; green onions or parsley can be used instead.
- Lime Wedges – Squeeze in zest for added brightness; lemon works just as well if preferred.
- Hard-Boiled Large Egg – Provides creaminess and extra protein; easily omit for a vegetarian dish.
This DIY Ramen Soup recipe is a fantastic way to bring warmth and comfort to your kitchen, focusing on freshness and customization!
Step‑by‑Step Instructions for DIY Ramen Soup
Step 1: Cook Noodles
Begin by bringing a pot of salted water to a rolling boil. Carefully add your ramen noodles, cooking them according to the package instructions until al dente, usually about 4-5 minutes. Once cooked, drain the noodles and rinse them under cold water briefly to stop the cooking process. Set them aside as you prepare the other ingredients.
Step 2: Layer Ingredients
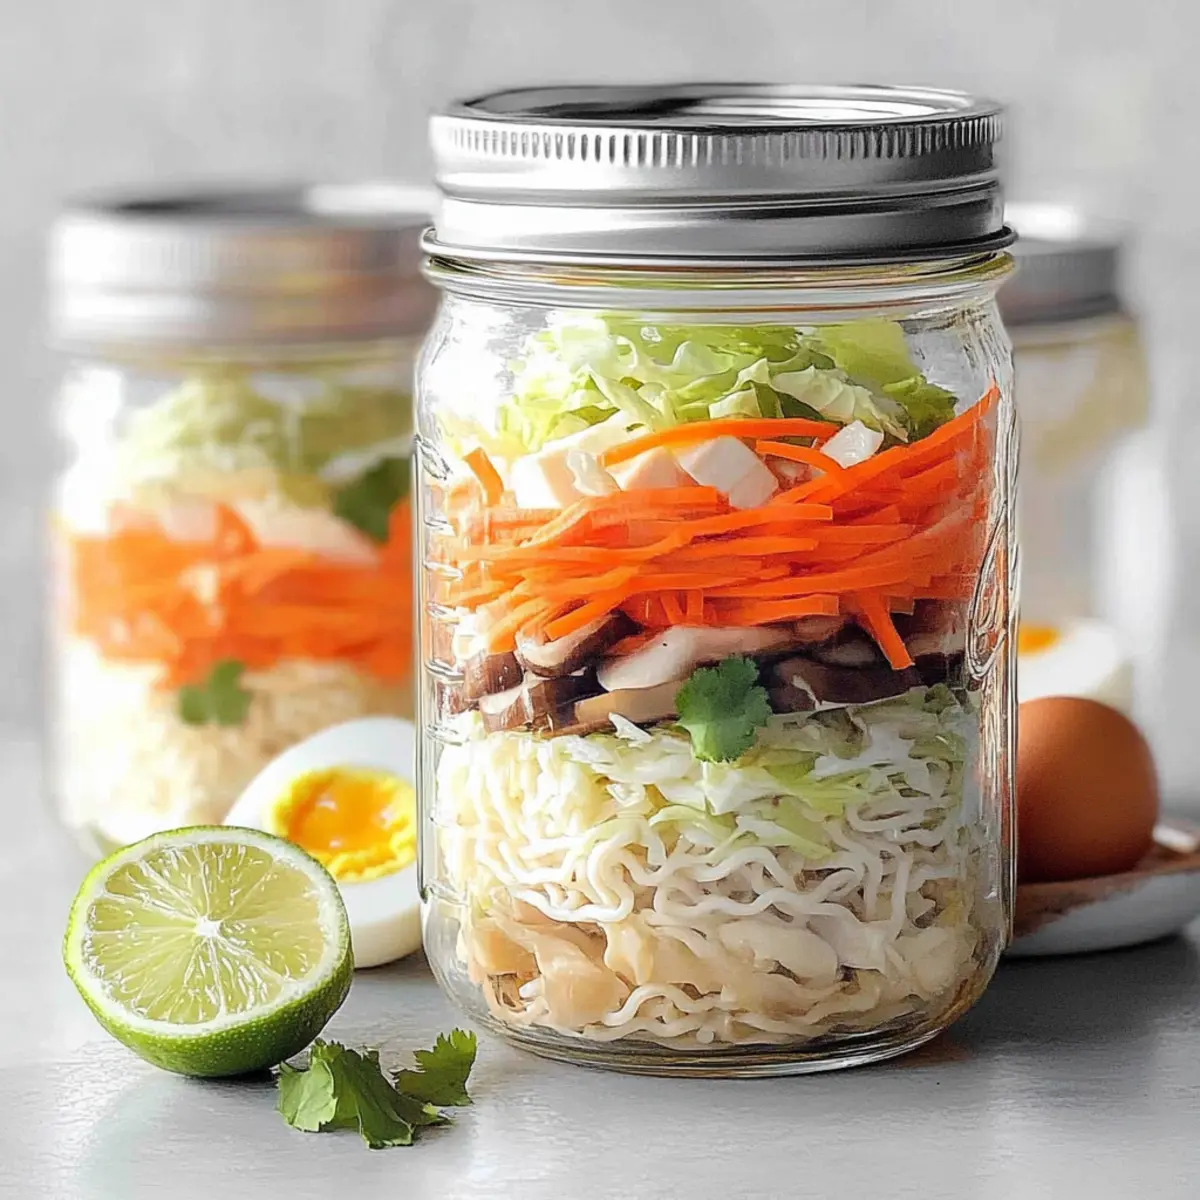
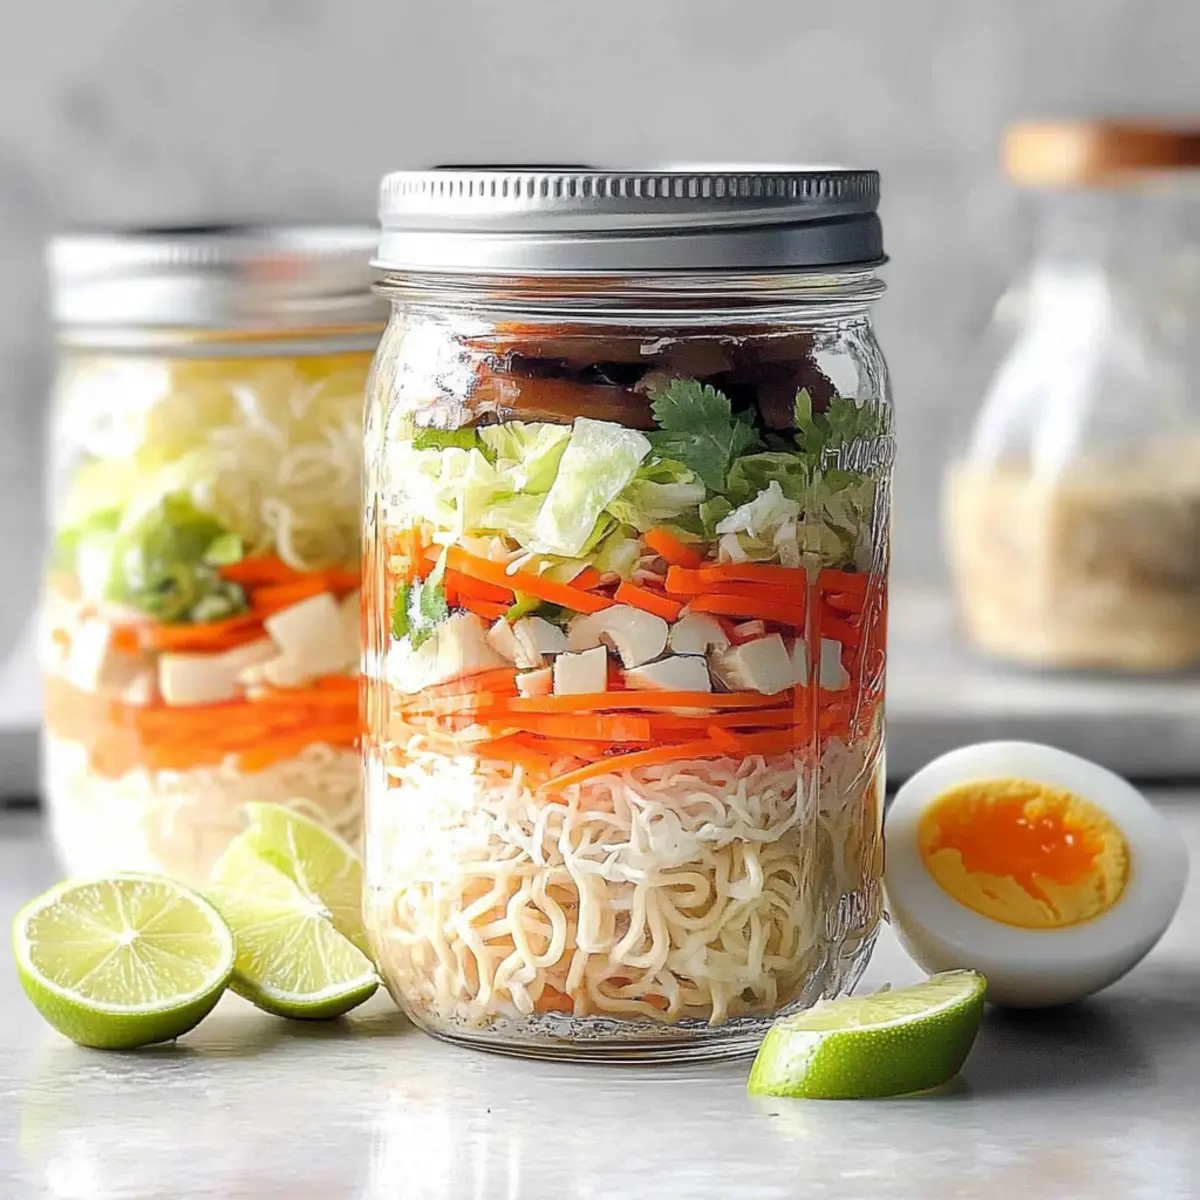
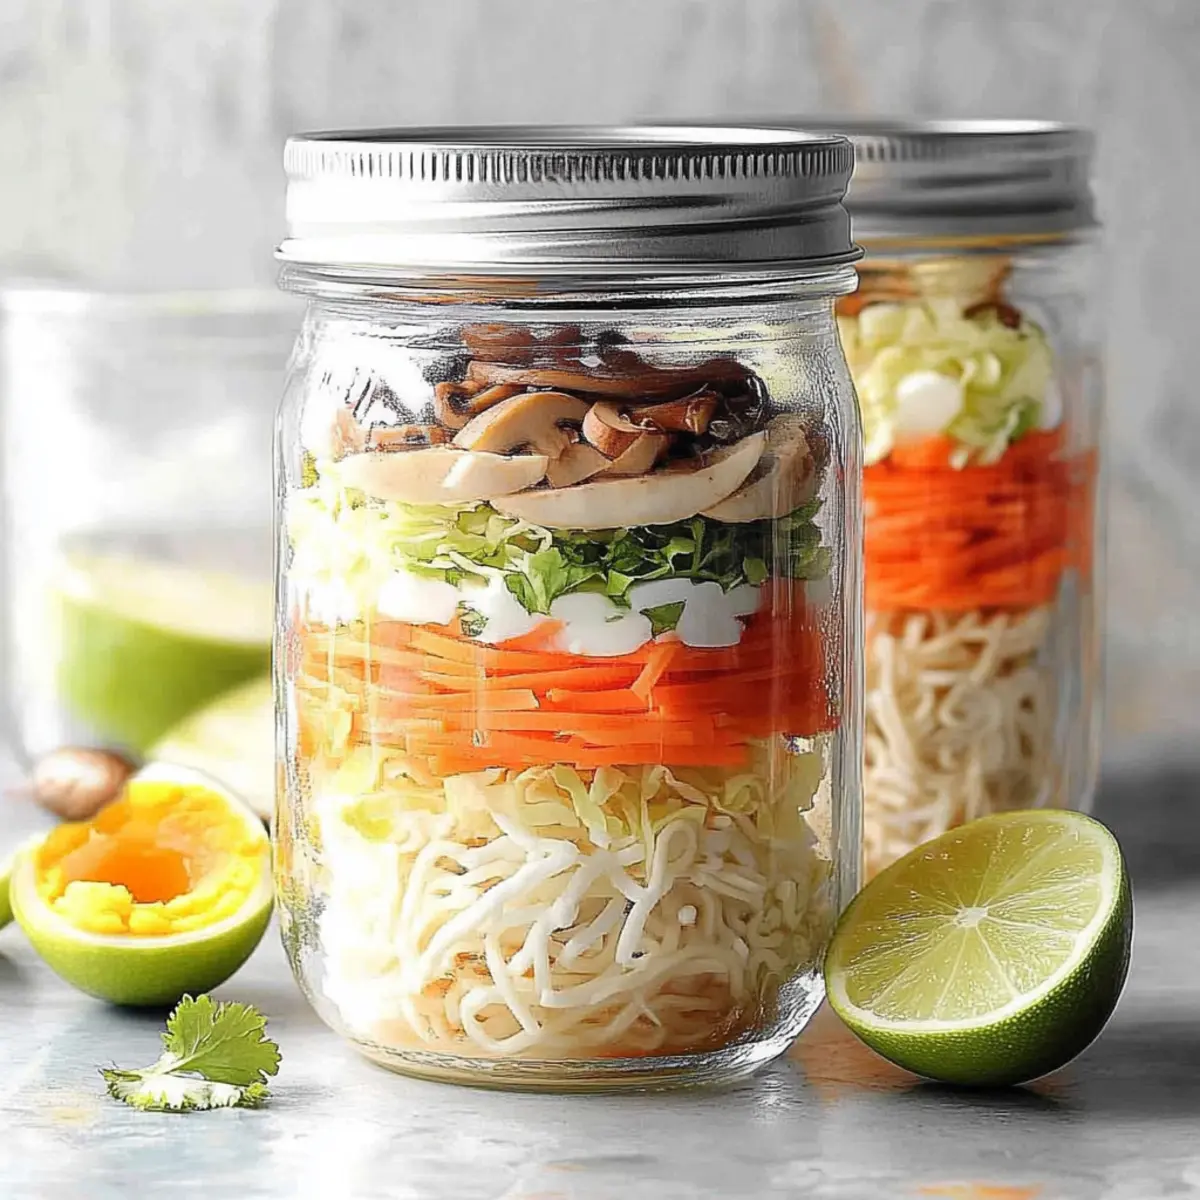
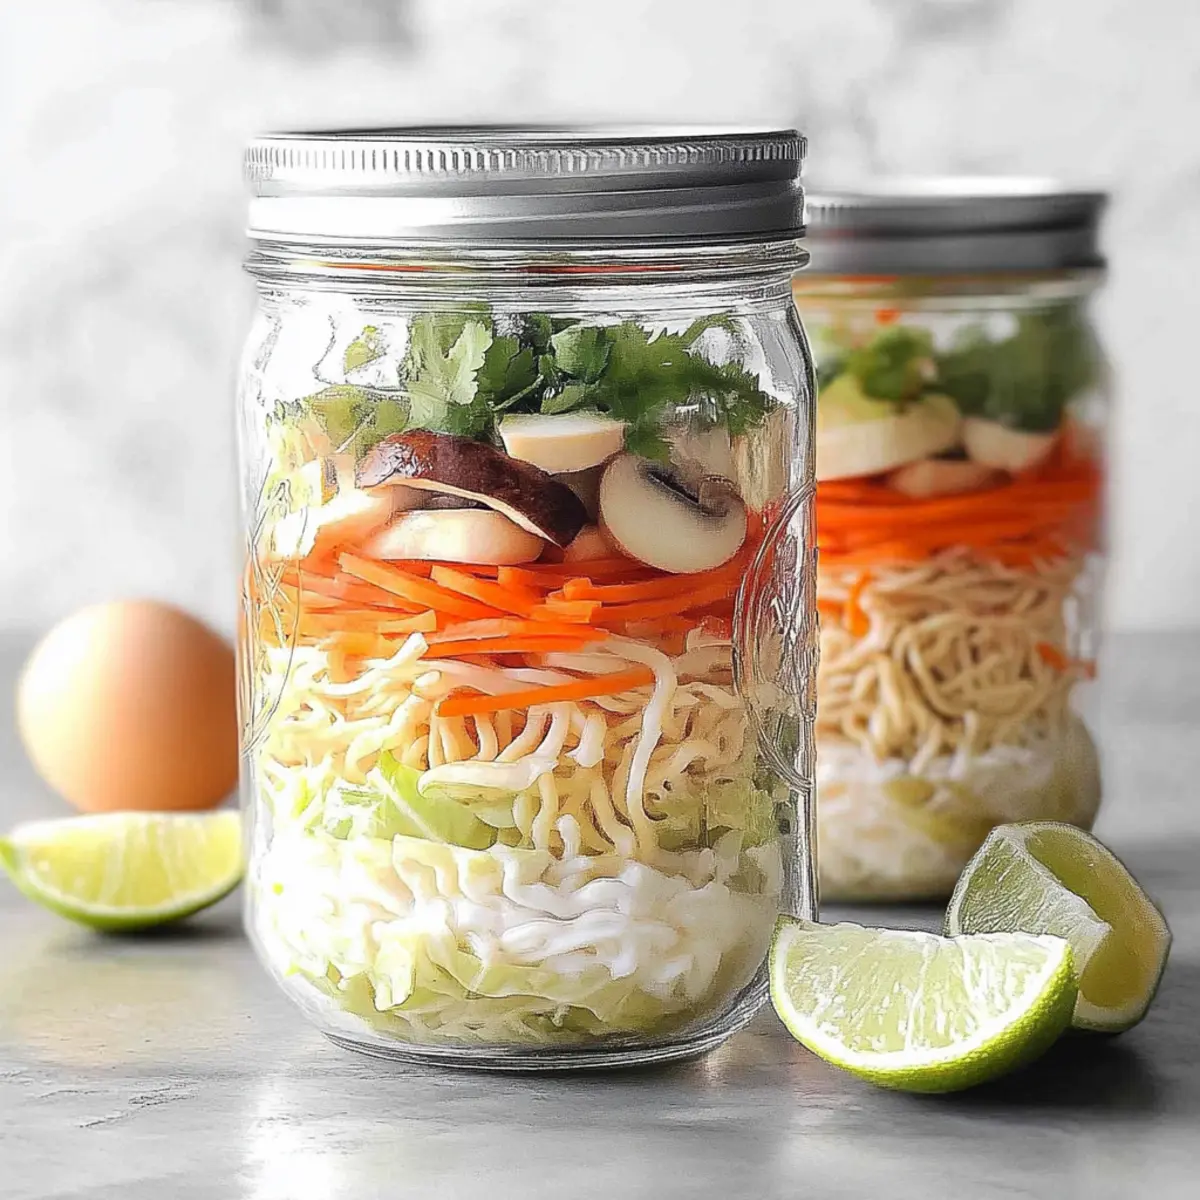
In two wide-mouth quart canning jars, start layering half of the cooked ramen noodles at the bottom. Follow with a generous scoop of reduced-sodium chicken base, a squeeze of sriracha chili sauce, and minced ginger. Next, add in the shredded carrots, shredded cabbage, radishes, fresh shiitake mushrooms, and shredded chicken, creating a colorful and vibrant mix in each jar.
Step 3: Add Toppings
To finish your DIY Ramen Soup preparation, take smaller airtight containers and fill them with lime wedges and halved hard-boiled eggs. This ensures that the toppings remain fresh and ready to enhance the soup’s richness when served. These flavorful additions will offer a bright finish and protein boost to your custom bowls of ramen.
Step 4: Refrigerate
Cover both the jars and the smaller containers securely and store them in the refrigerator. Chilling your ramen soup mix allows the ingredients to meld together, enhancing the flavors and making for a more delicious meal later on. You can keep these jars refrigerated until you’re ready to enjoy your homemade ramen.
Step 5: Serve
When it’s time to savor your DIY Ramen Soup, start by boiling 2 cups of water per jar. Carefully pour the hot water into each jar, ensuring the water covers the noodles and other ingredients. Let the soup sit for 3-5 minutes until it’s heated through and the chicken base dissolves completely. Stir gently to combine, then squeeze in lime juice over the top and place the egg half on each bowl for an extra touch of flavor.
Make Ahead Options
This DIY Ramen Soup is perfect for meal prep enthusiasts! You can prepare the layered jars with all the ingredients except for the hot water and garnishes up to 3 days in advance. Just be sure to refrigerate the jars tightly covered to keep everything fresh and flavorful. When you’re ready to enjoy, simply boil 2 cups of water, pour it into the jar, and let it sit for 3-5 minutes until heated through. Squeeze in the lime juice and add the hard-boiled egg just before serving for a burst of brightness. This way, you can indulge in a comforting bowl of ramen any night of the week with minimal effort!
Expert Tips for DIY Ramen Soup
- Noodle Perfection: Ensure noodles are cooked al dente; this prevents mushiness when they soak in hot water later.
- Cold Refrigeration: Chill the jars beforehand; letting the ingredients rest enhances flavor fusion before serving.
- Customize Wisely: Feel free to mix up vegetables and proteins according to seasonal availability. This keeps your DIY Ramen Soup exciting!
- Spice Control: Start with a small amount of sriracha; you can always add more heat based on your personal preference.
- Don’t Skip Lime: Squeezing fresh lime juice over your soup enhances the flavors tremendously—it’s the secret ingredient!
- Egg Timing: If adding eggs, ensure they are hard-boiled and chilled beforehand for the best texture when topping your soup.
What to Serve with DIY Ramen Soup
As the savory aromas of your ramen waft through the air, consider these delightful accompaniments to enhance your culinary experience.
- Steamed Edamame: An excellent source of protein and fiber, these tender pods add a satisfying crunch and light salted flavor.
- Crispy Spring Rolls: Filled with fresh veggies and served with a sweet dipping sauce, they provide a delightful contrast in texture.
Pair your ramen with a light, refreshing Cucumber Salad. Tossed in rice vinegar and sesame oil, it brings brightness to the meal, balancing the richness of the broth.
- Green Tea: This calming beverage complements the flavors of the soup beautifully, offering a soothing end to your meal.
- Mochi for Dessert: These chewy rice cakes come in a range of flavors and offer a sweet touch that rounds out your dining experience elegantly.
For a unique twist, serve alongside Kimchi—its tangy, fermented taste adds depth and a probiotic health boost to your meal.
- Garlic Butter Corn: Sweet corn sautéed in garlic butter gives a burst of flavor that pairs nicely with the ramen’s savory profile.
How to Store and Freeze DIY Ramen Soup
Fridge: Keep your assembled jars in the refrigerator for up to 3 days. This helps the flavors meld while keeping the ingredients fresh and crisp.
Freezer: For long-term storage, freeze the soup ingredients without boiling water for up to 3 months. Thaw in the fridge before use.
Reheating: When ready to enjoy, boil water and pour it over the frozen or chilled ingredients in the jar. Let it sit until heated through, stirring occasionally.
Airtight Storage: Ensure all jars and containers are sealed tightly to prevent moisture and maintain the freshness of your DIY Ramen Soup.
DIY Ramen Soup Variations & Substitutions
Feel free to get creative with your DIY Ramen Soup, as there are countless ways to adapt this recipe to suit your taste buds and dietary needs!
- Vegetarian Delight: Substitute the chicken base with vegetable broth and replace chicken with tofu for a hearty vegan option.
- Extra Protein: Add cooked shrimp or edamame for a fun twist, boosting the protein without sacrificing flavor.
- Spice it Up: Play with the heat by adding chili flakes or a splash of sesame oil for a new flavor dimension.
- Low-Carb Option: Swap the ramen noodles with zucchini noodles or shirataki noodles for a lighter and low-carb variation.
- Colorful Veggies: Incorporate other seasonal veggies like snap peas or bok choy to elevate the texture and color.
- Savory Mushroom Boost: If you love mushrooms, consider mixing in oyster or king oyster mushrooms for their meaty texture.
- Creamy Twist: For a rich experience, add a swirl of coconut milk after pouring in the hot water—it adds a delightful creaminess.
- Herbal Layers: Experiment with other fresh herbs like basil or Thai cilantro for an aromatic profile—perfect for summer days!
With each twist, your bowl of ramen transforms into a unique culinary experience. Remember, cooking is all about joy and experimentation! If you’re in the mood for something sweet after this savory delight, don’t forget to check out these Treats Delightful Diy that will complement your meal perfectly. Enjoy the journey!
DIY Ramen Soup Recipe FAQs
What kind of ramen noodles should I use?
It’s best to use fresh or dried ramen noodles rather than instant ramen. Avoid using the seasoning packet that comes with instant noodles, as this recipe creates a flavorful broth from scratch.
How long can I store my DIY Ramen Soup in the fridge?
You can keep your assembled jars in the refrigerator for up to 3 days. This duration allows the flavors to meld beautifully while keeping the vegetables fresh and crunchy.
Can I freeze DIY Ramen Soup for later?
Absolutely! For freezing, prepare the jars without adding boiling water. Seal them tightly and place them in the freezer for up to 3 months. When ready to enjoy, thaw the jar in the fridge overnight, then follow the reheating instructions to enjoy your soup.
What if my ramen noodles become too mushy?
To ensure noodles maintain their perfect texture, cook them al dente according to package directions. Once cooked, rinse them briefly in cold water to stop the cooking process before layering them in the jars. This way, they’ll stay delightful when you add boiling water before serving!
Is this DIY Ramen Soup suitable for vegetarians?
Yes! You can easily make this ramen soup vegetarian by substituting the reduced-sodium chicken base with vegetable broth and omitting the shredded chicken. Tofu can also be used as a fantastic protein replacement!
Can pets eat ramen noodles?
Generally, it’s not recommended to feed noodles to pets. While plain, cooked noodles aren’t toxic, the additional ingredients in ramen—especially spices and broth seasonings—can be harmful. Always double-check with your veterinary for specific pet dietary questions!
DIY Ramen Soup: Customize Your Comfort Bowl of Joy
Ingredients
Equipment
Method
- Begin by bringing a pot of salted water to a rolling boil. Add the ramen noodles and cook according to package instructions, usually about 4-5 minutes. Drain and rinse under cold water to stop cooking.
- Layer half of the cooked ramen noodles in two quart canning jars. Add reduced-sodium chicken base, a squeeze of sriracha chili sauce, and minced ginger. Follow with shredded carrots, cabbage, radishes, shiitake mushrooms, and shredded chicken.
- Prepare smaller airtight containers with lime wedges and halved hard-boiled eggs to keep toppings fresh.
- Cover the jars and airtight containers and refrigerate to allow flavors to meld.
- To enjoy, boil 2 cups of water per jar, pour over the contents, let sit for 3-5 minutes, stir gently, then squeeze lime juice over the top and add the egg half.