
There’s something truly magical about transforming simple ingredients into something delightfully unexpected, like my 3-Ingredient Vegan Banana Sushi with Dark Chocolate. Picture biting into a luscious banana coated in rich chocolate, topped with the satisfying crunch of pistachios. This quick snack captures the essence of decadence while being completely gluten-free, dairy-free, and vegan. In just 15 minutes, you can whip up a treat that’s not only fun to make but also a crowd-pleaser at any gathering, whether it’s a kids’ party or an adult get-together. Plus, it’s the perfect way to indulge your sweet tooth without the guilt. Curious how to roll your way to this healthy dessert sensation? Let’s dive in!
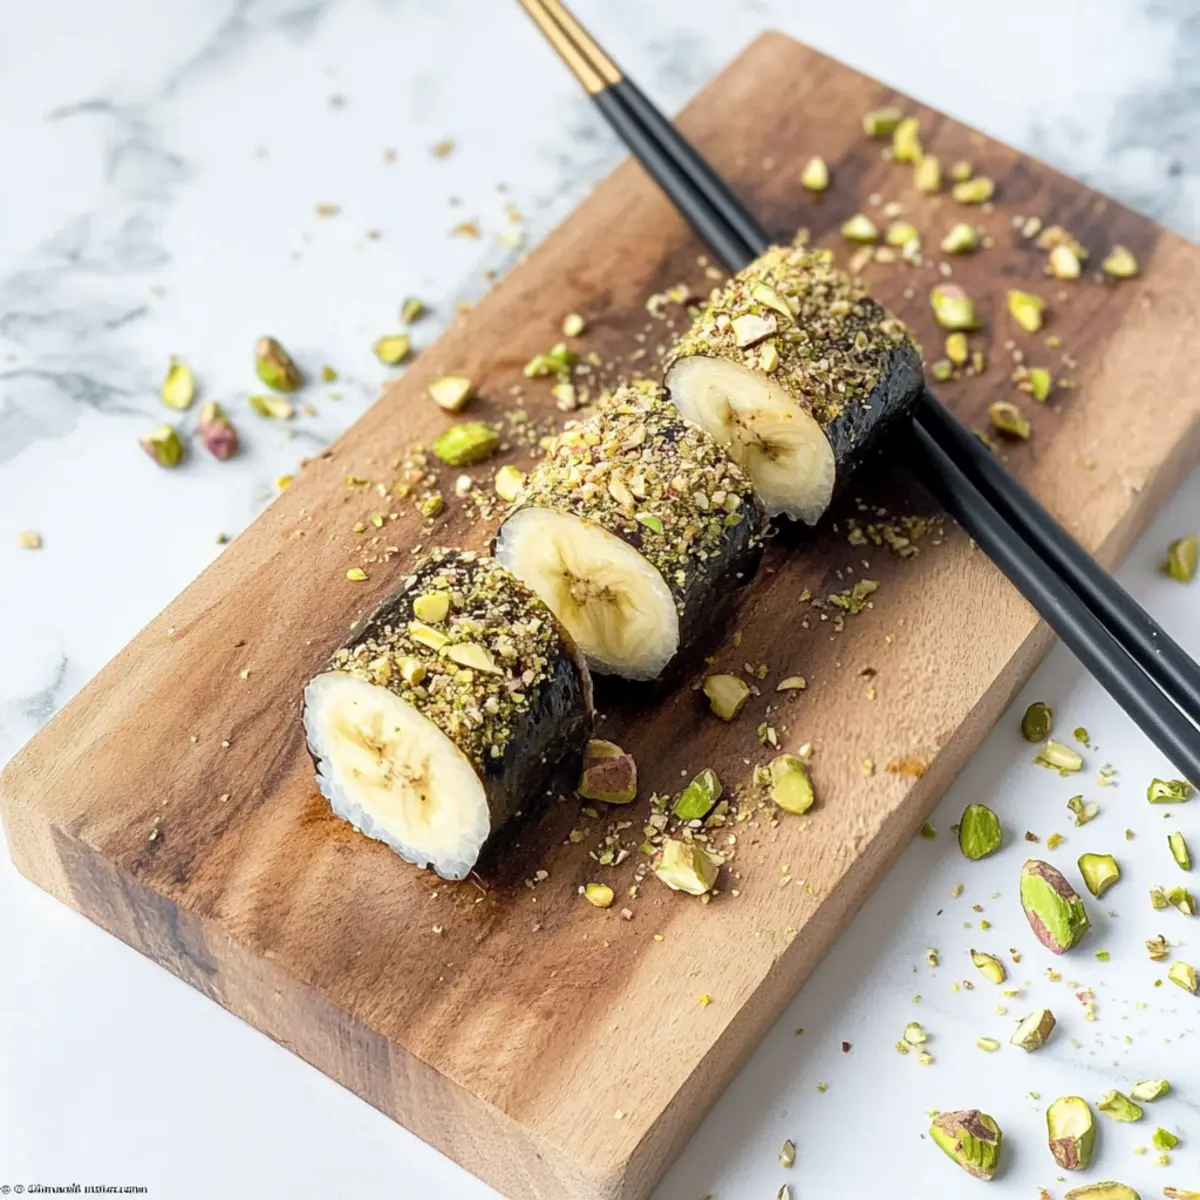
Why Is Banana Sushi So Irresistible?
Quick and Easy: With just three ingredients, you can whip up this delightful treat in only 15 minutes. Perfect for busy weekdays or spontaneous snack cravings!
Guilt-Free Indulgence: Enjoy the sweet, creamy goodness of bananas paired with rich dark chocolate—a satisfying dessert that won’t derail your health goals.
Fun for Everyone: Kids and adults alike will love the interactive process of making Banana Sushi, making it an exciting treat for family gatherings or parties.
Customizable Creativity: Add your favorite toppings like coconut flakes or substitute pistachios with almonds for a personal touch. Just check out our tips for more fun variations!
Visually Stunning: The eye-catching colors and textures make this dessert a showstopper, perfect for impressing guests or simply elevating your snack game.
Just imagine serving these beautiful pieces at your next gathering, alongside other crowd-pleasing treats like Banana Pudding Tiramisu or Chocolate Covered Banana for an unforgettable experience!
Banana Sushi Ingredients
For the Banana Sushi
• Bananas – Use ripe bananas for optimal sweetness and creaminess in your Banana Sushi.
• High-Quality 72% Dark Chocolate – Choose chocolate with minimal additives for a rich flavor that complements the bananas perfectly.
• Roasted Pistachios – Adds a delightful crunch and nutritional boost; feel free to swap with almonds or hazelnuts for variety.
Step‑by‑Step Instructions for Banana Sushi
Step 1: Prepare Bananas
Start by peeling two ripe bananas, as their natural sweetness enhances the flavor of your banana sushi. Insert a toothpick into each end of the bananas to create easy handling when coating them later. This will help stabilize the bananas, ensuring they stay intact while you coat them in chocolate.
Step 2: Melt the Chocolate
In a microwave-safe bowl, break up high-quality 72% dark chocolate and microwave it for 30 seconds at a time, stirring in between until fully melted. This should take about 1–2 minutes in total. The chocolate should be smooth and glossy, perfect for dipping your prepared bananas. Ensure there are no lumps for an even coating.
Step 3: Coat with Chocolate
Once the chocolate is melted, quickly dip each banana into the warm chocolate, allowing it to fully cover the surface. Use a spoon to help coat any areas that might need more chocolate. Hold the banana over the bowl for a few seconds to let the excess chocolate drip off, creating a nice, even layer on your banana sushi.
Step 4: Add Toppings
While the chocolate is still wet, sprinkle finely chopped roasted pistachios over the coated banana. Make sure to cover all sides for a colorful and crunchy finish. If you’d like, you can gently press the pistachios into the chocolate to help them adhere better, adding a delightful crunch to your banana sushi.
Step 5: Set in Freezer
Place the chocolate-coated bananas on a parchment-lined baking sheet and transfer them to the freezer for about 5–10 minutes. This will allow the chocolate to harden, giving your banana sushi a perfect smooth finish. Keep an eye on them to ensure they don’t freeze too long and lose their soft banana texture.
Step 6: Slice and Serve
Once the chocolate has set, carefully remove the banana sushi from the freezer. Use a sharp knife to slice the bananas into bite-sized pieces, revealing the enticing layers of chocolate and pistachios. Arrange them on a platter for a visually stunning presentation and serve immediately for the best texture and taste.
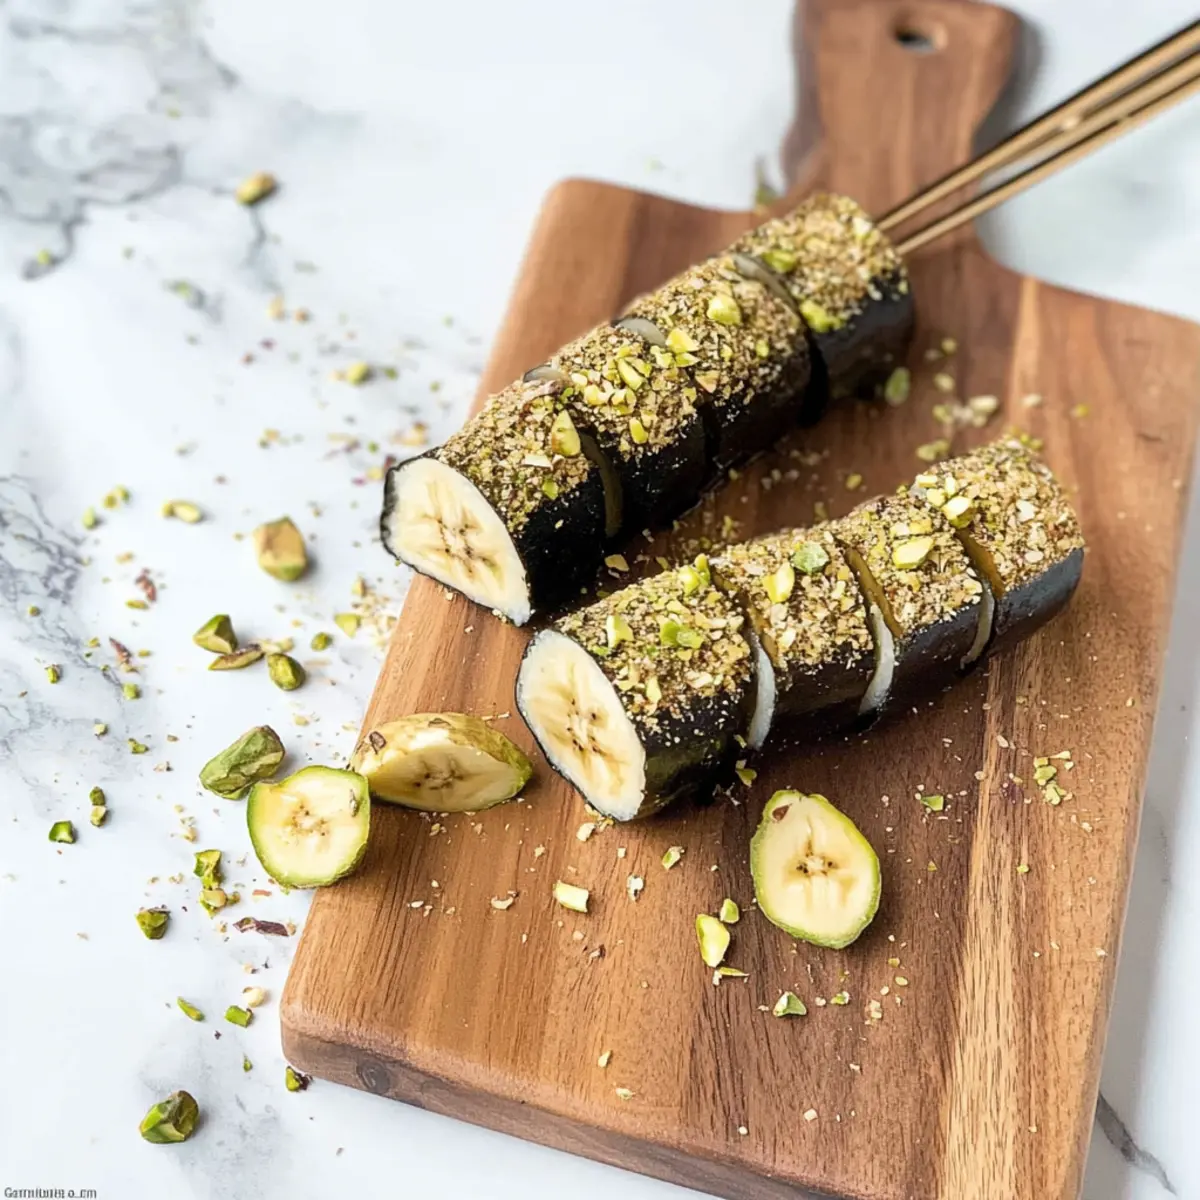
Banana Sushi Variations & Substitutions
Feel free to explore the delightful possibilities of customizing your Banana Sushi to suit your cravings and preferences!
- Nut-Free: Substitute pistachios with sunflower seeds for a delightful crunch without nuts, making it school-friendly too.
- Sweet & Spicy: Drizzle a hint of honey or maple syrup over the coated bananas before adding toppings—this will add a lovely sweetness and a dash of pizzazz!
- Coconut Delight: Rolling the coated banana in shredded coconut creates a tropical twist that’s as visually stunning as it is delicious.
- Fruit Fusion: Try adding slices of strawberries or raspberries as a topping for an added burst of flavor and nutrition, elevating your banana sushi experience!
- Minty Fresh: Garnish with fresh mint leaves after plating – it brings a refreshing flavor and beautiful color contrast.
- Dynamic Crunch: Swap out pistachios for crunchy granola for a hearty, wholesome addition that packs an extra nutritional punch.
- Caramel Drizzle: Add a drizzle of vegan caramel for a sweet topping that takes this treat to a whole new level of indulgence!
- Dessert Platter: Create a fun dessert platter by pairing your banana sushi with mini treats like No-Bake Mini Banana Cream Pies and Almond Crust Banana Caramel Cheesecake for a delightful variety!
With these variations, your Banana Sushi will always be a favorite, no matter the occasion!
Make Ahead Options
These delicious Banana Sushi pieces are a fantastic option for meal prep, making your busy weeknights a breeze! You can peel and prepare the bananas up to 24 hours in advance; simply keep them in an airtight container to prevent browning. Additionally, you can melt the dark chocolate and store it in the fridge for up to 3 days—just reheat it gently before dipping your bananas. When you’re ready to serve, coat the bananas with the chocolate, add the pistachios, and freeze them for about 5–10 minutes until set. By prepping these components ahead of time, you’ll have a delightful dessert ready to enjoy with minimal effort, just as delicious as when made fresh!
How to Store and Freeze Banana Sushi
Fridge: Keep your prepared banana sushi in an airtight container in the fridge for up to 3 days, ensuring they stay fresh and maintain their creamy texture.
Freezer: For longer storage, wrap individual pieces of banana sushi in plastic wrap and place them in a freezer-safe bag. They can last up to 2 months without losing flavor.
Reheating: If you prefer to serve your banana sushi slightly thawed, take them out of the freezer and let them sit at room temperature for about 10–15 minutes before enjoying.
Serving: For the best experience, serve your banana sushi right after preparation. However, chilled or frozen can add a refreshing twist during warmer months!
What to Serve with 3-Ingredient Vegan Banana Sushi?
To create a delightful spread that highlights the joy of homemade treats, consider these delicious pairings.
-
Fresh Fruit Salad: A vibrant mix of seasonal fruits adds a refreshing contrast, balancing the richness of the chocolate and banana.
-
Coconut Chia Pudding: This creamy, nutty pudding complements the flavors beautifully while adding an intriguing texture to the table. It’s a healthy choice that pairs well with the sweet banana sushi.
-
Peanut Butter Dipping Sauce: Mix peanut butter with a splash of maple syrup for a creamy, sweet dip that enriches the flavors of your banana sushi, providing an extra layer of indulgence.
-
Coffee or Herbal Tea: A warm cup of coffee or a soothing herbal tea acts as the perfect beverage to serve alongside this dessert, enhancing the chocolate’s richness and depth.
-
Chocolate Almond Milk: This flavorful drink complements the chocolate notes in the banana sushi while remaining a soothing, plant-based option for everyone.
-
Caramel Sauce: Drizzling homemade or store-bought caramel sauce over the banana sushi can elevate this dessert to a new level of decadence, making it even more irresistible.
Imagine serving all of these options together, creating a delightful spread that invites everyone to indulge in the wonders of homemade snacks!
Expert Tips for Banana Sushi
• Choose Ripe Bananas: Look for just ripe bananas to ensure they’re sweet and creamy. Overly ripe bananas can be mushy, while green ones can lack flavor.
• Melt Smoothly: Be patient when melting chocolate. Heat in short intervals to prevent scorching. Lumpy chocolate won’t coat evenly, so aim for a smooth consistency.
• Top Smartly: Sprinkle toppings immediately after dipping in chocolate. This helps them stick better instead of falling off once the chocolate hardens.
• Keep It Cool: Place banana sushi in the freezer only until the chocolate sets (about 5–10 minutes). Leaving them too long can make bananas freeze hard and lose their softness.
• Variety is Key: Experiment with different toppings like shredded coconut or chia seeds for added texture and flavor in your banana sushi.
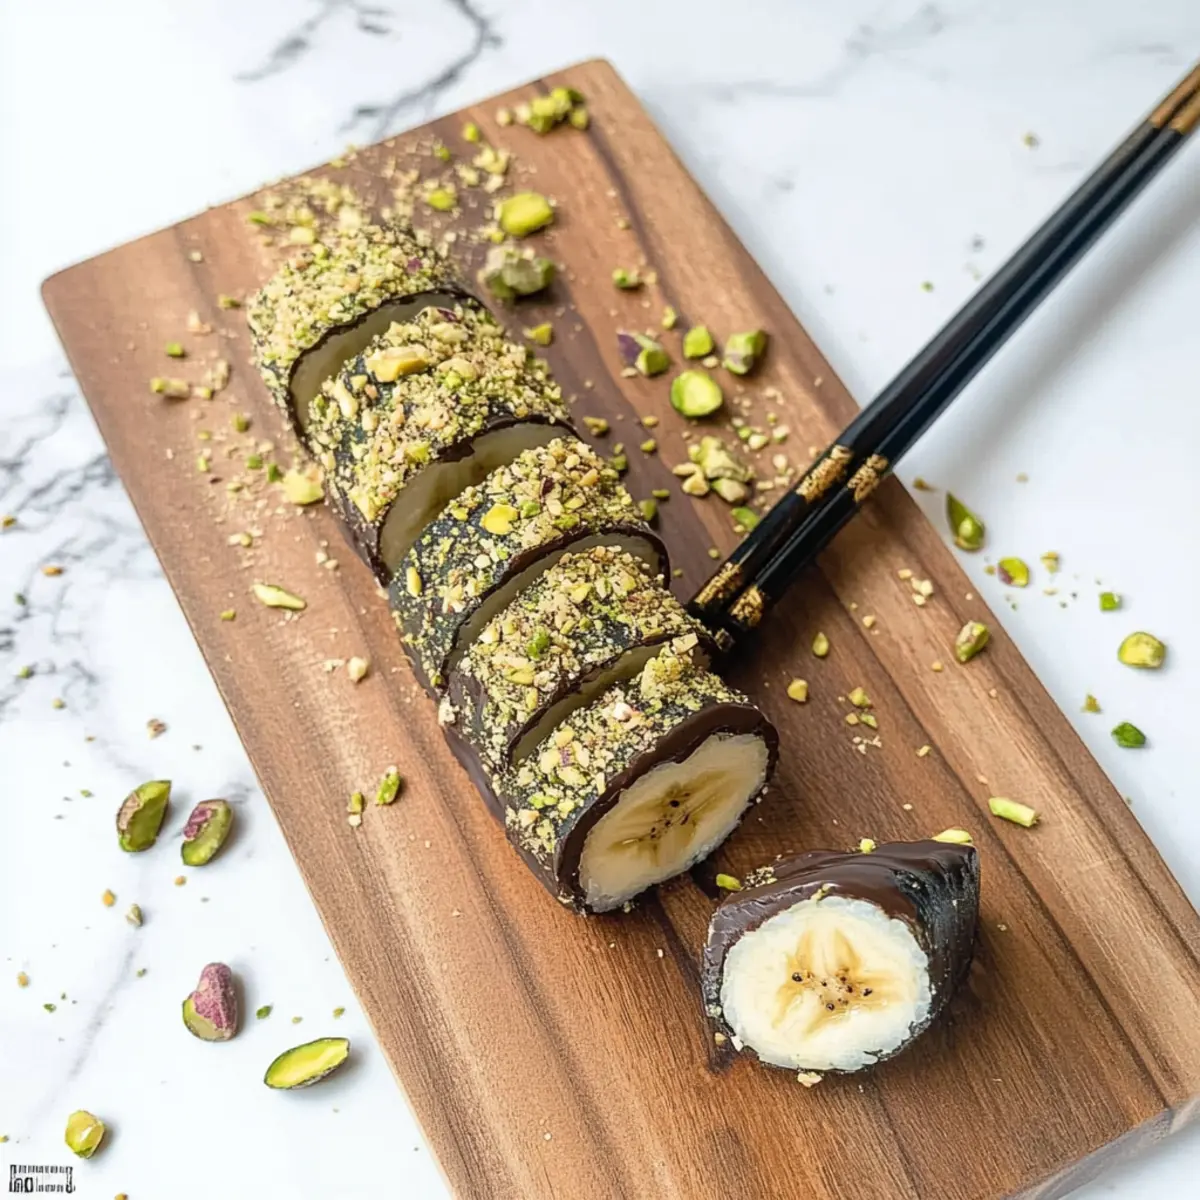
Banana Sushi Recipe FAQs
How do I choose ripe bananas for banana sushi?
Absolutely! Look for bananas that are just ripe; these should have a slightly yellow skin with a few brown spots. Avoid overly ripe bananas with dark spots all over, as they can be mushy, while green bananas will lack the sweet flavor you need.
What’s the best way to store banana sushi?
You can keep your prepared banana sushi in an airtight container in the fridge for up to 3 days. This will help retain their freshness and creamy texture. Just remember to layer them with parchment paper if you’re stacking them to prevent sticking!
Can I freeze banana sushi for later?
Very! To freeze, wrap each piece of banana sushi in plastic wrap and place them in a freezer-safe bag. They can last up to 2 months without losing their delightful flavors. When you’re ready to enjoy them, let them sit at room temperature for about 10–15 minutes for the best texture!
What can I do if the chocolate clumps when melting?
If you find your chocolate clumping, don’t panic! This often happens when it’s overheated. Simply add a teaspoon of coconut oil or vegetable oil to the chocolate before heating, and microwave in short 30-second bursts while stirring in between, until smooth and glossy.
Are there any common allergens in banana sushi?
Absolutely! While banana sushi is vegan and dairy-free, those with nut allergies should be cautious with the toppings. If you’re allergic to pistachios, consider substituting with sunflower seeds or skipping nuts altogether for a delicious nut-free option!
Can I customize banana sushi toppings?
Yes, indeed! The more the merrier! Get creative with your toppings—shredded coconut, chia seeds, or even sprinkles make fantastic additions. Play around with different combinations to find your perfect blend of flavors and textures!
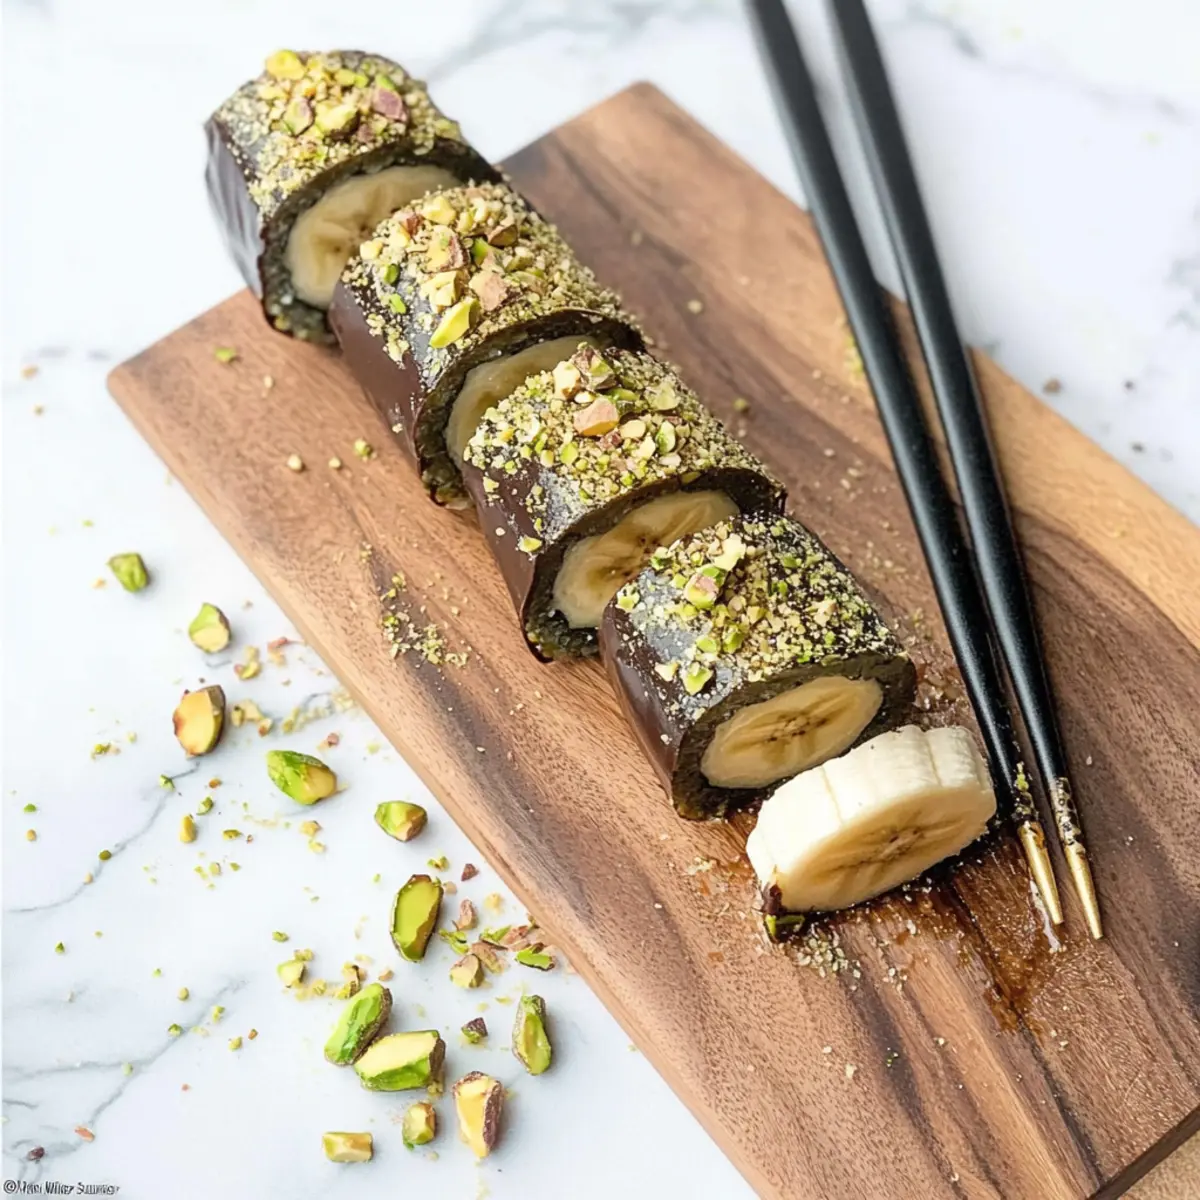
Delicious Banana Sushi with Dark Chocolate Crunch
Ingredients
Equipment
Method
- Start by peeling two ripe bananas, inserting a toothpick into each end for easy handling.
- In a microwave-safe bowl, break up high-quality 72% dark chocolate and microwave it for 30 seconds at a time until fully melted, about 1-2 minutes.
- Quickly dip each banana into the warm chocolate, making sure to coat all sides.
- While the chocolate is still wet, sprinkle finely chopped roasted pistachios over the coated banana.
- Place the chocolate-coated bananas on a parchment-lined baking sheet and transfer to the freezer for about 5-10 minutes.
- Once the chocolate has set, carefully remove from the freezer and slice the bananas into bite-sized pieces.