
Standing in my kitchen, the inviting aroma of rosemary and roasted garlic wraps around me like a warm embrace. There’s something magnetic about homemade bread, especially when it’s Rosemary & Roasted Garlic Artisan Bread, with its delightful crusty exterior and soft, fluffy interior. This recipe not only elevates your meals but also requires minimal hands-on time, making it a perfect choice for busy evenings or weekend baking adventures. As I knead the dough, I feel the stress of the day melt away, knowing this fragrant masterpiece awaits my family at the dinner table. Whether paired with a cozy soup or savored alone with a pat of butter, this artisan bread is certain to impress. Ready to whisk your taste buds on a flavorful journey? Let’s get started!
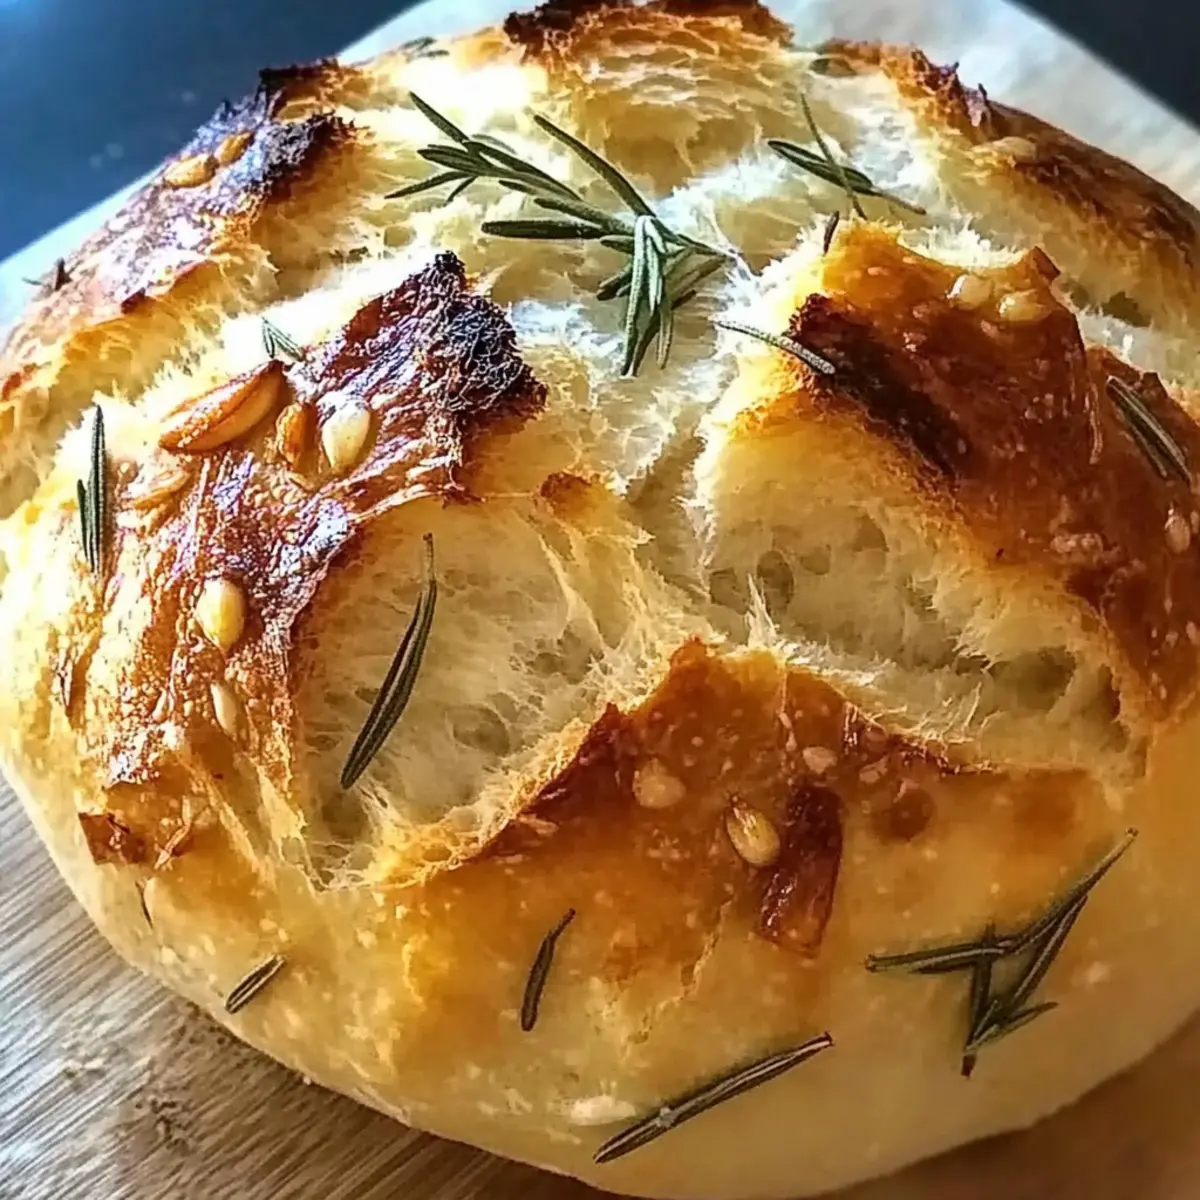
Why Is Artisan Bread So Special?
Freshness Matters: There’s nothing quite like baking at home with fresh ingredients. This Rosemary & Roasted Garlic Artisan Bread is infused with aromatic herbs and savory garlic, creating an irresistible flavor that fills your kitchen.
Effortlessly Impressive: With minimal prep time, you can wow your guests and family alike. Even if you’re new to bread-making, this recipe is straightforward and sure to succeed!
Versatile Delights: Enjoy it fresh from the oven, slice it for sandwiches, or serve alongside a warm bowl of soup like my delicious Roasted Butternut Squash for ultimate comfort.
Customizable Options: Want to mix things up? Experiment with different herbs or add some cheese for a delightful new twist on this classic. Each variation can fit any occasion!
A Crowd-Pleaser: Perfect for gatherings or family dinners, this bread is a go-to recipe that everyone will love, and you’ll enjoy the satisfied smiles at the table!
Rosemary & Roasted Garlic Artisan Bread Ingredients
• Dive into the world of homemade delight!
For the Dough
- All-Purpose Flour – Provides a sturdy yet tender base for the artisan bread; swap for whole wheat for a heartier texture.
- Salt – Enhances the bread’s flavor, and it’s essential for ensuring proper yeast function; leaving it out may yield a bland result.
- Active Dry Yeast – The secret to rising; always check for freshness to guarantee a beautiful loaf.
- Warm Water – Activates the yeast when at about 110°F (43°C); too hot? It can stall the whole process!
- Olive Oil – Infuses moisture and flavor into the dough; melted butter can substitute for an indulgent twist.
- Roasted Garlic – Offers a deep, savory layer of flavor; in a pinch, fresh garlic can still shine through.
- Fresh Rosemary – Brings an aromatic brightness; if unavailable, you can use dried rosemary at half the amount.
- Sugar – Acts as a yeast activator; if you’re aiming for a more savory loaf, feel free to omit it.
For Just in Case
- Extra Flour – Keep at hand for dusting surfaces while kneading to prevent sticking.
Step‑by‑Step Instructions for Rosemary & Roasted Garlic Artisan Bread
Step 1: Activate Yeast
In a small bowl, mix together warm water (about 110°F or 43°C) and sugar, then sprinkle the active dry yeast over the top. Let the mixture sit for 5-10 minutes until it becomes frothy, indicating that the yeast is activated and ready to work its magic in your Rosemary & Roasted Garlic Artisan Bread dough.
Step 2: Combine Dry Ingredients
In a separate large bowl, whisk together the all-purpose flour and salt until well combined. This ensures even distribution of the salt, which is key to flavor and yeast control. The resulting mixture will provide a sturdy base for your artisan bread, so make sure to use fresh ingredients for the best outcome.
Step 3: Mix Wet Ingredients
Stir in the olive oil and the mashed roasted garlic into the yeast mixture once it’s frothy. This step not only adds flavor to your bread but also incorporates moisture into the dough. The sweet aroma of garlic will already begin to fill your kitchen, hinting at the delicious Rosemary & Roasted Garlic Artisan Bread that’s yet to come.
Step 4: Combine Mixtures
Pour the yeast mixture into the bowl with the flour mixture, followed by the chopped fresh rosemary. Using a wooden spoon or spatula, stir the ingredients together until a shaggy dough forms. You want the dough to be cohesive but slightly sticky—this is the base of your artisan bread, so embrace the texture!
Step 5: Knead Dough
Transfer the shaggy dough onto a lightly floured surface. Knead the dough with your hands for about 8-10 minutes until it becomes smooth and elastic; it should spring back when poked. This process develops the gluten, which is essential for that lovely chewy texture in your Rosemary & Roasted Garlic Artisan Bread.
Step 6: First Rise
Place the kneaded dough into a greased bowl, turning it so that it’s lightly coated in oil. Cover the bowl with a clean kitchen towel and let it rise in a warm, draft-free spot for about 1 hour, or until it has doubled in size. This resting period allows the flavors to deepen and the yeast to work, resulting in a light texture.
Step 7: Shape the Dough
Once the dough has risen, gently punch it down to release excess air. Transfer it to a floured surface and shape it into a round loaf, smoothing the top. Place the formed loaf onto a parchment-lined baking sheet, creating a beautiful rustic shape that will look lovely when baked.
Step 8: Second Rise
Cover the shaped dough with a towel again and let it rise for another hour. This second rise is crucial for fluffiness, allowing the dough to double in size once more. You’ll know it’s ready when it feels light and puffy to the touch, signaling that your Rosemary & Roasted Garlic Artisan Bread is on its way to perfection.
Step 9: Preheat Oven
About 20 minutes before baking, preheat your oven to 450°F (232°C). This high temperature helps create that beautifully crisp crust. While the oven heats, prepare yourself for the delightful aroma that will soon fill your home as the bread bakes.
Step 10: Score the Bread
Before placing the loaf in the oven, use a sharp knife to score a few slashes on top of the dough. This step allows steam to escape during baking and helps your Rosemary & Roasted Garlic Artisan Bread rise beautifully. The pattern you create can also add an artistic touch to your finished loaf.
Step 11: Bake
Carefully slide the baking sheet into the preheated oven and bake for 30-35 minutes. You’ll know the bread is done when it’s golden brown on the outside and sounds hollow when tapped on the bottom. This is the moment your kitchen transforms into a bakery, and the warm scents swirl around you!
Step 12: Cool
Once baked, remove the bread from the oven and transfer it to a wire rack. Allow it to cool for at least 20 minutes before slicing. This cooling time is essential so the steam can dissipate, ensuring your Rosemary & Roasted Garlic Artisan Bread maintains its perfect texture and flavor.
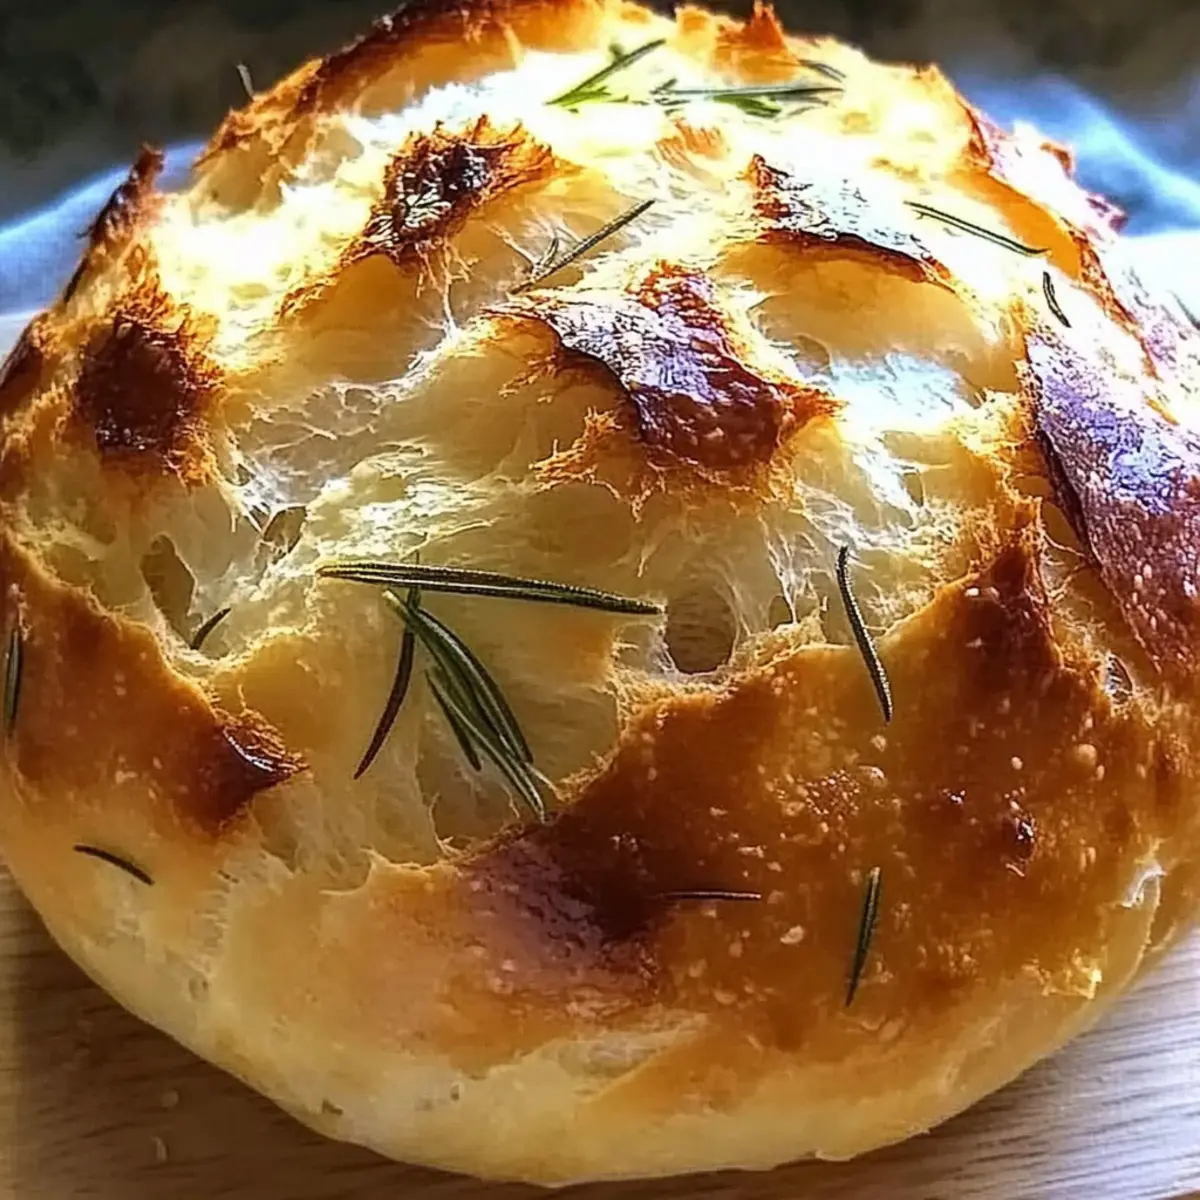
What to Serve with Rosemary & Roasted Garlic Artisan Bread
Indulge in a cozy dining experience that perfectly complements the enchanting flavors of this artisan bread.
-
Creamy Tomato Soup: Its rich and tangy flavor is a classic pairing that balances the herbaceous notes of the bread beautifully. Dipping a slice into warm soup creates a comforting meal that warms the heart.
-
Garden Salad with Vinaigrette: A light and refreshing salad adds a crisp element to your meal. The vinaigrette’s acidity cuts through the richness, making each bite delightful alongside the luscious bread.
-
Olive Oil and Balsamic Dip: Drizzling good quality olive oil and balsamic vinegar for dipping elevates the taste experience. The combination of savory and tangy flavors pairs wonderfully, inviting you to savor each bite.
-
Savory Cheese Platter: Include an assortment of cheeses like goat cheese, aged cheddar, and brie for a delightful balance. The diverse textures and flavors invite experimentation—try some cheese on your artisan bread!
-
Roasted Vegetables: Caramelized seasonal veggies add a touch of sweetness and earthiness that enhances the bread’s flavor profile. This duo creates a wholesome, hearty meal perfect for any occasion.
-
Herbed Butter: Spread some whipped herb-infused butter onto your warm bread for a luxurious treat. It’s simple yet indulgent—perfect for enhancing the already delicious flavors.
-
Chardonnay or Sparkling Wine: A glass of chilled Chardonnay or sparkling wine complements the aromatic notes of the bread, making it an ideal pairing for a celebratory dinner or casual evening at home.
-
Chocolate Fondue: End your meal on a sweet note by dipping pieces of bread into chocolate fondue. It’s an unexpected twist that captures both savory and sweet sensations in one delightful treat.
Make Ahead Options
These Rosemary & Roasted Garlic Artisan Bread loaves are perfect for meal prep enthusiasts, making mealtime a breeze! You can prepare the dough and let it rise for up to 24 hours in the refrigerator, which enhances the flavor while saving time. Just follow the recipe through the first rise, then punch the dough down, wrap it tightly in plastic wrap, and refrigerate. When you’re ready to bake, let the dough come to room temperature for about 30 minutes, then shape it, cover, and let it rise again for about 1 hour before scoring and baking. This way, you’ll enjoy that fresh-baked goodness just as deliciously as if you had made it all in one go!
Storage Tips for Rosemary & Roasted Garlic Artisan Bread
Room Temperature: Store the bread in a paper bag at room temperature for up to 3 days to maintain its crusty exterior and fresh flavor.
Fridge: Avoid refrigerating the artisan bread as it can dry out quickly. Instead, keep it in a cool, dry place away from direct sunlight.
Freezer: For longer storage, wrap the bread tightly in plastic wrap and then in aluminum foil before freezing. It can last for up to 3 months in the freezer without sacrificing flavor.
Reheating: To enjoy the bread warm, preheat your oven to 350°F (175°C) and pop the loaf in for 10-15 minutes. This will help rejuvenate the crust and fluffy interior of your Rosemary & Roasted Garlic Artisan Bread.
Expert Tips for Rosemary & Roasted Garlic Artisan Bread
-
Water Temperature Matters: Use a thermometer to ensure the warm water is about 110°F (43°C) to activate the yeast properly—too hot can kill it.
-
Let It Cool: Avoid slicing the bread immediately after baking; allow it to cool completely for the best texture and flavor retention in your artisan bread.
-
Kneading Technique: Knead until the dough is smooth and elastic, which can take around 8-10 minutes. This helps develop gluten for a nice chewy crust.
-
Second Rise Significance: Don’t skip the second rise! This crucial step ensures your loaf is light and airy, contributing to the wonderful texture of your Rosemary & Roasted Garlic Artisan Bread.
-
Experiment with Herbs: While rosemary and roasted garlic are delightful, feel free to explore other herbs such as thyme or oregano to customize your artisan bread.
Rosemary & Roasted Garlic Artisan Bread Variations
Feel free to explore these variations and make this delightful recipe your own!
- Herb Swap: Substitute fresh rosemary with other fresh herbs like thyme or oregano to twist the flavor profile.
- Cheesy Delight: Fold in grated cheese, such as Asiago or Parmesan, for a deliciously cheesy artisan bread.
- Mediterranean Flair: Mix in sun-dried tomatoes or olives for a burst of Mediterranean flavor that complements the garlic beautifully.
- Nutty Texture: Add chopped walnuts or pecans for an earthy crunch that pairs wonderfully with the soft interior.
- Spicy Kick: Incorporate red pepper flakes into the dough for an added heat that energizes each bite!
Feel inspired to adjust this recipe further? You might also enjoy my Hawaiian Banana Bread for a sweet twist or serve this bread alongside Roasted Apples Blue for a delightful savory-sweet combo!
- Sweet Option: Replace roasted garlic with caramelized onions and add a touch of honey to create a subtly sweet artisan bread perfect for spreads!
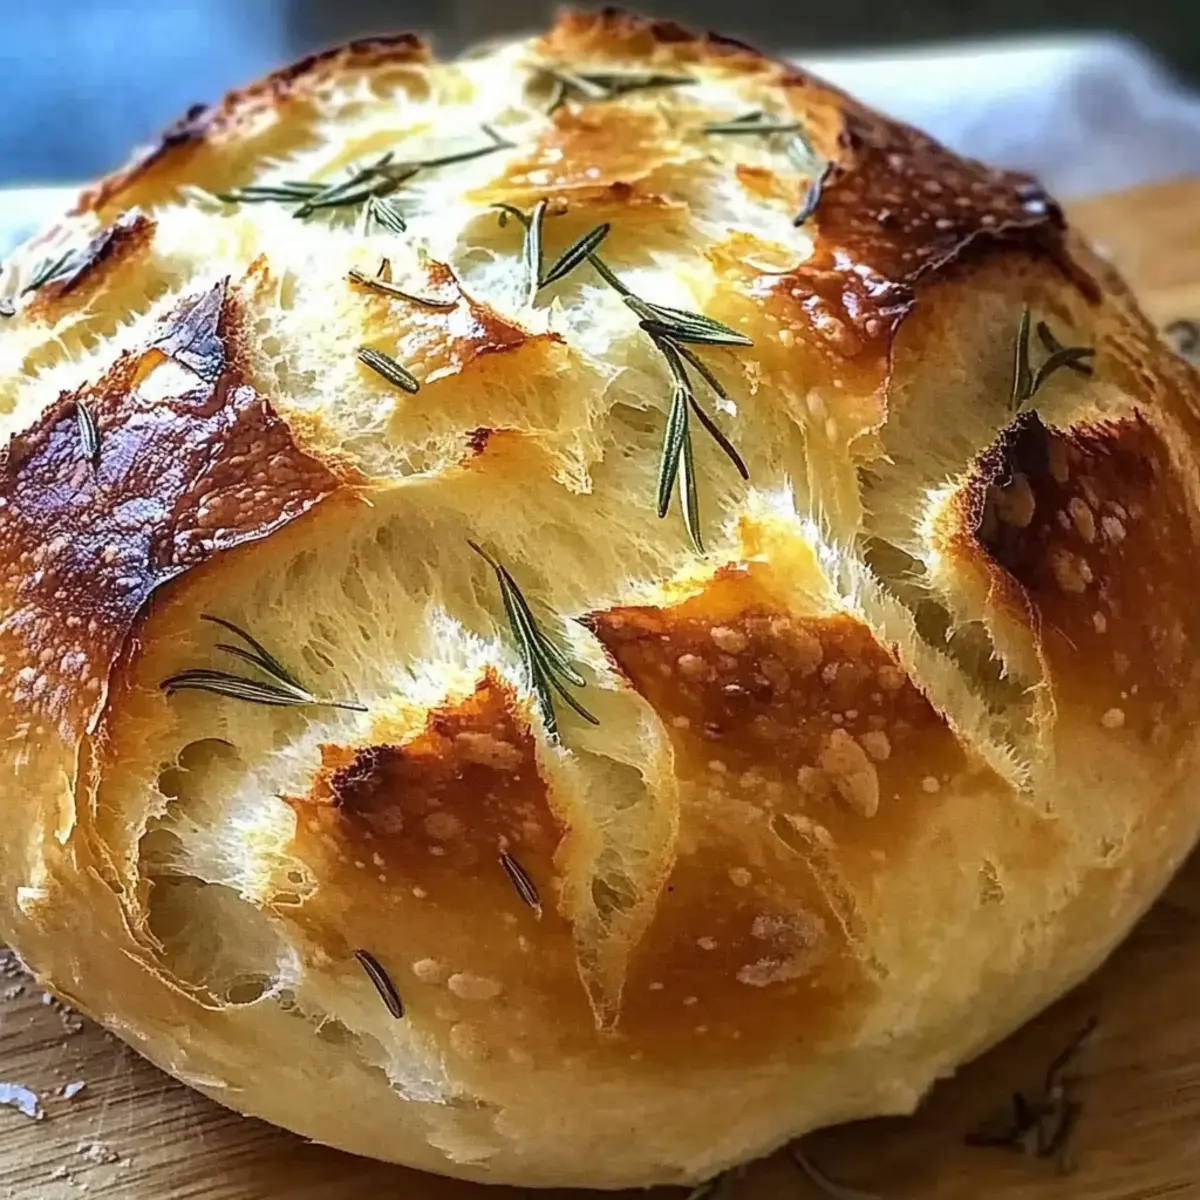
Rosemary & Roasted Garlic Artisan Bread Recipe FAQs
How should I select my ingredients for the best Rosemary & Roasted Garlic Artisan Bread?
Absolutely! Select fresh, high-quality ingredients for the most flavorful bread. Look for all-purpose flour that’s free from any lumps, and active dry yeast that’s fresh—not expired. When buying rosemary, opt for vibrant, fragrant sprigs without any wilting. For the garlic, choose firm cloves without dark spots, as they are the sweetest when roasted.
How should I store my Rosemary & Roasted Garlic Artisan Bread to keep it fresh?
To maintain its delightful crustiness, store your artisan bread in a paper bag at room temperature for up to 3 days. Avoid plastic wraps as they can make the crust soggy. For longer storage, wrap the bread tightly in plastic wrap, then in aluminum foil, and freeze it. This way, it will stay tasty for up to 3 months!
Can I freeze my Rosemary & Roasted Garlic Artisan Bread?
Yes, indeed! To freeze, once the bread is completely cooled, wrap it tightly in plastic wrap, followed by a layer of aluminum foil. Place it in the freezer, where it can stay fresh for up to 3 months. When you’re ready to enjoy it, simply let it thaw at room temperature or warm it up in the oven at 350°F (175°C) for 10-15 minutes to revive its crunchy crust.
What should I do if my dough isn’t rising properly?
Very! If your dough isn’t rising, it could be due to inactive yeast, often caused by water that’s too hot or cold. Always check the temperature (around 110°F or 43°C is ideal). If you suspect your yeast is old, you can conduct a quick test by adding it to warm water with sugar; it should become frothy in 5-10 minutes. If not, it’s time to get new yeast!
Can my dog enjoy Rosemary & Roasted Garlic Artisan Bread?
Although your dog might love the smell of this artisan bread, it’s best to avoid feeding it to them. Garlic can be harmful to dogs in large amounts, potentially causing digestive issues. Instead, share plain, homemade bread that doesn’t contain any garlic or salt for a safer treat!
What can I do if I’m allergic to one of the ingredients?
The more the merrier! If you’re allergic to certain ingredients, there are alternatives—swap all-purpose flour for a gluten-free blend, use an alternative sweetener instead of sugar, or replace olive oil with another neutral oil. Just remember to keep the flavors balanced and enjoy experimenting with this delicious Rosemary & Roasted Garlic Artisan Bread!
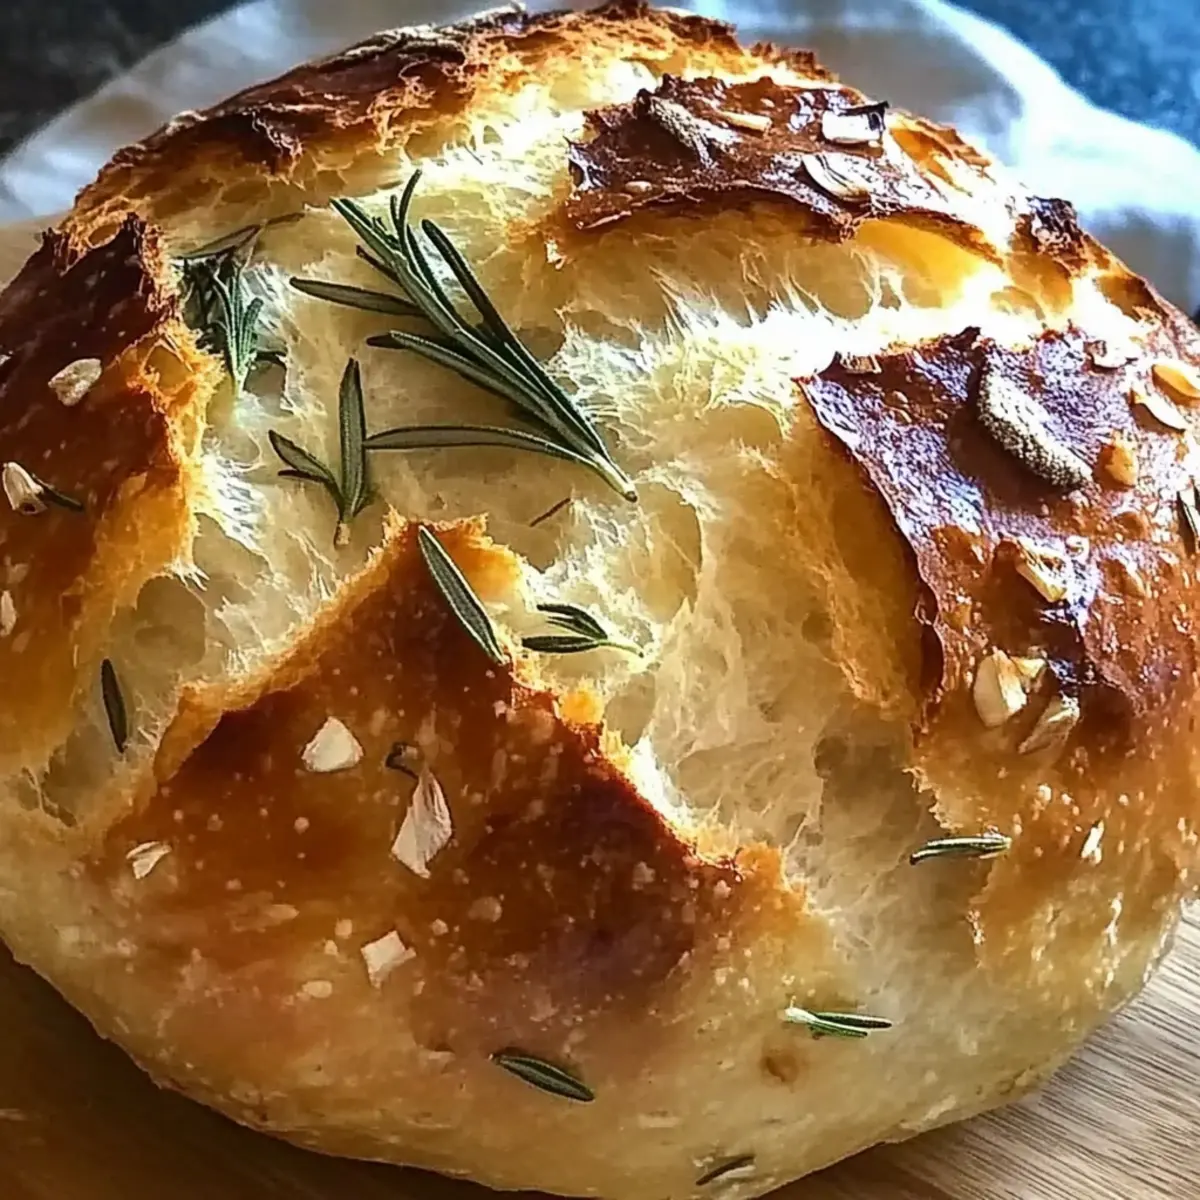
Perfect Rosemary & Roasted Garlic Artisan Bread Recipe
Ingredients
Equipment
Method
- In a small bowl, mix together warm water and sugar, then sprinkle the active dry yeast over the top. Let sit for 5-10 minutes until frothy.
- In a large bowl, whisk together the all-purpose flour and salt.
- Stir in the olive oil and mashed roasted garlic into the yeast mixture once frothy.
- Pour the yeast mixture into the flour mixture and add chopped fresh rosemary. Stir until a shaggy dough forms.
- Transfer the dough onto a floured surface and knead for about 8-10 minutes until smooth and elastic.
- Place the kneaded dough in a greased bowl, cover, and let rise in a warm spot for about 1 hour, or until doubled.
- Punch down the dough, transfer to a floured surface, and shape into a round loaf. Place on a parchment-lined baking sheet.
- Cover the shaped dough and let it rise for another hour until puffy.
- Preheat your oven to 450°F (232°C) about 20 minutes before baking.
- Score the top of the dough with a sharp knife to allow steam to escape.
- Bake for 30-35 minutes until golden brown and hollow when tapped.
- Remove from oven, transfer to a wire rack, and cool for at least 20 minutes before slicing.