
There’s nothing quite like the aroma of freshly baked goods wafting through the kitchen, is there? These Vanilla Orange Scones bring that comforting sensation front and center with their rich, buttery goodness infused with zesty orange and warm vanilla notes. Perfect for breakfast or brunch, these delightful scones not only promise incredible flavor but also boast a quick 15-minute prep time—ideal for those busy mornings or spontaneous gatherings. With their mouthwatering flaky texture and sweet orange glaze, you’ll feel like a gourmet chef wielding a pastry magic wand. Ready to elevate your baking game and treat your taste buds? Let’s dive into the world of Vanilla Orange Scones!
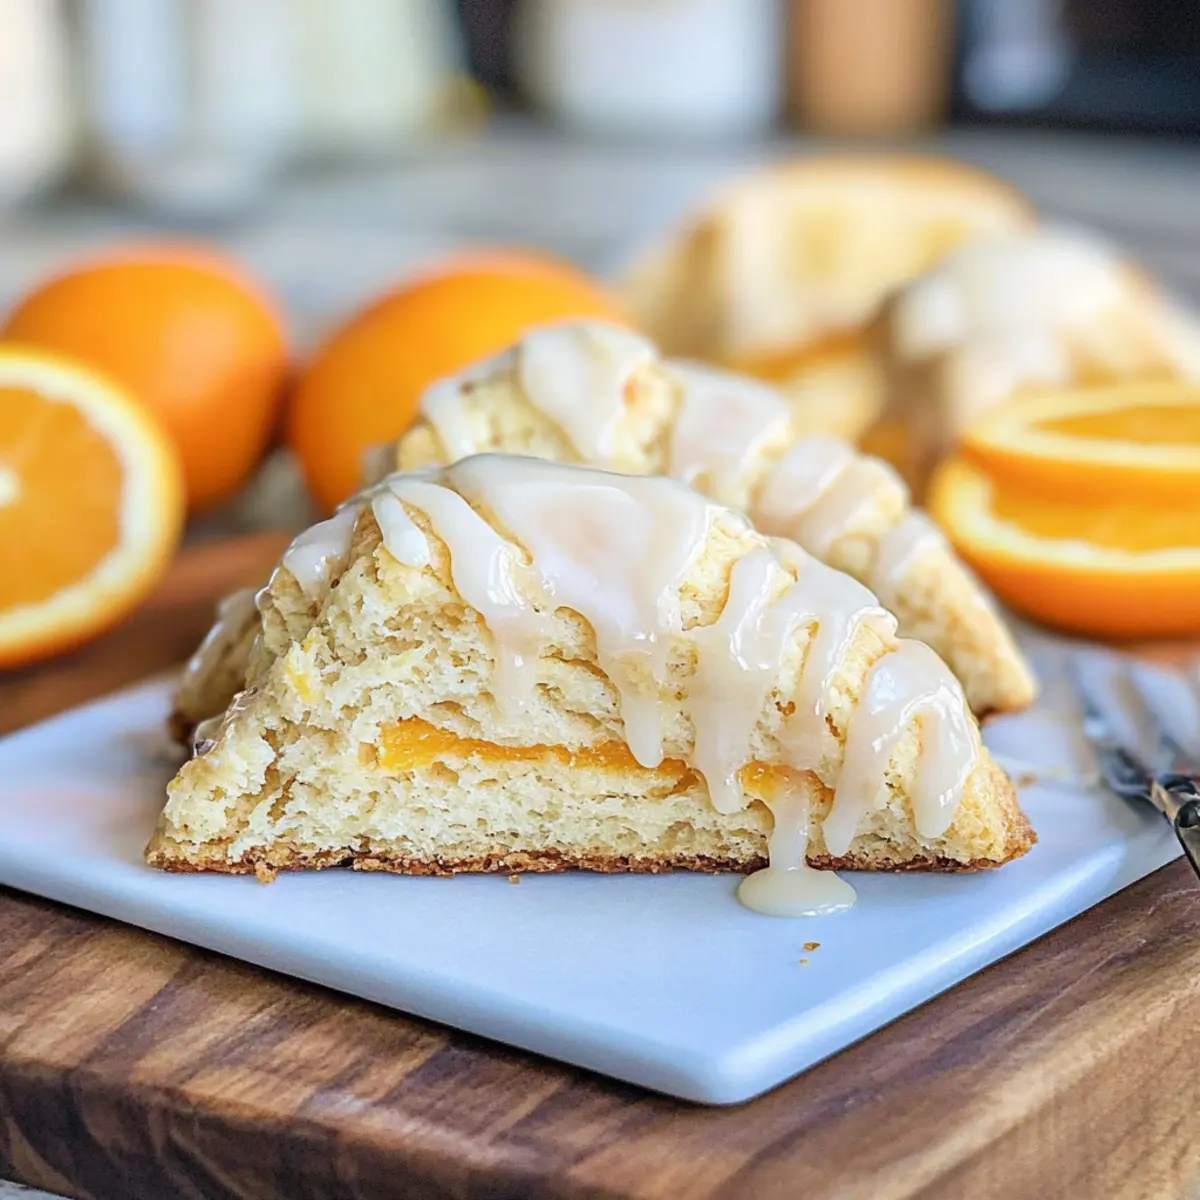
Why Are Vanilla Orange Scones Irresistible?
Flaky, Buttery Goodness: These scones are incredibly light, created with a perfectly balanced mixture of butter and flour that melts in your mouth.
Quick Preparation: With only 15 minutes needed to whip these up, you can easily make them for a last-minute brunch or cozy breakfast.
Citrusy Delight: The vibrant orange zest and subtle vanilla undertones make each bite a refreshing explosion of flavor that dances on your palate.
Versatile Options: Whether you prefer them square or wedge-shaped, this recipe accommodates your style, keeping things fun and creative in the kitchen. Don’t miss trying them alongside fresh fruit or warm butter for added enjoyment!
Gourmet Taste at Home: Feel like a professional baker with these impressive scones that deliver café-quality results without the fuss. Pair them with a delicious Orange Dreamsicle Cake for an unforgettable sweet experience!
Vanilla Orange Scone Ingredients
• To make these delightful Vanilla Orange Scones, gather the following ingredients:
For the Scones
- All-Purpose Flour – Provides structure; measure carefully to avoid excess.
- Granulated Sugar – Adds sweetness; can be adjusted to taste.
- Baking Powder – Leavening agent for a light texture; ensure it’s fresh for proper rising.
- Salt – Enhances flavors; essential for balance.
- Orange Zest – Infuses the scones with citrus aroma and flavor; fresh zest is recommended.
- Unsalted Butter – Creates flakiness when cut into the flour; ensure it’s chilled and diced.
- Large Egg – Binds the ingredients and adds richness; use at room temperature for better mixing.
- Heavy Cream – Moisture and richness; helps form the dough, add gradually to avoid stickiness.
- Vanilla Bean Paste – Enhances flavor with its rich profile; can be replaced with vanilla extract, though flavor may vary.
For the Glaze
- Powdered Sugar – Sweetens and thickens the glaze; sift before use to avoid lumps.
- Fresh Orange Juice – Adds flavor and liquid to the glaze; fresh squeezed is best.
- Milk – Thin out glaze for desired consistency; any milk variety can be used.
Step‑by‑Step Instructions for Vanilla Orange Scones
Step 1: Preheat the Oven
Begin by preheating your oven to 400°F (200°C). Prepare a baking sheet by lining it with parchment paper, ensuring your scones will bake evenly without sticking. This initial step is crucial as it allows for the perfect rise and browning of your Vanilla Orange Scones once they hit that hot oven.
Step 2: Mix Dry Ingredients
In a large mixing bowl, whisk together the all-purpose flour, granulated sugar, baking powder, salt, and fresh orange zest. Make sure to combine these dry ingredients thoroughly to ensure uniform distribution. This blend of flour and zesty orange will form the foundation for your delightful scone texture and flavor.
Step 3: Cut in Butter
Next, take your chilled, diced unsalted butter and add it to the flour mixture. Using a pastry cutter or your fingertips, blend the butter into the flour until the mixture resembles coarse crumbs with pea-sized pieces throughout. This step is key to achieving the flaky texture that makes Vanilla Orange Scones so irresistible.
Step 4: Combine Wet Ingredients
In a separate bowl, whisk together the large egg, heavy cream, and vanilla bean paste until well combined. Gently pour this mixture into your dry ingredients, taking care to mix until just combined. Be cautious not to overwork the dough; you want it to be slightly sticky but manageable to ensure a tender scone.
Step 5: Shape the Dough
Turn the dough onto a floured surface and shape it according to your preference: for squares, press it into a 3/4 inch thick square and cut into 9 squares, or for wedges, divide the dough into two discs and cut each into 4 triangles. This flexibility allows you to customize your Vanilla Orange Scones for your brunch or breakfast table.
Step 6: Bake Scones
Arrange the shaped scones on your prepared baking sheet. Brush the tops gently with a bit of heavy cream to enhance browning and flakiness. Bake in the preheated oven for 12-15 minutes, keeping an eye on them until they turn a beautiful golden brown. The aroma will fill your kitchen, making it hard to wait for these delicious scones!
Step 7: Prepare the Glaze
While the scones are baking, prepare the sweet orange glaze. In a bowl, whisk together the sifted powdered sugar, fresh orange juice, and a splash of milk. Continue to mix until you achieve a smooth consistency. This glaze will add a glossy finish and sweetening touch to your scrumptious Vanilla Orange Scones.
Step 8: Glaze the Scones
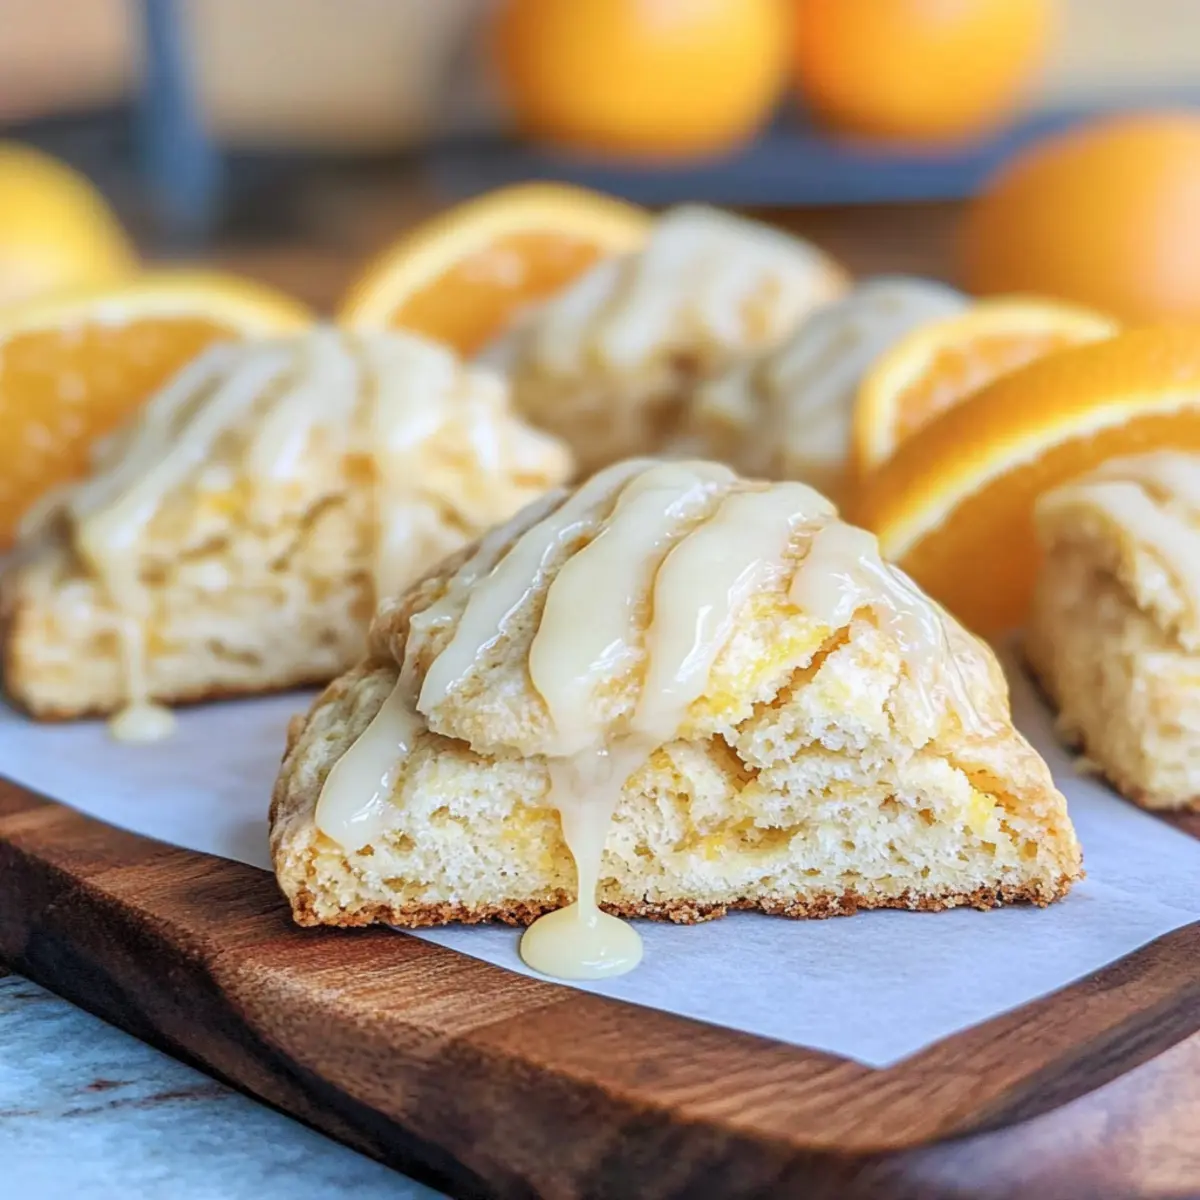
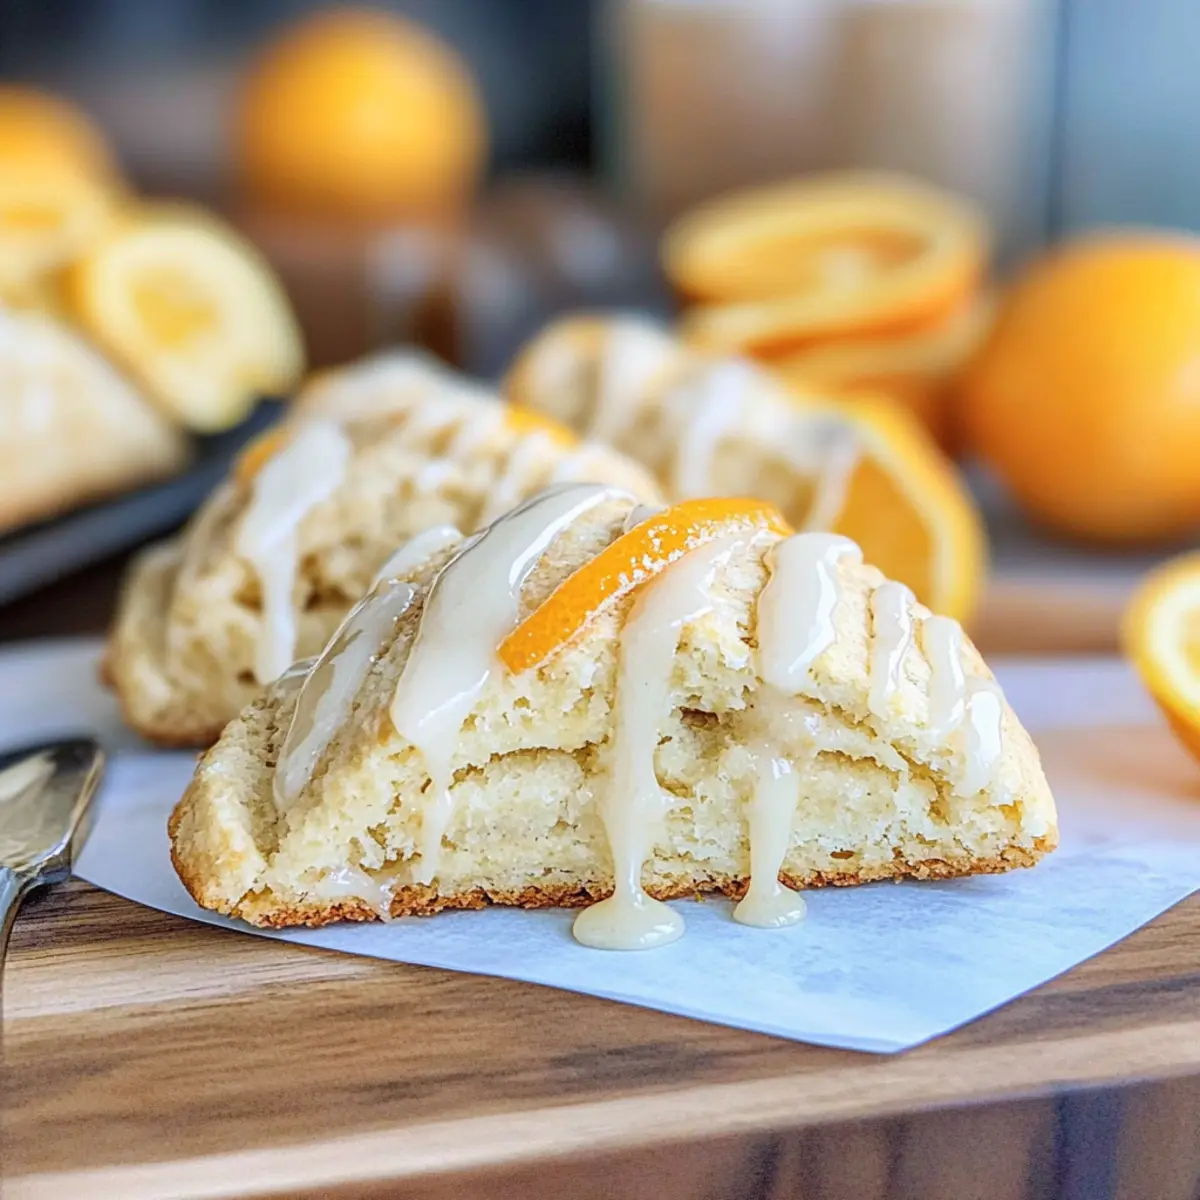
Once the scones have cooled completely, it’s time to glaze them. You can either drizzle the glaze over each scone or dip the tops directly into the glaze for a more generous coating. Allow the glaze to set for a few minutes before serving, as this gives your Vanilla Orange Scones a beautiful finish that’s ready for the spotlight!
Expert Tips for Baking Vanilla Orange Scones
-
Measure Flour Accurately: Always spoon flour into the measuring cup and level it off to avoid dense scones that don’t rise well.
-
Cool Butter Matters: Ensure your butter is chilled before cutting it into the flour. Warm butter can lead to flatter, less flaky scones.
-
Don’t Overmix Dough: Gently mix the wet and dry ingredients until just combined; overmixing can toughen your Vanilla Orange Scones.
-
Proper Cooling: Allow scones to cool completely before adding the glaze to prevent it from melting and becoming soggy.
-
Flaky Finish: Brush the tops with cream before baking, but avoid sealing the edges to ensure optimal flakiness in your scones.
Storage Tips for Vanilla Orange Scones
-
Room Temperature: Store freshly baked scones in an airtight container at room temperature for up to 3 days. This keeps them soft and prevents them from drying out.
-
Fridge: If you prefer to extend their freshness, place the scones in the fridge in an airtight container for up to 5 days. Just remember to allow them to come to room temperature before enjoying!
-
Freezer: For longer storage, freeze unbaked scones on a baking tray until solid, then transfer to a freezer-safe bag for up to 3 months. Bake from frozen, adding a few extra minutes to the baking time for delicious warm Vanilla Orange Scones anytime.
-
Reheating: Reheat day-old scones in a preheated oven at 350°F (175°C) for about 5-10 minutes, or until warm again. This helps restore their lovely flaky texture and flavor!
What to Serve with Vanilla Orange Scones
Pairing these delightful scones with the perfect accompaniments can elevate your breakfast or brunch experience to new heights.
-
Fresh Fruit Salad: A colorful medley of seasonal fruits brightens your plate, enhancing the citrus notes in the scones while adding a refreshing crunch. It’s a vibrant way to start your morning!
-
Rich Greek Yogurt: Creamy and tangy, Greek yogurt serves as an excellent balance to the sweetness of the scones. You can even swirl in some honey or top it with a sprinkle of granola for added texture.
-
Flavored Tea: A warm cup of Earl Grey or chamomile tea complements the vanilla and orange beautifully. The gentle aromas blend perfectly with the scone’s flavors, perfect for an invigorating morning ritual.
-
Honey Butter: The sweet, creamy richness of honey butter enhances the scone’s buttery texture, adding a touch of decadent indulgence. Simply whip honey into softened butter for a delightful spread.
-
Cinnamon Sugar Dusting: Sprinkle a bit of cinnamon sugar over warm scones for a sweet, spicy twist that contrasts beautifully with the citrus glaze. It’s like a hug for your taste buds!
-
Devonshire Cream: Embrace a traditional touch by serving these scones with rich Devonshire cream. This thick, luscious cream adds an elegant touch and a sinfully rich flavor—perfect for a leisurely brunch.
-
Sparkling Lemonade: For a refreshing beverage choice, serve your scones with sparkling lemonade. The zesty kick of lemon pairs beautifully with the orange flavor, creating a vibrant flavor explosion.
-
Coffee or Espresso: A rich cup of coffee or a shot of espresso balances the sweetness of the scones. Their bold flavors provide a perfect counterpoint, igniting a delicious morning ritual.
These pairings not only enhance your vanilla orange scones but also create a delightful spread that will impress family and friends around the table!
Vanilla Orange Scones Variations & Substitutions
Feel free to get creative and make these Vanilla Orange Scones truly yours with delightful twists and substitutions!
-
Citrus Swap: Replace orange zest with lemon or grapefruit for a refreshing citrus alternative. Each option brings a unique flavor to the forefront.
-
Nutty Flavor: Use almond extract instead of vanilla bean paste for a lovely nutty nuance in every bite. It adds a warmth that complements the orange beautifully.
-
Sweet Add-ins: Fold in chocolate chips or dried cranberries for a delectable texture and bursts of flavor throughout your scones. Imagine the gooey chocolate melting in your mouth!
-
Whole Wheat Flour: Substitute half of the all-purpose flour for whole wheat flour for a heartier, nutty flavor while still keeping the scone nice and flaky.
-
Vegetable Oil: For a dairy-free version, swap out the butter for a vegetable oil such as coconut or canola. Just adjust the amounts slightly to maintain that tender texture.
-
Baking Spice: Add a sprinkle of cinnamon or nutmeg to the dry ingredients for a warm, cozy spice note that perfectly enhances the vanilla and orange.
-
Gluten-Free Option: Utilize a gluten-free all-purpose flour blend to create scones that everyone can enjoy without sacrificing flavor or texture.
-
Kick of Heat: If you’re feeling adventurous, a pinch of cayenne or chili powder can add an intriguing warmth to your scones, offering a unique flavor experience.
For a tasty accompaniment, try serving your Vanilla Orange Scones with a refreshing cup of tea or alongside some sweet White Chocolate Scones. So many possibilities await – happy baking!
Make Ahead Options
These Vanilla Orange Scones are perfect for meal prep enthusiasts! You can mix the dry ingredients (flour, sugar, baking powder, salt, and orange zest) up to 3 days in advance, storing them in an airtight container. For added convenience, you can also shape the dough and refrigerate it for up to 24 hours before baking, ensuring the butter remains cold for that lovely flaky texture. When you’re ready to enjoy, simply bake the scones directly from the refrigerator, adding a couple of extra minutes to the baking time for delicious, freshly baked scones that taste just as divine. Remember to glaze them after cooling to maintain their beautiful, delicious finish!

Vanilla Orange Scones Recipe FAQs
How do I choose the best orange for zesting?
Absolutely! When selecting an orange for zesting, look for firm, shiny oranges with vibrant skin. Avoid any with dark spots or wrinkles, as these may indicate overripeness. A navel orange is a great option, thanks to its thicker skin and pleasant aroma, but feel free to experiment with blood oranges or mandarins for a different flavor twist!
How should I store leftover Vanilla Orange Scones?
To keep your scones fresh, store them in an airtight container at room temperature for up to 3 days. If you want to enjoy them a bit longer, place them in the fridge, where they’ll stay fresh for up to 5 days. Just remember to bring them back to room temperature before serving for the best texture.
Can I freeze Vanilla Orange Scones?
Certainly! To freeze unbaked scones, arrange them on a parchment-lined baking tray, then freeze until solid. Afterward, transfer the scones to a freezer-safe bag for up to 3 months. When you’re ready to enjoy them, bake from frozen, adding 3-5 extra minutes to the baking time. This way, you can have fresh scones anytime!
What should I do if my scones are too dry?
If your scones turn out dry, it’s often a result of overmixing the dough or too much flour being added. To fix this, next time, make sure to measure your flour accurately by spooning it into the measuring cup and leveling it off. Additionally, be gentle when mixing the wet and dry ingredients; just combine until you see no dry flour.
Are Vanilla Orange Scones suitable for vegans?
While traditional Vanilla Orange Scones include dairy and eggs, you can easily make them vegan! Substitute the unsalted butter with a plant-based butter alternative, use a flax egg (1 tbsp flaxseed meal mixed with 2.5 tbsp water) in place of the egg, and switch out the heavy cream for a non-dairy version. You’ll still achieve that flaky goodness everyone loves!
Melt-in-Your-Mouth Vanilla Orange Scones for Breakfast Magic
Ingredients
Equipment
Method
- Preheat your oven to 400°F (200°C) and prepare a baking sheet with parchment paper.
- In a large mixing bowl, whisk together the all-purpose flour, granulated sugar, baking powder, salt, and orange zest.
- Cut in the chilled, diced unsalted butter into the flour mixture until it resembles coarse crumbs.
- In a separate bowl, whisk together the egg, heavy cream, and vanilla bean paste, then mix into the dry ingredients until just combined.
- Shape the dough into squares or wedges according to your preference and cut into desired shapes.
- Arrange the shaped scones on the baking sheet, brush with cream, and bake for 12-15 minutes until golden brown.
- While baking, prepare the glaze by whisking together powdered sugar, orange juice, and milk until smooth.
- Once cooled, glaze the scones and allow the glaze to set before serving.