
As I stood in the kitchen surrounded by comforting aromas, a lightbulb moment struck: why not transform rich, indulgent flavors into a guilt-free treat? That’s how these Healthy No-Bake Chocolate Fig Bars came to life. Combining chewy Turkish figs with crunchy hazelnuts and enveloped in luscious dark chocolate, they’re a delightful nod to traditional candy bars—without the refined sugars and dairy. This recipe is crafted for everyone, whether you’re looking for a quick dessert to impress guests or a wholesome snack to satisfy your sweet tooth between meals. They’re not only a breeze to whip up but also vegan, gluten-free, and packed with nutrients. Ready to discover how to create your own delicious batch? Let’s dive in!
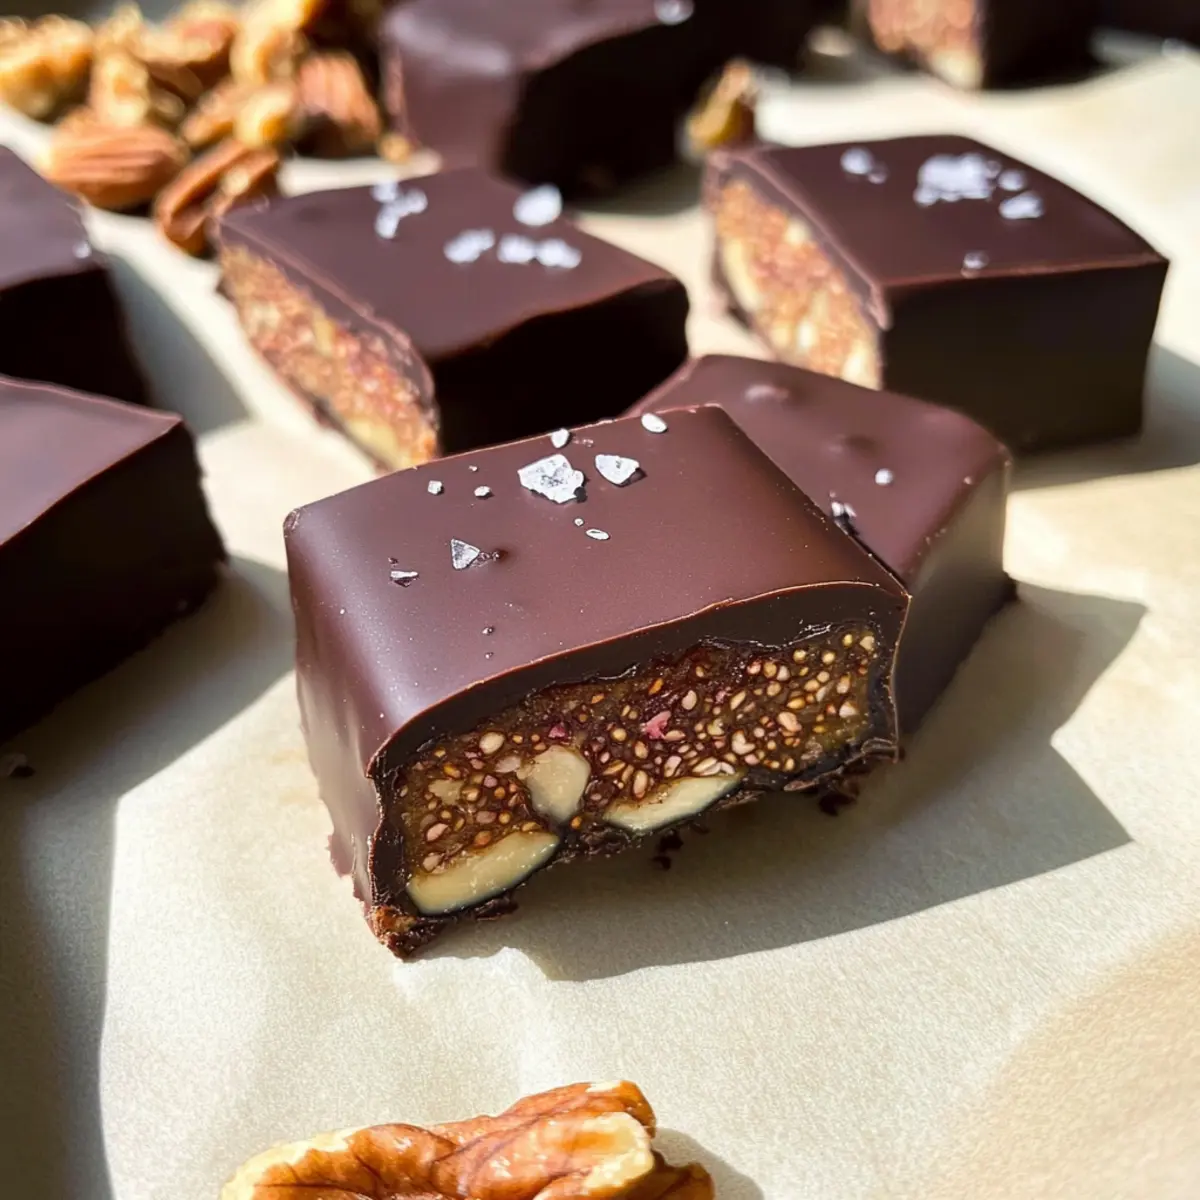
Why Are These Chocolate Fig Bars Amazing?
Nutritious Delight: These Healthy Chocolate Fig Bars are a powerhouse of nutrients, blending figs and hazelnuts to create a wholesome treat that won’t derail your diet.
Effortless Preparation: With a no-bake method, you can whip these up in no time, making them an ideal solution for those busy days when you crave something sweet.
Irresistibly Decadent: Rich dark chocolate envelops a chewy filling, giving you the indulgence of a dessert without the guilt—perfect for satisfying your cravings!
Versatile Options: Feel free to customize by swapping hazelnuts for walnuts, or experimenting with different varieties of dried figs for a unique twist.
Crowd-Pleasing Snack: Whether for a party or a solo indulgence, these bars are sure to wow friends and family alike—though you may want to hide a few for yourself!
For more delightful treats, don’t miss my recipe for White Chocolate Raspberry Cheesecake Balls or the Chocolate Marshmallow Swirl Cookies.
Chocolate Fig Bars Ingredients
For the Filling
• Dried Turkish Figs – Provides natural sweetness and a chewy texture; remember to remove stems before processing.
• Hazelnuts – Adds flavor and structure; can be substituted with walnuts for a different nutty profile.
For the Coating
• Dark Chocolate – Enhances sweetness; ensure it’s dairy-free for a vegan-friendly option.
• Coconut Oil – Aids in melting chocolate and gives a creamier texture; substitute with ghee or palm shortening if necessary.
For Binding
• Water – Helps bind the filling ingredients together for a cohesive mixture.
Step‑by‑Step Instructions for Healthy No-Bake Chocolate Fig Bars
Step 1: Prepare the Baking Pan
Begin by lining an 8″ x 8″ baking pan with parchment paper or aluminum foil, leaving some overhang to make removing the bars easier later. Ensure the lining is smooth and flat against the edges of the pan to avoid any creases. This step is essential for achieving perfectly shaped Chocolate Fig Bars!
Step 2: Blend the Filling Ingredients
In a food processor, combine the dried Turkish figs and hazelnuts. Pulse until the mixture resembles a coarse meal, roughly 1 minute. As you blend, stop occasionally to scrape down the sides to ensure even mixing. The figs should break down and blend with the nuts, creating a sticky, chewy mixture perfect for the filling.
Step 3: Add Water for Binding
Gradually drizzle in the water while continuing to blend the fig and nut mixture. Blend until the ingredients form a cohesive and sticky dough that holds together when pressed—this should take about 30 seconds. If necessary, add a little extra water, but be cautious not to make it too wet; the filling should remain firm for your Chocolate Fig Bars.
Step 4: Press the Mixture into the Pan
Transfer the sticky mixture into your prepared baking pan. Using your hands or the back of a spatula, firmly press it into an even layer, ensuring it’s packed tightly for stability. You should aim for a smooth surface, which is important to set the structure of the bars. Once done, place the pan in the freezer for 1 hour to firm up.
Step 5: Melt the Chocolate Coating
After the filling has chilled, melt the dark chocolate and coconut oil in a stovetop double boiler or a microwave-safe bowl in 30-second intervals. Stir between each interval until the mixture is completely smooth and glossy. This creamy chocolate coating will add a rich flavor to your Healthy No-Bake Chocolate Fig Bars.
Step 6: Cut and Dip the Bars
Once the filling is firm, remove the pan from the freezer and gently lift the bars out using the parchment overhang. Place the chilled slab on a cutting board and slice it into 16 equal pieces. Dip each piece into the melted chocolate using a fork, coating all sides for that decadent touch, and let the excess chocolate drip off.
Step 7: Set the Coating and Finish
Place the coated Chocolate Fig Bars on a parchment-lined surface. Drizzle with any remaining melted chocolate and sprinkle with flaked sea salt for a touch of added flavor. This step not only enhances their appearance but also gives an extra pop of taste.
Step 8: Chill to Set the Chocolate
Return the dipped bars to the refrigerator for about 15-20 minutes, or until the chocolate coating is fully set. This ensures the bars hold together and have a delightful crunch when you take a bite. Once set, your Healthy No-Bake Chocolate Fig Bars are ready to be enjoyed!
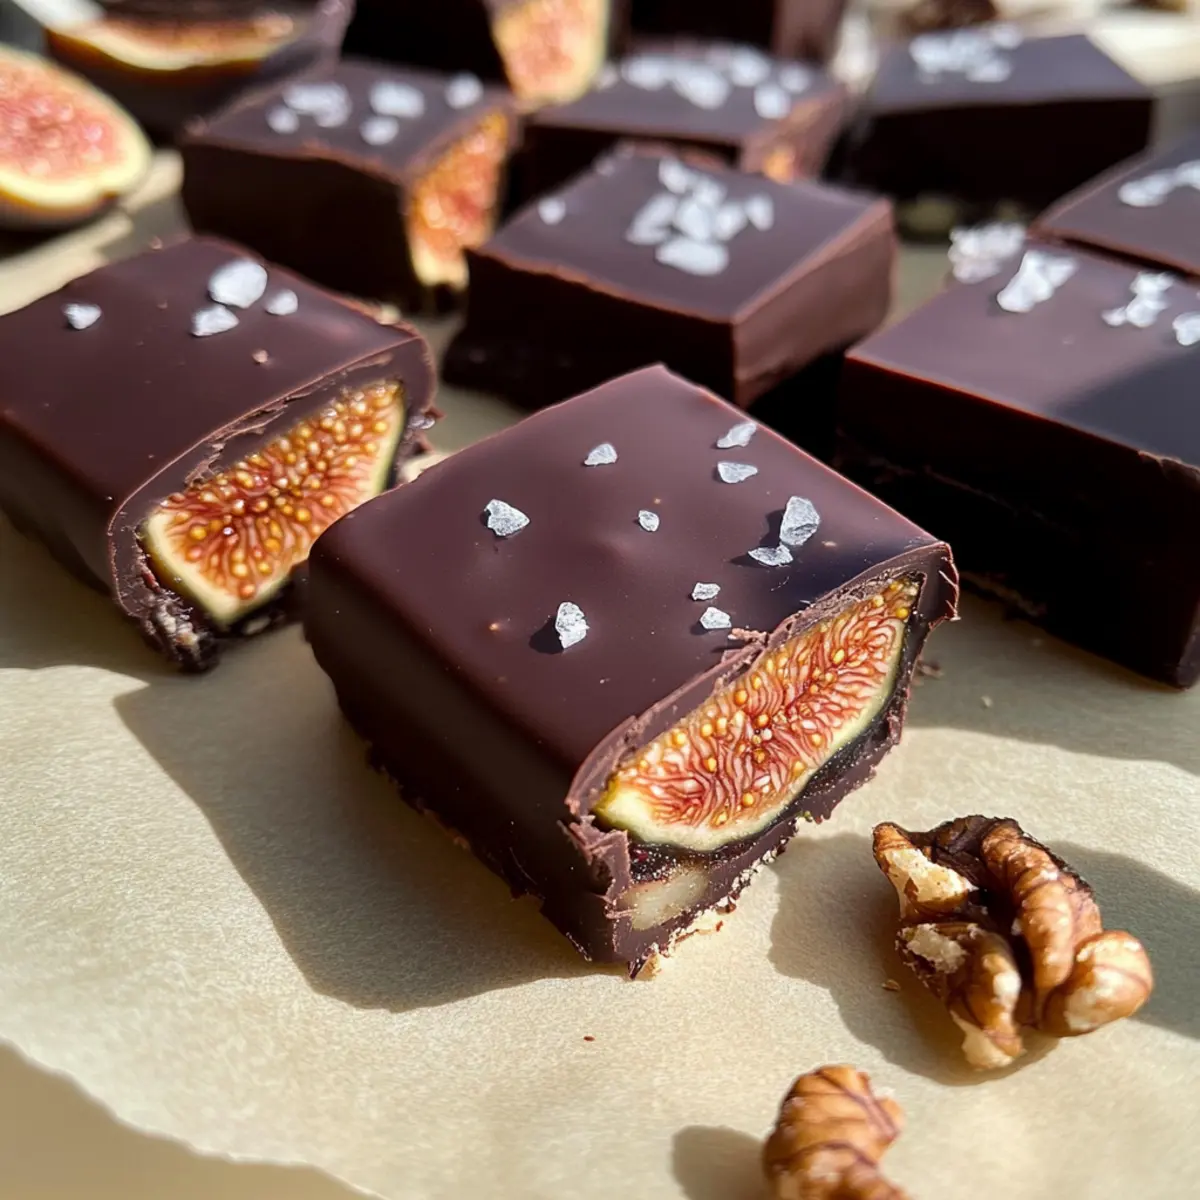
Expert Tips for Chocolate Fig Bars
Firm Pressing: Ensure you press the mixture firmly into the pan. This prevents the bars from crumbling when cut, providing better structure.
Chill Thoroughly: For easier dipping, make sure the bars are fully chilled. This helps the chocolate adhere better and creates a smooth coating.
Choose Quality Chocolate: Opt for high-quality dark chocolate; it elevates flavor and ensures a truly indulgent experience in your Chocolate Fig Bars.
Watch the Water: When adding water, start with a small amount and increase gradually. Too much water can make the filling too wet, compromising texture.
Store Wisely: Keep uneaten bars in an airtight container in the fridge to maintain freshness and flavor for up to a week.
Make Ahead Options
These Healthy Chocolate Fig Bars are a lifesaver for busy home cooks looking to streamline meal prep! You can prepare the filling up to 24 hours in advance; simply follow the first four steps of the recipe, then cover and refrigerate the pressed mixture. To maintain freshness and flavor, ensure the filling is tightly wrapped to avoid moisture loss. When you’re ready to indulge, take it out, melt the chocolate coating, dip the bars, and refrigerate them for about 15-20 minutes to set. This way, you can enjoy rich, decadent Chocolate Fig Bars with minimal effort during your hectic week!
How to Store and Freeze Chocolate Fig Bars
Room Temperature: StoreChocolate Fig Bars at room temperature for up to 3 days, but be mindful of humidity, which may affect their texture.
Fridge: Keep the bars in an airtight container in the refrigerator for up to one week. This helps maintain their chewiness and freshness.
Freezer: For long-term storage, place the Chocolate Fig Bars in an airtight container and freeze for up to two months. Allow them to thaw in the fridge before enjoying.
Reheating: There’s no need to reheat these bars, but if you prefer a softer texture, let them sit at room temperature for about 10 minutes before serving.
Chocolate Fig Bars Variations
Feel free to get creative with your Chocolate Fig Bars by trying out these delightful substitutions and twists!
-
Nut-Free: Swap hazelnuts for sunflower seeds or pumpkin seeds to keep it nut-free while adding crunch.
-
Coconut-Free: Use extra virgin olive oil in place of coconut oil for a different flavor profile—delightfully unique!
-
Sweetener Boost: Drizzle with maple syrup or agave nectar before the chocolate setting to enhance sweetness naturally. This adds an extra layer of flavor that makes the bars irresistible!
-
Fruit Fusion: Incorporate dried cherries or cranberries into the filling for a burst of fruity tartness alongside the figs. The medley of flavors will surprise your taste buds!
-
Spicy Kick: Add a sprinkle of cayenne or chili powder to the chocolate coating for a spicy twist. This creates an unexpected but tantalizing chocolate experience!
-
Try Different Chocolates: Experiment with milk chocolate or white chocolate for the coating to see how it changes the flavor. Each chocolate brings its own special touch to the bars. For a dreamy treat, you might also explore the velvety taste of White Chocolate Toffee or even a Chocolate Marshmallow Swirl cookies!
-
Add Some Crunch: Toss in some crushed pretzels or crispy rice cereal into the filling for added texture and an enjoyable crunch with each bite.
-
Flavored Chocolate: Use flavored chocolate, like orange or mint dark chocolate, for the coating to bring a new and exciting taste to your Chocolate Fig Bars. The harmony of citrus or mint with the figs creates a refreshing experience!
What to Serve with Healthy No-Bake Chocolate Fig Bars
Elevate your indulgent experience with delightful pairings that enhance these luscious vegan treats.
-
Creamy Almond Milk: A soothing glass of almond milk perfectly complements the richness of the chocolate and fig, creating a velvety pairing that’s oh-so-satisfying.
-
Fresh Berries: The bright tartness of strawberries or raspberries provides a refreshing contrast, balancing the sweetness of the Chocolate Fig Bars for a harmonious flavor experience.
-
Chia Seed Pudding: Silky and nutritious, this lightly sweetened pudding adds a delightful, creamy texture that pairs beautifully with the chewy bars, making for a wholesome dessert combination.
-
Coconut Yogurt: The tangy creaminess of coconut yogurt contrasts with the rich chocolate coating. It’s light, refreshing, and encourages a delightful layering of flavors with each bite.
-
Nutty Granola: A sprinkle of homemade or store-bought nutty granola adds a satisfying crunch to your dessert spread, delivering a burst of wholesome goodness alongside the chewy bars.
-
Herbal Tea: Sipping on a warm chamomile or mint tea brings a calming element to your snack time, enhancing the overall experience with its subtle flavors and aromas.
-
Dark Chocolate Espresso: For coffee aficionados, a shot of rich espresso or a dark chocolate mocha offers a decadent, strong flavor that enhances the dark chocolate richness of the bars.
-
Coconut Macaroons: These sweet, chewy coconut delights provide an equally indulgent yet contrasting texture, creating a delightful pairing that’s sure to satisfy any sweet tooth.
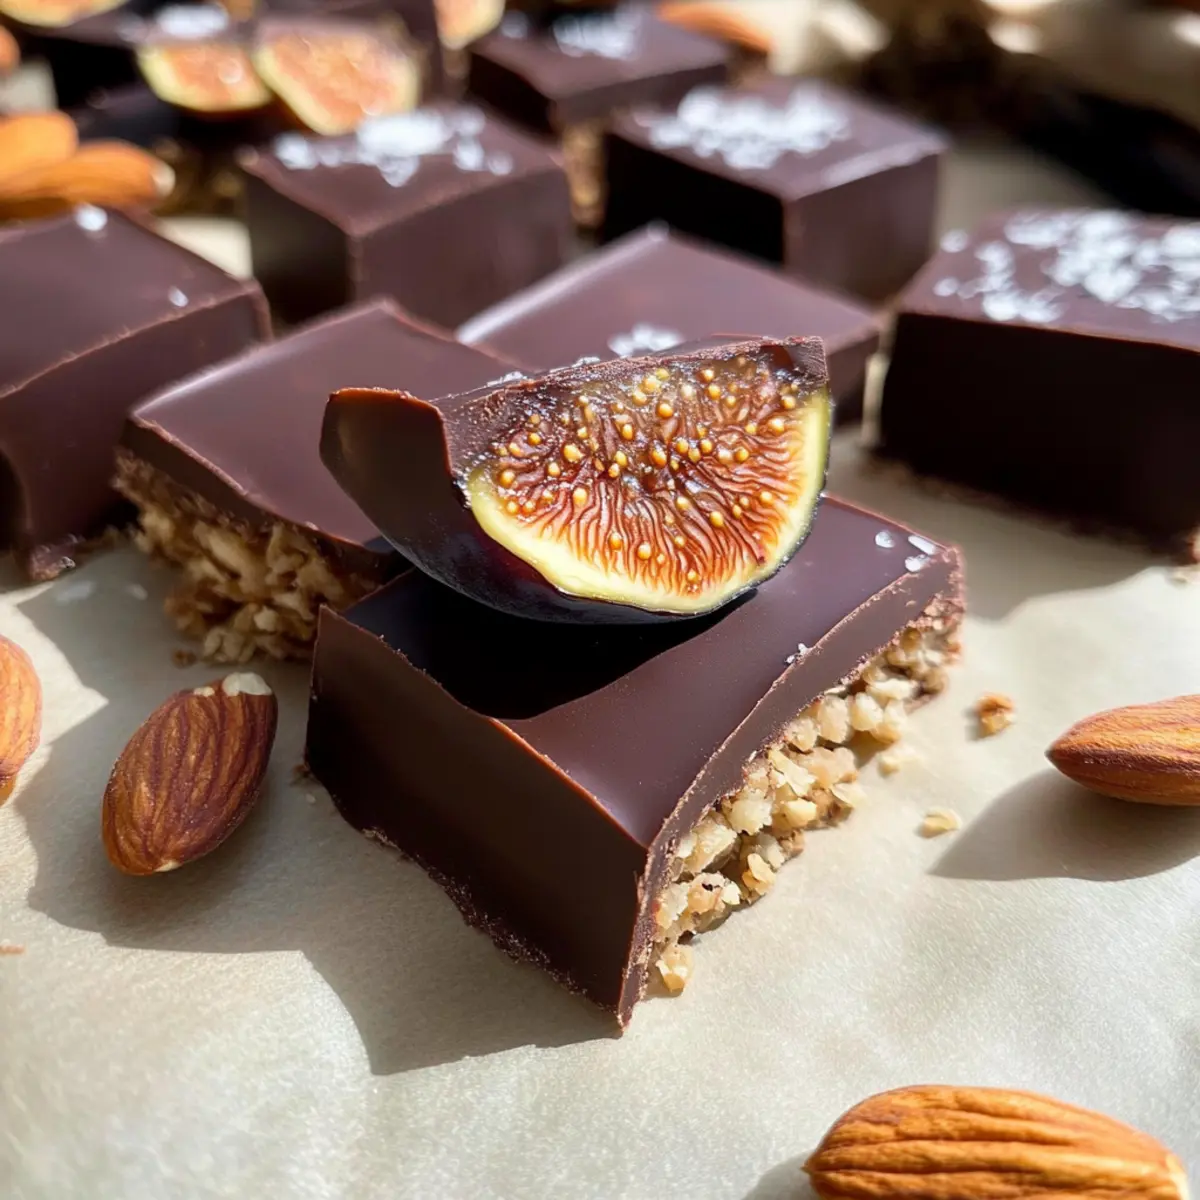
Healthy No-Bake Chocolate Fig Bars Recipe FAQs
How do I select ripe dried figs?
Absolutely! When choosing dried Turkish figs, look for those that are plump and moist. Avoid figs that have dark spots all over, as this may indicate they are spoiled. A good fig should have a slight give when squeezed gently and exude a sweet, fruity aroma.
What is the best way to store Chocolate Fig Bars?
I recommend storing these bars in an airtight container in the refrigerator for optimal freshness. They’ll stay delicious for up to one week. If you prefer a longer storage period, you can freeze them!
Can I freeze Chocolate Fig Bars?
Yes, indeed! To freeze your Healthy Chocolate Fig Bars, first cut them into pieces and then place them in a single layer on a baking sheet to freeze for about 1-2 hours. After firming up, transfer them to an airtight container or a freezer-safe zip-top bag (with parchment paper in between layers) and store for up to 2 months. When you’re ready to savor, just thaw them in the fridge overnight.
What should I do if my filling mixture is too dry?
No worries! If your mixture seems dry and doesn’t hold together, gradually add more water—1 tablespoon at a time—while blending until you reach the desired sticky consistency. Just be careful not to overdo it; you want it to remain compact and firm for those delectable bars.
Are these bars safe for people with nut allergies?
Unfortunately, these Healthy Chocolate Fig Bars are not suitable for those with nut allergies due to the use of hazelnuts. However, you can replace them with seeds such as sunflower seeds or pumpkin seeds for a crunchy texture. Just ensure that you’re using ingredients that are safe for your dietary needs.
Can I use a different type of chocolate for coating?
Very! While dark chocolate complements the flavors beautifully, you can use milk chocolate or white chocolate if you prefer. Just make sure to check that it aligns with your dietary requirements—keeping it vegan means opting for a dairy-free chocolate option!
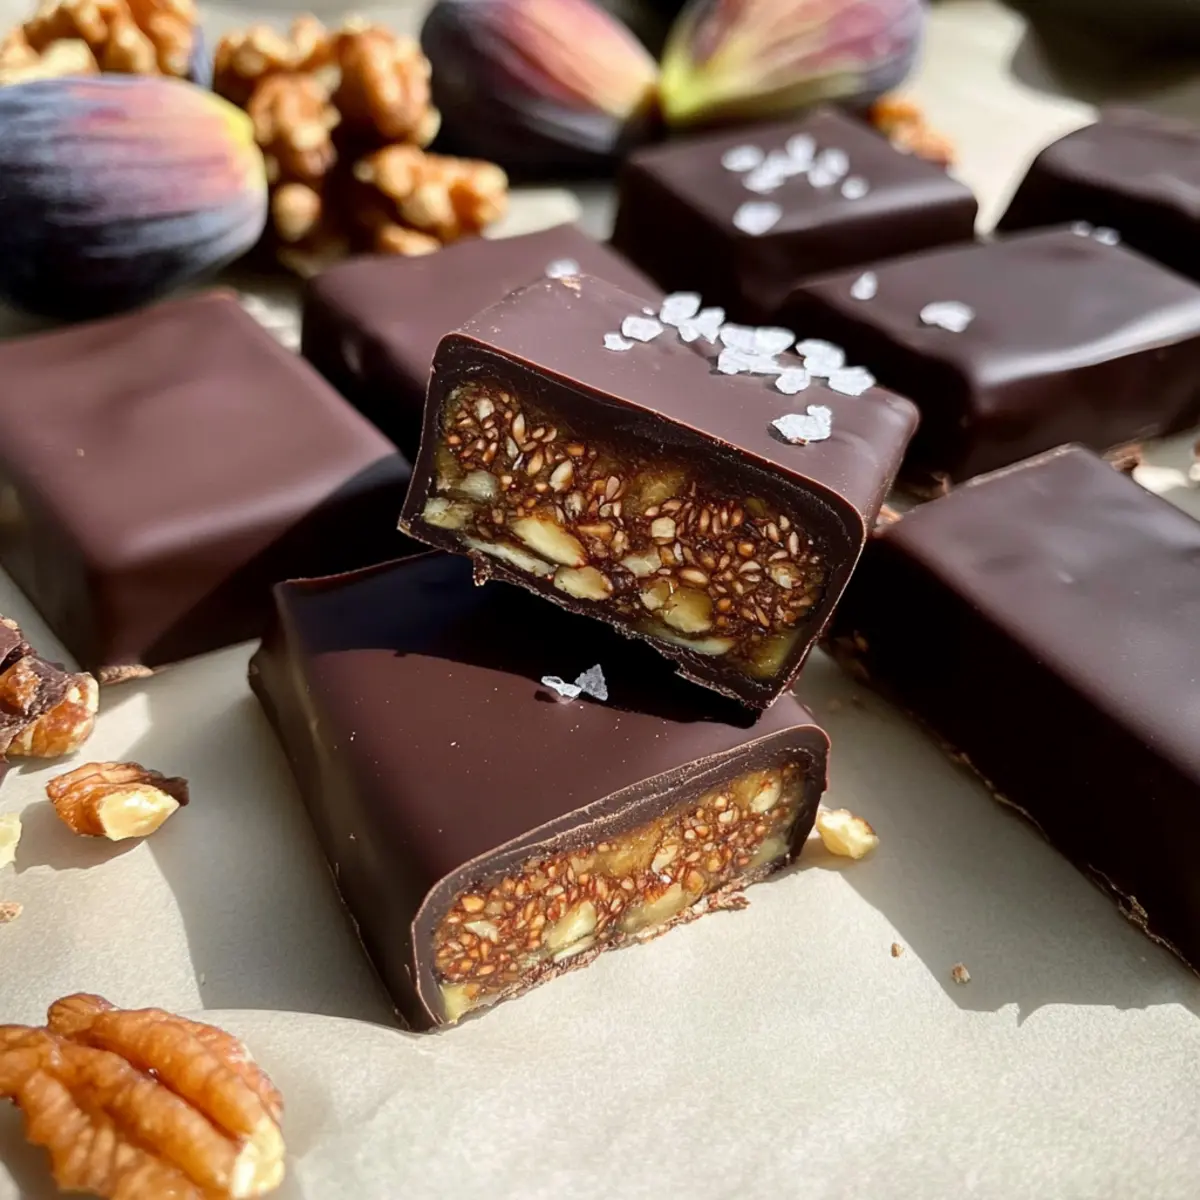
Decadent Chocolate Fig Bars Perfect for Guilt-Free Snacking
Ingredients
Equipment
Method
- Prepare the Baking Pan by lining an 8" x 8" baking pan with parchment paper or aluminum foil.
- Blend the Filling Ingredients in a food processor until resembling a coarse meal.
- Add Water for Binding gradually while blending the fig and nut mixture until a cohesive dough forms.
- Press the Mixture into the Pan ensuring it’s packed tightly and smooth on top. Freeze for 1 hour.
- Melt the Chocolate Coating in a double boiler or microwave until smooth and glossy.
- Cut and Dip the Bars into the melted chocolate, coating all sides.
- Set the Coating on a parchment-lined surface and drizzle with remaining chocolate and sprinkle with sea salt.
- Chill to Set the Chocolate for 15-20 minutes until firm.