
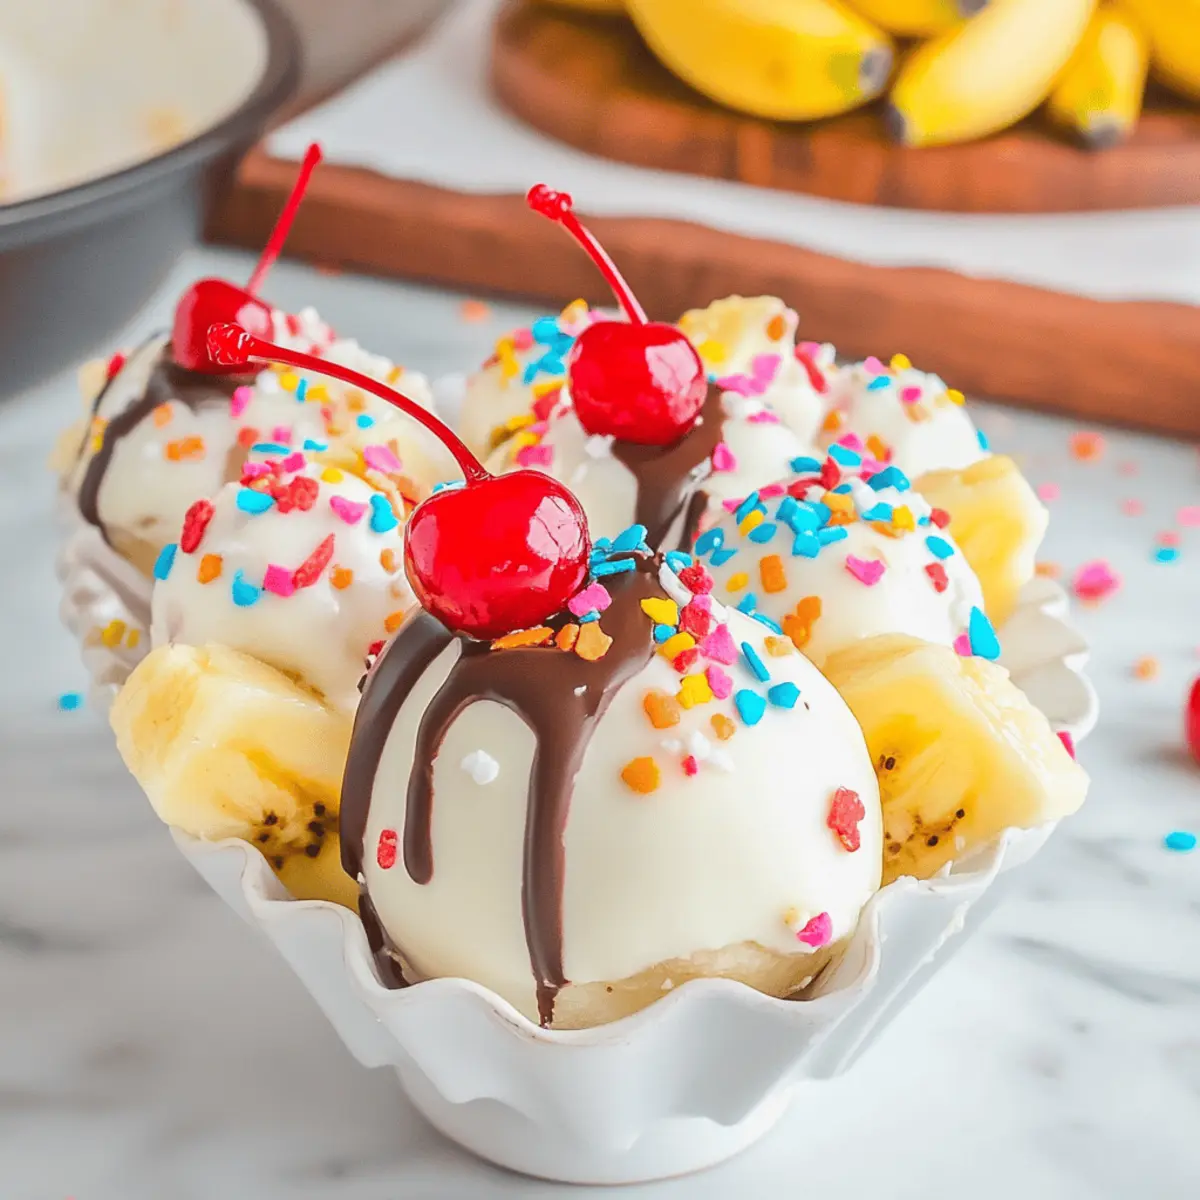
As I stood in my kitchen, the sweet aroma of ripe bananas filled the air, instantly whisking me back to carefree summer days. Today, I’m excited to share my Delicious No-Bake Banana Split Truffles, a delightful dessert that captures the essence of the classic banana split in a bite-sized treat. These truffles are not only incredibly easy to make—perfect for home chefs like us—but they’re also a guaranteed crowd-pleaser at any gathering. With just a handful of ingredients and no baking required, you can whip up a batch for parties or simply to indulge yourself. How do you like the sound of showcasing a dessert that’s as fun to make as it is to eat?
Why Are These Truffles So Irresistible?
Decadent flavors: These Banana Split Truffles offer a delightful mix of creamy banana and rich chocolate that’s sure to wow your taste buds.
No-bake simplicity: With minimal effort required, these truffles are ready to enjoy in no time, making them perfect for even the busiest home chefs.
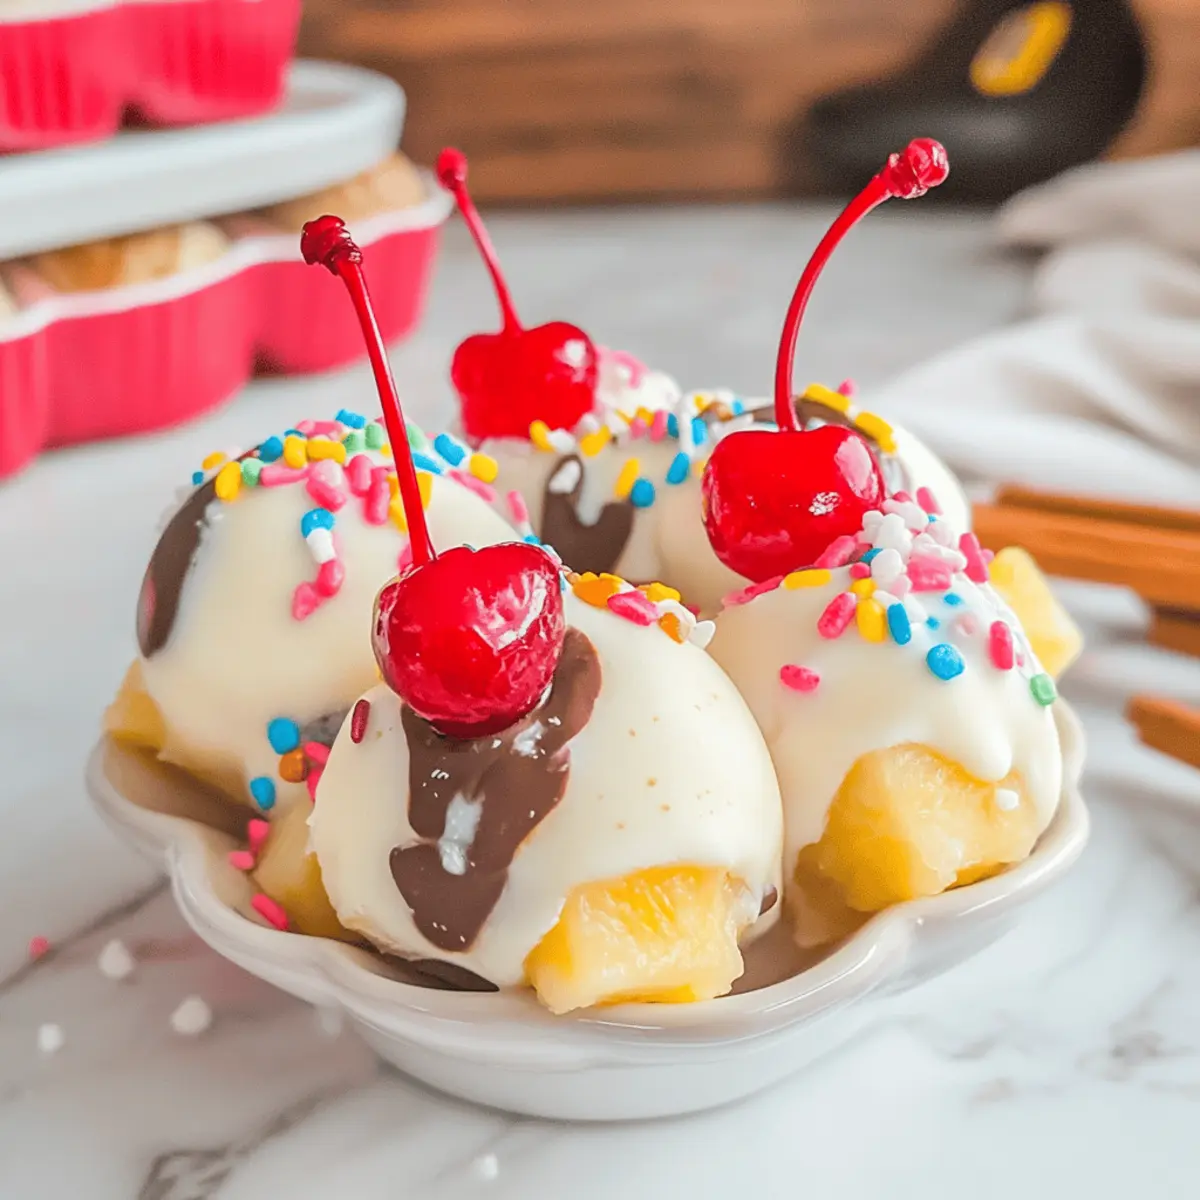
Visually stunning: The addition of colorful sprinkles and a cherry on top not only elevates their appearance but also makes them a hit at parties.
Customizable creations: Feeling adventurous? You can easily swap out the walnuts or add different fruits like strawberries for a unique twist!
Crowd favorite: Whether you’re serving family or guests, these truffles are bound to be a talking point and bring smiles all around.
If you’re looking for other delicious options, why not try the Hawaiian Banana Bread or the Banana Pudding Tiramisu for your next dessert adventure?
Banana Split Truffles Ingredients
-
For the Base
-
White Cake Mix – Provides structure and sweetness to the truffles. Note: Must be heat-treated before use.
-
Cream Cheese – Adds creaminess and a rich texture. Ensure it is softened for easy mixing.
-
Vanilla Extract – Enhances flavor. Use high-quality extract for the best taste.
-
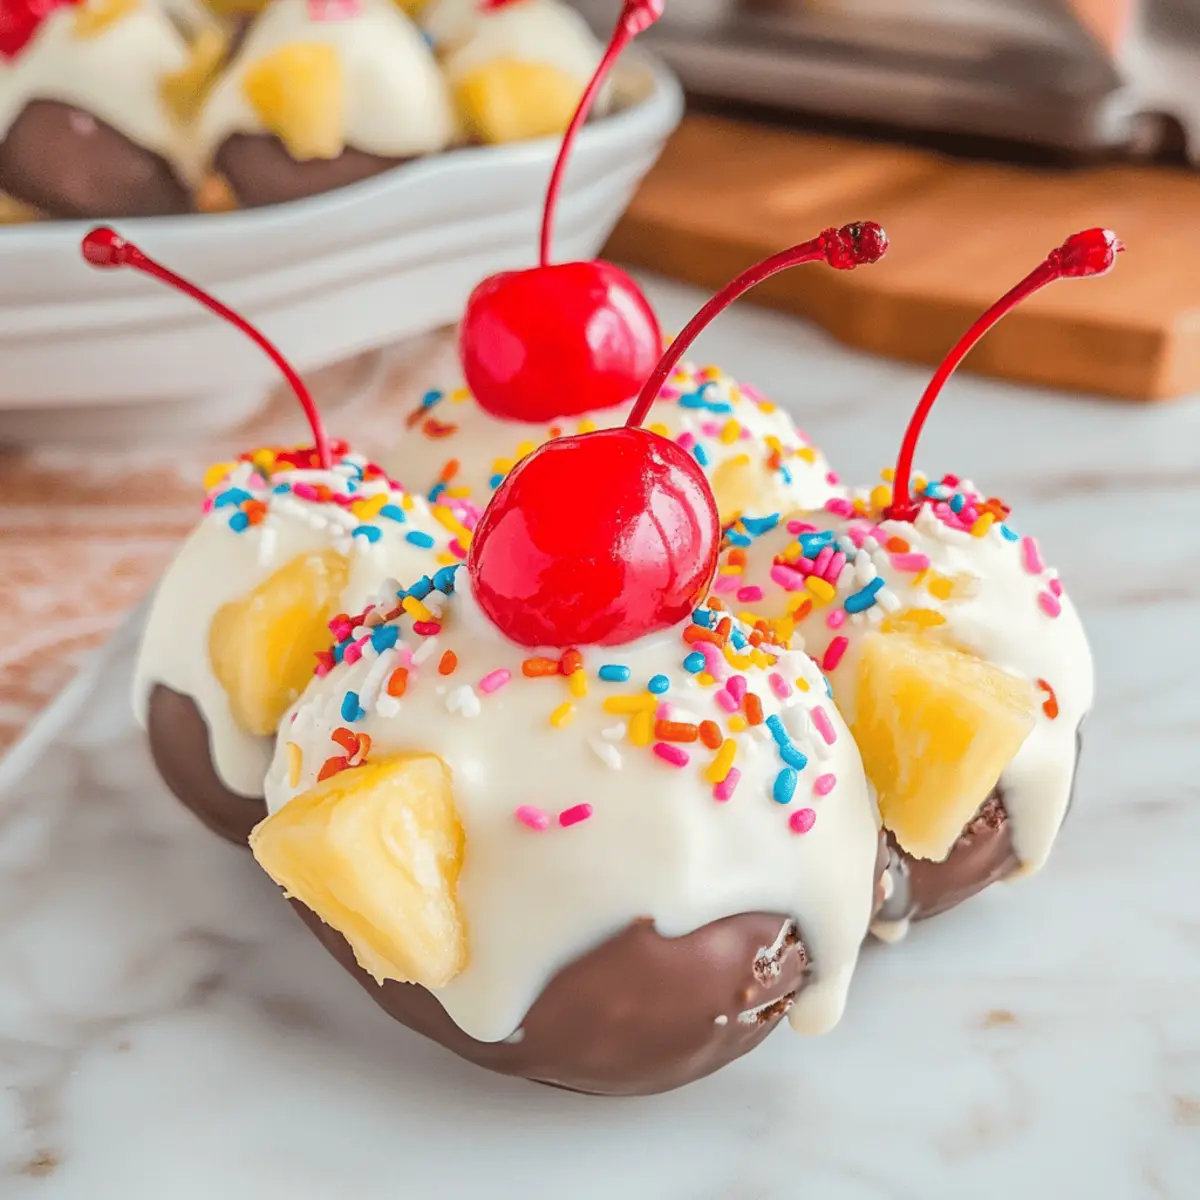
Crushed Pineapple – Adds natural sweetness and moisture. Ensure it is very well drained to avoid sogginess.
-
Chopped Walnuts – Provides crunch and nutty flavor. Can substitute with other nuts or omitted for a nut-free version.
-
Banana – The key flavor contributor, providing fruity sweetness. Use ripe bananas for optimal flavor.
-
For the Coating
-
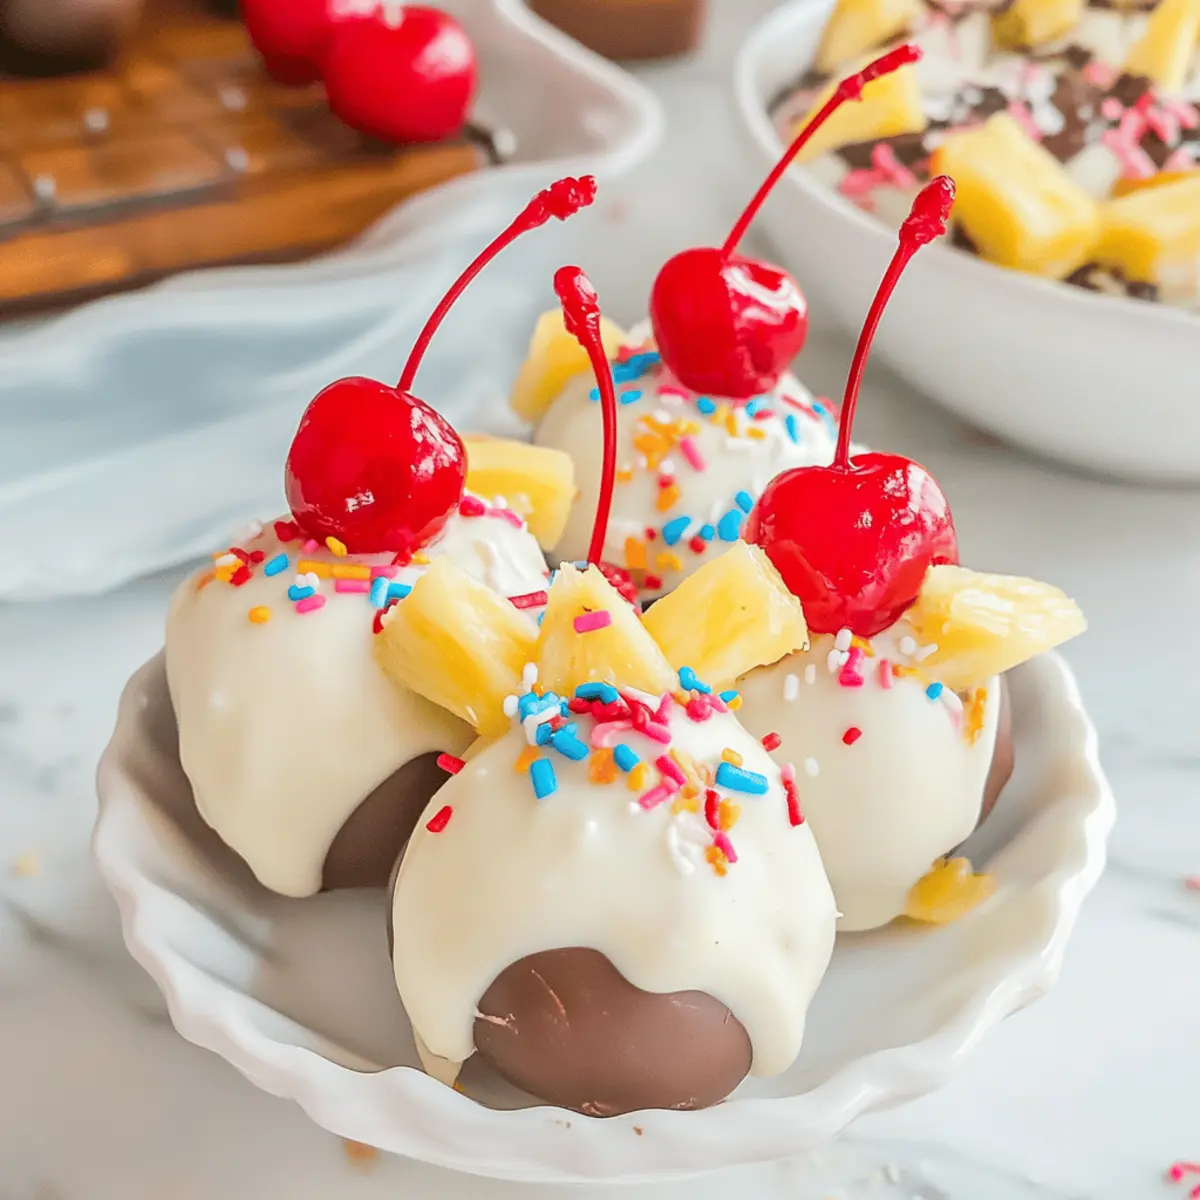
White Candy Coating – Creates the outer shell for the truffles. Can substitute with milk or dark chocolate if preferred.
-
Chocolate Melting Wafers – Used for decorative ‘chocolate syrup’ topping. Can be replaced with additional candy coating if needed.
-
For the Garnish
-
Rainbow Sprinkles – Adds vibrant color and fun appeal.
-
Maraschino Cherries – A classic touch that enhances flavor and presentation.
These Banana Split Truffles will surely brighten any dessert table!
Step‑by‑Step Instructions for Delicious No-Bake Banana Split Truffles
Step 1: Prepare Cookie Sheet
Begin by lining a cookie sheet with parchment paper, allowing the truffles to set without sticking. This simple step creates a non-stick surface for your Banana Split Truffles. Set the prepared sheet aside while you mix the truffle base.
Step 2: Mix Base
In a medium mixing bowl, combine the heat-treated white cake mix, softened cream cheese, and vanilla extract. Use an electric mixer or a spatula to blend thoroughly until smooth and well-combined, ensuring there are no lumps. This mixture creates a deliciously creamy foundation for your truffles.
Step 3: Add Fillings
Gently fold in the well-drained crushed pineapple, chopped walnuts, and ripe banana slices into the cream mixture. Stir until all ingredients are evenly distributed, allowing the fruity and nutty flavors to infuse the truffle base. This delightful combination is what makes your Banana Split Truffles so special!
Step 4: Shape Truffles
Using a cookie scoop, portion out the mixture into 1 to 1½-inch balls, shaping them with your hands for a smooth finish. Make sure to pack the mixture gently but firmly for a consistent shape. Place the formed truffles on the lined cookie sheet, ready for chilling.
Step 5: Chill
Refrigerate the shaped truffles for about 1 hour, or until they are firm to the touch. This chilling time is essential to help the truffles hold their shape and ensures a perfect bite every time you take a piece of your Banana Split Truffles.
Step 6: Melt Coating
In a microwave-safe bowl, melt the white candy coating by heating it at 50% power in 1-minute intervals. Stir the mixture in between heating to ensure a smooth, glossy coating. The melted coating forms the delicious outer shell of your Banana Split Truffles, so take your time to get it just right.
Step 7: Dip Truffles
Carefully dip each chilled truffle into the melted candy coating, turning it to ensure it’s completely covered. Use a fork to lift them out, allowing the excess coating to drip off before placing them back on the parchment-lined sheet. This step adds a beautiful, sweet shell to your truffles.
Step 8: Chill Again
Place the coated truffles back into the refrigerator for another 30 minutes, allowing the coating to set firmly. This second chilling ensures that the lovely outer shell adheres well and maintains its shape, making your Banana Split Truffles look even more appealing.
Step 9: Decorate
Melt chocolate melting wafers in the same manner as the candy coating, then drizzle the melted chocolate over the truffles with a fork or a piping bag. Quickly top each truffle with a maraschino cherry and a sprinkle of rainbow sprinkles before the chocolate sets, adding a pop of color and fun to your delightful creations!
Make Ahead Options
These Banana Split Truffles are perfect for busy home cooks looking to simplify their dessert preparations! You can mix the truffle base (heat-treated cake mix, cream cheese, and vanilla) and refrigerate it up to 24 hours in advance, just be sure to cover the bowl tightly to maintain freshness. Additionally, the formed truffles can be chilled for up to 3 days before dipping them in the candy coating. When you’re ready to finish, simply proceed with melting the white candy coating and dipping the truffles. This way, you’ll enjoy delicious, crowd-pleasing truffles with minimal effort and the same delightful flavors, perfect for entertaining or special occasions!
Tips for the Best Banana Split Truffles
-
Heat-Treat Cake Mix: Always heat-treat your white cake mix to eliminate any possible bacteria; it’s a crucial step for safe consumption.
-
Softened Cream Cheese: Make sure your cream cheese is fully softened before mixing. This ensures a smooth and creamy texture in your truffles.
-
Well-Drained Pineapple: Drain your crushed pineapple thoroughly to prevent sogginess in your truffles, keeping them perfectly firm and delightful.
-
Chill Properly: Don’t skip chilling times; they’re essential for ensuring your Banana Split Truffles hold their shape and have the right texture.
-
Decorate Quickly: Add sprinkles and cherries right after drizzling the chocolate to ensure they stick well before the chocolate starts to set.
Banana Split Truffles Variations
Feel free to get creative and customize these delightful truffles to your taste and dietary needs!
-
Nut-Free: Omit the walnuts and replace them with sunflower seeds or leave them out entirely for a safe option. You won’t miss the crunch, as the creamy filling shines through!
-
Berry Delight: Swap the crushed pineapple for finely chopped strawberries for a fruity twist. These berry-infused truffles offer a refreshing change that is sure to surprise your friends.
-
Chocolate Lovers: Use milk or dark chocolate candy coating instead of white for a rich, decadent flavor. This variation elevates the taste profile and adds a wonderful depth.
-
Coconut Craze: Incorporate shredded coconut into the truffle mixture for an irresistible tropical flair. Pair this with a drizzle of chocolate to create a delightful texture contrast.
-
Extra Crunch: Add crushed graham crackers to the mixture for a fun layer of texture that will remind you of ice cream and pie. It’s a delightful switch that adds a new dimension to each bite.
-
Spicy Kick: Toss in a pinch of cayenne or cinnamon powder to the truffle mixture for a surprising warmth. This spicy note adds an unexpected twist that can tantalize adventurous palates.
-
Mini Treats: Shape the truffles into smaller bite-sized pieces for a dainty touch perfect for parties or snacks. Their cuteness will make them even more irresistible!
For more tantalizing ideas, don’t miss out on making Hawaiian Banana Bread or a refreshing dessert like Lemon Cheesecake Truffles. Each variation opens up a world of flavors—happy cooking!
What to Serve with Delicious No-Bake Banana Split Truffles
Indulging in these truffles is a treat on its own, but pairing them with delightful companions elevates the entire dessert experience.
-
Creamy Ice Cream: A classic vanilla scoop complements the truffles’ flavors and adds a cooling element. The contrast of textures will leave everyone craving more!
-
Fresh Fruit Salad: A medley of fruits like strawberries, kiwi, and blueberries adds brightness and a refreshing crunch, balancing the richness of the truffles.
-
Chocolate Dipping Sauce: For the chocolate lover in all of us, a warm chocolate sauce to dip the truffles can take this dessert over the top. It’s a chocolate dream!
-
Coffee or Espresso: A cup of strong coffee pairs beautifully with the sweet flavors of the truffles, cutting through the richness and enhancing the overall experience.
-
Nutty Hot Cocoa: Indulge your senses with a creamy cup of hot cocoa, perhaps topped with whipped cream and crushed nuts. This pairing adds warmth and a cozy vibe.
-
Caramel Drizzle: Drizzled caramel sauce not only adds an extra layer of sweetness but also a delightful contrast to the chocolate coating—pure bliss in every bite!
These captivating pairings will transform your dessert table into a feast that’s sure to impress!
How to Store and Freeze Banana Split Truffles
Fridge: Store in an airtight container for up to a week. This will keep your Banana Split Truffles fresh and delicious, ready for you to indulge anytime.
Freezer: For longer storage, freeze the truffles for up to two months. Place them in a single layer in an airtight container to prevent sticking.
Thawing: When ready to enjoy, thaw at room temperature for about 30 minutes before serving. This will restore their wonderful creamy texture.
Reheating: No need to reheat these truffles; simply enjoy them chilled or at room temperature for the best flavor experience.
Banana Split Truffles Recipe FAQs
How do I choose ripe bananas for the truffles?
Absolutely! Look for bananas that are slightly speckled with brown spots, as these indicate they’re ripe and sweet. Overripe bananas can also be used, but avoid any that are mushy or have dark spots all over, as they may affect the texture of your truffles.
What’s the best way to store my Banana Split Truffles?
You’ll want to keep your truffles stored in an airtight container in the refrigerator for up to a week. This ensures they stay fresh and tasty. If you’re thinking about longer storage, freeze them for up to two months—just be sure to place them in a single layer to prevent sticking!
Can I freeze Banana Split Truffles?
Yes! To freeze your delicious Banana Split Truffles, first chill them until firm. Then, place them in an airtight container separated by layers of parchment paper to prevent sticking. When you’re ready to enjoy, simply let them thaw at room temperature for about 30 minutes before indulging.
What should I do if my truffles lose shape while chilling?
Very! If you find your truffles losing their shape, no worries! Just take them out about halfway through the chilling time and gently reshape them with your hands. This little step will help make sure each bite is perfectly delightful and prevents them from becoming too misshapen.
Are these truffles suitable for people with nut allergies?
Of course! If you or your guests have nut allergies, simply omit the chopped walnuts from the recipe. You can also substitute them with crispy rice cereal for added crunch, if desired. Just ensure all other ingredients are allergy-friendly for a stress-free dessert!
What’s the best way to keep the chocolate coating smooth?
To keep that beautiful chocolate or candy coating smooth and glossy while melting, use a microwave-safe bowl and heat in 50% power in 1-minute intervals. Stir between each interval until you achieve a smooth consistency. This method prevents overheating and ensures your coating is picture-perfect!
Irresistible Banana Split Truffles You Can Make Today
Ingredients
Equipment
Method
- Begin by lining a cookie sheet with parchment paper, allowing the truffles to set without sticking.
- In a medium mixing bowl, combine the heat-treated white cake mix, softened cream cheese, and vanilla extract. Mix thoroughly until smooth.
- Gently fold in the well-drained crushed pineapple, chopped walnuts, and ripe banana slices into the cream mixture until evenly distributed.
- Using a cookie scoop, portion out the mixture into 1 to 1½-inch balls, shaping them with your hands for a smooth finish.
- Refrigerate the shaped truffles for about 1 hour, or until they are firm to the touch.
- Melt the white candy coating by heating it at 50% power in 1-minute intervals, stirring in between.
- Carefully dip each chilled truffle into the melted candy coating, ensuring it's completely covered.
- Place the coated truffles back into the refrigerator for another 30 minutes to set the coating firmly.
- Melt chocolate melting wafers and drizzle over the truffles, then top with a maraschino cherry and rainbow sprinkles.