
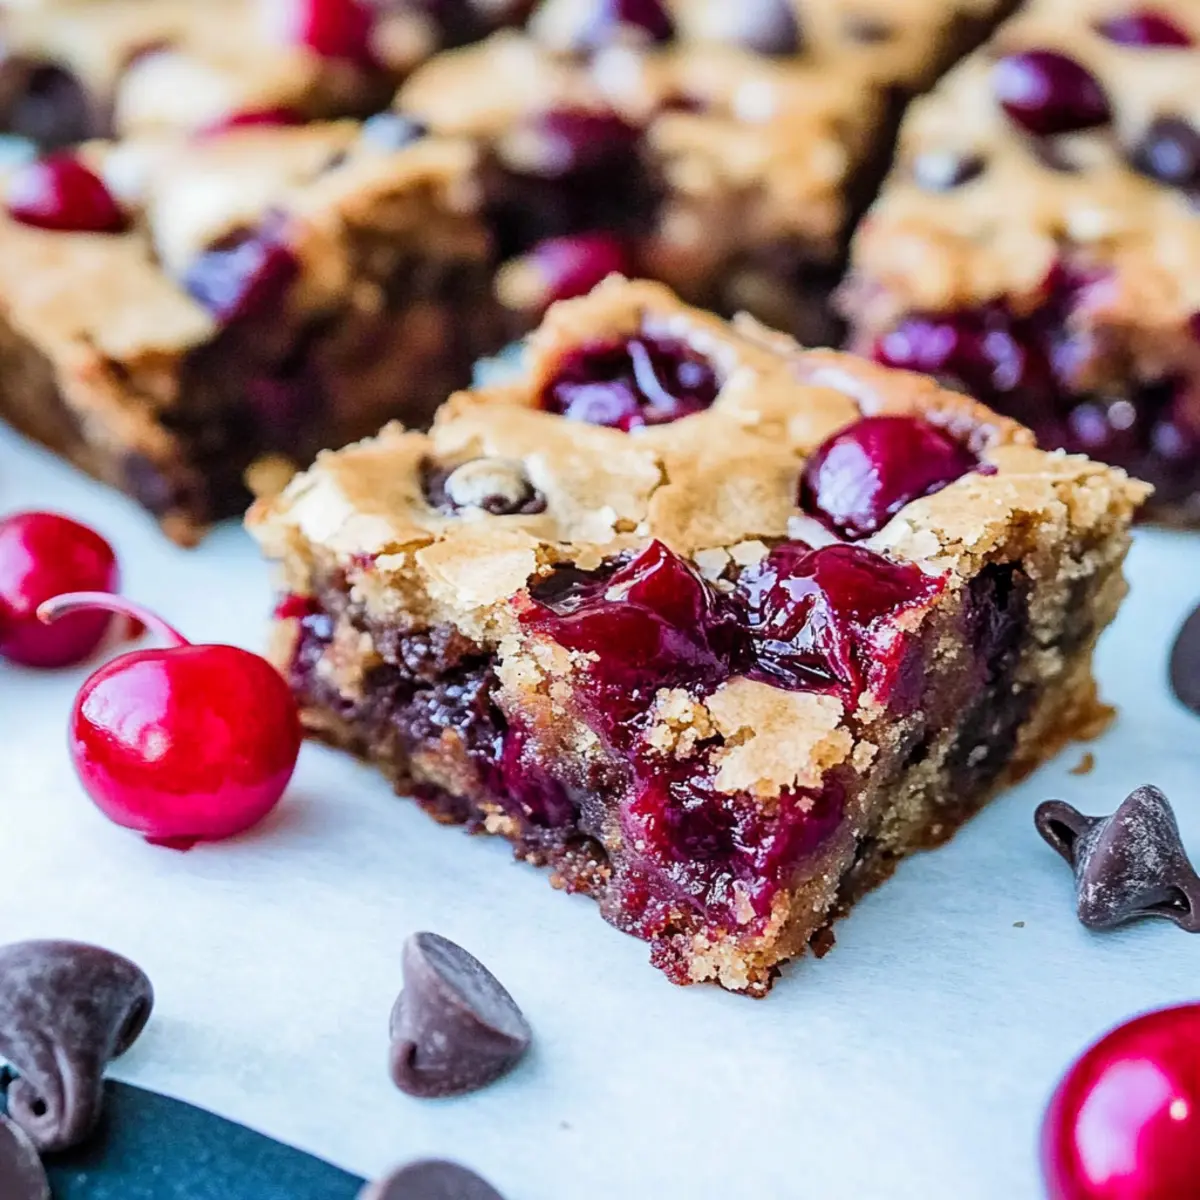
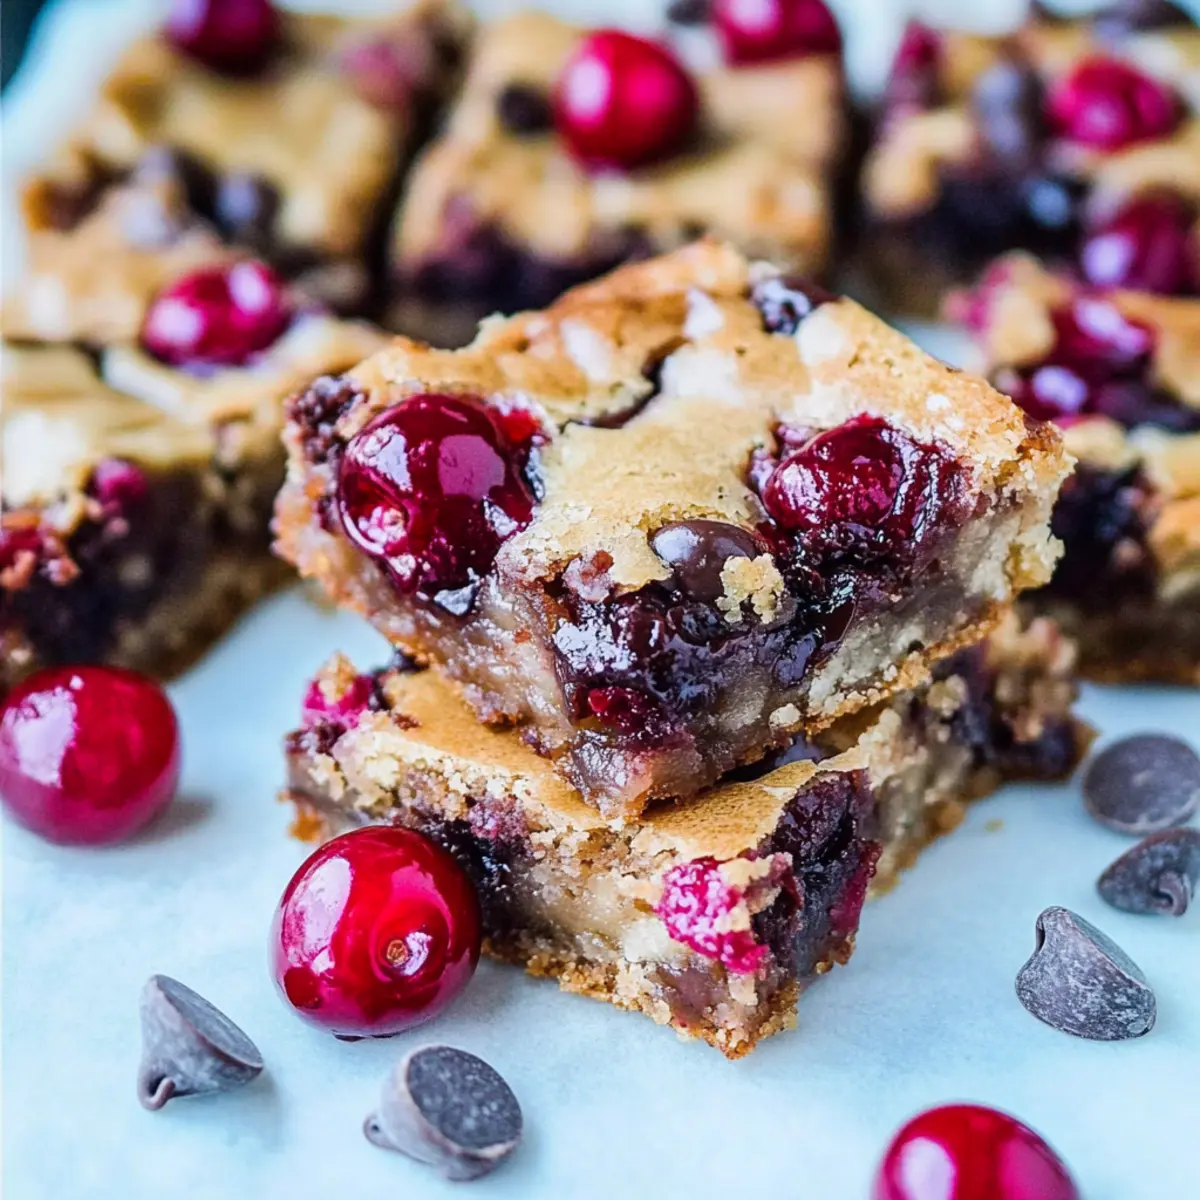
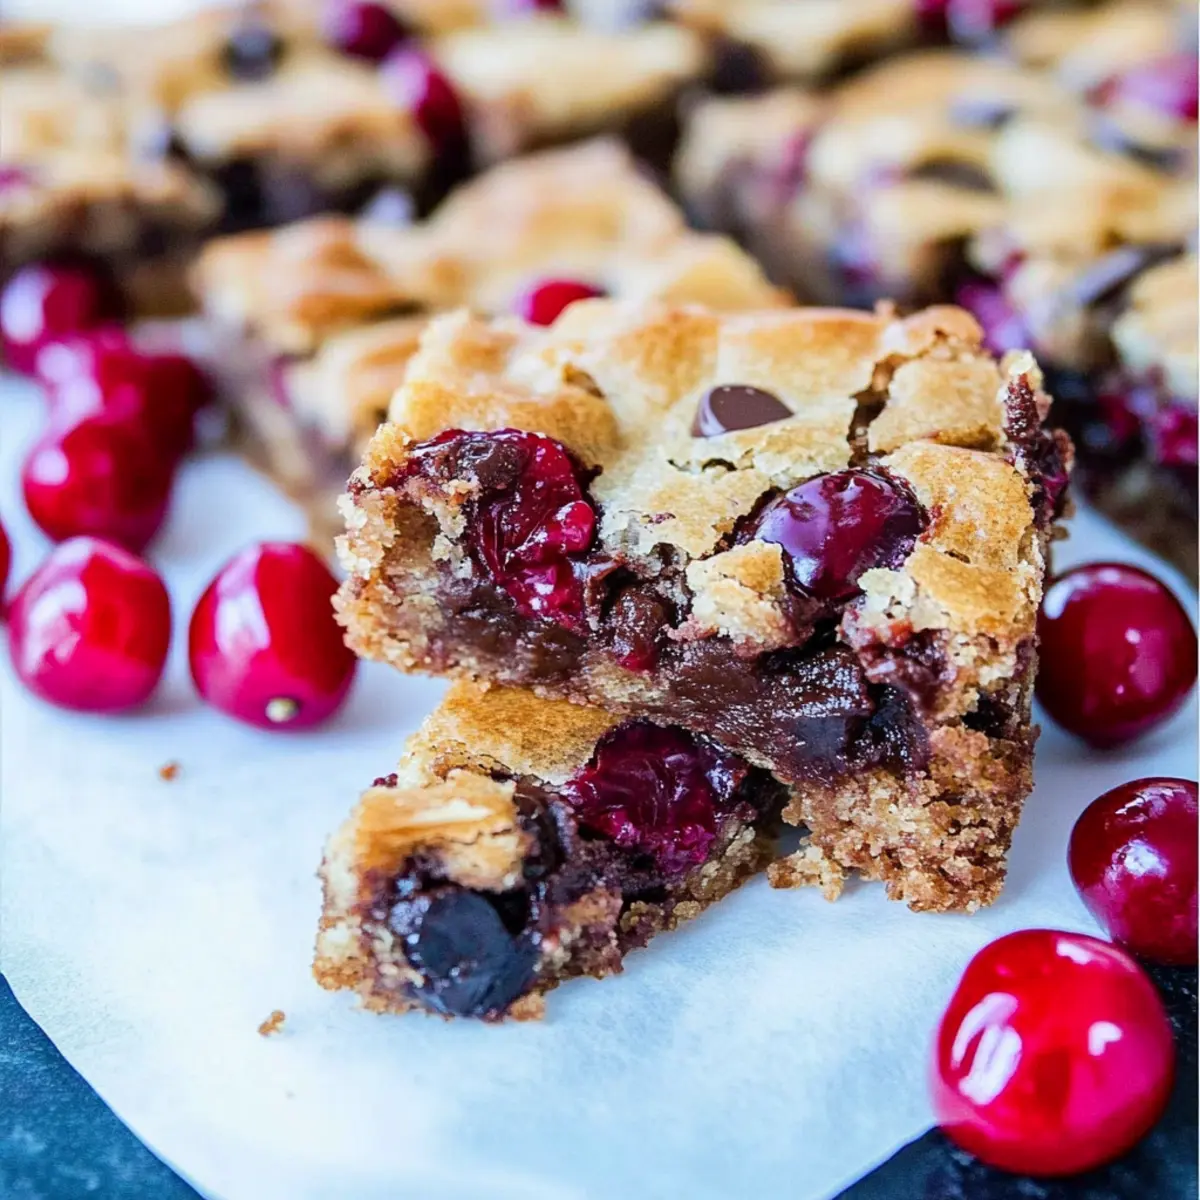
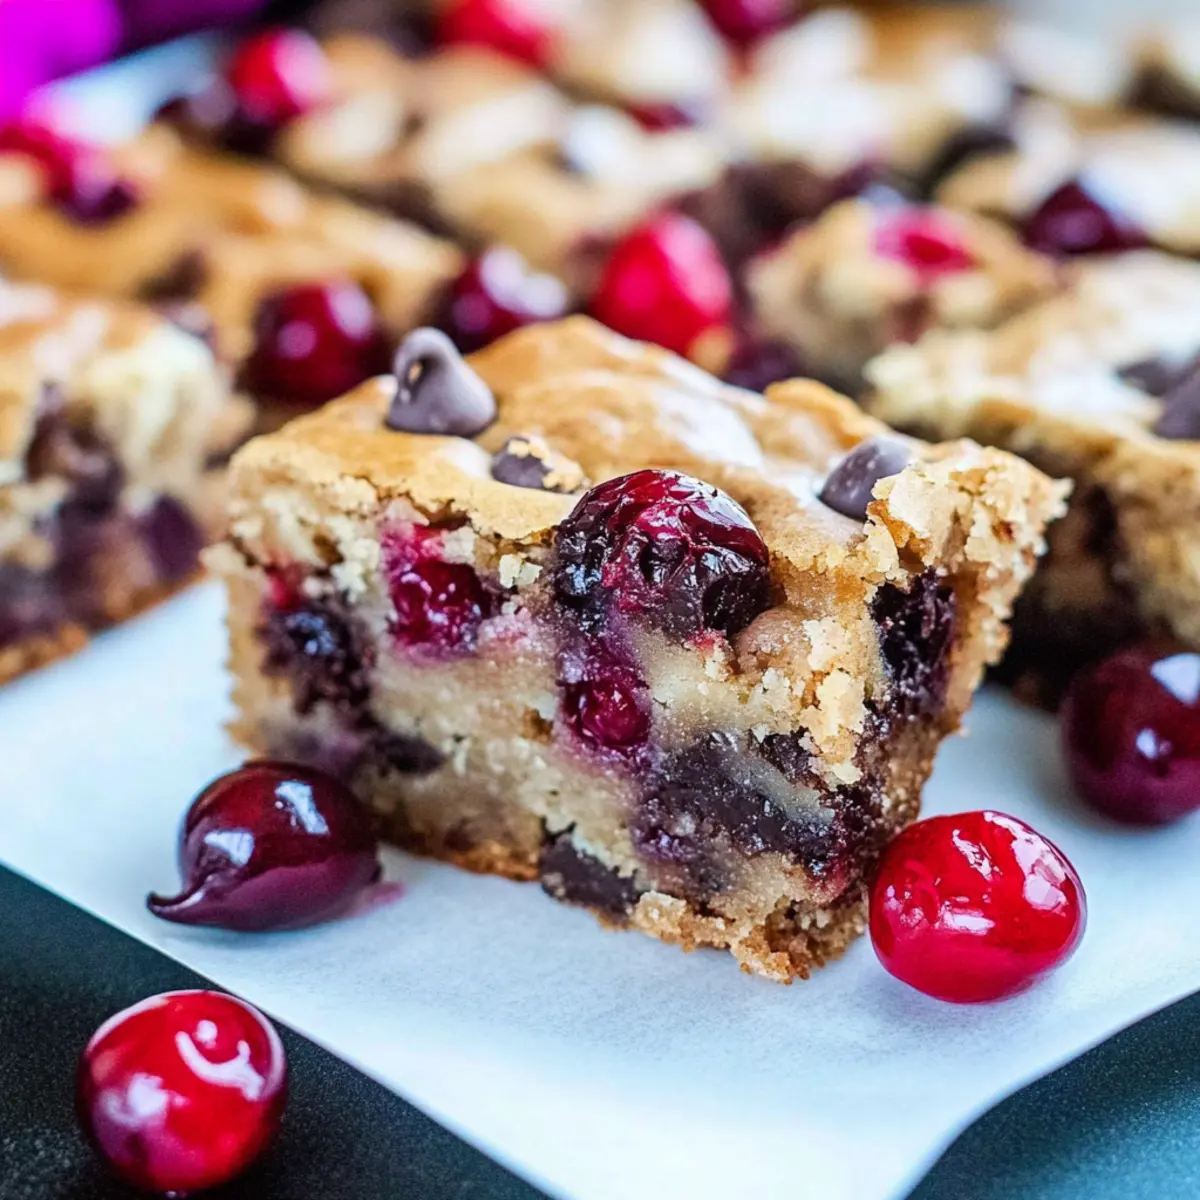
As I stood in my kitchen, the warm scent of melting butter and chocolate wafted through the air, instantly bringing me back to those carefree summer afternoons spent baking with loved ones. These delightful Chocolate Chip Cherry Bars not only blend rich chocolate with the juicy pop of cherries but also offer an effortless one-bowl recipe that’s perfect for any home chef looking to elevate their dessert game. With their vibrant, chewy blondie base, these bars make for an easy dessert that’s sure to dazzle at your next picnic or gathering. Plus, the flexibility to swap in different fruits means you’ll never run out of delicious versions to try! Are you ready to create your own batch of sweet summer memories?
Why Are These Bars a Must-Bake?
Simplicity at its Finest: With just one bowl, you’ll be delightfully surprised at how quickly these Chocolate Chip Cherry Bars come together. Versatile Ingredients: Feel free to swap cherries for peaches or berries, tailoring the flavors to your preference! Irresistible Texture: The combination of chewy blondie and luscious chocolate creates a treat that’s both satisfying and delightful. Perfect for Gatherings: Serve warm with ice cream for an unforgettable dessert everyone will love. Don’t forget to check out my White Chocolate Raspberry bars for another crowd-pleaser!
Chocolate Chip Cherry Bars Ingredients
For the Blondie Base
- Unsalted Butter – Adds richness and moisture; substitute with margarine for a dairy-free option.
- Light Brown Sugar – Imparts a deep, caramel flavor and tender texture; do not substitute with granulated sugar for best results.
- Large Egg – Binds ingredients together, enhancing structure; for vegan, use a flax or chia egg.
- Vanilla Extract – Enhances the overall flavor profile; avoid substitutions for optimal taste.
- All-Purpose Flour – Provides structure; can use a gluten-free flour blend if necessary.
- Salt – Enhances flavors; optional depending on preference.
For the Flavorful Mix-ins
- Semi-Sweet Chocolate Chips – Offers a rich chocolatey flavor; substitute with white chocolate chips or dark chocolate as desired.
- Cherries (Fresh or Frozen) – Key ingredient providing fruity freshness; if using frozen, ensure they are well-drained to prevent excess moisture in your Chocolate Chip Cherry Bars.
Step‑by‑Step Instructions for Chocolate Chip Cherry Bars
Step 1: Preheat and Prepare
Begin by preheating your oven to 350°F (175°C). While the oven is heating up, grab an 8×8 inch baking pan and line it with aluminum foil for easy removal of your delicious Chocolate Chip Cherry Bars. Lightly coat the foil with cooking spray to ensure the bars don’t stick when they’re ready to be sliced.
Step 2: Melt the Butter
In a medium microwave-safe bowl, add your unsalted butter and melt it in the microwave in 30-second intervals, stirring in between, until smooth and fully melted. This should take around 1 to 2 minutes. Once melted, let it cool for a few moments while you gather the remaining ingredients for your one-bowl recipe.
Step 3: Combine Sugars
Stir in the light brown sugar with the melted butter until fully combined and smooth. You’ll want a glossy mixture that glistens as it mixes, which will take about a minute of vigorous stirring. This step is crucial as it imparts that wonderful caramel flavor to your Chocolate Chip Cherry Bars.
Step 4: Incorporate Egg and Vanilla
Add the large egg and vanilla extract to the mixture, whisking them together until fully incorporated. This should take about a minute of mixing and will create a homogenous batter that’s rich in flavor. The warmth of the butter will help blend these ingredients seamlessly into your mixture.
Step 5: Mix in Dry Ingredients
Gradually add the all-purpose flour and a pinch of salt to your wet ingredients. Using a spatula or wooden spoon, mix gently until just combined, taking care not to overmix. You want to achieve a slightly lumpy batter for the best texture in your Chocolate Chip Cherry Bars—this should take only about 30 seconds.
Step 6: Fold in Mix-ins
Now it’s time to fold in the semi-sweet chocolate chips and fresh or well-drained frozen cherries. Use a spatula to fold them gently into the batter until evenly distributed. Make sure you’re not crushing the cherries, which will keep the bars moist and provide lovely bursts of flavor throughout your delicious bars.
Step 7: Bake the Bars
Pour the batter into your prepared baking pan, spreading it evenly with a spatula. Place the pan in the preheated oven and bake for 27 to 32 minutes, or until the edges slightly pull away from the sides of the pan and the center is set. You’re looking for a beautiful golden brown on top, indicating perfect doneness for your Chocolate Chip Cherry Bars.
Step 8: Cool and Slice
Once baked, remove the pan from the oven and let it cool in the pan for about 10 minutes. Then, lift the bars out using the foil and transfer them to a wire rack to cool completely, which should take around an hour. Once cool, slice them into squares and get ready to share this delightful treat with friends and family!
Storage Tips for Chocolate Chip Cherry Bars
-
Room Temperature: Keep your Chocolate Chip Cherry Bars in an airtight container at room temperature for up to one week to maintain their delightful texture and flavor.
-
Fridge: If you prefer a colder treat, store your bars in the refrigerator for up to 10 days. Just remember to allow them to come back to room temperature for the best taste!
-
Freezer: For long-term storage, wrap the bars individually in plastic wrap and place them in a freezer-safe bag for up to 3 months. Thaw at room temperature before enjoying.
-
Reheating: To enjoy a warm treat, pop your stored bars in the microwave for about 10-15 seconds, and they’ll be gooey and delicious once again!
Expert Tips for Chocolate Chip Cherry Bars
-
Gentle Mixing: Avoid overmixing when combining ingredients; this helps maintain the bars’ tender texture and keeps them soft and chewy.
-
Cherry Selection: Fresh cherries yield the best flavor contrast. If using frozen, make sure to drain them thoroughly to prevent sogginess in your Chocolate Chip Cherry Bars.
-
Perfect Timing: Every oven is slightly different; start checking your bars at the 27-minute mark to ensure that they don’t overbake, keeping that gooey center intact.
-
Cooling Time: Be patient and allow the bars to cool completely before slicing. This will help them set properly and avoid crumbling.
-
Storing Leftovers: To keep your Chocolate Chip Cherry Bars fresh, store them in an airtight container at room temperature for up to one week.
Chocolate Chip Cherry Bars Variations
Feel free to get creative and give these bars your own personal touch; the possibilities are endless!
- Stone Fruit Swap: Replace cherries with fresh peaches or plums for a refreshing, summery flavor burst.
- Nuts Galore: Add walnuts or pecans for delightful crunch, enhancing both texture and taste.
- Berry Blast: Use any variety of berries, like raspberries or blueberries, to infuse a fruity twist into your bars.
- Spice It Up: Sprinkle in a dash of cinnamon or nutmeg for added warmth and depth in flavor.
- Coconut Delight: Mix in shredded coconut to bring a tropical flair and delightful chewiness.
For another rich experience, try these bars alongside some luscious White Chocolate Toffee cookies. Or if you’re craving chocolate, why not pair them with chewy Peanut Butter Chocolate bars for an unforgettable dessert spread?
Happy baking!
What to Serve with Chocolate Chip Cherry Bars
These delightful treats are not only delicious on their own but can elevate your dessert spread with thoughtful pairings.
-
Vanilla Ice Cream: A classic companion, the creamy vanilla ice cream perfectly complements the fruity flavors, creating a rich and satisfying dessert experience.
-
Fresh Berries: A medley of strawberries and blueberries adds a refreshing burst of flavor that contrasts beautifully with the sweetness of the bars.
-
Whipped Cream: Light and airy, a dollop of freshly whipped cream enhances the indulgence of the bars, making each bite feel special and luxurious.
-
Chocolate Sauce: Drizzle warm chocolate sauce over your bars for an extra layer of decadence. The chocolatey goodness pairs perfectly with the cherries and adds a fun twist!
-
Mint Tea: The subtle herbal notes of mint tea provide a refreshing balance to the sweet richness of the dessert, cleansing your palate wonderfully.
-
Fruit Salad: A vibrant fruit salad made with seasonal fruits offers a bright, fresh contrast to the cherry bars’ sweetness. It’s a great way to lighten up the meal.
-
Coffee: The rich, bold flavors of a freshly brewed coffee enhance the chocolate and cherry notes, making it an ideal drink choice to accompany this sweet treat.
-
Almond Milkshake: For a fun twist, a chilled almond milkshake brings a nutty flavor that pairs harmoniously with the bars and adds a refreshing touch.
-
Chocolate-Cherry Trifle: Layered with chocolate pudding and cherries, a trifle creates a stunning centerpiece for your dessert table that will wow your guests.
Make Ahead Options
These Chocolate Chip Cherry Bars are perfect for meal prep enthusiasts who need to save time during busy weeks! You can prepare the batter up to 24 hours in advance by mixing all the ingredients and storing it covered in the refrigerator. If you want to take it a step further, bake the bars ahead of time and store them in an airtight container at room temperature for up to 3 days, or freeze for up to 3 months. To maintain their deliciousness, be sure to let them cool completely before refrigerating or freezing, as this helps lock in moisture. When you’re ready to serve, simply thaw the frozen bars overnight in the refrigerator and warm them slightly in the oven for a delightful, freshly-baked treat that controls the summer heat!
Chocolate Chip Cherry Bars Recipe FAQs
What type of cherries should I use for the best flavor?
Fresh cherries are ideal for these Chocolate Chip Cherry Bars as they provide a burst of juicy sweetness. If you opt for frozen cherries, make sure to drain them thoroughly to prevent excess moisture, which can make the bars soggy.
How should I store my Chocolate Chip Cherry Bars?
Store your bars in an airtight container at room temperature for up to one week to keep them fresh. If you want a chilled snack, you can also refrigerate them for up to 10 days. Remember to bring them back to room temperature for optimal flavor!
Can I freeze Chocolate Chip Cherry Bars?
Absolutely! Wrap the bars individually in plastic wrap and place them in a freezer-safe bag. They can be stored for up to 3 months. To enjoy, simply thaw them at room temperature for a few hours, or microwave them for 10-15 seconds for that just-baked gooeyness.
What should I do if my batter is too thick?
If you find your batter is too thick, don’t worry! Add a tablespoon of milk at a time until you reach the desired consistency. Remember, a thicker batter can still yield delicious bars, but adjusting it will help with even baking and texture.
Are there any allergy considerations with this recipe?
Yes! This recipe contains common allergens such as eggs, dairy, and gluten. For dairy-free options, substitute unsalted butter with margarine, and consider a flax or chia egg for a vegan alternative. If you have nut allergies, make sure to avoid any mix-ins that might introduce cross-contamination.
How long do the bars take to bake?
Bake your Chocolate Chip Cherry Bars for 27 to 32 minutes. Start checking at the 27-minute mark to see if the edges are pulling away from the pan and the center is set; this will ensure you achieve that perfect gooey texture while avoiding overbaking.
Chocolate Chip Cherry Bars: The Ultimate Summer Delight
Ingredients
Equipment
Method
- Preheat your oven to 350°F (175°C) and line an 8x8 inch baking pan with aluminum foil, lightly coated with cooking spray.
- In a medium microwave-safe bowl, melt the unsalted butter in 30-second intervals, stirring in between, until smooth. Allow to cool slightly.
- Stir in the light brown sugar with the melted butter until fully combined and smooth.
- Add the large egg and vanilla extract, whisking until fully incorporated.
- Gradually add the all-purpose flour and salt, mixing gently until just combined.
- Fold in the semi-sweet chocolate chips and cherries until evenly distributed.
- Pour the batter into the prepared baking pan, spreading it evenly. Bake for 27 to 32 minutes until edges pull away and center is set.
- Let the pan cool for about 10 minutes, then transfer to a wire rack to cool completely before slicing.