
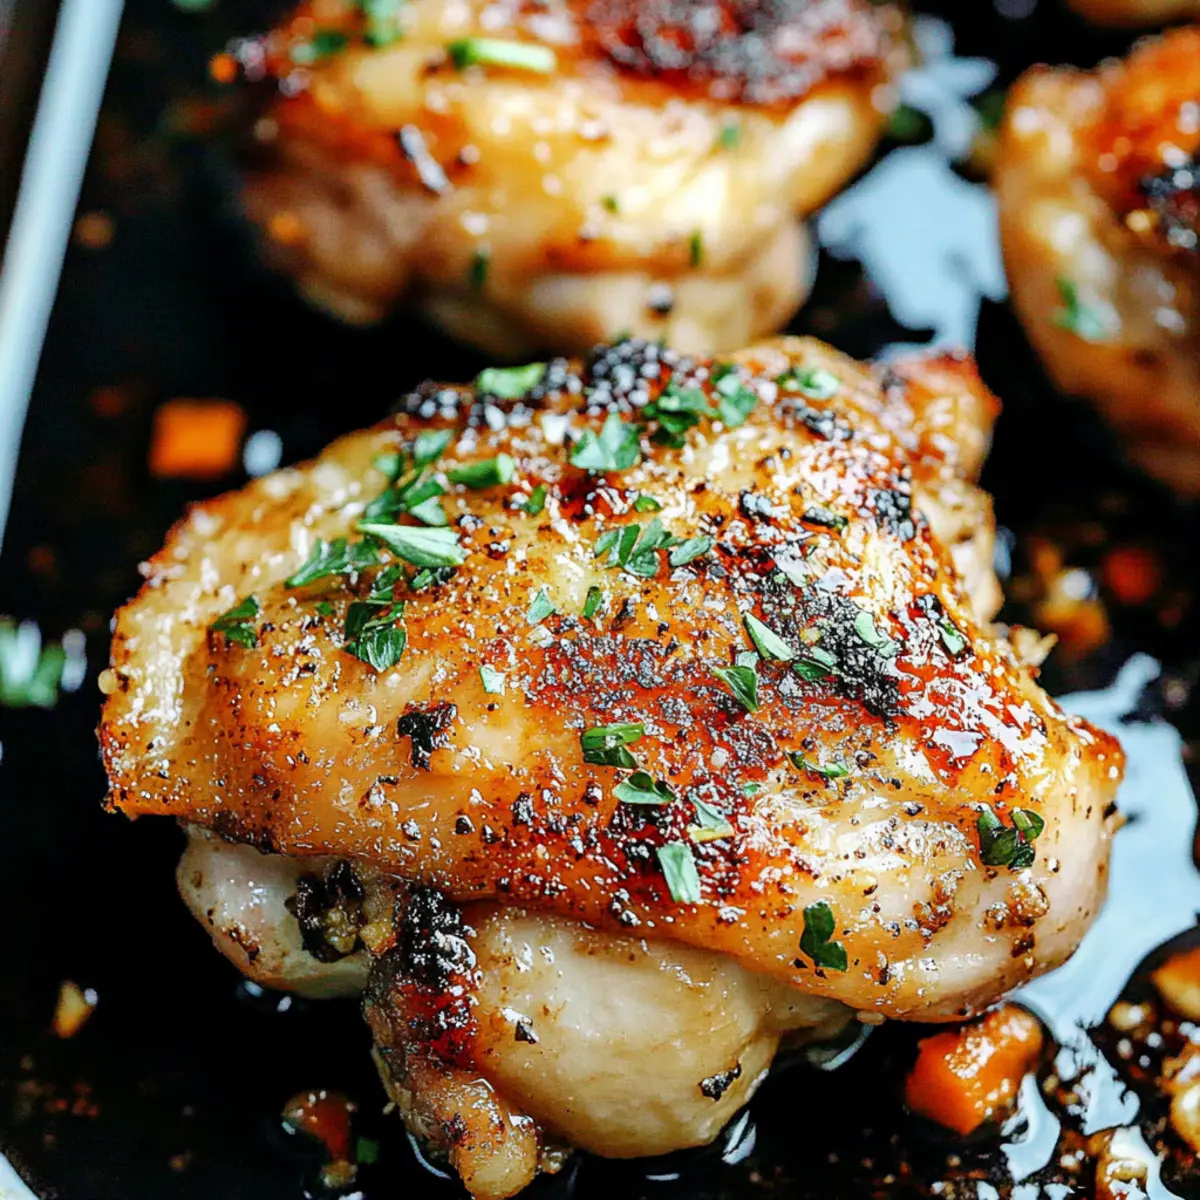
As I stood in my kitchen, the tempting aroma of sizzling garlic and butter enveloped the room, instantly transporting me to a cozy restaurant where each bite felt like a warm hug. That’s the magic of these Garlic Butter Baked Chicken Thighs! This recipe transforms a busy weeknight into a culinary triumph with just three simple ingredients, making it a stress-free and family-friendly dinner option. With juicy, tender chicken wrapped in a rich garlic butter sauce, you’ll win hearts at the dinner table while savoring every bite. Plus, it’s gluten-free, so everyone can enjoy without worry! Are you ready to create a dish that brings joy to both your palate and your loved ones? Let’s get cooking!
Why is this chicken recipe a must-try?
Simplicity makes this Garlic Butter Baked Chicken Thighs recipe a winning choice for busy nights. Flavor-packed with rich garlic and savory butter, each bite delivers a comforting experience. Crowd-pleaser appeal ensures that it’s perfect for family dinners, guaranteeing smiles all around the table. Quick preparation means you’ll spend less time cooking and more time enjoying your meal. For added inspiration, consider pairing it with delicious sides like roasted vegetables or serve it alongside a light broccoli salad for a balanced feast. Why not elevate your weeknight routine with this delightful recipe?
Garlic Butter Baked Chicken Ingredients
• Discover the magic in simple ingredients!
For the Chicken
• Chicken Thighs – Skin-on and bone-in for maximum juiciness and flavor. Boneless skinless thighs can be used for a leaner option but may not retain moisture as well.
For the Garlic Butter Sauce
• Garlic – Fresh cloves elevate the dish with aromatic depth; avoid pre-ground for the best taste.
• Unsalted Butter – Provides rich, creamy goodness; substitute with olive oil to cut down on saturated fat.
For Cooking
• Olive Oil – Essential for perfect searing; helps ensure a crispy skin on the thighs.
• Salt and Black Pepper – Basic but necessary; season to taste for enhanced flavor.
For Garnish
• Fresh Parsley – Adds vibrant color and a touch of freshness to your finished dish. 🌿
Step‑by‑Step Instructions for Garlic Butter Baked Chicken
Step 1: Preheat the Oven
Begin by preheating your oven to 400°F (200°C) and position the oven rack to the center. This temperature is key for perfectly cooking your Garlic Butter Baked Chicken Thighs, ensuring even heat distribution. While the oven warms up, you can prepare the chicken, making the most of your time in the kitchen.
Step 2: Prepare the Chicken
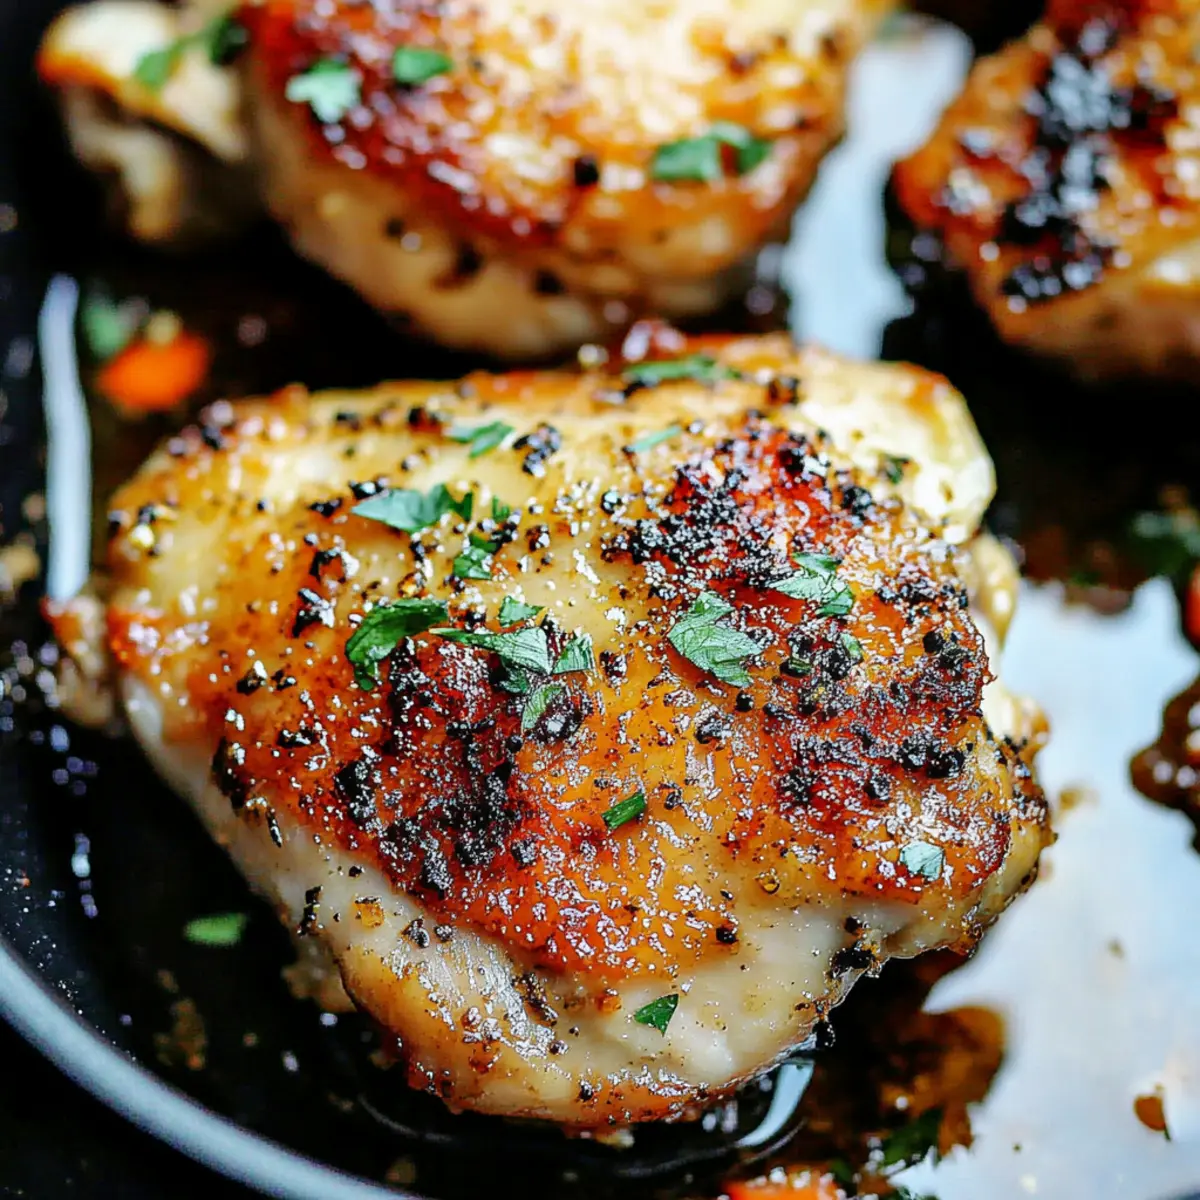
Take the chicken thighs and pat them dry with paper towels to ensure a nice, crispy skin when cooked. Season both sides generously with salt and black pepper, enhancing the flavor of the chicken. Visualizing the even coating of seasoning will help in achieving that delicious, savory taste once baked.
Step 3: Sear the Chicken
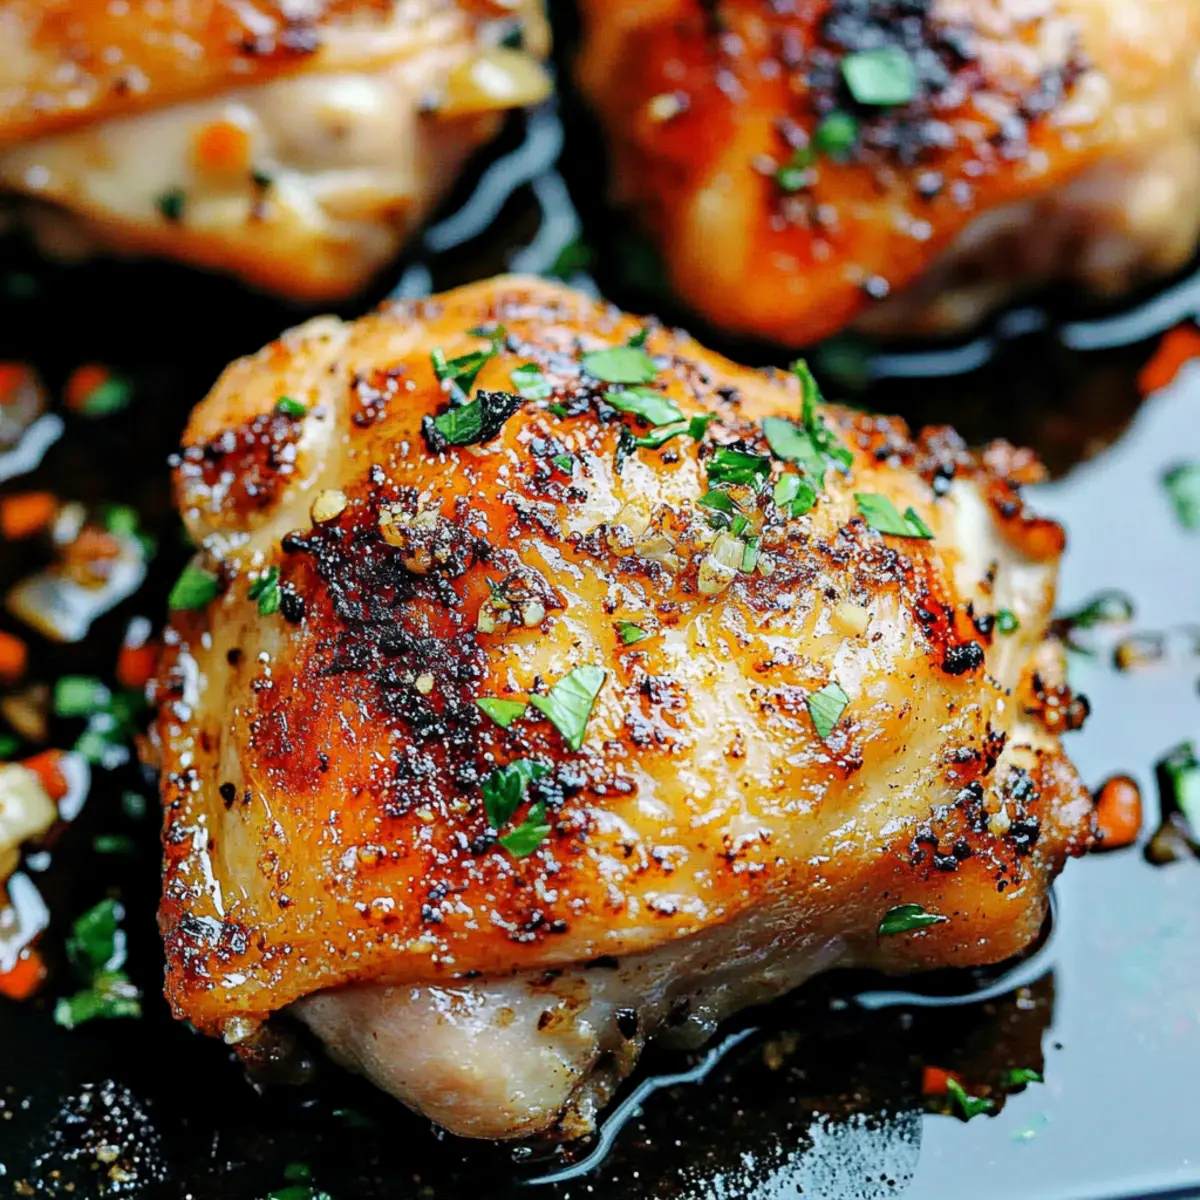
In a 10-inch cast iron skillet, heat about one tablespoon of olive oil over medium heat. Once the oil shimmers, carefully place the chicken thighs skin-side down in the skillet. Sear them for approximately 5 minutes until the skin is golden brown and crispy, revealing a mouthwatering texture that will seal in the juices as they bake.
Step 4: Flip and Add Butter
Gently flip the chicken thighs over with tongs, being careful of any hot oil splatters. If there is excess fat in the skillet, carefully discard it. Now, add a generous amount of unsalted butter to the skillet alongside the chicken, allowing it to melt and coat the meat in flavorful richness.
Step 5: Infuse with Garlic
As the butter starts to melt, add the freshly crushed garlic to the skillet. Stir the garlic for about 30 seconds, just until it becomes fragrant and slightly golden. This will create a heavenly garlic aroma that fills your kitchen, ready to envelop the chicken in savory goodness.
Step 6: Bake the Chicken
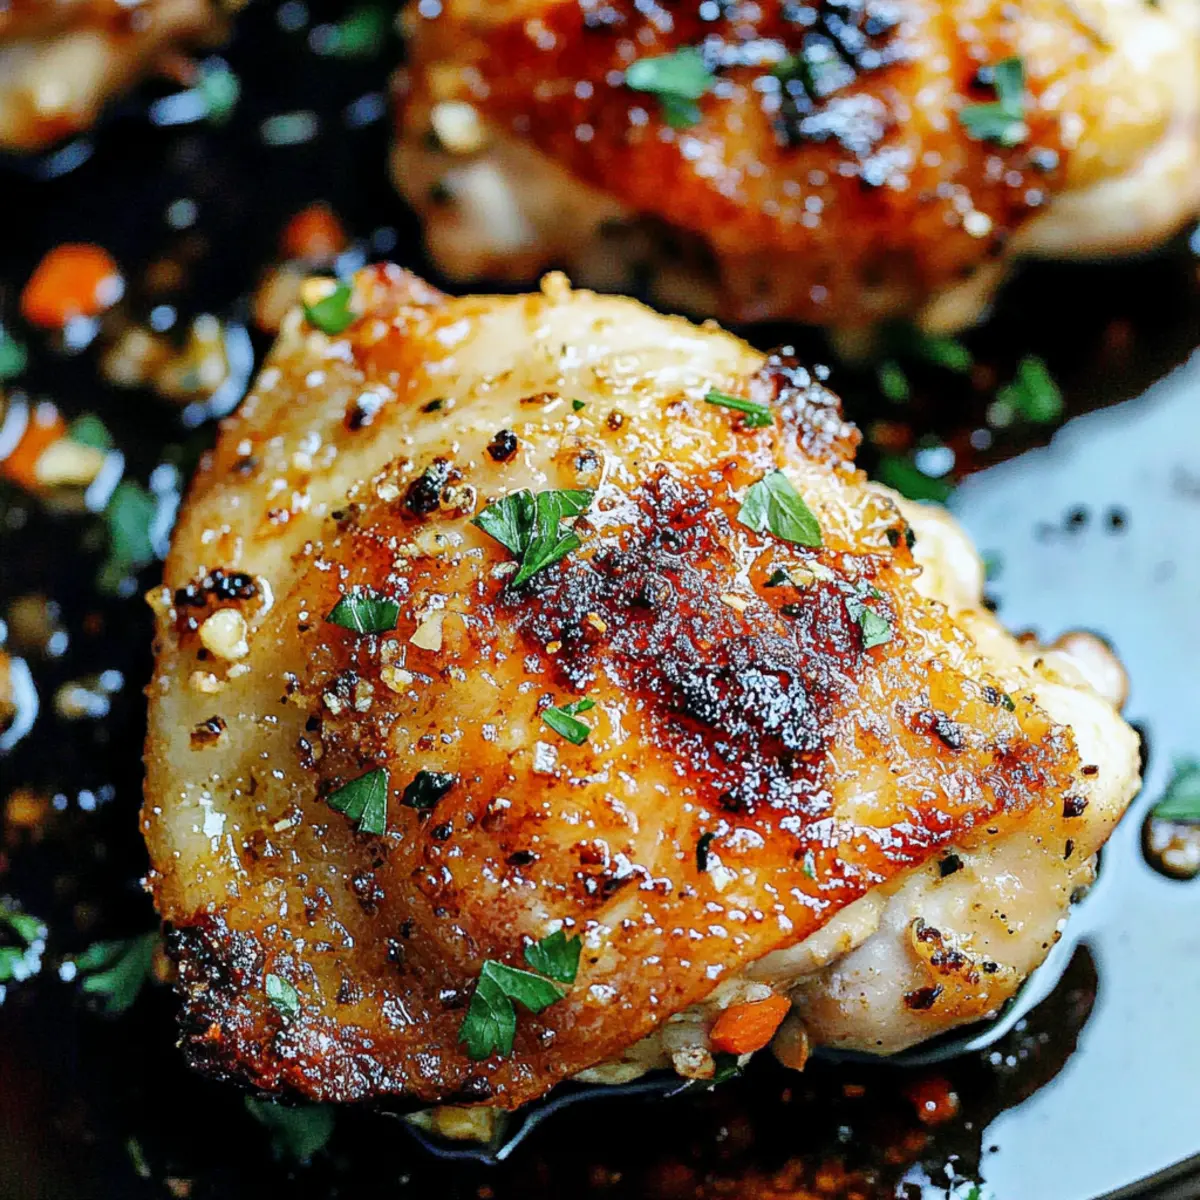
Transfer the skillet directly to your preheated oven and bake for 30 minutes. Make sure to monitor the internal temperature with a meat thermometer, aiming for 165°F (75°C) for perfectly cooked Garlic Butter Baked Chicken Thighs. They should have a deliciously crispy skin and tender, juicy meat as they come out of the oven.
Step 7: Garnish and Serve
Once the chicken is done, carefully remove the skillet from the oven, and spoon the garlic butter sauce over the thighs. This final touch elevates the dish beautifully. Garnish with freshly chopped parsley for a pop of color and extra flavor. Serve warm and enjoy the delightful flavors of your Garlic Butter Baked Chicken with your favorite sides!
How to Store and Freeze Garlic Butter Baked Chicken
Fridge: Store leftover Garlic Butter Baked Chicken in an airtight container for up to 4 days. Make sure to let it cool completely before sealing to retain moisture.
Freezer: For longer storage, freeze the chicken in a sealed freezer bag or airtight container for up to 3 months. To prevent freezer burn, press out air before sealing.
Reheating: To maintain the crispy skin, reheat in a preheated oven at 350°F (175°C) for about 15-20 minutes until heated through. This helps preserve the delightful flavor and texture.
Thawing: If frozen, thaw the chicken overnight in the fridge before reheating for the best results. Avoid thawing in warm water to prevent bacterial growth.
What to Serve with Juicy Garlic Butter Baked Chicken Thighs
Transform your weeknight dinner into a comforting feast, perfectly pairing flavors and textures to complement the rich, buttery chicken.
-
Creamy Mashed Potatoes: The velvety texture of mashed potatoes soaks up the garlic butter sauce, creating a harmonious blend of flavors.
-
Roasted Seasonal Vegetables: A medley of vibrant, roasted veggies adds color and freshness, balancing the richness of the chicken beautifully.
-
Garlic Bread: Crispy, buttery garlic bread is perfect for mopping up leftover sauce—it’s a delicious, indulgent pairing your whole family will love.
-
Caesar Salad: Crisp romaine and tangy dressing provide a refreshing contrast to the savory chicken, making for a lighter side option.
-
Honey Glazed Carrots: Sweet and tender, these carrots enhance the meal with their natural sweetness, making every bite a delightful experience.
-
Quinoa Salad: A light, nutty quinoa salad tossed with herbs and lemon zest offers a wholesome and nutritious complement to the dish.
-
Chilled White Wine: A glass of chilled Chardonnay or Sauvignon Blanc enhances the buttery flavors, making it a perfect drink choice for this meal.
-
Chocolate Mousse: For dessert, a light chocolate mousse delivers an elegant, sweet end to your delightful dinner, leaving you with a sense of indulgence.
Expert Tips for Garlic Butter Baked Chicken
-
Resting Matters: Let the chicken rest for a few minutes post-baking. This redistributes juices, ensuring every bite of your Garlic Butter Baked Chicken is tender.
-
Perfect Searing: Use a hot skillet for searing. This ensures a crispy skin; too low heat can lead to sogginess—definitely not what you want!
-
Check Temperature: Avoid overcooking by using a meat thermometer. For juicy results, aim for an internal temperature of 165°F—your best friend in preventing dry meat.
-
Herb Infusion: Feel free to get creative! Adding fresh herbs like thyme or rosemary can elevate the flavor of your Garlic Butter Baked Chicken and make it even more aromatic.
-
Oil Control: If too much fat accumulates after searing, don’t hesitate to discard some. Too much will make the dish greasy, overshadowing that lovely garlic butter flavor.
Garlic Butter Baked Chicken Variations
Feel free to personalize these Garlic Butter Baked Chicken Thighs to fit your cravings and dietary needs!
- Dairy-Free: Swap unsalted butter for olive oil or a dairy-free margarine to keep that richness without the dairy.
- Herb-infused: Incorporate fresh herbs like thyme, rosemary, or oregano for additional aromatic depth and flavor. These herbs’ vibrant notes will elevate each bite!
- Crispy Skin: Before baking, rub the skin with a touch of baking powder; this creates an extra crispy skin without compromising moisture.
- Spicy Kick: Add a pinch of crushed red pepper flakes or a drizzle of sriracha to the garlic butter sauce for a delightful heat that lingers beautifully.
- Citrus Zest: Grate some lemon or orange zest into the garlic butter for a refreshing twist that brightens the dish. This adds a lovely complexity that lightens the richness.
- Gluten-Free Version: Rest assured, this recipe is naturally gluten-free! Feel free to pair it with gluten-free sides such as broccoli salad or quinoа for a complete meal.
- Vegetable Boost: Toss in some chopped root vegetables like carrots, potatoes, or bell peppers in the skillet before baking. They’ll soak up all that delicious garlic butter while cooking alongside the chicken!
- Parmesan Crust: Sprinkle a layer of grated Parmesan cheese on top of the thighs in the last 5 minutes of baking for a crispy, cheesy crust that adds a savory punch. Try it alongside a comforting dish like Crockpot Chicken Nachos for an irresistible combo!
Make Ahead Options
These Garlic Butter Baked Chicken Thighs are perfect for meal prep enthusiasts looking to save time during busy weeknights! You can season the chicken thighs and store them in the refrigerator for up to 24 hours before cooking, allowing the flavors to meld beautifully. Additionally, you can prepare the garlic butter sauce and refrigerate it in an airtight container for up to 3 days; just be sure to reheat it gently before serving. When you’re ready to bake, simply sear the chicken and follow the remaining instructions, ensuring each bite is just as delicious as freshly made. With these make-ahead tips, you’ll create a stress-free, mouthwatering dinner with minimal effort!
Garlic Butter Baked Chicken Thighs Recipe FAQs
What type of chicken thighs should I use for this recipe?
Absolutely use skin-on and bone-in chicken thighs for maximum juiciness and flavor! If you’re looking for a leaner option, boneless skinless thighs can work, but keep in mind they might not retain moisture as well.
How do I store leftover Garlic Butter Baked Chicken Thighs?
Store any leftover chicken in an airtight container in the fridge for up to 4 days. Make sure the chicken is completely cooled before sealing to maintain its moisture and flavor.
Can I freeze Garlic Butter Baked Chicken Thighs?
Yes, you can freeze them! Place the chicken in a sealed freezer bag or airtight container, and it will keep well for up to 3 months. For best results, press out as much air as possible before sealing to prevent freezer burn.
What’s the best way to reheat leftover chicken while keeping it crispy?
To reheat and maintain that crispy skin, preheat your oven to 350°F (175°C) and place the chicken on a baking sheet. Heat for about 15-20 minutes or until warmed through, which will help preserve both flavor and texture.
Can I use garlic powder instead of fresh garlic?
Yes, you can substitute fresh garlic with garlic powder! I recommend using about 1 teaspoon to achieve a similar flavor, but be cautious, as garlic powder can be more concentrated than fresh.
Are there any dietary considerations for this recipe?
This Garlic Butter Baked Chicken Thighs recipe is naturally gluten-free, making it suitable for those with gluten sensitivities. If you’re cooking for pets, be cautious of the butter and seasoning levels, as they may not agree with their diets. Always consult with your vet if unsure!
Garlic Butter Baked Chicken: Juicy, Flavor-Packed Delight
Ingredients
Equipment
Method
- Preheat your oven to 400°F (200°C) and position the oven rack to the center.
- Pat the chicken thighs dry with paper towels and season both sides with salt and black pepper.
- Heat olive oil in a skillet over medium heat and sear the chicken thighs skin-side down for about 5 minutes until golden brown and crispy.
- Gently flip the chicken thighs, discard excess fat, and add unsalted butter to the skillet.
- Add the freshly crushed garlic to the skillet and stir for about 30 seconds until fragrant.
- Transfer the skillet to the preheated oven and bake for 30 minutes, monitoring the internal temperature to reach 165°F (75°C).
- Remove from the oven and spoon the garlic butter sauce over the thighs; garnish with freshly chopped parsley.