
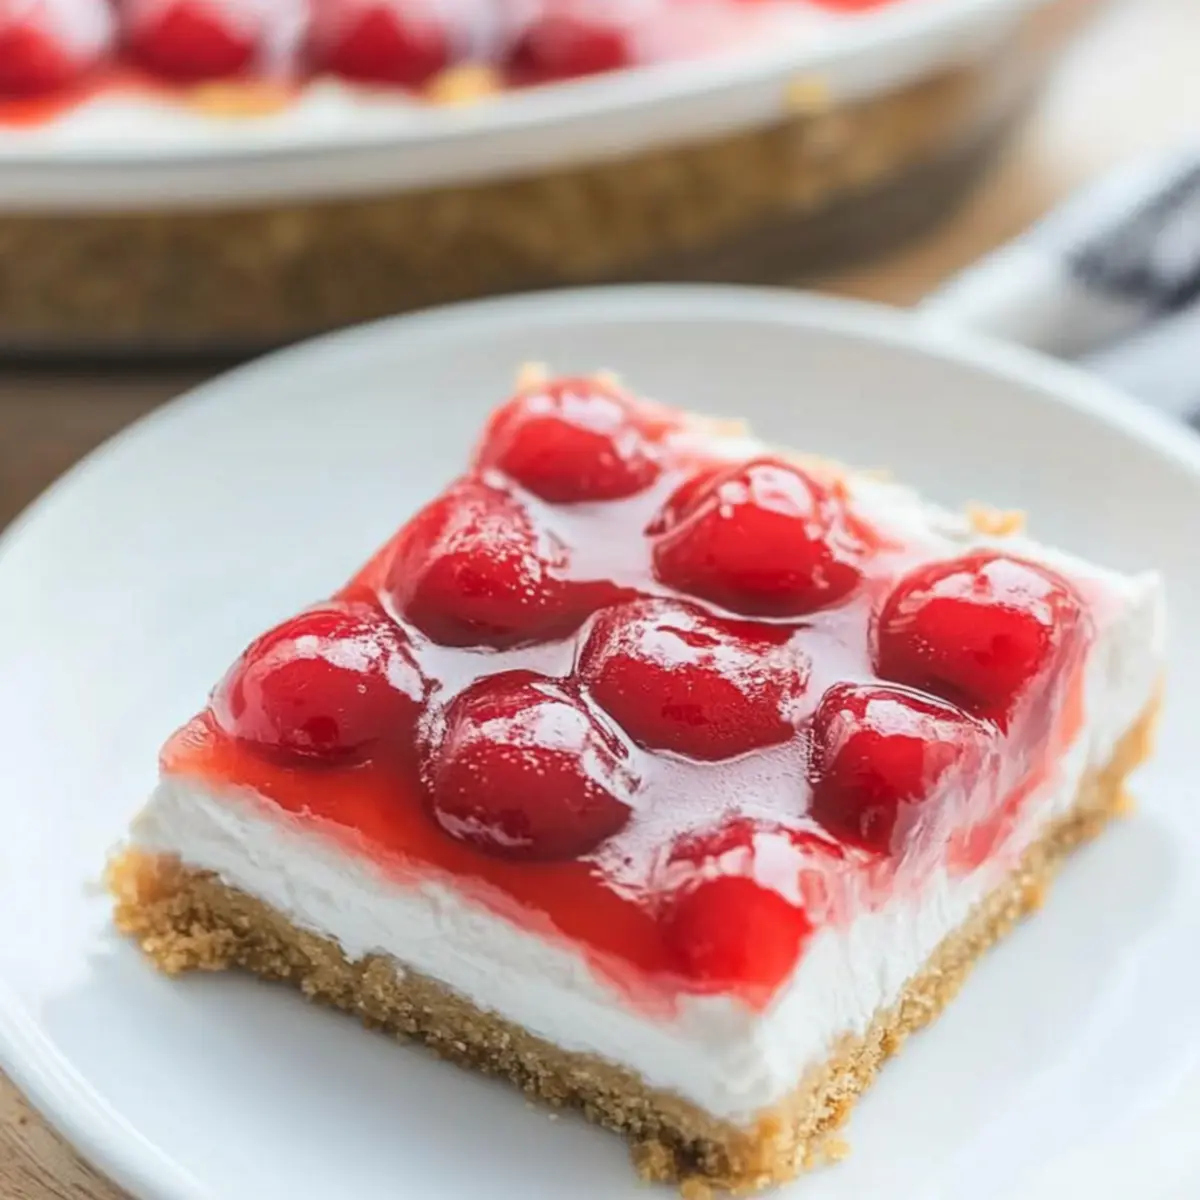
I watched my friends swap stories over steaming mugs at our backyard barbecue, but as the sun dipped low, my mind was on something sweeter. What if I could serve them a No Bake Cherry Cheesecake that would keep the celebration going, without adding heat to the mix? This dessert is a creamy dream layered on a buttery graham cracker crust, topped with luscious cherry filling—no oven needed! Perfect for those sizzling summer days, it comes together in minutes, making it a stress-free crowd-pleaser. Plus, it’s the kind of dish that looks impressive enough to wow your guests, yet is delightfully simple for any home chef to master. Ready to keep the flavors of summer alive with every slice? Let’s dive into how you can whip this up and steal the spotlight at your next gathering!
Why Is This Cherry Cheesecake a Must-Try?
No-Bake Convenience: You’ll adore how this recipe eliminates oven time—perfect for those hot days when you want dessert without the heat.
Crowd-Pleasing Delight: With its creamy texture and vibrant cherry topping, this dessert is guaranteed to impress guests at summer gatherings.
Quick Prep Time: In just a few minutes, you can whip up a stunning dessert that looks as good as it tastes, leaving you more time to socialize.
Versatile Flavor Options: Feel free to swap cherry pie filling for blueberries or raspberries, or even mix in nuts for an exciting twist.
Whether you’re serving it for dessert or taking it on the go, this No Bake Cherry Cheesecake is the ultimate sweet treat that’s perfect for any occasion. Looking for more delightful no-bake creations? Check out these Lemon Cheesecake Truffles for a tangy sensation or try the Butterfinger Cheesecake Bars for a delightful crunch!
No Bake Cherry Cheesecake Ingredients
For the Crust
• Crushed Graham Crackers – The base of the crust provides a buttery crunch; you can use gluten-free crackers for a gluten-free variant.
• Melted Butter – Binds the crust ingredients together perfectly; for a dairy-free alternative, try coconut oil instead.
• Granulated Sugar – Sweetens the crust nicely; brown sugar can add a deeper, caramel-like flavor.
For the Filling
• Cream Cheese (8 oz) – Adds creamy richness to the filling; consider using low-fat cream cheese for a lighter option.
• Whipped Cream Topping (8 oz tub) – Creates a light and airy texture; homemade whipped cream will elevate the flavor further.
• Powdered Sugar (1 cup) – Sweetens the filling beautifully; honey or agave can replace it for a natural touch, though this may change the texture slightly.
• Almond Extract (1/2 tsp) – Enhances the flavor with a hint of nuttiness; feel free to substitute with vanilla extract.
For the Topping
• Large Can of Cherry Pie Filling – Adds a burst of fruity sweetness; fresh cherries work wonderfully in season for an extra special twist.
This No Bake Cherry Cheesecake is a delightful way to impress your guests with minimal fuss, perfect for summer celebrations and easy to adapt to your tastes!
Step‑by‑Step Instructions for No Bake Cherry Cheesecake
Step 1: Prepare the Crust
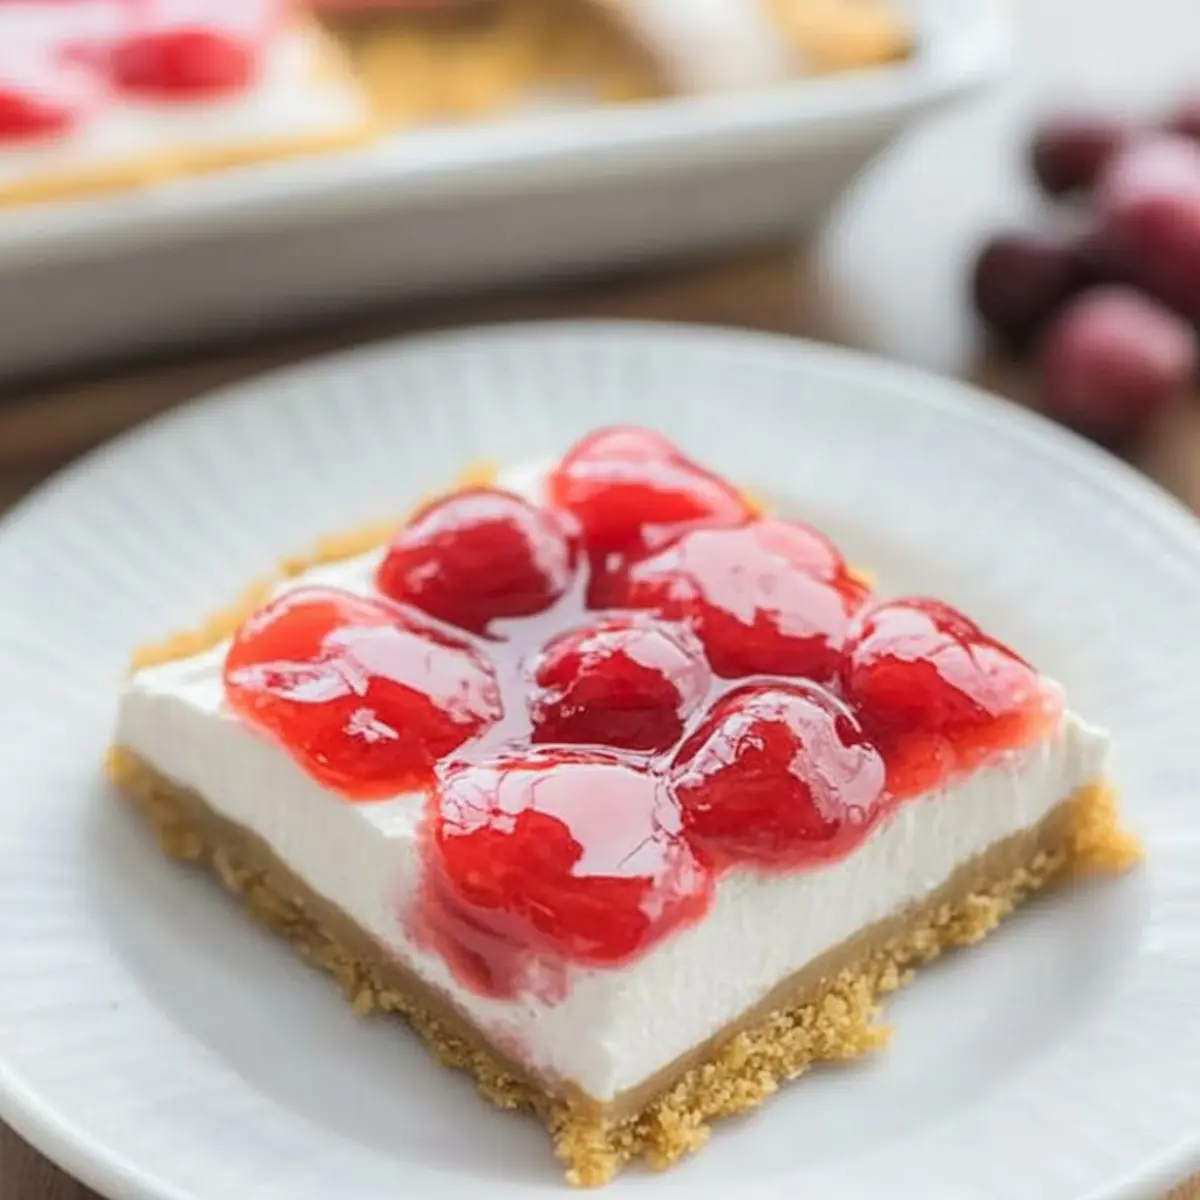
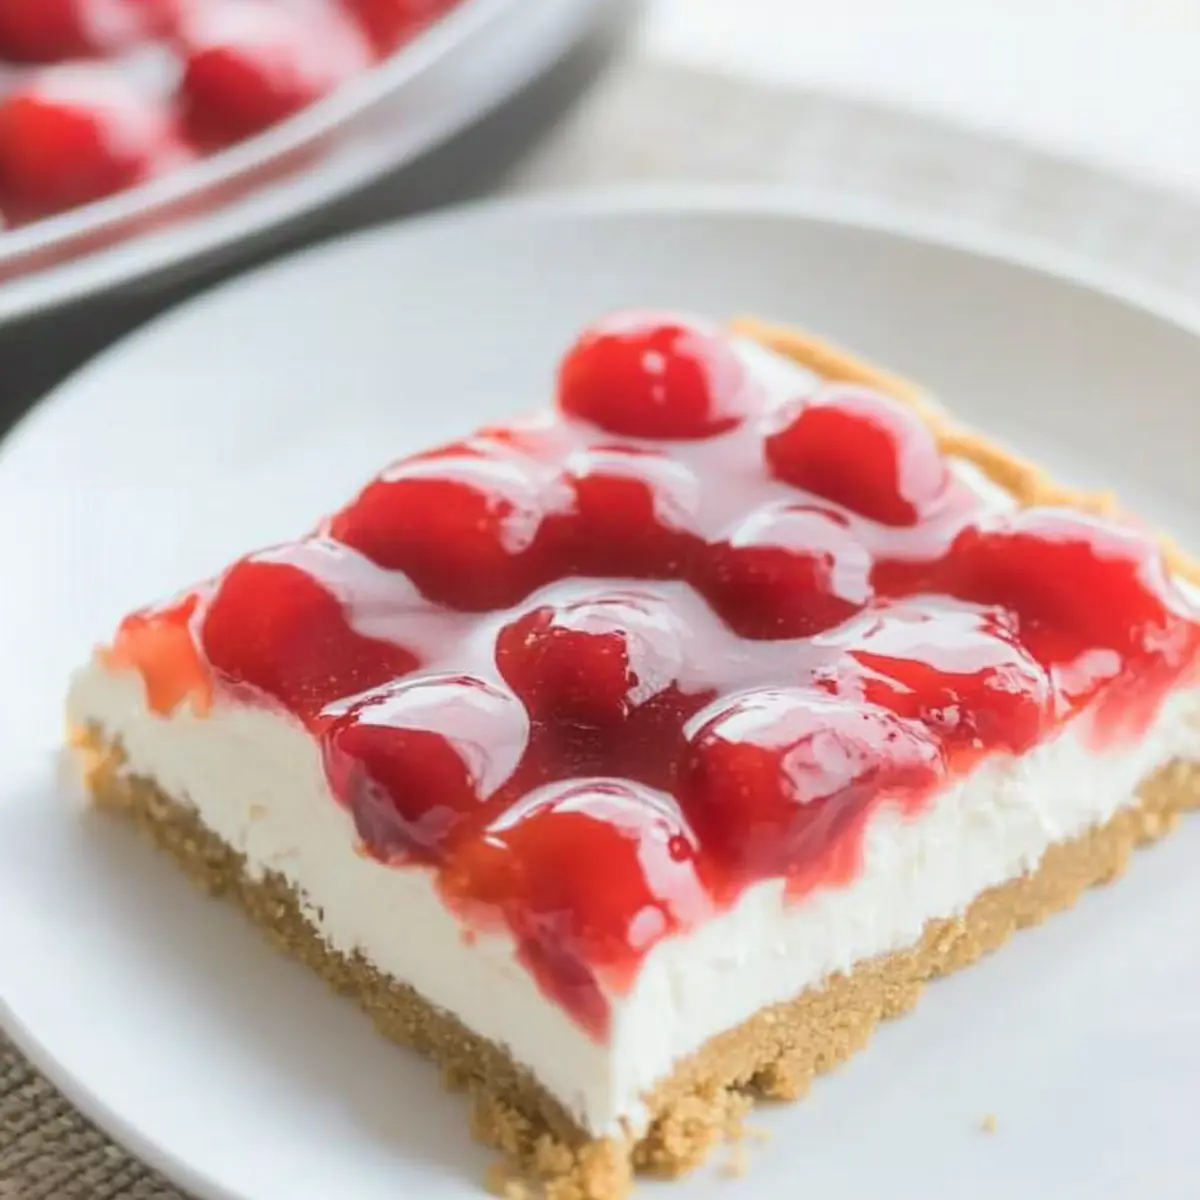
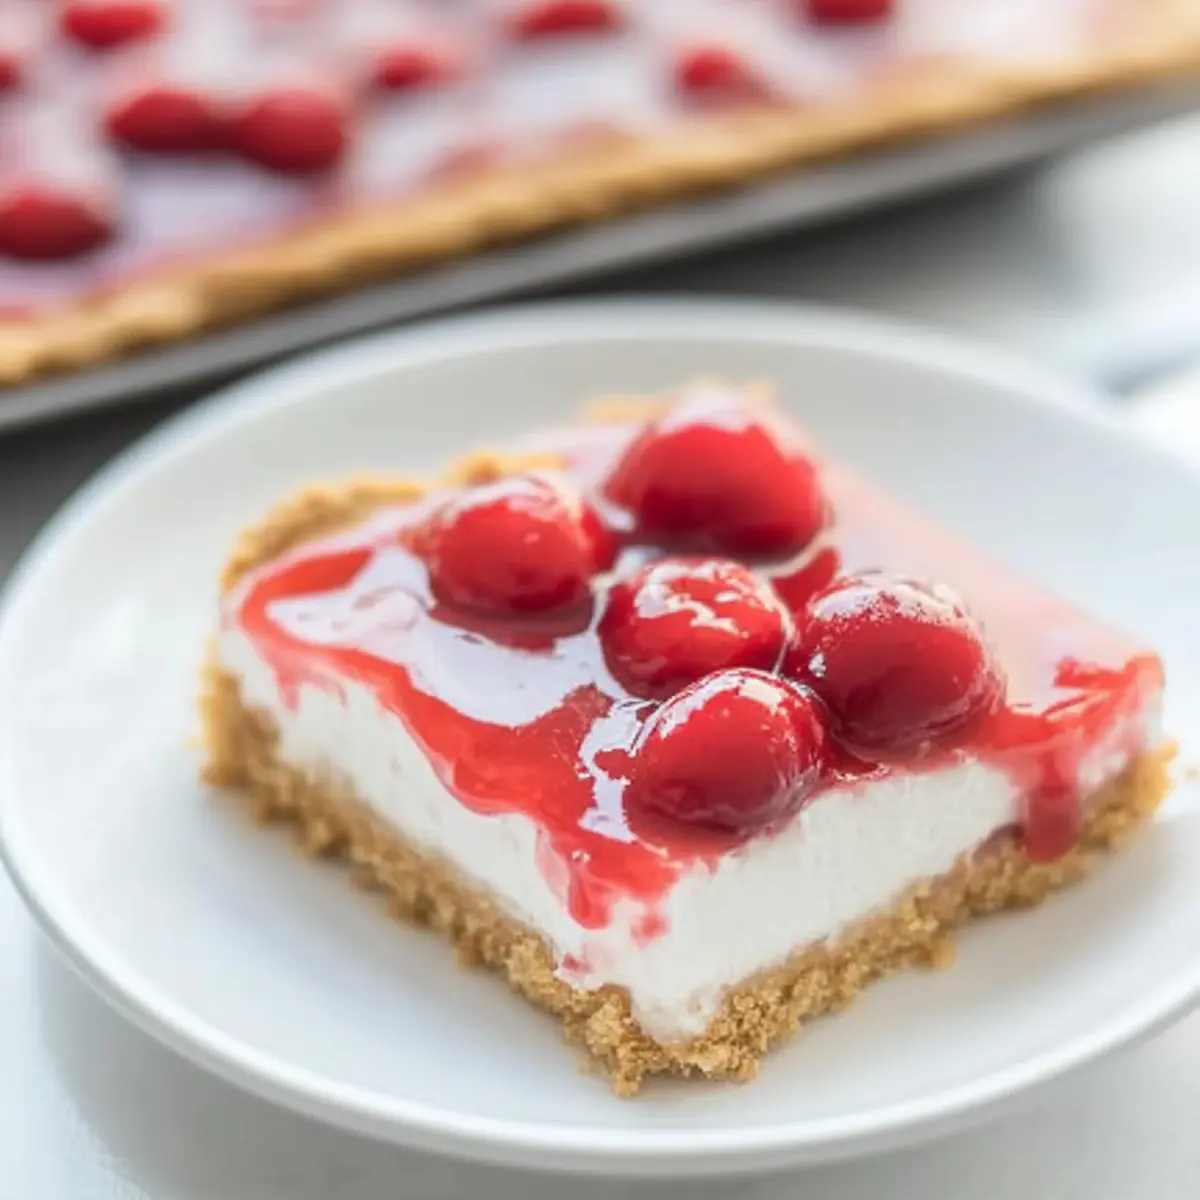
In a medium bowl, combine crushed graham crackers, melted butter, and granulated sugar. Mix until the mixture resembles wet sand, then firmly press it into the bottom of a 9-inch springform pan or serving dish. The crust should be compact and even, creating a stable base for your No Bake Cherry Cheesecake. Set aside while you prepare the filling.
Step 2: Mix the Cream Cheese Filling
In a large mixing bowl, use an electric mixer to beat the softened cream cheese on medium speed until smooth, about 2-3 minutes. Gradually add the powdered sugar and almond extract, mixing until fully combined and fluffy. The filling should be creamy and free of lumps, creating a rich texture that complements the crust beautifully.
Step 3: Fold in Whipped Topping
Gently fold the whipped cream topping into the cream cheese mixture using a spatula. This step adds airiness and lightness to your filling, so be careful not to over-mix. Stir until no white streaks remain, ensuring a uniform and fluffy consistency. This delightful mixture is the heart of your No Bake Cherry Cheesecake.
Step 4: Assemble the Cheesecake
Carefully spread the cream cheese filling over the prepared graham cracker crust, using a spatula to smooth the top. Make sure the filling is evenly distributed, reaching the edges of the crust. This layer will be rich and creamy, creating a perfect contrast to the crunchy base.
Step 5: Add the Cherry Topping
Spoon the cherry pie filling evenly over the cream cheese layer, allowing the cherries to cascade gently over the surface. You’ll want to cover the entire cheesecake with a luscious layer of cherries, which adds sweetness and a pop of color to your No Bake Cherry Cheesecake.
Step 6: Chill Until Set
Cover the cheesecake with plastic wrap or a lid and refrigerate for at least 2 hours, allowing it to set properly. The chilling process also enhances the flavors, creating a refreshingly cool dessert that’s perfect for warm days. For best results, consider letting it chill overnight for a firmer texture.
Step 7: Serve and Enjoy
Once set, remove the cheesecake from the refrigerator and carefully remove the springform pan, if used. Slice into generous pieces while serving chilled, and enjoy the delightful combination of creamy filling, crunchy crust, and vibrant cherry topping. Your No Bake Cherry Cheesecake is now ready to impress all your summer guests!
Helpful Tricks for No Bake Cherry Cheesecake
-
Softened Cream Cheese: Ensure that your cream cheese is fully softened at room temperature to prevent lumps and achieve a smooth filling.
-
Chill Time Matters: For the best texture and flavor, chill your cheesecake longer than 2 hours, ideally overnight. This enhances the sweetness and creaminess of the No Bake Cherry Cheesecake.
-
Compact Crust: When pressing the graham cracker mixture into the pan, be sure to press down firmly to create a sturdy crust that won’t crumble when sliced.
-
Folding Technique: Gently fold the whipped topping into the cream cheese mixture to keep it light and airy. Over-mixing can deflate the filling, losing that dreamy texture.
-
Use Fresh Fruit: If cherries are in season, substitute the canned cherry pie filling with fresh cherries for a burst of flavor and a beautiful presentation.
-
Variations Galore: Don’t hesitate to mix up the toppings! Swap the cherry filling with blueberries or raspberries for a fun twist on the classic No Bake Cherry Cheesecake.
Make Ahead Options
These No Bake Cherry Cheesecake treats are perfect for busy home cooks looking to save time during the week! You can prepare the graham cracker crust and the cream cheese filling up to 24 hours in advance; just store them separately in the refrigerator to maintain their quality. When you’re ready to serve, simply assemble the cheesecake by spreading the filling over the crust and topping it with the cherry pie filling. Allow it to chill for at least 2 hours or ideally, overnight for the best flavor and texture. This way, your No Bake Cherry Cheesecake will be just as delicious, allowing you to enjoy more time with your guests and less time in the kitchen!
What to Serve with No Bake Cherry Cheesecake
Elevate your summer gathering with delightful pairings that enhance the luscious flavors of this easy, no-bake treat.
-
Fresh Berries: Juicy strawberries or blueberries add a splash of color and a refreshing tartness that complements the sweetness of the cheesecake.
-
Mint Garnish: A few sprigs of fresh mint not only enhance the visual appeal but also infuse a refreshing aroma for a delightful finish.
-
Homemade Whipped Cream: Light and fluffy, a dollop of whipped cream enhances the creamy texture, creating even more indulgence with each bite.
-
Lemonade or Iced Tea: A cold glass of freshly made lemonade or iced tea balances the dessert’s sweetness while refreshing your palate between bites.
-
Chocolate Drizzle: A light drizzle of melted chocolate adds a rich and decadent twist that pairs beautifully with the cherries and creaminess of the cheesecake.
-
Chocolate-Covered Almonds: The crunch of these treats and their nutty flavor complements the creamy cheesecake, elevating the dessert experience.
-
Graham Cracker Crumbs: Sprinkling some additional graham cracker crumbs on top adds texture and an extra burst of buttery flavor.
-
Fruit Salad: A light and refreshing fruit salad filled with seasonal fruits can cleanse the palate and provide a contrast to the cheesecake’s richness.
-
Vanilla Ice Cream: Serve a scoop of vanilla ice cream alongside for a classic pairing; it’s a delightful way to enjoy the warm, summer evening with each spoonful.
-
Coffee: A warm cup of coffee can provide a comforting end to the meal while balancing the dessert’s sweetness with its rich, warm notes.
Storage Tips for No Bake Cherry Cheesecake
Fridge: Keep the No Bake Cherry Cheesecake covered with plastic wrap or in an airtight container in the refrigerator for up to 3 days. This preserves freshness and flavor.
Freezer: You can freeze the cheesecake for up to 2 months. To do so, slice it first, then wrap individual pieces in plastic wrap and aluminum foil. Allow to thaw in the fridge before serving.
Make-Ahead: Prepare this cheesecake up to 2 days in advance; chilling it longer enhances the flavors and texture, making it even more delightful when served.
Reheating: No need to reheat; simply enjoy cold! If thawing a frozen cheesecake, let it sit in the fridge overnight for the best results.
No Bake Cherry Cheesecake Variations
Feel free to experiment and personalize this delightful dessert to match your taste and dietary needs!
-
Dairy-Free: Substitute cream cheese with cashew cream or a dairy-free cream cheese alternative for a rich, creamy texture.
-
Gluten-Free: Use gluten-free graham crackers or almond flour for the crust to make this dessert accessible for everyone.
-
Natural Sweeteners: Swap powdered sugar for honey or agave syrup, adjusting the consistency as needed for a more wholesome sweetness.
-
Fruit Twist: Replace cherry pie filling with your favorite fruit topping, like blueberry or raspberry, for a refreshing change of flavor. Imagine the burst of sweetness with each bite!
-
Nutty Crust: Add chopped nuts, such as pecans or almonds, to the crust for an unexpected crunchy twist. It adds a delightful contrast to the creamy filling!
-
Citrus Zest: Stir in some lemon or lime zest into the cream cheese mixture. This adds a bright note that complements the sweetness; your guests will love the extra zing!
-
Layered Delight: Layer in some chocolate or caramel sauce between the crust and the filling for a decadent treat that’ll elevate every spoonful.
-
Heat Variation: For those who enjoy a hint of spice, a dash of cayenne or cinnamon in the filling can take the flavor profile to an exciting new level!
These variations will keep your No Bake Cherry Cheesecake fresh and exciting! For more berry delights, don’t forget to check out these scrumptious Fun Bake Cookie options that ensure happy smiles at every gathering!
No Bake Cherry Cheesecake Recipe FAQs
What cherries should I use for the topping?
You can opt for a large can of cherry pie filling, which is convenient and sweet. However, if you have access to fresh cherries in season, they’re a delightful and flavorful substitute! Just pit and slice them for a burst of freshness atop your cheesecake.
How should I store the No Bake Cherry Cheesecake?
Keep your cheesecake covered with plastic wrap or in an airtight container in the refrigerator for up to 3 days. This method helps maintain its creamy texture and bright cherry topping.
Can I freeze the No Bake Cherry Cheesecake?
Absolutely! For freezing, slice the cheesecake into individual pieces, wrap them tightly in plastic wrap and then in aluminum foil to prevent freezer burn. You can store it for up to 2 months; just remember to thaw it in the refrigerator overnight before serving.
What happens if my cream cheese is too cold?
If your cream cheese isn’t softened properly, it will be difficult to blend smoothly and may result in lumps. Be sure to let it sit at room temperature for about 30-60 minutes before mixing to ensure a creamy consistency in your filling.
Are there any dietary considerations with this cheesecake?
Yes, if you have dietary restrictions, you can use gluten-free graham crackers for the crust and opt for dairy-free alternatives like coconut cream for the filling. Always check labels for potential allergens based on your needs.
Can I make this dessert in advance?
Yes, indeed! Preparing your No Bake Cherry Cheesecake up to 2 days in advance is a great idea. Just let it chill longer in the refrigerator for enhanced flavors and an even more delightful texture when it’s time to serve.
No Bake Cherry Cheesecake That Will Wow Your Taste Buds
Ingredients
Equipment
Method
- In a medium bowl, combine crushed graham crackers, melted butter, and granulated sugar. Mix until resembles wet sand. Press into the bottom of a springform pan.
- In a large bowl, beat the softened cream cheese on medium speed until smooth. Gradually add powdered sugar and almond extract, mixing until fluffy.
- Gently fold the whipped cream topping into the cream cheese mixture until no white streaks remain.
- Spread the cream cheese filling over the prepared graham cracker crust, smoothing the top evenly.
- Spoon the cherry pie filling evenly over the cream cheese layer.
- Cover and refrigerate for at least 2 hours to set.
- Slice into pieces and serve chilled.