
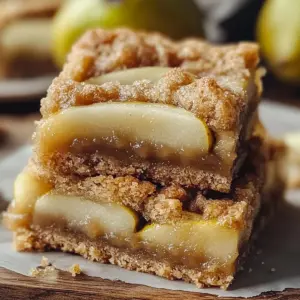
As the sweet scent of ripe pears fills my kitchen, I can’t help but grin at what’s about to unfold. These Easy & Delicious Pear Bars are not only a piece of cake to whip up, but they also offer a cozy dessert that’s perfect for any occasion. In just under an hour, you’ll have a batch of these chewy, buttery bars that can easily become your go-to treat. Whether you’re looking for a lighter dessert alternative or a way to impress loved ones without the fuss, these bars will do the trick. Plus, with suggestions for gluten-free variations or a spicy twist, this recipe caters to everyone’s tastes. How about giving these delightful bars a try?
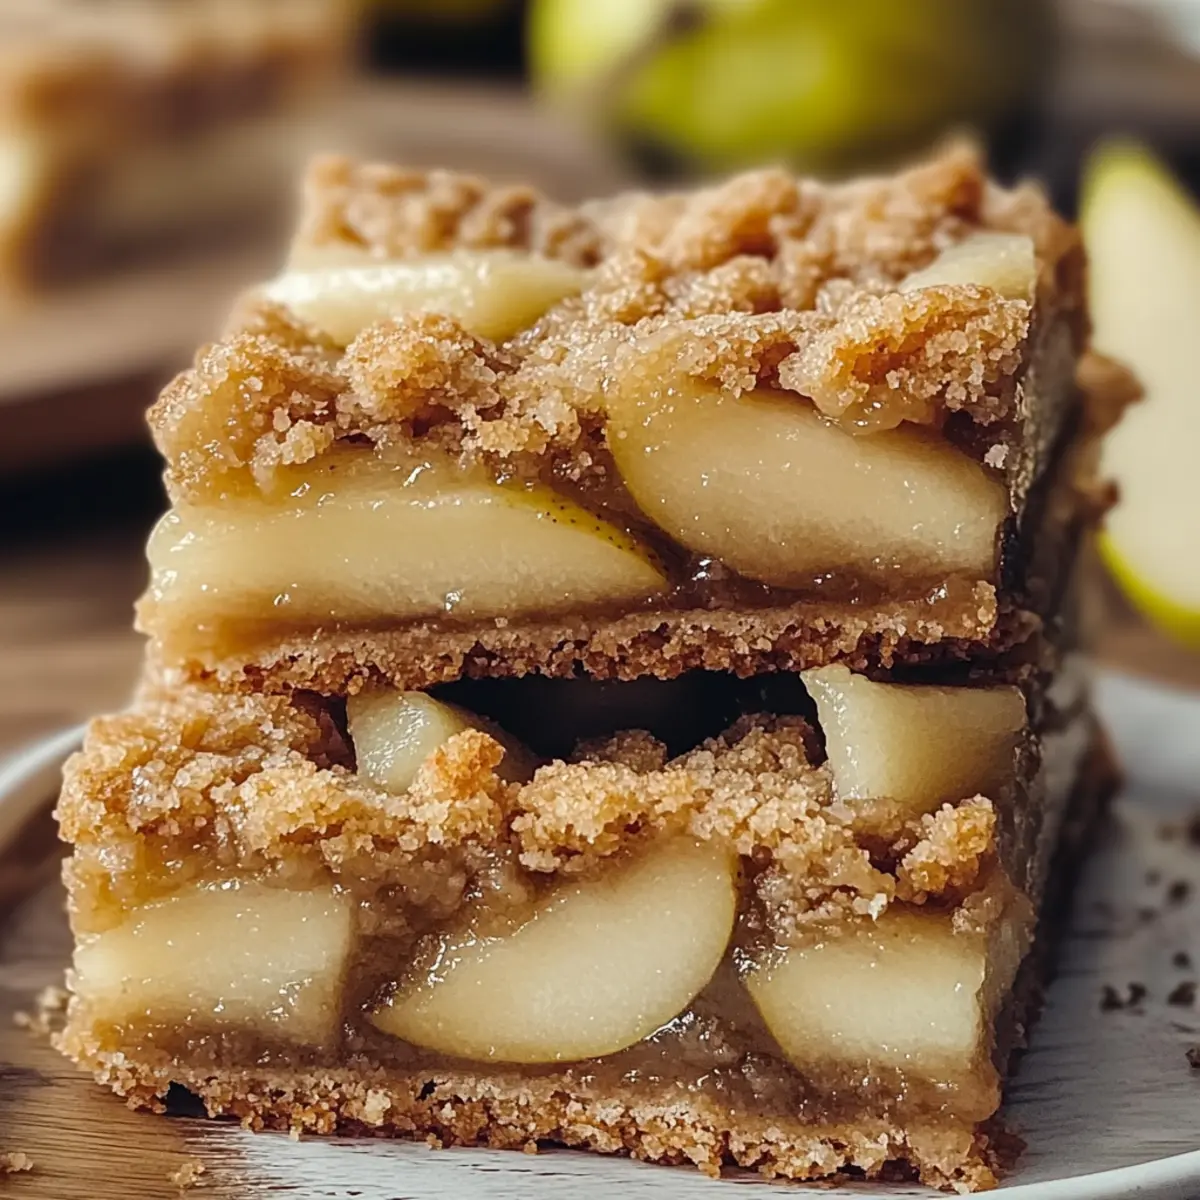
Why Are These Pear Bars So Special?
Comforting, cozy flavor: The delightful blend of sweet, juicy pears creates a warm and inviting dessert perfect for gatherings or quiet nights.
Versatile variations: Not only can you enjoy the original recipe, but you can also easily make delightful substitutions like peaches or gluten-free options!
Quick and easy: Ready in under an hour, these bars are a lifesaver when you want a delicious dessert without the hassle—perfect for busy weeknights.
Crowd-pleaser: With their irresistible combination of chewy texture and buttery crust, these Pear Bars are sure to impress anyone lucky enough to indulge.
Healthy twist: Packed with nutritious pears, they offer a guilt-free sweet treat that adds dietary fiber to your dessert. Give these bars a try and you might just find yourself wanting to make them a regular on your dessert table!
Pear Bars Ingredients
For the Bars
• Ripe Pears – Adds sweetness and moisture, so choose soft, fragrant pears for the best flavor.
• Granulated Sugar – Provides sweetness to balance the tartness of the pears.
• Brown Sugar – This adds depth of flavor and moisture due to its molasses content.
• Unsalted Butter – Contributes richness and flavor; melting it first makes for easy mixing.
• Large Eggs – Binds the ingredients together and helps in leavening for a light texture.
• Vanilla Extract – Enhances the overall flavor profile with warm, inviting notes.
• All-Purpose Flour – Provides necessary structure; can be substituted with almond flour for a gluten-free version.
• Baking Powder – Creates leavening, ensuring your bars are light and fluffy.
• Salt – Balances sweetness and brings all the flavors together beautifully.
For Variations
• Peaches – Swap pears for a tangy twist and enjoy a fresh take on these bars.
• Spices – Add cinnamon or nutmeg for a warm, comforting flavor boost in your Pear Bars.
• Chopped Walnuts – Incorporate these for an extra crunch that elevates the dessert experience.
Step‑by‑Step Instructions for Pear Bars
Step 1: Preheat the Oven
Start by preheating your oven to 350°F (175°C). While the oven heats up, take a moment to grease a 9×13 inch baking dish with butter or non-stick cooking spray. This will ensure your Pear Bars release easily after baking, making for a smooth serving experience.
Step 2: Prepare the Sugar Mixture
In a large mixing bowl, combine the melted unsalted butter with granulated sugar and brown sugar. Using a whisk or electric mixer, blend the ingredients together until the mixture is smooth and homogenous. This process takes about 2-3 minutes and brings out the rich flavors of the sugars and butter, giving you a creamy base for your Pear Bars.
Step 3: Incorporate Eggs and Vanilla
Crack in the large eggs and add the vanilla extract to the sugar mixture. Mix thoroughly until everything is well combined and the mixture appears light and fluffy, about 2 minutes. This step binds your Pear Bars and adds a delightful depth of flavor, making them even more irresistible.
Step 4: Combine Dry Ingredients
In a separate bowl, whisk together the all-purpose flour, baking powder, and salt. Gradually add this dry mixture to the wet ingredients, stirring gently until just combined. Take care not to overmix; a light hand ensures your Pear Bars maintain their tender texture.
Step 5: Fold in the Pears
Now, fold in the chopped ripe pears, ensuring they are evenly distributed throughout the batter. The pears will lend their natural sweetness and moisture, making your Pear Bars juicy and flavorful. This step helps create pockets of delicious pears within the soft, buttery bars.
Step 6: Pour the Batter
Pour the batter into the greased baking dish, using a spatula to spread it evenly across the bottom. Make sure the batter reaches the corners, creating a uniform layer that will bake beautifully. The luscious batter filled with pear pieces should create a mouthwatering visual before it even goes into the oven.
Step 7: Bake to Perfection
Place the baking dish in the preheated oven and bake for 30-35 minutes. Keep an eye on the bars as they bake; they should turn golden brown around the edges. Check for doneness by inserting a toothpick in the center; it should come out clean, confirming that your Pear Bars are ready.
Step 8: Cool and Slice
Once baked, remove the Pear Bars from the oven and allow them to cool in the dish for about 15-20 minutes. This cooling period helps set the texture, making it easier to slice. After cooling, cut into squares or rectangles, and they’re ready to be served warm or at room temperature!
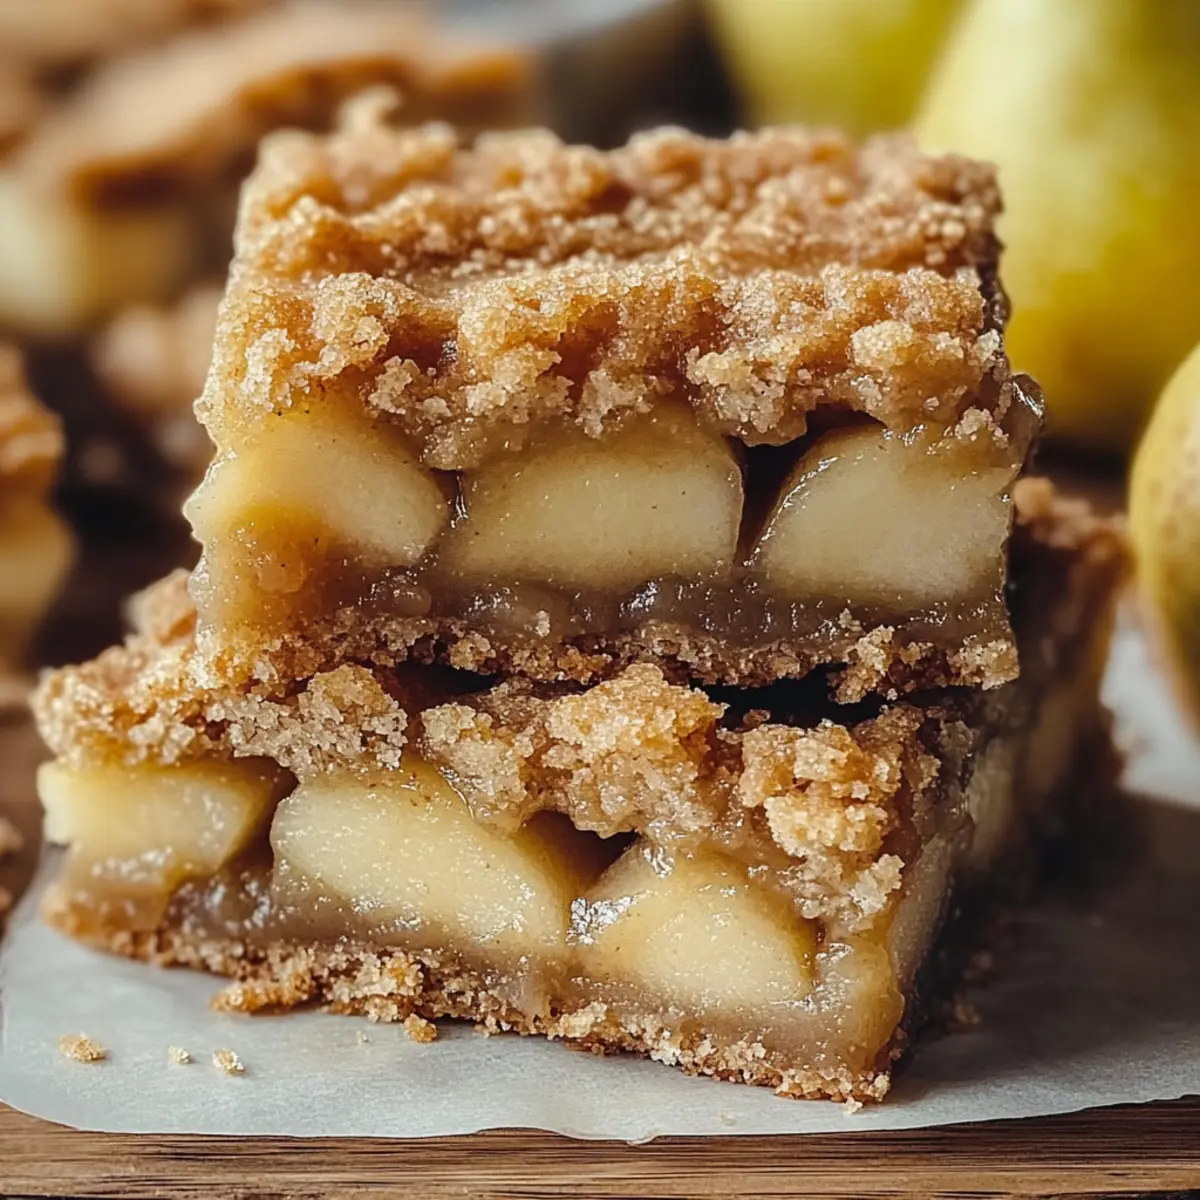
What to Serve with Easy & Delicious Pear Bars
Indulging in these delightful bars is just the beginning; let’s elevate your dessert experience with some perfect pairings.
- Whipped Cream: The light, airy texture of freshly whipped cream complements the chewy bars, adding a touch of richness that enhances the buttery flavor.
- Vanilla Ice Cream: A scoop of creamy vanilla ice cream alongside warm Pear Bars creates a delightful contrast that’s both indulgent and comforting. Imagine a scoop melting into the warm bars for an irresistible treat!
- Cinnamon Sugar Dusting: Sprinkling a bit of cinnamon sugar over your sliced bars enhances their flavor, adding a spark of warmth and sweetness. It’s that extra pop that leaves everyone wanting more.
- Fresh Pear Slices: Serve with sliced pears to echo the bar’s flavor and bring a refreshing crunch. Their juiciness enhances the overall experience, making every bite even more satisfying.
- Nutty Granola: A sprinkle of nutty granola on top offers texture and an earthy flavor that balances the sweetness of the Pear Bars perfectly. It’s a delightful twist that adds an unexpected crunch!
- Herbal Tea: Pair these bars with a warm cup of chamomile or green tea for a soothing contrast. The subtle flavors of tea beautifully complement the sweet, fruity notes of the dessert.
- Caramel Drizzle: A warm drizzle of caramel sauce can enhance the richness, creating a decadent layer that turns your Pear Bars into a gourmet experience.
- Fruit Salad: A refreshing fruit salad with citrus tones can cleanse the palate and balance the sweetness of the bars. The zesty notes brighten up the entire dessert spread!
How to Store and Freeze Pear Bars
Room Temperature: Store in an airtight container at room temperature for up to 2 days, ensuring they stay soft and delicious.
Fridge: Keep Pear Bars in the refrigerator for up to a week. Use a covered container to maintain freshness and avoid drying out.
Freezer: For longer storage, freeze individually wrapped Pear Bars for up to 3 months. Thaw in the fridge overnight before enjoying.
Reheating: To warm up, pop the bars in the microwave for about 10-15 seconds or enjoy them cold for a refreshing treat!
Expert Tips for Pear Bars
• Choose Ripe Pears: Use soft, fragrant pears for the sweetest flavor and moist texture—check for a slight softness before using.
• Mix with Care: Avoid overmixing the batter; gently stir until just combined to keep your Pear Bars tender and light.
• Proper Baking: Check for doneness with a toothpick; bars should be golden and set in the center for the best end result.
• Cool Before Slicing: Allow the bars to cool in the dish to help them firm up, making them easier to cut into perfect squares.
• Storage Tips: Store in an airtight container at room temperature for up to 2 days to keep them fresh and delicious.
Make Ahead Options
These Pear Bars are perfect for meal prep enthusiasts seeking to save time during busy weeknights! You can mix the batter up to 24 hours in advance and keep it covered in the refrigerator, ensuring freshness while preventing any browning of the pears. Alternatively, prepare and bake the bars, then store them at room temperature for up to 2 days or refrigerate to maintain quality for up to a week. When you’re ready to enjoy, simply slice and serve as is or warm them slightly in the oven for that fresh-baked taste. This way, you’ll have delicious, homemade Pear Bars with minimal effort on your busy days!
Pear Bars Variations & Substitutions
Feel free to let your creativity shine as you modify these delectable bars to suit your taste!
-
Peach Twist: Substitute peaches for pears for a sweet and tangy flavor that offers a delightful summer twist.
-
Gluten-Free Option: For a gluten-free delight, simply replace the all-purpose flour with almond flour, creating a nutty base for your bars.
-
Spice It Up: Add a teaspoon of cinnamon or nutmeg for a touch of warmth that perfectly complements the fruitiness of the bars.
-
Nutty Crunch: Fold in chopped walnuts or pecans for an added crunch that elevates the texture and provides a satisfying bite.
-
Coconut Flake Delight: Mix in shredded coconut for a tropical flair that pairs wonderfully with the sweet pears.
-
Chocolate Drizzle: For a decadent finishing touch, drizzle melted chocolate over the cooled bars, adding richness and a delightful contrast to the sweetness.
-
Lemon Zing: Add a splash of lemon juice and zest to brighten the flavors, creating a refreshing twist that balances the sweetness perfectly.
-
Salted Caramel Swirl: For a touch of indulgence, swirl in homemade or store-bought salted caramel sauce before baking for an unforgettable flavor boost.
While you’re here, don’t forget to check out these delightful Butterfinger Cheesecake Bars or Dulce de Leche Cheesecake Bars for more sweet inspiration!
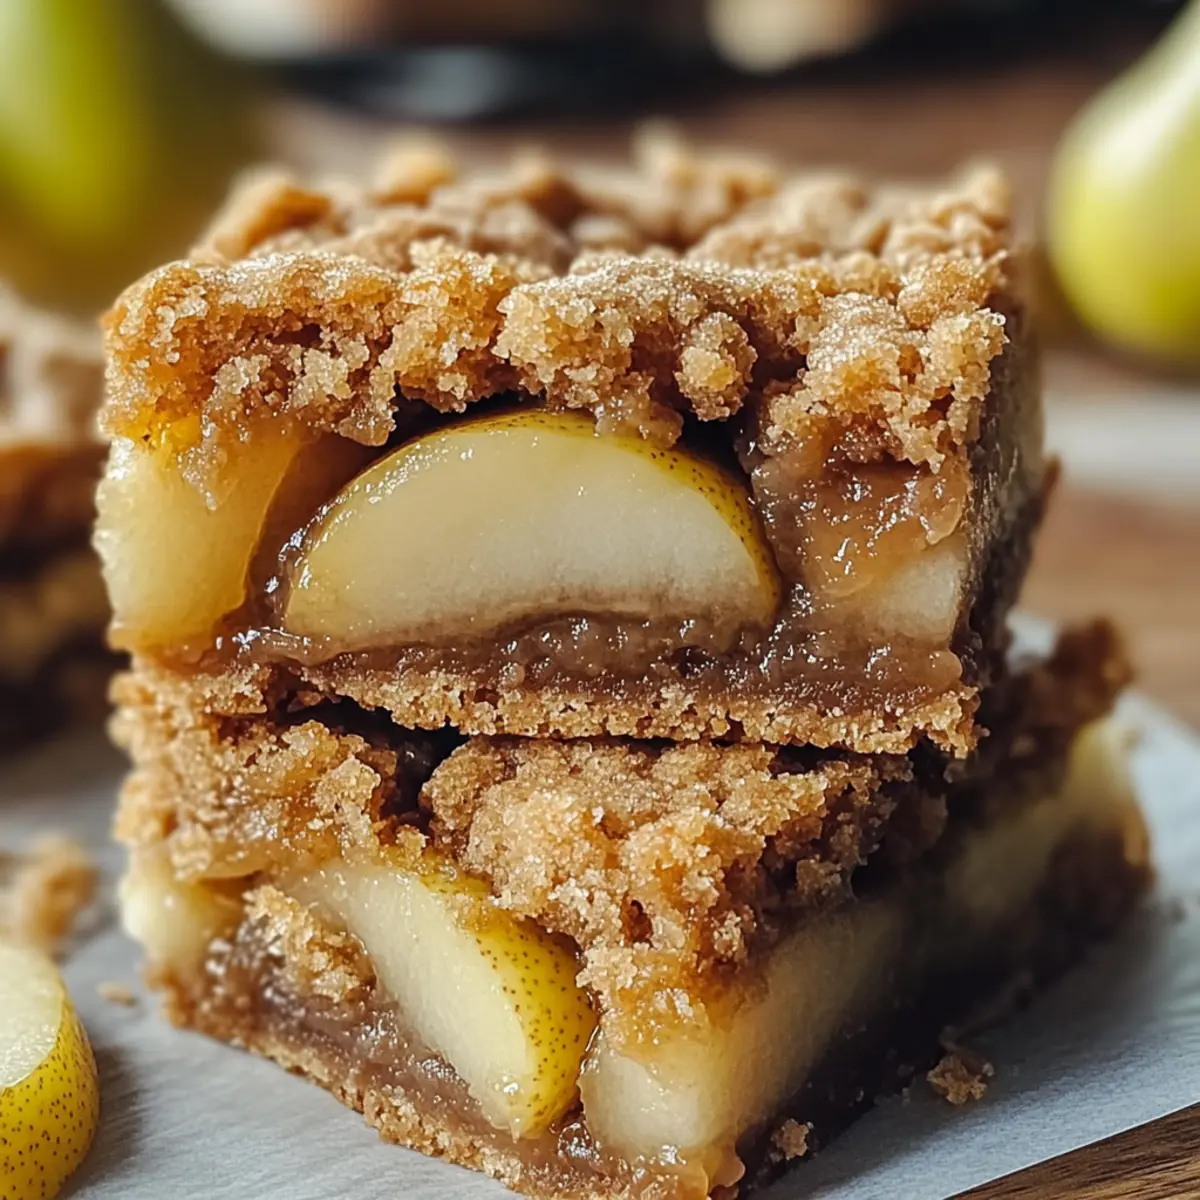
Pear Bars Recipe FAQs
What kind of pears are best for these Pear Bars?
Absolutely! For the best flavor and moisture, use ripe, soft, and fragrant pears like Bartlett or Anjou. A slight softness indicates they’re perfect for baking, as they’ll add natural sweetness to the bars.
How should I store Pear Bars for freshness?
You can store these delicious Pear Bars in an airtight container at room temperature for up to 2 days. For longer storage, place them in the refrigerator where they will stay fresh for about a week. Always keep them covered to prevent drying!
Can I freeze Pear Bars, and if so, how?
Very! To freeze your Pear Bars, first cut them into squares or rectangles. Then wrap each piece tightly in plastic wrap or aluminum foil, and place them in a freezer-safe container or bag. They can be frozen for up to 3 months. When you’re ready to enjoy, just thaw them overnight in the fridge!
What should I do if my Pear Bars turn out too dense?
If your bars seem dense, it may be due to overmixing the batter. Mix the dry ingredients into the wet ingredients gently, just until combined. Many people worry about fully mixing, but for light, tender bars, a gentle touch works wonders!
Are there any allergy considerations with this recipe?
Definitely! This recipe includes eggs, butter, and all-purpose flour, which may not be suitable for those with allergies. You can easily make a gluten-free version by substituting the all-purpose flour with almond flour, and using a dairy-free butter alternative will accommodate those with dairy restrictions. Always double-check your ingredients to ensure they meet your guests’ dietary needs.
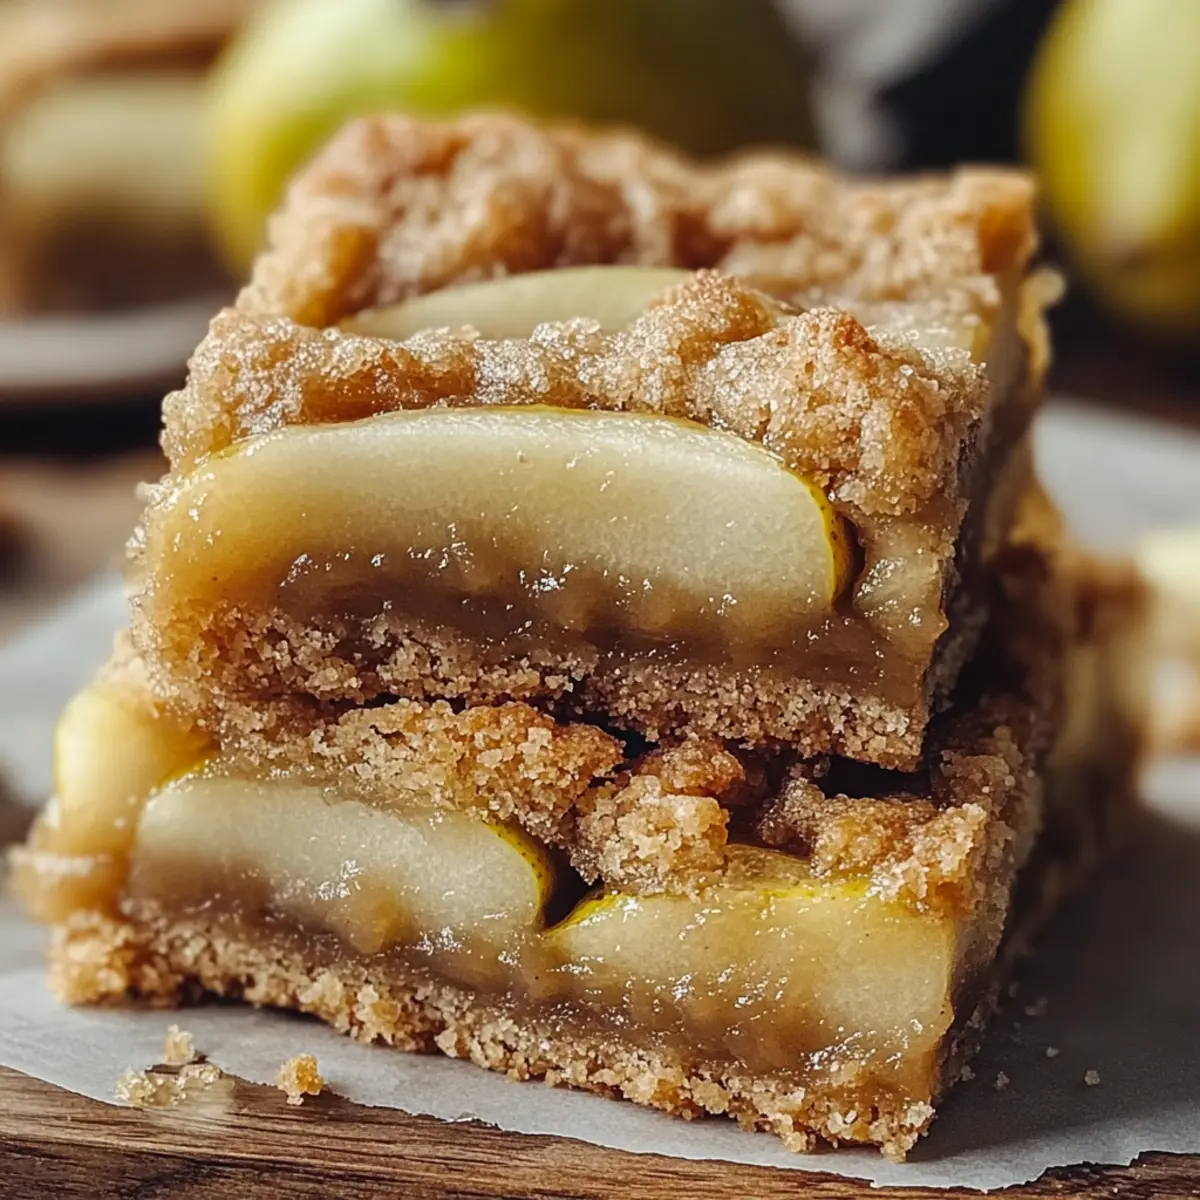
Delicious Pear Bars for a Cozy Night In
Ingredients
Equipment
Method
- Preheat your oven to 350°F (175°C) and grease a 9x13 inch baking dish.
- Combine melted butter, granulated sugar, and brown sugar in a large mixing bowl until smooth.
- Add eggs and vanilla extract to the sugar mixture, mixing until light and fluffy.
- In a separate bowl, whisk together flour, baking powder, and salt; gradually add to wet ingredients.
- Fold in the chopped ripe pears until evenly distributed.
- Pour the batter into the prepared baking dish and spread evenly.
- Bake for 30-35 minutes until golden brown and a toothpick inserted comes out clean.
- Cool for 15-20 minutes before slicing into squares.