
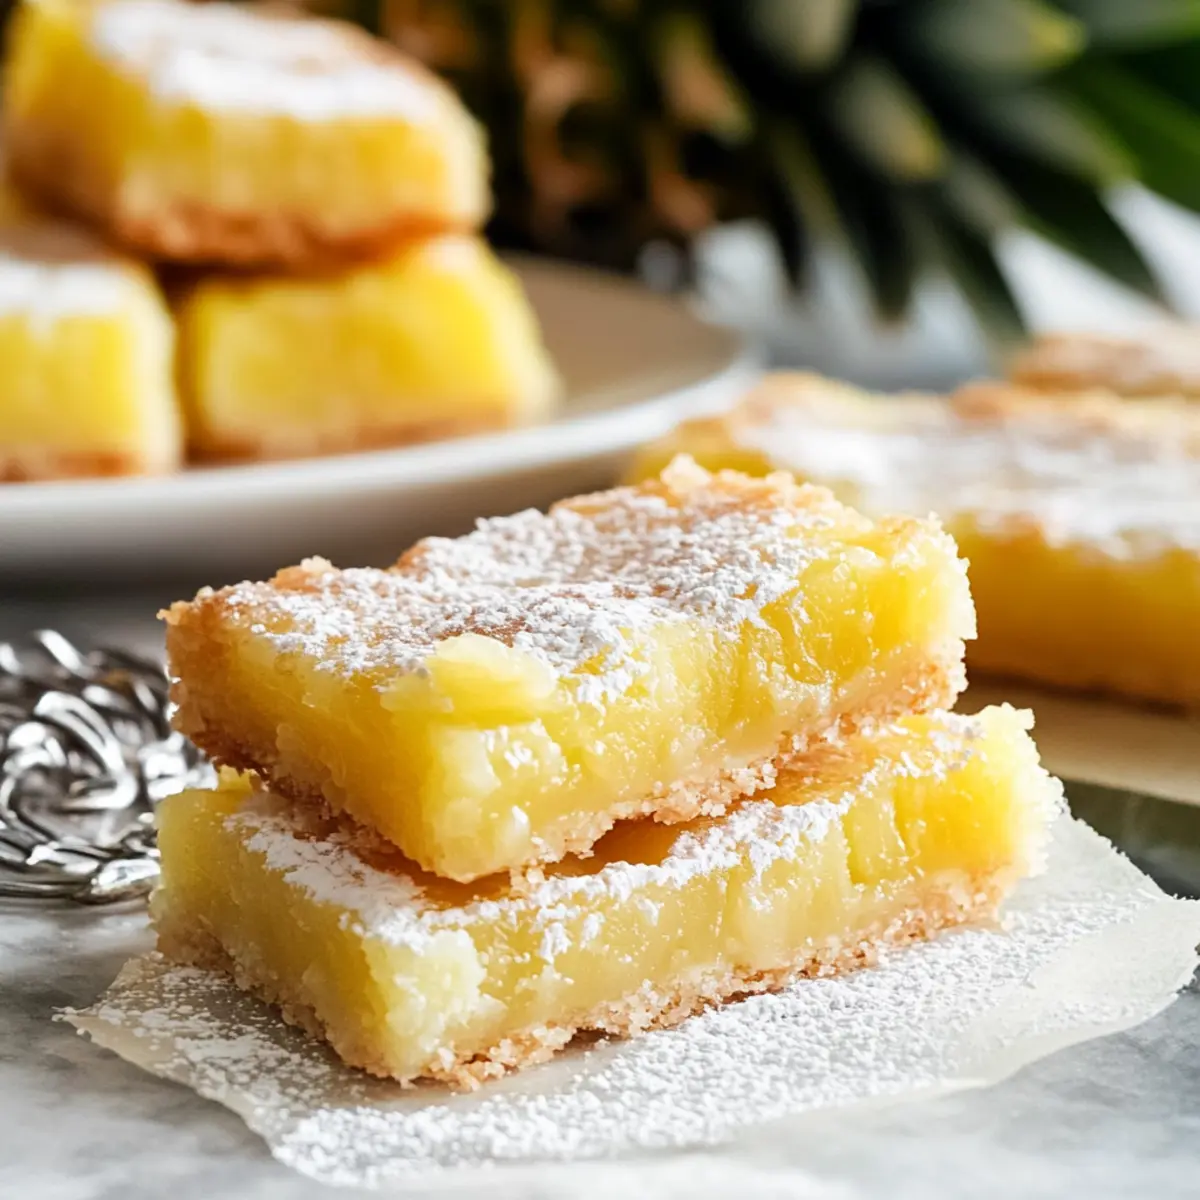
As I flipped through my recipe box, I stumbled upon a gem that whisked me back to sun-soaked summer days—Pineapple Bars. With a buttery shortbread crust cradling an irresistibly smooth pineapple filling, these delightful treats are more than just dessert; they are a culinary escape to tropical bliss. They’re quick to whip up, making them perfect for those impromptu potlucks or when you crave a refreshing bite after a long day. Plus, their make-ahead nature means you can enjoy your sweet creation without any last-minute rush. Intrigued? Let’s dive into this easy recipe and bring a slice of paradise to your kitchen!
Why Are Pineapple Bars So Irresistible?
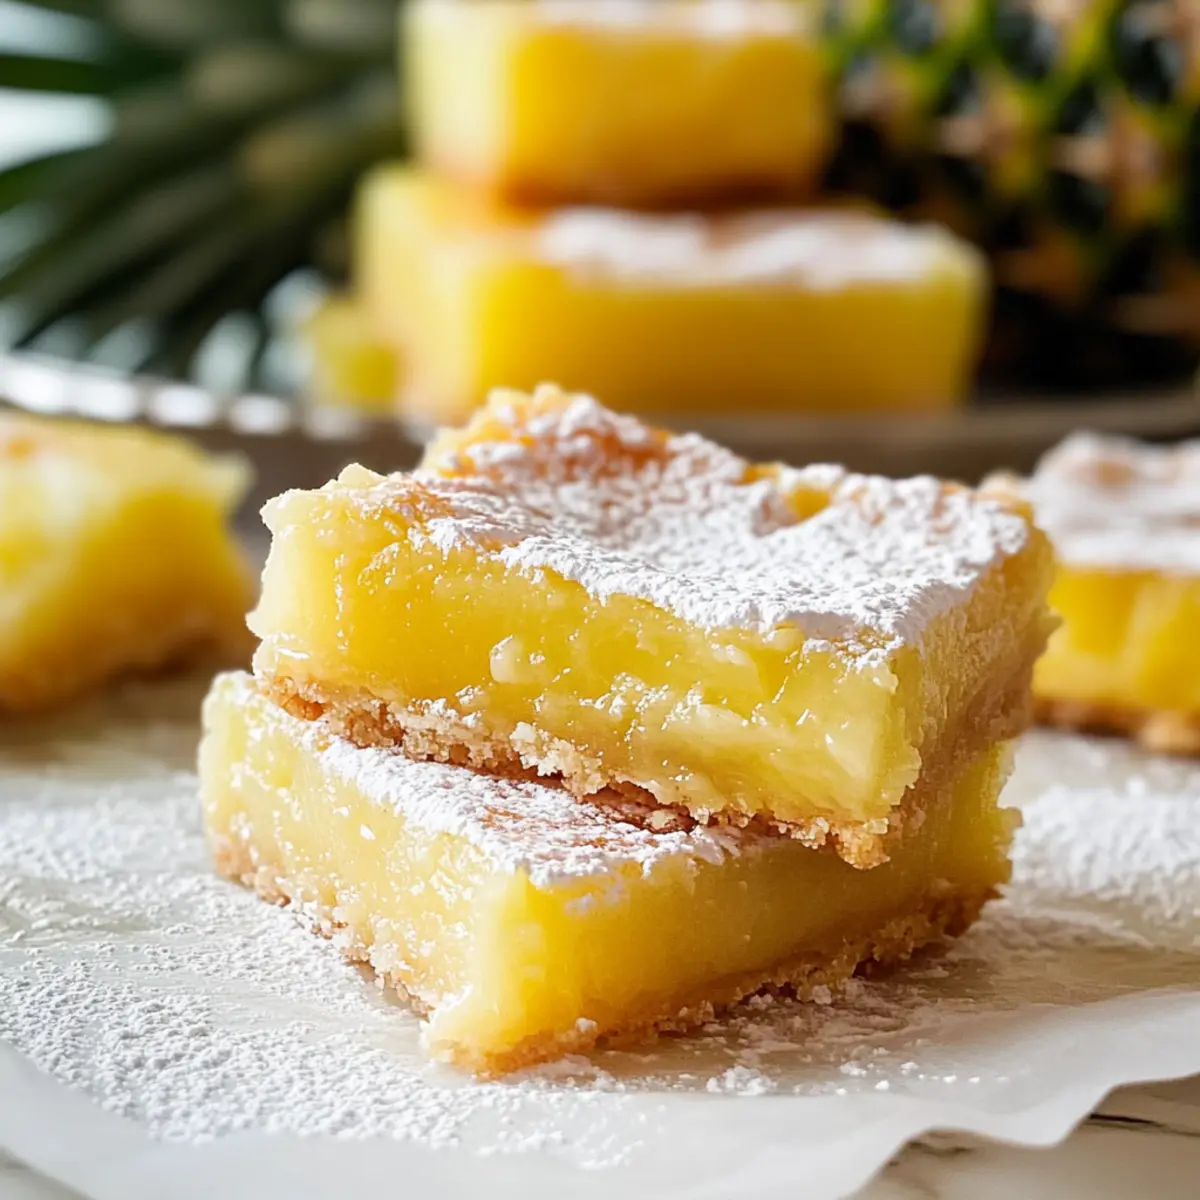
Tropical Bliss: These Pineapple Bars whisk you away to a sun-kissed paradise with every bite. The combination of buttery shortbread and smooth filling delivers an enchanting escape from your everyday desserts.
Quick & Easy: Perfect for those who enjoy home-cooked treats without the hassle! They come together in just a few simple steps, making them ideal for busy evenings.
Versatile Flavor: Feel free to switch things up! Substitute the pineapple with diced mango or peaches for a delightful twist.
Perfect for Sharing: Whether it’s a potluck or family gathering, these bars are sure to impress. Serve chilled, topped with a dollop of whipped cream, and watch them disappear!
Make-Ahead Delight: Store in the fridge to ensure you’re always ready for an unexpected craving. Want even more tropical inspiration? Try these Fried Pineapple Coconut for a fabulous treat!
Pineapple Bars Ingredients
• Get ready to create these mouthwatering Pineapple Bars!
For the Shortbread Crust
- 1 cup flour – Provides structure to the crust; use gluten-free flour for a gluten-free option.
- 1/2 cup butter, softened – Adds richness and helps create a tender crust; substitute with margarine for a dairy-free version.
- 1/3 cup powdered sugar – Sweetens and contributes to the crust’s texture; can be replaced with granulated sugar but may alter the texture.
For the Pineapple Filling
- 1 cup sugar – Sweetens the pineapple filling; brown sugar can be used for a deeper flavor.
- 1 cup diced pineapple – Main flavor component of the filling; fresh, canned, or frozen works—just drain excess juice before measuring.
- 3 tablespoons flour – Thickens the filling; use cornstarch as a gluten-free alternative.
- 2 eggs – Provide moisture and structure; substitute with flax eggs for a vegan option.
- 1 tablespoon lemon juice – Adds acidity to balance sweetness; lime juice can be used for a different citrus flavor.
- 1/2 teaspoon baking powder – Helps the filling rise slightly; ensure freshness for maximum effectiveness.
- 1/4 teaspoon salt – Enhances flavor; can be omitted for a low-sodium version.
For the Topping
- Powdered sugar for dusting – Adds a decorative element; optional based on preference.
Step‑by‑Step Instructions for Pineapple Bars
Step 1: Preheat the Oven
Begin by preheating your oven to 350°F (175°C). This ensures an even cooking temperature for your Pineapple Bars. While the oven heats up, gather your baking equipment, including an 8×8-inch baking dish, mixing bowls, and a whisk, to streamline the process further.
Step 2: Prepare the Shortbread Crust
In a mixing bowl or food processor, combine 1 cup of flour, 1/2 cup of softened butter, and 1/3 cup of powdered sugar. Blend the ingredients until a soft dough forms, typically around 2-3 minutes. The dough should be smooth and slightly sticky, indicating it’s ready for the next step.
Step 3: Form the Crust
Press the prepared dough into the bottom of the greased 8×8-inch baking dish, making sure to cover the base evenly and press it up about 1/2 inch along the sides. Use your fingers or the back of a spoon for a uniform finish. This forms the perfect buttery shortbread crust for your Pineapple Bars.
Step 4: Bake the Crust
Place the baking dish with the crust into the preheated oven and bake for 18-20 minutes, or until the edges turn a light golden brown. Keep an eye on it, as the smell of baking butter will guide you to the moment of perfection. Once baked, remove it from the oven and let it cool slightly.
Step 5: Prepare the Pineapple Filling
In a separate mixing bowl, combine 1 cup of sugar, 1 cup of diced pineapple, 3 tablespoons of flour, 2 eggs, 1 tablespoon of lemon juice, 1/2 teaspoon of baking powder, and 1/4 teaspoon of salt. Blend these ingredients until smooth and frothy, which should take about 3-4 minutes. The mixture should be creamy and well incorporated, ready to be poured over the crust.
Step 6: Bake the Pineapple Bars
Pour the pineapple filling over the warm shortbread crust in the baking dish, spreading it evenly with a spatula. Return the dish to the oven and bake for an additional 20-25 minutes, or until the top is golden and the center is set, a gentle jiggle indicates a deliciously creamy interior.
Step 7: Cool and Slice
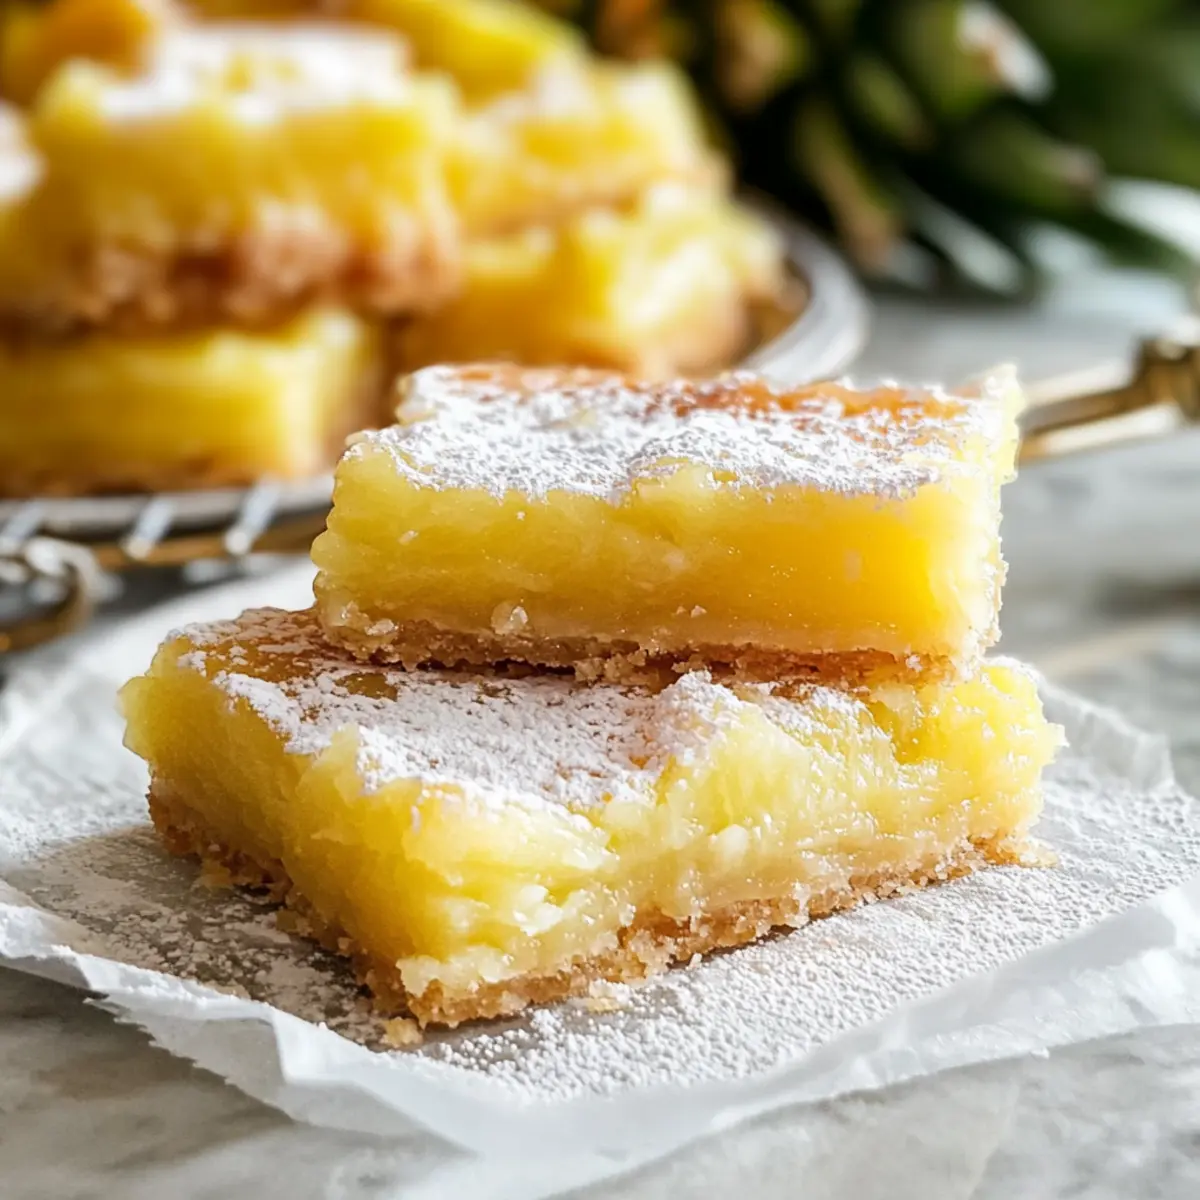
Once baked, remove the dish from the oven and let the Pineapple Bars cool completely on a wire rack. For best results, chill them in the refrigerator for at least 2 hours, allowing them to firm up for cleaner cuts. When ready, dust the top with powdered sugar and slice into squares, revealing the beautiful layers beneath.

What to Serve with Buttery Pineapple Bars
Indulging in pineapple bars creates a tropical mini-vacation for your taste buds, but pairing them with just the right accompaniments elevates the experience even further.
-
Whipped Cream: Light and airy, a dollop of freshly whipped cream melts into the richness of pineapple goodness, enhancing each delightful bite.
-
Chocolate Drizzle: A drizzle of dark or white chocolate adds a luxurious twist, balancing the sweetness of the bars with a hint of cocoa richness.
-
Coconut Sorbet: This refreshing frozen treat mirrors tropical flavors while providing a delightful contrast in temperatures and textures to the warm bars.
-
Berry Compote: A spoonful of mixed berry compote brings a tart freshness that cuts through the sweetness, making your dessert beautifully balanced and vibrant.
-
Toasted Almonds: Garnishing with crunchy, toasted almonds introduces an additional nutty flavor that harmonizes beautifully with the creamy filling.
-
Iced Tea: A refreshing glass of iced tea—be it sweet or herbal—complements the tropical notes while keeping the mood light and bright.
-
Pineapple Coconut Smoothie: For a playful pairing, serve up a creamy smoothie that echoes the flavors of your pineapple bars, transporting taste buds to paradise.
-
Margaritas: For those looking for something spirited, mocktails or margaritas infuse a zesty brightness that brings out the tropical essence of the bars.
-
Lemon Sorbet: A light lemon sorbet provides a tart counterpoint to the sweet bars, cleansing the palate and refreshing after every bite.
-
Cheesecake Bites: Mini cheesecake bites offer a rich yet complementary contrast, making for a stunning assortment when hosting gatherings.
Expert Tips for Pineapple Bars
-
Room Temperature Eggs: Use eggs at room temperature for better incorporation into the filling, ensuring a smooth and creamy texture in your Pineapple Bars.
-
Clean Cuts: For tidy squares, use a metal spatula to cut the bars. This helps avoid messy edges and gives your dessert a polished look.
-
Chill Before Cutting: Refrigerate the bars before slicing for neat squares. This also enhances the flavors and allows the filling to set properly.
-
Double Batch Reminder: If making a double batch, switch to a 9×13-inch pan and watch your baking time; add 2-5 minutes to ensure even cooking.
-
Flavor Variations: Don’t hesitate to mix things up! Experiment with diced mango or peaches for a fun twist on the classic Pineapple Bars, satisfying your tropical cravings.
Pineapple Bars Variations & Substitutions
Make these Pineapple Bars truly your own by experimenting with delightful twists and substitutions!
-
Tropical Twist: Replace diced pineapple with fresh mango or peaches for an exciting flavor variation. Each fruit will bring its unique sweetness and tropical charm to the bars.
-
Coconut Cream: Add shredded coconut to the filling or as a topping for a chewy, flavorful surprise. The coconut pairs perfectly with the pineapple for a truly tropical treat.
-
Extra Zing: Swap lemon juice for lime juice to bring a refreshing zest to the filling. This simple change adds a fun and vibrant element, enhancing the entire experience!
-
Vegan Version: Substitute the two eggs with flax eggs (2 tablespoons ground flaxseed mixed with 6 tablespoons water). This will keep your bars plant-based while maintaining a beautiful texture.
-
Gluten-Free: Use a gluten-free all-purpose flour blend in place of regular flour to make these bars suitable for those avoiding gluten. With the right mixes, you won’t notice the difference!
-
Decadent Drizzle: After cooling, drizzle with a simple icing made from powdered sugar and milk (or a dairy-free alternative). This adds a sweet finish and elevates the visual appeal.
-
Heated Preference: Add a pinch of cayenne pepper or red pepper flakes to the filling for a hint of heat. The contrast of spicy and sweet is an adventurous twist that will surprise your palate.
-
Creamy Indulgence: Top the bars with a dollop of whipped cream or a scoop of vanilla ice cream before serving. This addition transforms your tropical dessert into a luscious and indulgent experience.
Explore these variations to find your perfect combination, and don’t forget to try out other tropical recipes like the divine Fried Pineapple Coconut for more delicious inspiration!
Make Ahead Options
These delightful Pineapple Bars are perfect for busy home cooks looking to save time! You can prepare the buttery shortbread crust up to 24 hours in advance, storing it tightly wrapped in the refrigerator to maintain its texture. Additionally, the pineapple filling can be mixed together and refrigerated for up to 3 days prior to baking; just ensure you give it a good stir before pouring it over the crust. When you’re ready to enjoy these bars, simply pour the filling over the crust and bake as directed. This meal prep strategy lets you savor delicious, homemade Pineapple Bars without the last-minute rush, making every bite just as delectable as if they were freshly made!
How to Store and Freeze Pineapple Bars
Fridge: Store Pineapple Bars in an airtight container in the refrigerator for up to 5 days. Chilling them enhances their flavor and keeps them fresh.
Freezer: For longer storage, freeze the bars for up to 3 months. Wrap them individually in plastic wrap and place in a freezer bag to keep them well-protected.
Thawing: To enjoy frozen Pineapple Bars, transfer them to the fridge and let them thaw overnight. This keeps their texture intact.
Reheating: If desired, warm the bars gently in the microwave for about 10-15 seconds, just until slightly warm but not hot, to enhance the flavors before serving.
Pineapple Bars Recipe FAQs
What type of pineapple should I use for the filling?
Absolutely! You can use fresh, canned, or frozen pineapple for these bars. If using canned pineapple, make sure to drain the excess juice before measuring to avoid a watery filling. Fresh pineapple offers a vibrant taste, while frozen is convenient and equally delicious once thawed.
How long do Pineapple Bars last in the fridge?
Pineapple Bars can be stored in an airtight container in the refrigerator for up to 5 days. Chilling them not only prolongs freshness but also enhances the flavor profile, making each bite a little taste of heaven.
Can I freeze Pineapple Bars, and how should I do it?
Yes, you can freeze your Pineapple Bars for up to 3 months! To freeze, wrap them individually in plastic wrap and then place them in a freezer-safe bag. This method protects them from freezer burn while preserving their delightful taste. When you’re ready to indulge, simply transfer them to the fridge to thaw overnight.
What can I do if my filling doesn’t set properly?
If your filling is still jiggly after baking, don’t worry! It may need a bit more time in the oven. First, ensure your baking powder is fresh, as expired leavening agents can affect the setting. Return it to the oven and bake for an additional 5 minutes, checking regularly until you achieve that lovely golden top and a firm center.
Are Pineapple Bars safe for pets or those with allergies?
It’s best to keep pineapple bars away from pets, as ingredients like sugar and eggs may not be suitable for them. If you’re concerned about allergies, be cautious with your ingredient choices—especially with substitutions like eggs and flour. Always check with trusted sources for allergies specific to those who will be enjoying these treats.
Heavenly Pineapple Bars with Buttery Shortbread Crust
Ingredients
Equipment
Method
- Preheat your oven to 350°F (175°C). Gather your baking equipment.
- In a mixing bowl, combine 1 cup of flour, 1/2 cup of softened butter, and 1/3 cup of powdered sugar. Blend until a soft dough forms.
- Press the dough into the bottom of the greased 8x8-inch baking dish, covering the base evenly and pressing it up about 1/2 inch along the sides.
- Bake for 18-20 minutes, until the edges turn a light golden brown, then let it cool slightly.
- In a separate bowl, combine 1 cup of sugar, 1 cup of diced pineapple, 3 tablespoons of flour, 2 eggs, 1 tablespoon of lemon juice, 1/2 teaspoon of baking powder, and 1/4 teaspoon of salt. Blend until smooth.
- Pour the pineapple filling over the warm crust and bake for an additional 20-25 minutes, until the top is golden and set.
- Let the bars cool completely on a wire rack, then chill in the refrigerator for at least 2 hours before slicing.