
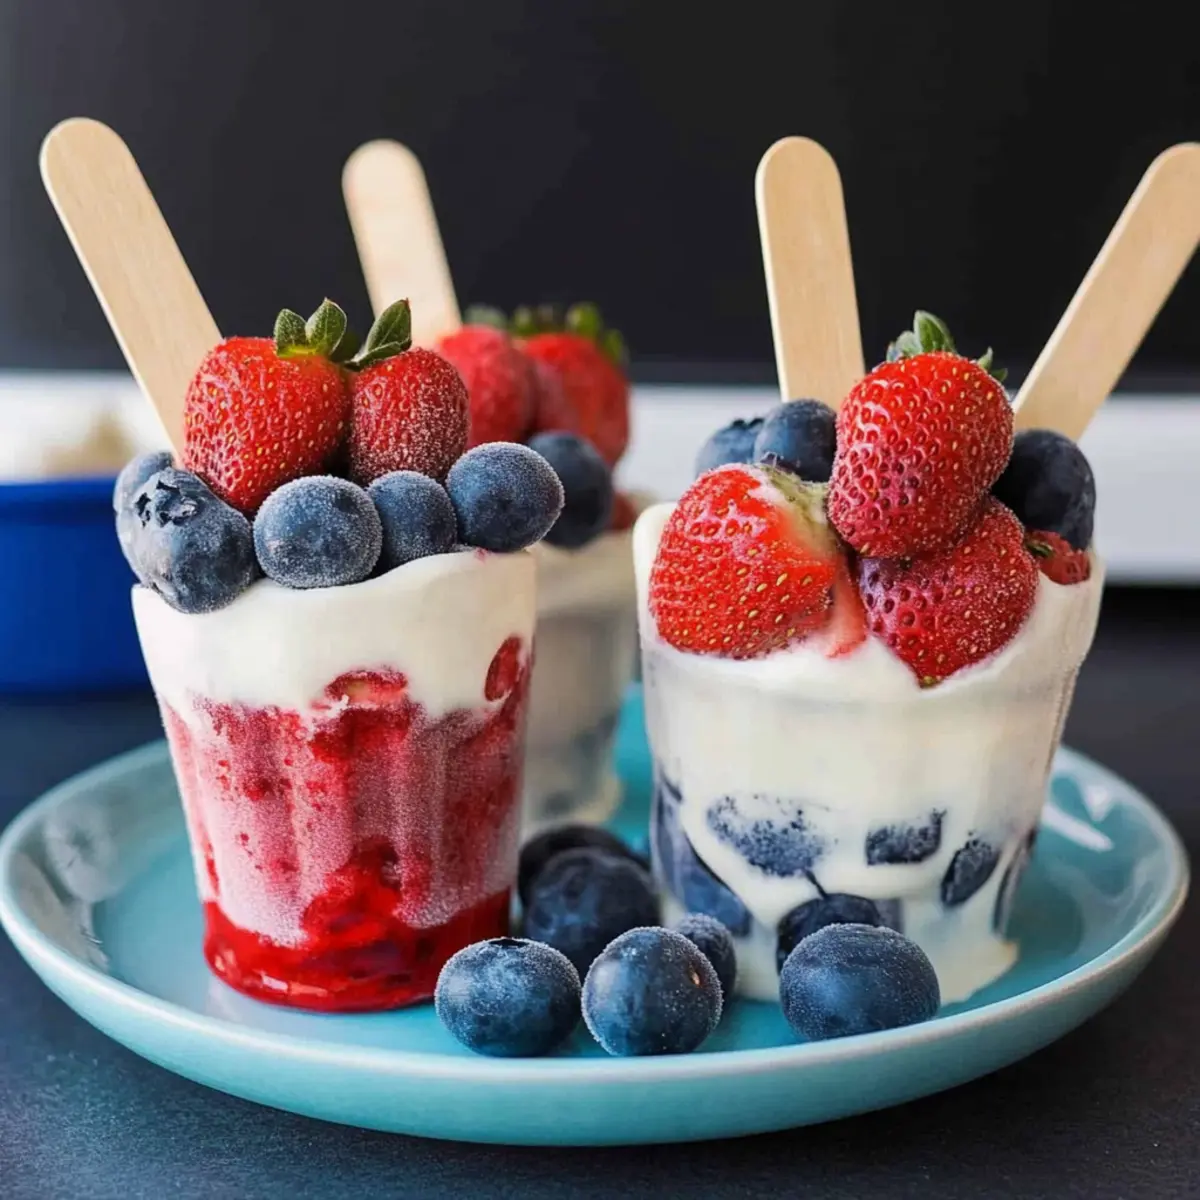
As the sun begins to shine brighter and the air is filled with the scent of summer, nothing says “party” quite like these refreshing Red, White, and Blue White Chocolate Pudding Pops! With a creamy white chocolate base layered with juicy blueberries and strawberries, they are not just a treat for the taste buds but a feast for the eyes. These accessible, no-bake pops are the perfect dessert for your 4th of July gatherings, taking a mere 10 minutes to whip up! Not only are they gluten-free and easy to make, but they bring a fun and festive flair to any occasion. Why not make your summer celebrations even sweeter? Grab your ingredients, and let’s create a delightful treat that will keep everyone cool and satisfied!

What makes these pudding pops irresistible?
Easy Preparation: With just 10 minutes of hands-on time, you can create these stunning pops without any baking. Perfect for busy summers!
Vibrant Appearance: The layers of vibrant strawberries and blueberries make these treats a show-stopper at any gathering.
Versatile Flavors: Feel free to customize with other fruits or pudding flavors like cheesecake to suit your taste—endless possibilities!
Gluten-Free Delight: Enjoy a treat that fits various dietary preferences, making them a great option for everyone.
Crowd-Pleasing Sweetness: With their creamy texture and fruity bursts, these pudding pops are sure to impress both kids and adults alike!
Red, White, and Blue White Chocolate Pudding Pops Ingredients
Get ready to create a cool summer treat!
For the Pudding Base
- Instant White Chocolate Pudding – This forms the creamy base for your pudding pops; ensure it’s gluten-free by checking the label.
- Milk – Use any type, including almond milk for a dairy-free twist; it helps achieve the perfect pudding consistency.
- Thawed Whipped Topping – Adds lightness and creaminess to the mix; substitute with whipped coconut cream if desired.
For the Fruit Layers
- Blueberries – They lend a burst of fresh flavor and vibrant color to your pops; fresh or thawed frozen berries both work well.
- Strawberries (sliced) – These provide a sweet and tart contrast; feel free to swap with raspberries for a similar taste.
This delightful Red, White, and Blue White Chocolate Pudding Pops recipe is not only quick to make but also a crowd-pleaser for your summer celebrations!
Step‑by‑Step Instructions for Red, White, and Blue White Chocolate Pudding Pops
Step 1: Whisk Pudding Base
In a medium bowl, add the instant white chocolate pudding mix and 2 cups of milk. Whisk the mixture vigorously for about 2 minutes until it’s smooth and thickened. You’ll notice a creamy consistency without lumps—this is key for your Red, White, and Blue White Chocolate Pudding Pops.
Step 2: Fold in Topping
Gently fold in 1 cup of thawed whipped topping into the pudding mixture. Use a spatula to carefully incorporate the topping until fully combined, maintaining the light and airy texture. This step adds that luscious creaminess essential to your pudding pops, giving them a delightful mouthfeel.
Step 3: Prepare Cups
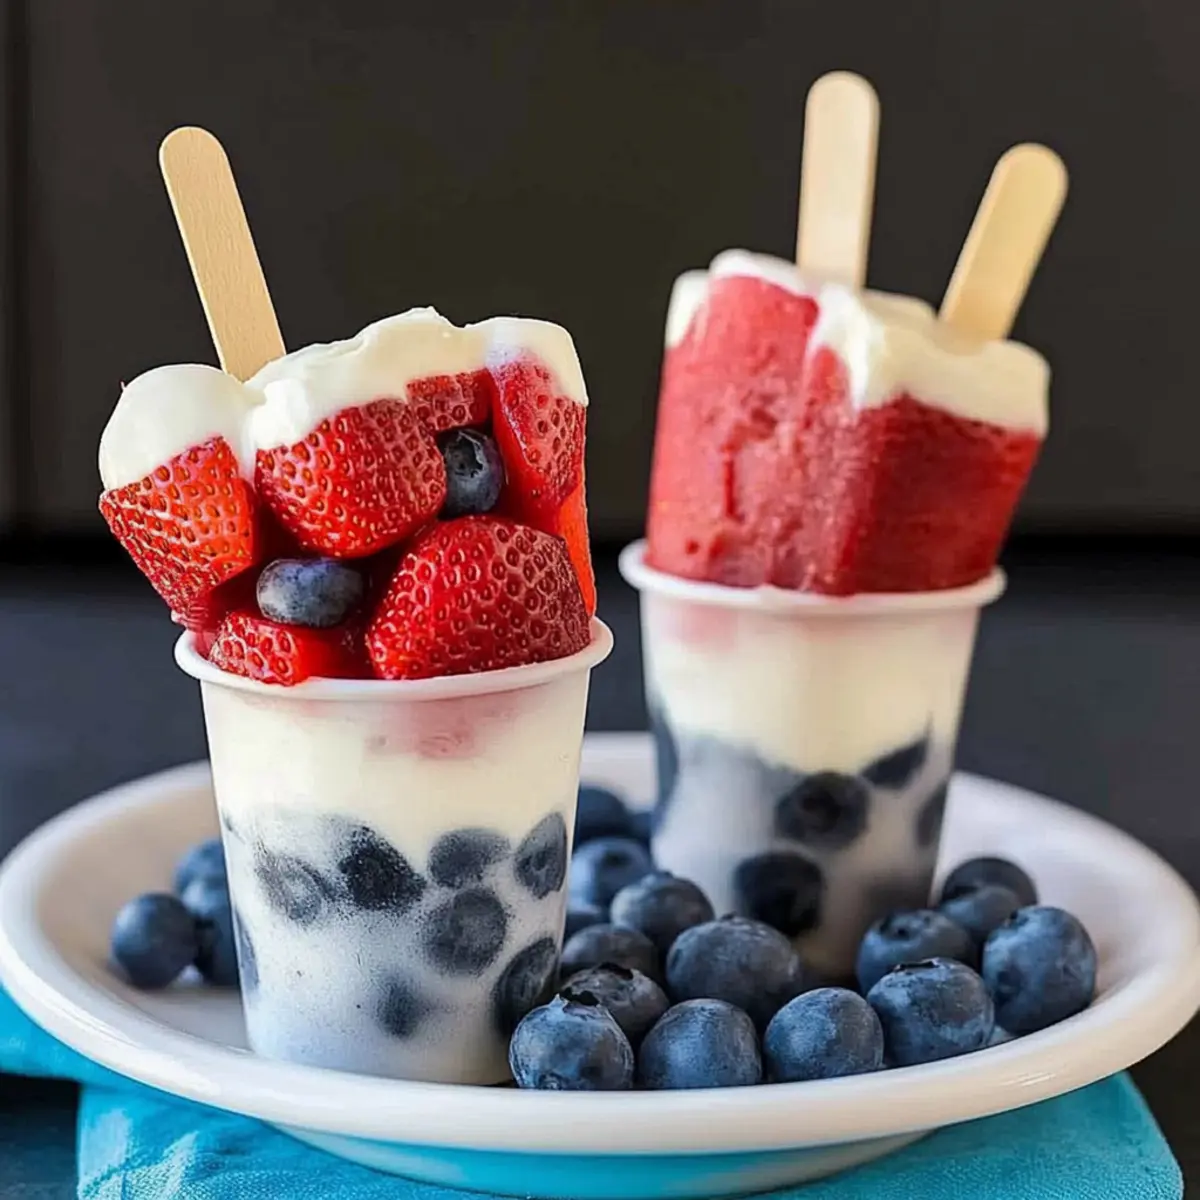
Grab five 5-ounce paper or plastic cups for assembling your pudding pops. Ensure they are clean and ready to hold layers of deliciousness. These sturdy cups will support the layers of fruit and pudding as they freeze, creating a stunning layered treat for your summer festivities.
Step 4: Layer Fruits and Pudding
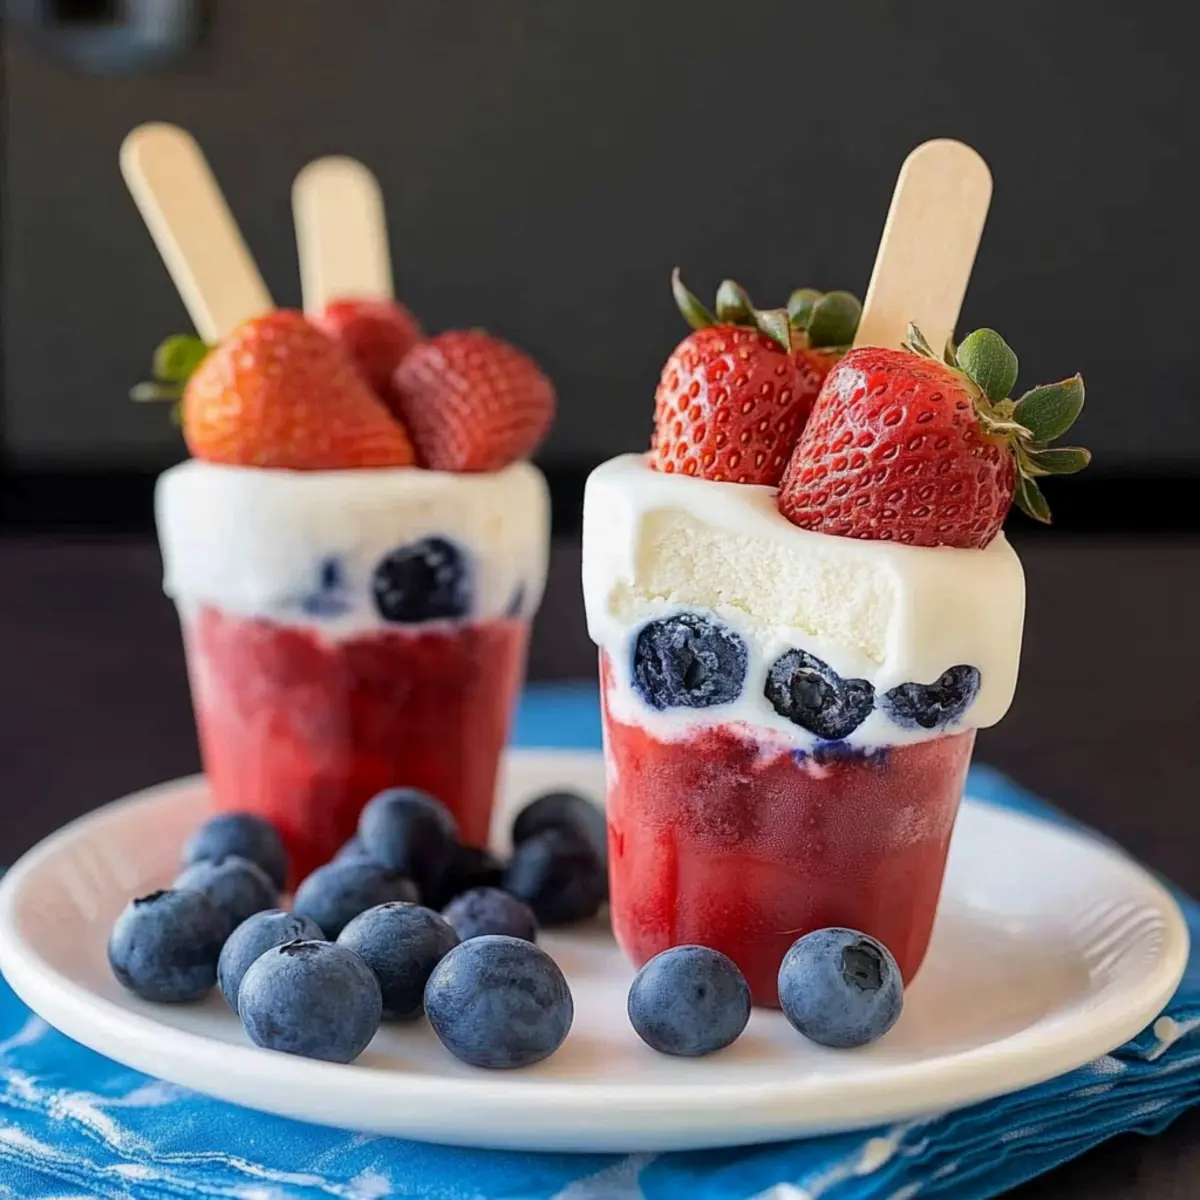
Start adding sliced strawberries or blueberries as the first layer at the bottom of each cup. Next, spoon in a layer of the white chocolate pudding mixture over the fruit. Repeat this process, alternating layers of fruit and pudding until the cups are nearly full. Adorn the top with more fruit for a beautiful finish!
Step 5: Insert Sticks and Freeze
Carefully insert popsicle sticks into the center of each layered cup, making sure they are sturdy. Place the cups in the freezer and allow them to freeze for at least 24 hours. This long freezing time ensures your Red, White, and Blue White Chocolate Pudding Pops are perfectly solid and ready to enjoy.
Step 6: Serve and Enjoy
To remove the pudding pops for serving, run the cups under hot water for a few seconds to loosen them. Gently pull the pops out, and admire the beautiful layers. These vibrant Red, White, and Blue White Chocolate Pudding Pops are a perfect treat for any summer gathering or celebration!
Expert Tips for Red, White, and Blue White Chocolate Pudding Pops
- Whisk Thoroughly: Ensure to whisk the pudding mix and milk until fully combined—this prevents lumps and guarantees a silky texture in your pudding pops.
- Berry Selection: Use fresh or thawed frozen blueberries and strawberries; both will provide great flavor. If using frozen, ensure they’ve completely thawed to avoid extra moisture.
- Freeze Fully: Allow your pops to freeze for at least 24 hours; rushed freezing can lead to a mushy texture. Waiting ensures a solid, enjoyable treat.
- Layer Smartly: Alternate layers of pudding and fruit carefully; too much fruit at the bottom can cause the pops to break apart when removed.
- Unmolding Tips: Don’t rush when removing the pudding pops! Running the cups under hot water helps loosen them without damaging the layers.
How to Store and Freeze Red, White, and Blue White Chocolate Pudding Pops
Freezer: Keep the pudding pops in the freezer for up to 2 months. Wrap each cup in plastic wrap or place them in an airtight container to prevent freezer burn.
Serving: When ready to enjoy, run the cups under warm water for a few seconds before pulling out the Red, White, and Blue White Chocolate Pudding Pops. This will help loosen them for easy removal.
Fridge: If you have leftovers, they can stay in the fridge for up to 3 days but serve them frozen for the best texture and taste.
Layering Caution: Avoid stacking the cups while freezing, as this may cause the layers to mix and lose their beautiful presentation.
Red, White, and Blue White Chocolate Pudding Pops Variations
Feel free to get creative and add your own twist to these delightful pudding pops!
-
Cheesecake Pudding: Swap white chocolate pudding for cheesecake pudding for a rich, tangy flavor. The creaminess will complement the fruits beautifully, making a surprisingly delicious combination.
-
Mixed Berries: Use a medley of berries! Incorporate blackberries or raspberries for varied flavors. Not only do they taste great, but they also add a pop of color to your pops.
-
Coconut Cream: Replace whipped topping with whipped coconut cream for a tropical flair. The coconut adds a lovely aroma and richness that pairs wonderfully with the fruits.
-
Non-Dairy Option: For a dairy-free version, use almond or oat milk in the pudding base. This ensures everyone can enjoy the refreshing taste without any dairy concerns.
-
Chocolate Drizzle: Add a decadent chocolate drizzle on top before serving. Melt some dark or milk chocolate, and drizzle over the finished pops for an extra touch of indulgence.
-
Minty Freshness: Add a few drops of peppermint extract to the pudding base. This refreshing twist will create a cool flavor sensation, perfect for summertime.
-
Spicy Kick: For those who enjoy a little heat, sprinkle some chili powder on the fruit layers. The spice beautifully contrasts with the sweetness, creating an exciting flavor experience.
For inspiration on how to mix flavors, you might consider trying these White Chocolate Raspberry Cheesecake Balls or a delightful twist with Cranberry Pistachio White Chocolate Truffles. There’s no limit to how you can dress these pudding pops for your summer festivities!
What to Serve with Red, White, and Blue White Chocolate Pudding Pops
Celebrate summer gatherings with these delightful treats, perfectly complementing the joy of sunny days and festive moments.
- Fresh Fruit Platter: Juicy watermelon, crisp apples, and mixed berries create a colorful and refreshing contrast that enhances the theme.
- Creamy Vanilla Ice Cream: A scoop of classic ice cream adds a rich creaminess that pairs beautifully with the fruity pudding pops.
Indulge your guests with a double sweetness by combining creamy ice cream with these luscious pudding pops, creating a delightful dessert duo.
- Sparkling Lemonade: This thirst-quenching drink brings zesty brightness that balances the sweetness of the pops, making it an ideal summer sipper.
- Mini Cheesecake Bites: These indulgent bites add a rich flavor dimension, perfectly complementing the lightness of the pudding pops.
Finish your meal on a delightful note with a flavor explosion from the cheesecake that leaves everyone’s taste buds dancing!
- Patriotic Red Velvet Cake: Layered with cream cheese frosting, this cake adds a festive flair to your dessert table while echoing the red, white, and blue theme.
Bring a touch of nostalgia with this iconic dessert that combines decadence with festive spirit.
- Minty Iced Tea: Refreshing and light, mint-infused tea offers a cool respite from the summer heat, enhancing the fruity elements of your pops.
- Grilled Summer Peaches: Sweet peaches, caramelized on the grill, create a captivating smoky sweetness, wonderfully contrasting your creamy pudding pops.
Serve these delightful peach halves with a drizzle of honey and watch your guests smile with joy!
Make Ahead Options
These Red, White, and Blue White Chocolate Pudding Pops are a fantastic option for meal prep, perfect for busy summer schedules! You can prepare the pudding base (whisking together instant white chocolate pudding mix, milk, and whipped topping) and refrigerate it for up to 24 hours before layering the fruit. To maintain the pops’ vibrant colors and textures, layer the fruit and pudding in cups just before freezing, which can also be done up to 3 days in advance. When it’s time to serve, simply let them freeze for the full 24 hours to ensure they’re solid, and run the cups under hot water for a few seconds to easily release those eye-catching frozen treats. Enjoy satisfying your summer cravings without the last-minute rush!
Red, White, and Blue White Chocolate Pudding Pops Recipe FAQs
What type of fruit is best for these pudding pops?
I recommend using fresh strawberries and blueberries for the best flavor and texture. Both choices lend a lovely natural sweetness and stunning colors to your Red, White, and Blue White Chocolate Pudding Pops. You can also use thawed frozen berries if fresh ones are not available — just ensure they are well-drained to avoid excess moisture!
How should I store leftover pudding pops?
Leftover pudding pops can be stored in your freezer for up to 2 months! To keep them fresh and prevent freezer burn, wrap each cup tightly in plastic wrap or place them in an airtight container. If you have any leftovers after serving, it’s best to store them in the freezer rather than the fridge for optimal texture.
Can I freeze these pudding pops before a party?
Absolutely! You can prepare and freeze your Red, White, and Blue White Chocolate Pudding Pops a day or two ahead of time for convenience. Just make sure to give them at least 24 hours to fully freeze — this will create a delightful and solidified treat for your guests.
Why is it important to whisk the pudding mix thoroughly?
Whisking the pudding mix and milk thoroughly is crucial for preventing lumps and achieving a smooth, creamy consistency. Spend about 2 minutes whisking until the mixture is thickened and free of lumps; this will ensure that your pudding pops have a delightful mouthfeel.
Are there any dietary concerns with this recipe?
Yes, while this recipe is gluten-free, be sure to check the labels of your ingredients, especially the instant pudding mix. If you’re serving guests with allergies or dietary restrictions, consider using non-dairy milk and whipped topping alternatives for those who may be lactose intolerant or prefer plant-based options.
Red, White, and Blue White Chocolate Pudding Pops for Summer Fun
Ingredients
Equipment
Method
- In a medium bowl, add the instant white chocolate pudding mix and 2 cups of milk. Whisk the mixture vigorously for about 2 minutes until it’s smooth and thickened.
- Gently fold in 1 cup of thawed whipped topping into the pudding mixture until fully combined.
- Grab five 5-ounce paper or plastic cups for assembling your pudding pops.
- Start adding sliced strawberries or blueberries as the first layer at the bottom of each cup followed by a layer of the white chocolate pudding mixture until the cups are nearly full.
- Carefully insert popsicle sticks into the center of each cup and place them in the freezer for at least 24 hours.
- To remove the pudding pops for serving, run the cups under hot water for a few seconds to loosen them.