
As I stood in my kitchen, a tantalizing scent wafted through the air, transporting me to a cozy Russian café with every sweet note of honey. I couldn’t help but smile, knowing that this Indulgent Russian Honey Cake would soon become a favorite at both family gatherings and special occasions alike. Perfectly balancing comfort with sophistication, this dessert is a crowd-pleaser that’s surprisingly quick to whip up, taking just about an hour from start to finish. Plus, with gluten-free and dairy-free options, everyone can enjoy a slice of this delicious treat. Are you ready to dive into a baking adventure that will impress your guests and banish fast food cravings? Let’s get started!
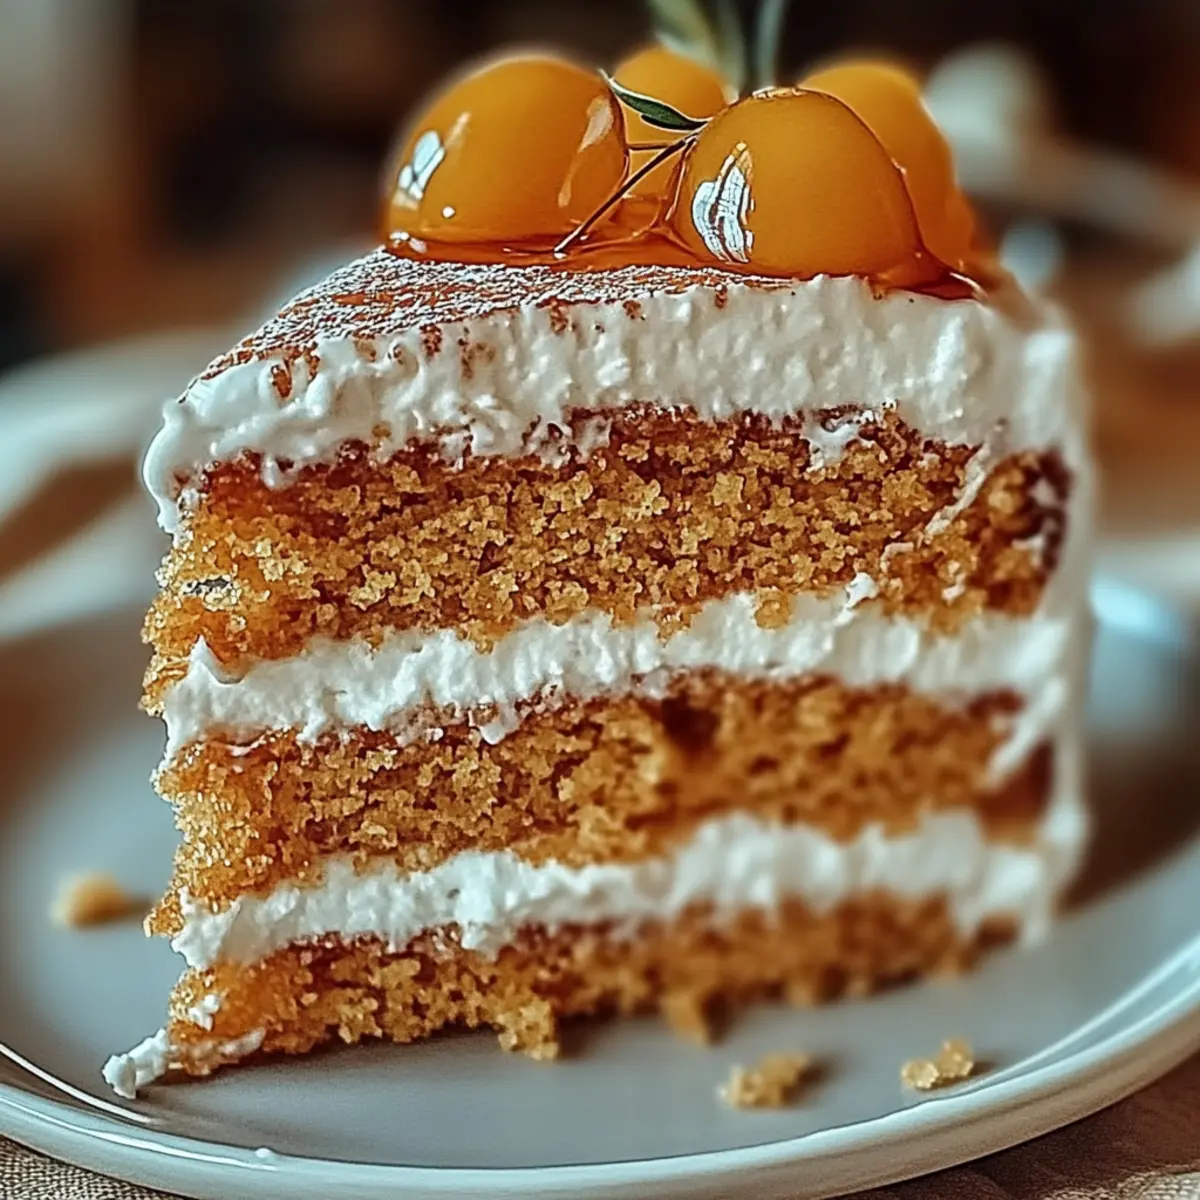
Why Is Russian Honey Cake a Must-Try?
Deliciously Unique: This cake’s sweet honey flavor brings a delightful twist to traditional desserts.
Quick and Easy: With just about an hour of prep time, it’s perfect for last-minute gatherings.
Versatile Delight: Suitable for both casual and formal occasions, making it a flexible choice for any event.
Diet-Friendly: Gluten-free and dairy-free options mean no one gets left out of this delicious experience.
Comforting Indulgence: The creamy frosting paired with a moist crumb creates a heavenly bite that feels like a warm hug.
You might also want to explore recipes like Cranberry Honey Butter for a complementary spread or a slice of Carrot Cake Cheesecake for an exciting dessert option at your next gathering!
Russian Honey Cake Ingredients
• Here’s everything you’ll need to bake this delightful treat!
For the Cake
- All-Purpose Flour – Provides structure to the cake; substitute with a gluten-free flour blend for a gluten-free option.
- Granulated Sugar – Balances sweetness with texture, making the cake wonderfully moist.
- Pure Honey – Adds the signature flavor; opt for local, raw honey to enhance taste.
- Baking Soda – Helps the cake rise, ensuring a light and fluffy texture.
- Salt – Enhances overall flavor, bringing out the honey’s sweetness.
- Large Eggs – Contributes moisture and richness, binding all the ingredients together.
- Sour Cream – Adds moistness to the cake; can be substituted with Greek yogurt for a tangy twist or a non-dairy option for vegan diets.
- Unsalted Butter – Provides rich flavor; replace with coconut oil for a dairy-free alternative.
- Vanilla Extract – Adds a warm comfort flavor that complements the honey beautifully.
For the Frosting
- Sour Cream – Ensures a luscious and creamy frosting texture that elevates the dish.
- Granulated Sugar – Sweetens the frosting perfectly to balance the tanginess.
For Garnish
- Powdered Sugar or Nuts – Optional, enhances visual appeal and adds a delightful crunch.
With these Russian Honey Cake ingredients on hand, you’re all set to create a dessert that your family and friends will adore!
Step‑by‑Step Instructions for Russian Honey Cake
Step 1: Preheat Your Oven
Begin by preheating your oven to 350°F (175°C). This ensures that it reaches the ideal temperature for baking your delicious Russian Honey Cake. While the oven warms up, take out a round cake pan and grease it generously with butter or cooking spray to prevent sticking later on.
Step 2: Mix Dry Ingredients
In a large mixing bowl, combine all-purpose flour, granulated sugar, baking soda, and salt. Use a whisk to blend these dry ingredients thoroughly, ensuring an even distribution. The mixture should be light and airy, which is crucial for achieving that soft crumb in your Russian Honey Cake.
Step 3: Add Wet Ingredients
Now, it’s time to incorporate the eggs, pure honey, sour cream, softened unsalted butter, and vanilla extract into your dry mixture. Blend everything using a wooden spoon or an electric mixer until the batter is smooth and well-combined. Aim for a thick yet pourable consistency, as this will create that rich texture we all love.
Step 4: Prepare the Cake Pan
As your batter comes together, pour it into the prepared round cake pan. Use a spatula to spread the batter evenly, smoothing the surface. This step is important to ensure that your Russian Honey Cake bakes uniformly, allowing it to rise beautifully in the oven without any uneven spots.
Step 5: Bake the Cake
Place the cake pan in the preheated oven and bake for approximately 30 minutes. Keep an eye on it, and when the top appears golden brown and a toothpick inserted into the center comes out clean, it’s ready to come out. This is your cue that the cake is perfectly baked and full of flavor.
Step 6: Cool in the Pan
Once done, carefully remove your Russian Honey Cake from the oven. Allow it to cool in the pan for about 10 minutes, which helps set the structure. After cooling, gently run a knife around the edges to loosen any sticking, then turn the pan upside down to transfer the cake onto a wire rack for complete cooling.
Step 7: Make the Frosting
While your cake cools, prepare the creamy frosting by mixing sour cream and granulated sugar in a bowl. Use a whisk or hand mixer for about 2-3 minutes until the mixture is smooth and creamy. This decadent frosting will elevate your Russian Honey Cake, giving it that luxurious finish everyone loves.
Step 8: Frost the Cake
Once the cake has completely cooled, generously spread the sour cream frosting over the top and sides. Use a spatula to create a smooth and even layer, ensuring that every bite will be blissfully creamy. The frosting not only adds flavor but also makes your cake visually stunning.
Step 9: Optional Garnish
For an extra touch of elegance, you can sprinkle powdered sugar or add chopped nuts on top of the frosted cake. This step is optional, but it can enhance the cake’s appearance and provide an exciting crunch that pairs beautifully with the creamy texture of the frosting.
Step 10: Serve and Enjoy
Slice your delicious Russian Honey Cake and serve it alongside a dollop of whipped cream or a scoop of vanilla ice cream if desired. This sumptuous dessert is perfect for any occasion, and I promise it will leave your family and friends asking for seconds!
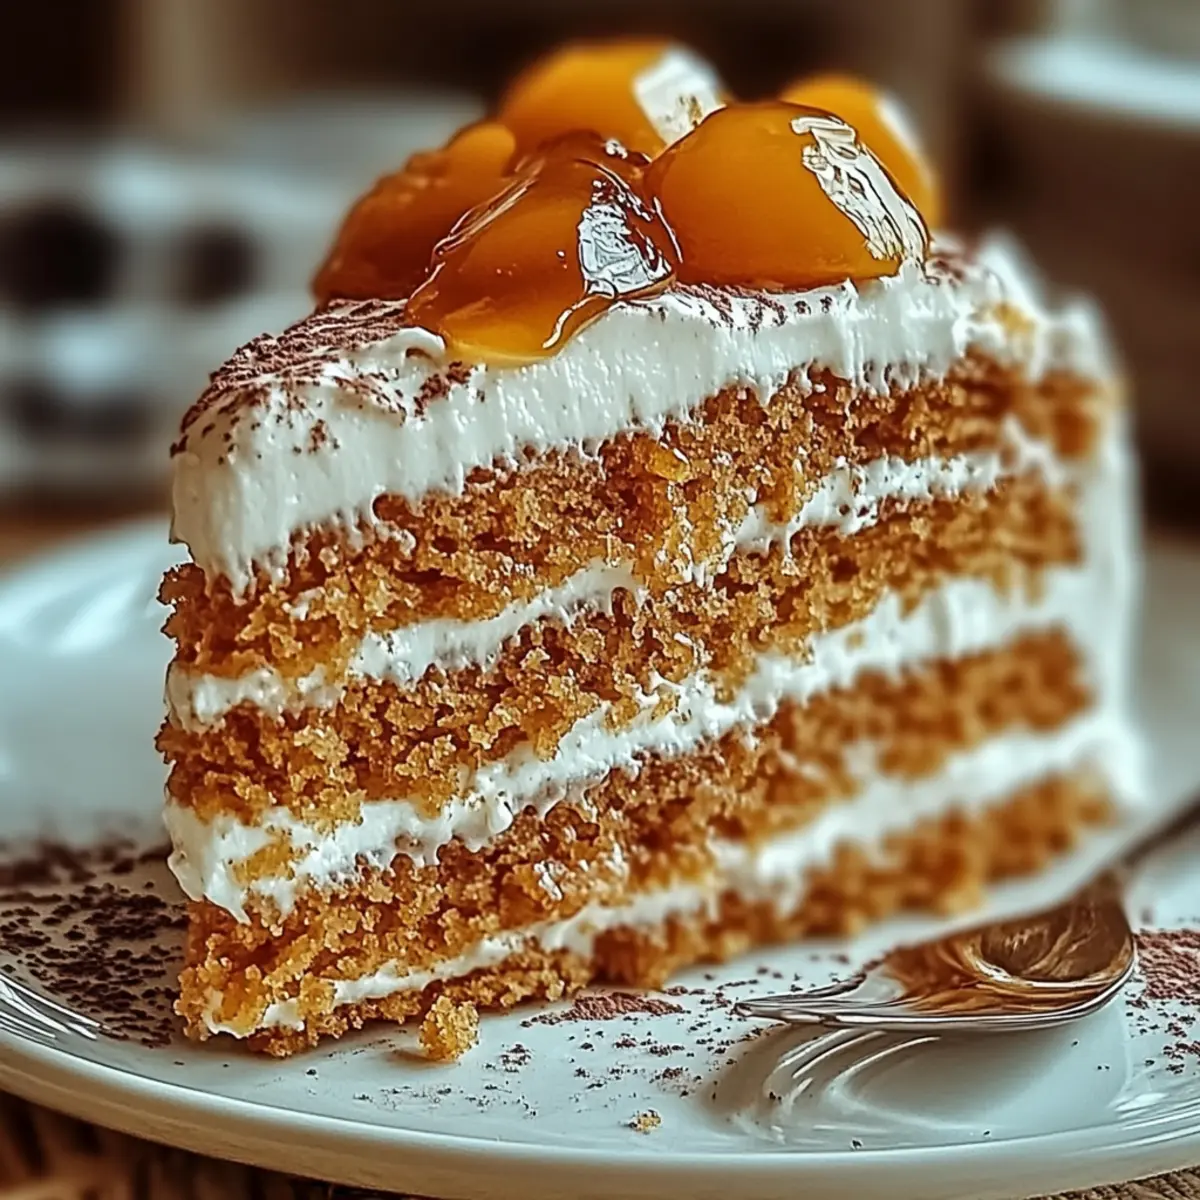
Russian Honey Cake Variations & Substitutions
Feel free to get creative with your Russian Honey Cake, tailoring it to suit your taste preferences and dietary needs!
-
Gluten-Free: Substitute all-purpose flour with a 1:1 gluten-free flour blend to make a delicious gluten-free version. Enjoy the same comforting texture without the gluten!
-
Dairy-Free: Swap out sour cream and butter for coconut yogurt and coconut oil respectively, allowing dairy-sensitive friends to indulge happily.
-
Maple Sweetener: Use pure maple syrup instead of honey for a unique flavor profile that adds a delightful twist to this classic dessert.
-
Fruit Addition: Incorporate chopped apples or shredded carrots into the batter. Not only do they add moisture, but they also infuse a subtle sweetness that’s just marvelous.
-
Nut Variation: Mix in chopped walnuts or pecans to give your cake a delightful crunch, creating a beautiful contrast with the soft, moist cake.
-
Spice Options: Add spices like cinnamon or nutmeg to the batter, bringing warmth and depth that feels just like a cozy hug in cake form.
-
Frosting Alternative: For a lightened version of the frosting, substitute sour cream with Greek yogurt, keeping it rich while being a bit healthier.
-
Chocolate Twist: Drizzle melted chocolate over the frosted cake for a touch of decadence. It will create a beautiful visual and a delightful flavor combination!
To elevate your baking experience further, consider pairing this cake with homemade Cranberry Honey Butter for your next brunch or serve it alongside a slice of Carrot Cake Cheesecake to impress your guests with dessert options they won’t forget!
What to Serve with Indulgent Russian Honey Cake
The perfect meal isn’t complete without the right accompaniments to complement this rich, honey-flavored dessert.
-
Fresh Berries:
Bright, juicy raspberries or strawberries add a refreshing tartness that balances the sweetness of the cake beautifully. -
Whipped Cream:
A dollop of freshly whipped cream provides a light, airy contrast and enhances the creamy texture of the frosting. -
Vanilla Ice Cream:
Melting ice cream alongside warm cake creates a delightful temperature contrast, making each bite decadently indulgent. -
Chamomile Tea:
This soothing herbal tea complements the honey notes in the cake, providing a calming finish to your dessert experience. -
Coffee:
A rich cup of coffee pairs perfectly, cutting through the cake’s sweetness and enhancing its flavor profile for a delightful contrast. -
Lemon Curd:
Tangy and citrusy, lemon curd brings a zing that brightens up the overall richness, making each bite feel refreshing and new. -
Chocolate Sauce:
Drizzling warm chocolate sauce adds an extra layer of indulgence that chocolate lovers will thoroughly enjoy. -
Nuts:
Chopped almonds or walnuts add a lovely crunch, enhancing the cake’s texture while providing a nutty flavor that pairs perfectly.
Imagine serving these alongside your Russian Honey Cake at your next gathering, where every bite offers comfort and delight!
Storage Tips for Russian Honey Cake
Room Temperature: Keep leftover Russian Honey Cake covered with plastic wrap or in an airtight container for up to 3 days, ensuring it stays moist and delicious.
Fridge: For optimal freshness, store in the refrigerator in an airtight container for up to 5 days, but note that the texture may change slightly.
Freezer: Wrap the cooled cake tightly in plastic wrap and aluminum foil, storing it in the freezer for up to 2 months. Thaw in the fridge overnight before serving.
Reheating: If desired, gently reheat slices in the microwave for 10-15 seconds or in a preheated oven at 300°F (150°C) for a few minutes to restore its warmth and softness.
Expert Tips for Russian Honey Cake
- Accurate Measurements: Ensure you measure ingredients correctly to avoid a dense cake. Use the spoon-and-level method for flour for best results.
- Mix Wisely: Combine wet and dry ingredients just until just blended. Overmixing can develop gluten, leading to a tough texture in your Russian Honey Cake.
- Cool Completely: Allow the cake to cool completely before frosting. This keeps the frosting from melting off and ensures a beautiful finish.
- Frost Just Before Serving: For optimal texture and flavor, frost the cake just before serving. This keeps the sour cream frosting fresh and creamy.
- Storage Tips: Store leftover cake in an airtight container for 3-4 days, or freeze for up to two months to enjoy it later.
Make Ahead Options
These delightful Russian Honey Cakes are perfect for busy home cooks looking to save time during the week! You can prepare the cake layers up to 24 hours in advance by baking and cooling them completely, then wrapping them tightly in plastic wrap and storing in the refrigerator to maintain moisture. For the frosting, you can mix it ahead and refrigerate it for up to 3 days—simply give it a good stir before using. When you’re ready to serve, just frost the cooled cake and add any optional garnish. This way, your indulgent Russian Honey Cake is just as delicious as if it were freshly made!
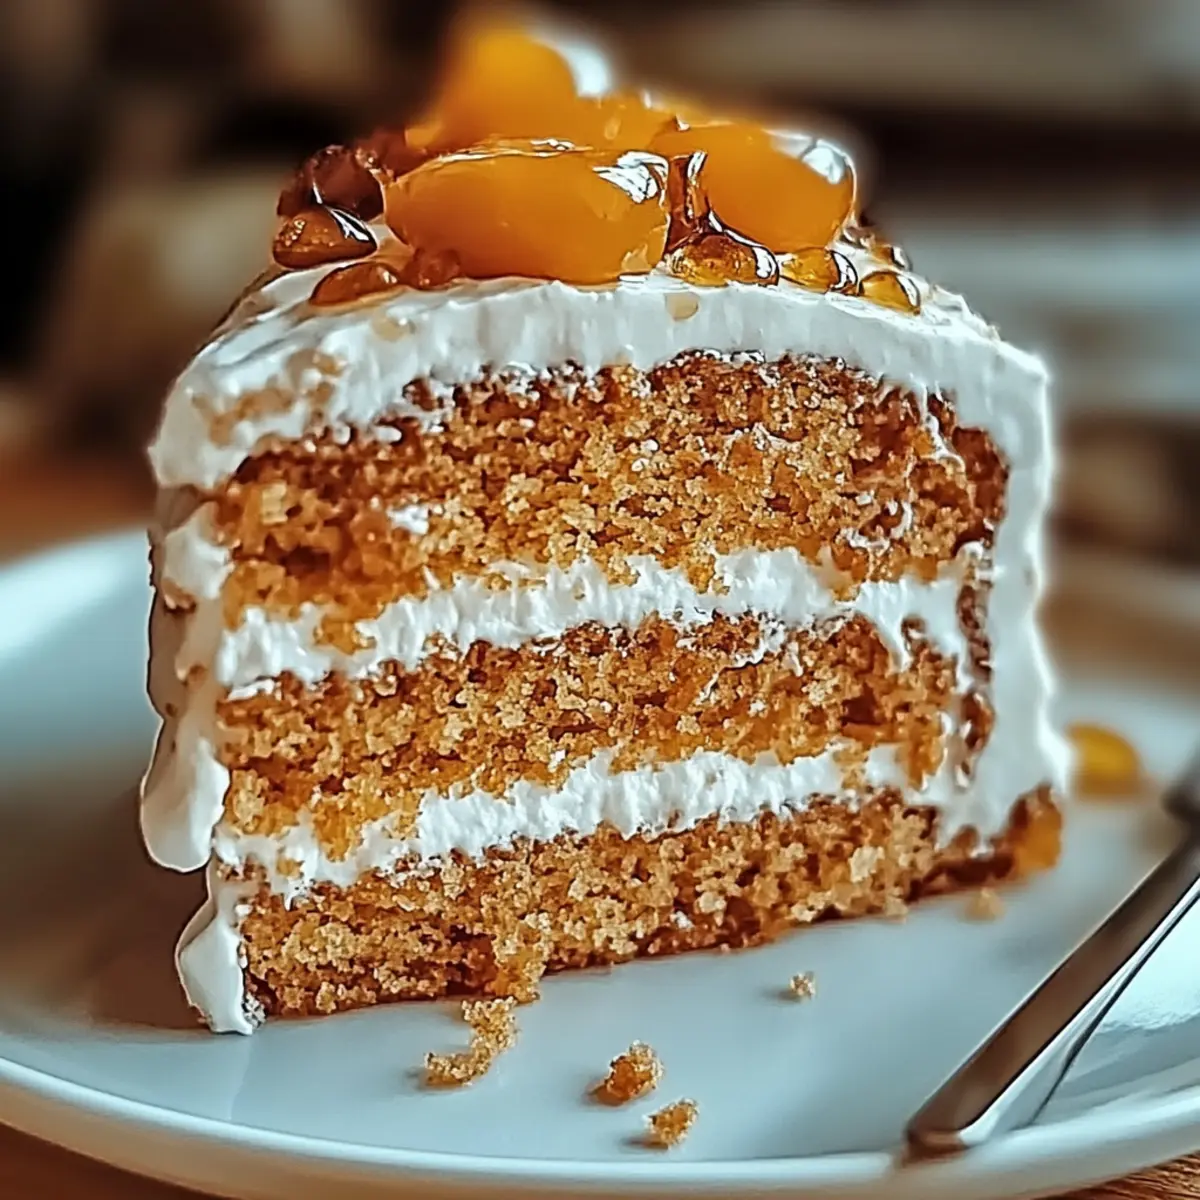
Russian Honey Cake Recipe FAQs
How do I choose the right honey for my Russian Honey Cake?
Absolutely! For the best flavor, I recommend using local, raw honey. This type tends to have richer and more nuanced flavors compared to processed honey. Plus, the floral notes from raw honey can elevate your cake, making each bite even more delightful.
How should I store leftover Russian Honey Cake?
To keep your delicious cake fresh, store it in an airtight container at room temperature for up to 3 days. If you prefer to store it in the fridge, you can keep it there for up to 5 days; however, be aware that the texture may change slightly due to the colder environment.
Can I freeze my Russian Honey Cake?
Definitely! You can freeze the cake easily to enjoy later. First, wrap the cooled cake tightly in plastic wrap, followed by a layer of aluminum foil to prevent freezer burn. It can be stored in the freezer for up to 2 months. When you’re ready to enjoy, just thaw it in the fridge overnight before serving.
What should I do if my cake is too dense?
Very! If you find your cake dense, it may be due to overmixing the batter or inaccurate measurements. To ensure a light, fluffy texture, measure your flour using the spoon-and-level method. Mix the wet and dry ingredients just until combined; this helps prevent gluten development, which can lead to a denser final product.
Are there any dietary considerations I should keep in mind?
Great question! If you’re baking for someone with dietary restrictions, the Russian Honey Cake can easily be adapted. For a gluten-free option, simply use a gluten-free flour blend in place of all-purpose flour. For a dairy-free version, substitute sour cream and butter with non-dairy alternatives, like coconut yogurt and coconut oil, respectively.
How can I enhance the flavor of my Russian Honey Cake?
Absolutely! To add variety, you can incorporate spices like cinnamon or nutmeg into the batter for an extra layer of warmth. Additionally, mixing in chopped apples or shredded carrots can provide fantastic moisture and flavor, creating a unique twist on this classic recipe.
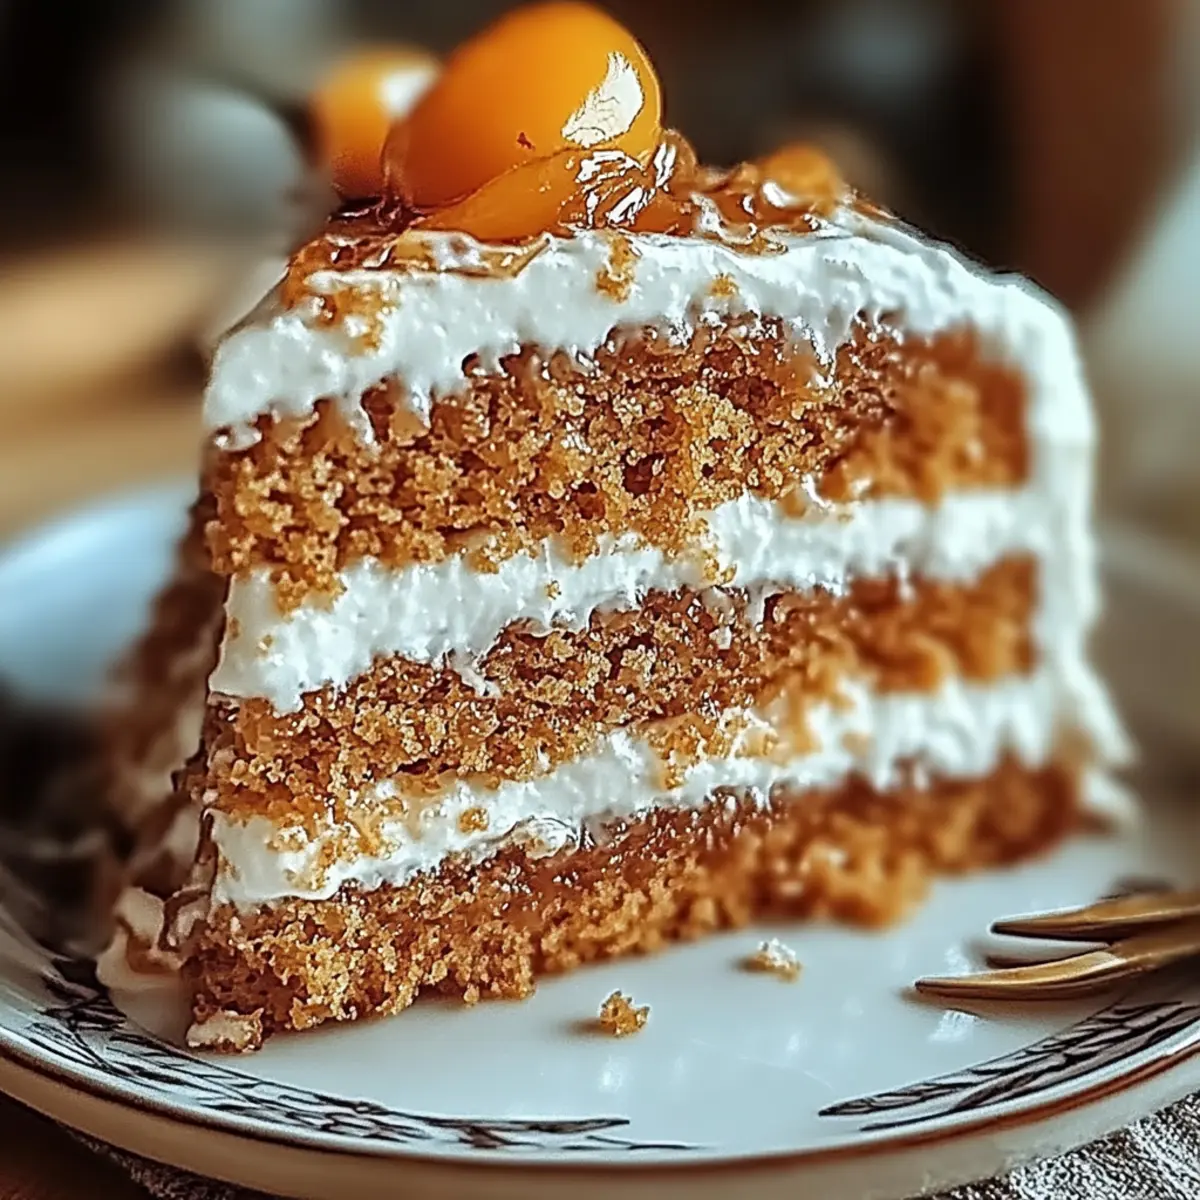
Irresistible Russian Honey Cake to Sweeten Your Day
Ingredients
Equipment
Method
- Preheat your oven to 350°F (175°C) and grease a round cake pan.
- Combine all-purpose flour, granulated sugar, baking soda, and salt in a large mixing bowl.
- Add eggs, pure honey, sour cream, softened unsalted butter, and vanilla extract into the dry mixture and blend until smooth.
- Pour the batter into the prepared round cake pan and smooth the surface.
- Bake for approximately 30 minutes, or until golden brown and a toothpick comes out clean.
- Cool the cake in the pan for about 10 minutes before transferring it to a wire rack to cool completely.
- Mix sour cream and granulated sugar to prepare the frosting.
- Once cooled, frost the cake with the sour cream frosting.
- Optional: Sprinkle powdered sugar or add chopped nuts on top before serving.
- Serve with whipped cream or vanilla ice cream if desired.