
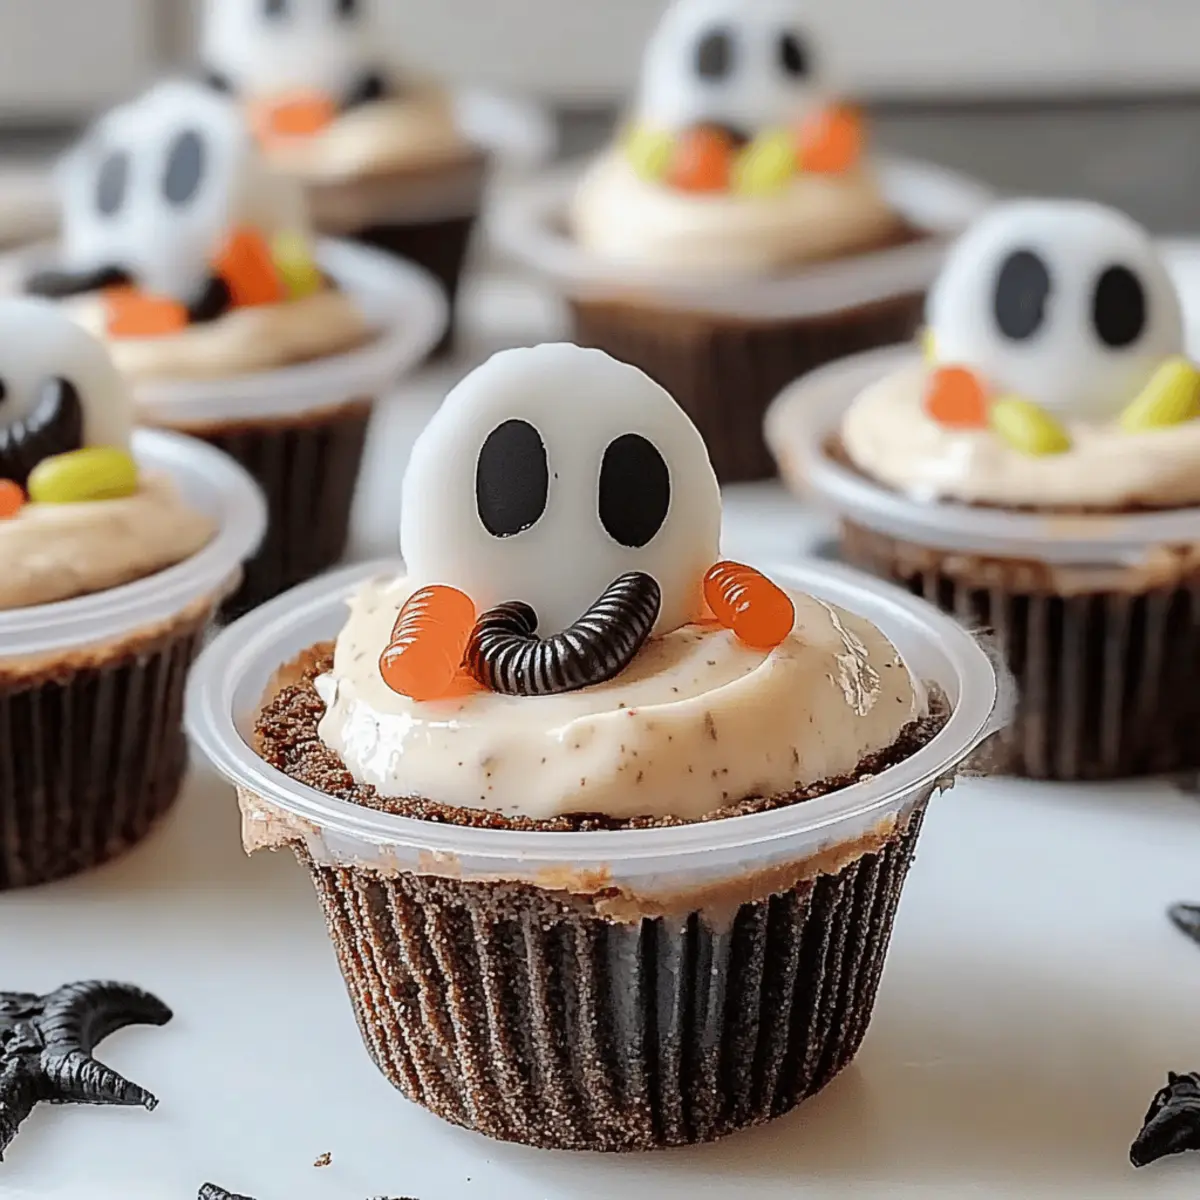
As I scoured my pantry for Halloween treats, I stumbled upon an exciting idea: Graveyard Pudding Cookie Cups. The moment those soft chocolate cookie cups are filled with rich vanilla pudding and adorned with a smattering of gummy worms and candy eyeballs, the fun begins! This spooky dessert is not only incredibly easy to make but also invites creative customization that kids and adults will adore. With just a few simple ingredients, these spooky snacks will fill your kitchen with laughter and imagination as we gear up for the holiday. Plus, their delightful presentation makes them a surefire showstopper at any Halloween gathering. Are you ready to create a treat that’s as fun to make as it is to eat?
Why Will You Love This Recipe?
Simplicity at Its Best: These Graveyard Pudding Cookie Cups are easy to whip up, requiring just a handful of ingredients and minimal baking skills.
Customizable Fun: Mix and match pudding flavors like chocolate or butterscotch to create your perfect spooky treat, keeping it exciting for every occasion!
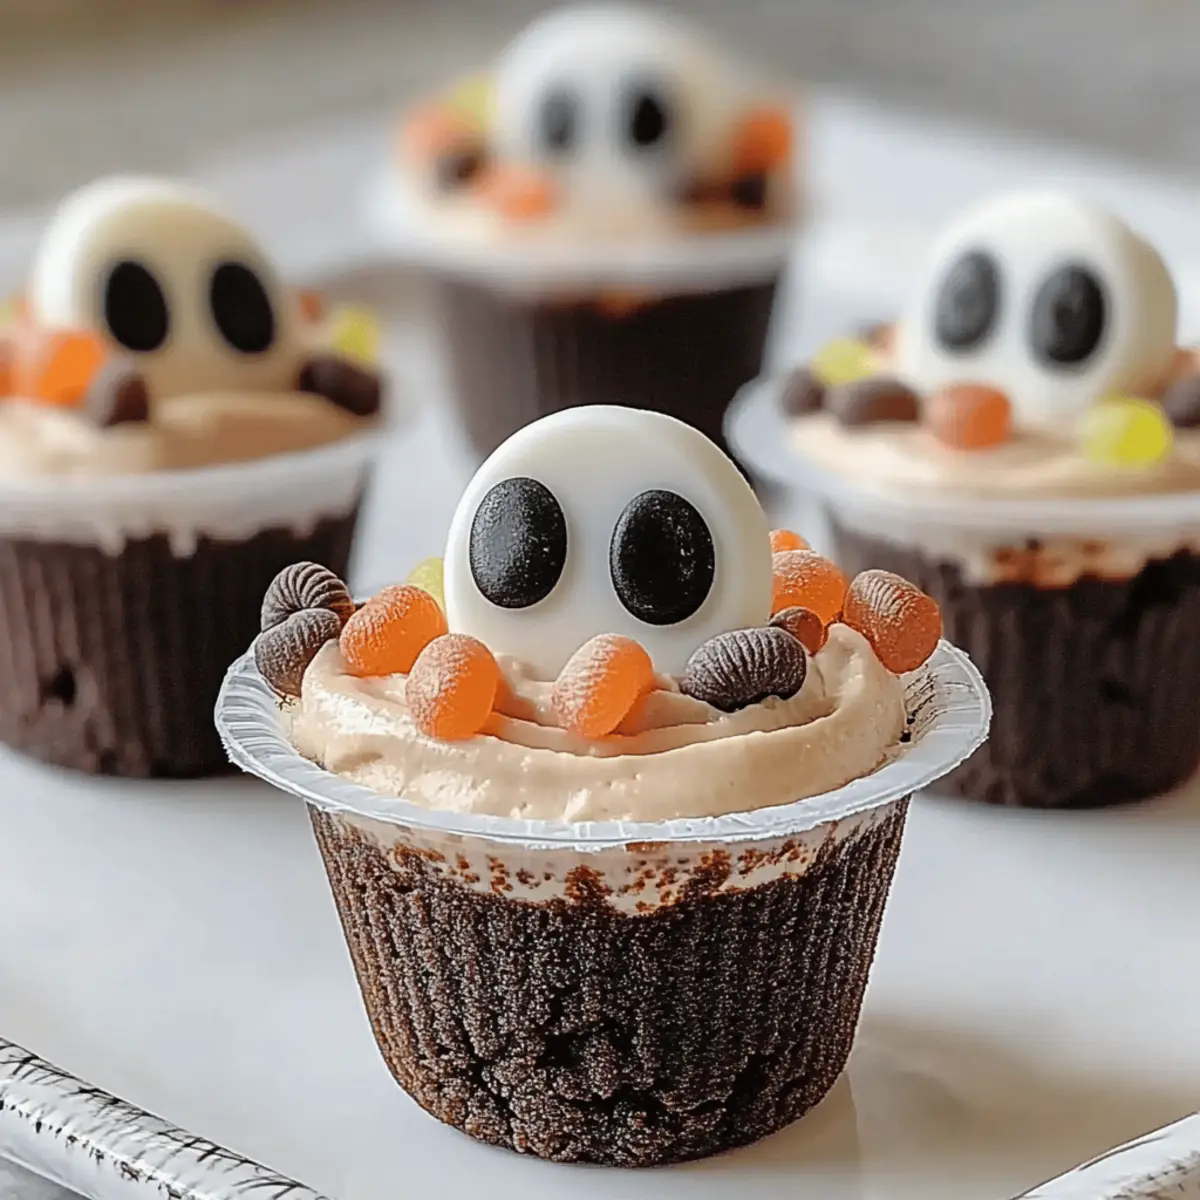
Visually Appealing: The colorful toppings, with gummy worms and candy eyeballs, make these cups not only delicious but also enchanting to look at.
Perfect for Gatherings: Whether for Halloween parties or family movie nights, they’re sure to be a hit with both kids and adults. Pair them with delightful treats like Raspberry Sugar Cookies for a festive spread!
Time-Saving: You can prepare the cookie cups in advance, ensuring they fill your home with fun and charm without the last-minute rush before guests arrive.
Spooky Graveyard Pudding Cookie Cups Ingredients
For the Cookie Cups
- Chocolate Chip Cookie Dough – This forms the yummy base for your spooky cups; feel free to use homemade or store-bought for convenience.
For the Pudding Filling
- Vanilla Pudding Mix – Adds creaminess and flavor to the cups; chocolate or butterscotch pudding can easily substitute for a twist on the classic.
- Whole Milk – Hydrates the pudding mix for a rich texture; almond or oat milk works well for a dairy-free option.
For the Toppings
- Gummy Worms – A playful addition that enhances the Halloween theme; any gummy candy can be used for fun variety.
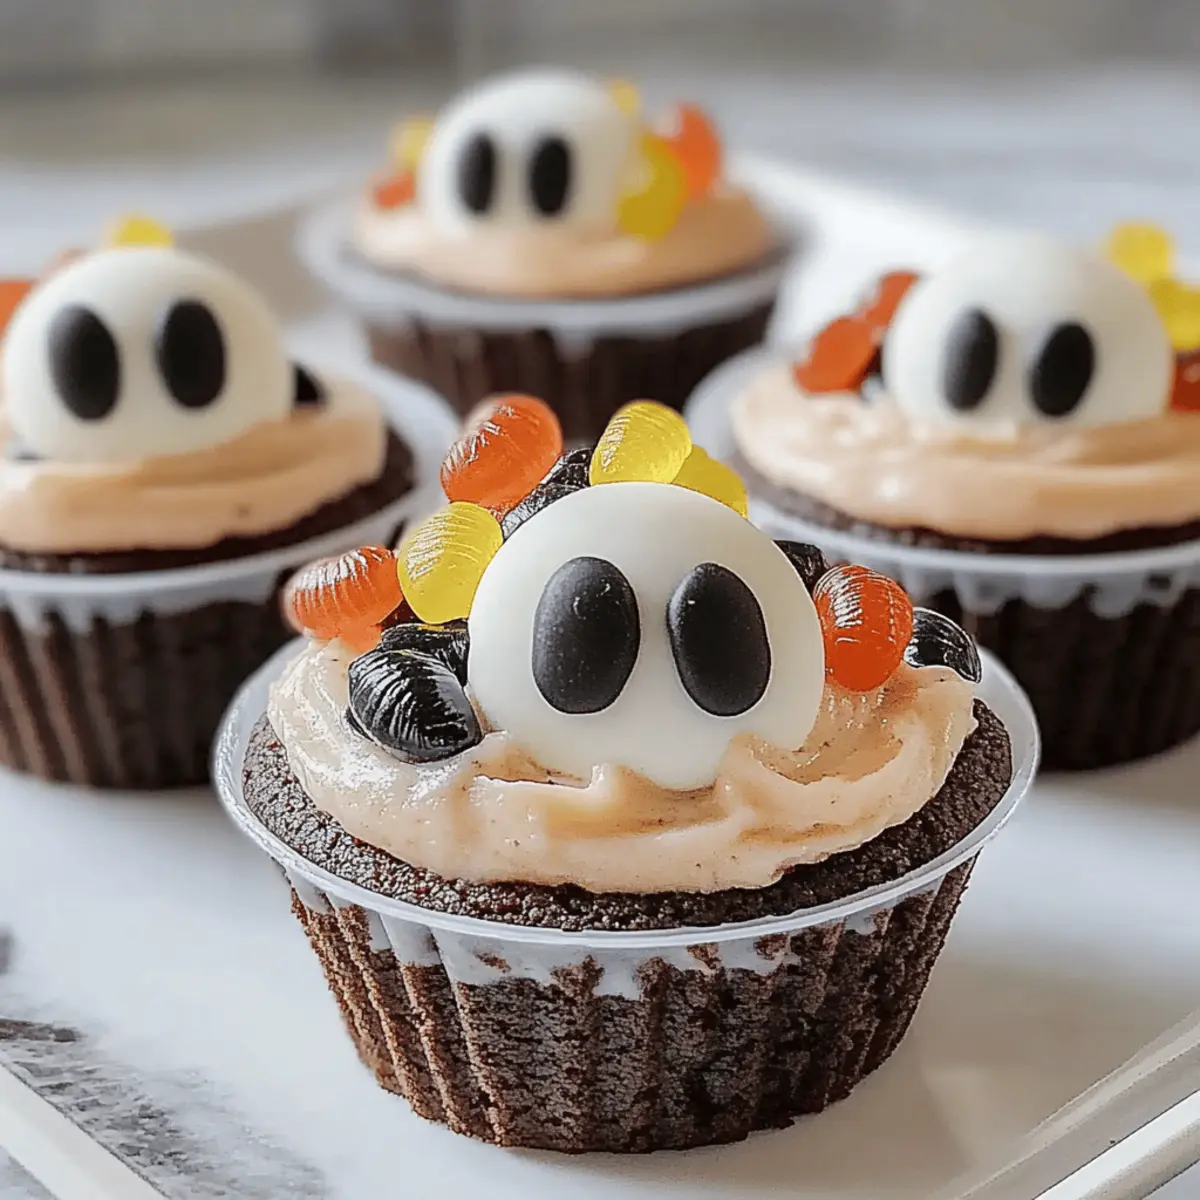
- Candy Eyeballs – These spooky decorations give an eerie effect; while they’re optional, they’re highly recommended for visual appeal.
Transform your Halloween gatherings with these easy-to-make Spooky Graveyard Pudding Cookie Cups!
Step‑by‑Step Instructions for Spooky Graveyard Pudding Cookie Cups Recipe for Halloween
Step 1: Preheat the Oven
Start by preheating your oven to 350°F (175°C). While the oven warms, prepare your muffin tin by lining each cup with parchment paper. This will prevent the cookie cups from sticking and ensure easy removal once baked.
Step 2: Shape the Cookie Cups
Scoop tablespoon-sized portions of chocolate chip cookie dough into your prepared muffin tins. Using your fingers or the back of a small spoon, gently press each dough portion into the base and up the sides of the cup to create a well. The thicker the edges, the sturdier your cookie cups will be.
Step 3: Bake the Cookie Cups
Carefully place the muffin tin in the preheated oven and bake for 10-12 minutes. You’re aiming for a golden-brown finish; check for slightly domed tops that appear firm. Once baked, remove the tin from the oven and let the cookie cups cool completely in the tin.
Step 4: Prepare the Pudding
In a medium bowl, whisk together the vanilla pudding mix and the required amount of whole milk until the mixture thickens to a creamy consistency as per package instructions. This should take about 2-3 minutes of vigorous whisking, ensuring there are no lumps for that smooth, rich filling for your Graveyard Pudding Cookie Cups.
Step 5: Fill the Cookie Cups
Once your cookie cups are completely cooled, it’s time to fill them! Generously spoon the thickened pudding into each cookie cup, ensuring you fill them to the top. The pudding filling should be creamy and slightly mounded, ready to be transformed with fun decorations.
Step 6: Decorate Your Cups
Finally, let your creativity shine! Top each cookie cup with a handful of gummy worms and a sprinkling of candy eyeballs to craft a delightful, spooky appearance. The combination of the colorful toppings against the rich pudding and chocolate cookie will make your Spooky Graveyard Pudding Cookie Cups truly eye-catching!
Spooky Graveyard Pudding Cookie Cups Variations
Feel free to let your creativity run wild and customize your treats for a Halloween party that’s uniquely yours!
-
Flavorful Pudding: Swap vanilla pudding for chocolate or butterscotch for a delicious twist. Mixing flavors creates fun layers in each cup that your guests will love!
-
Dairy-Free Delight: Use almond or oat milk in your pudding mix for a lactose-free option. This ensures everyone can enjoy the spooky goodness without compromising taste!
-
Textural Toppings: Instead of gummy worms, top your cups with crushed cookies to resemble dirt. The contrasting textures will make each bite even more enjoyable.
-
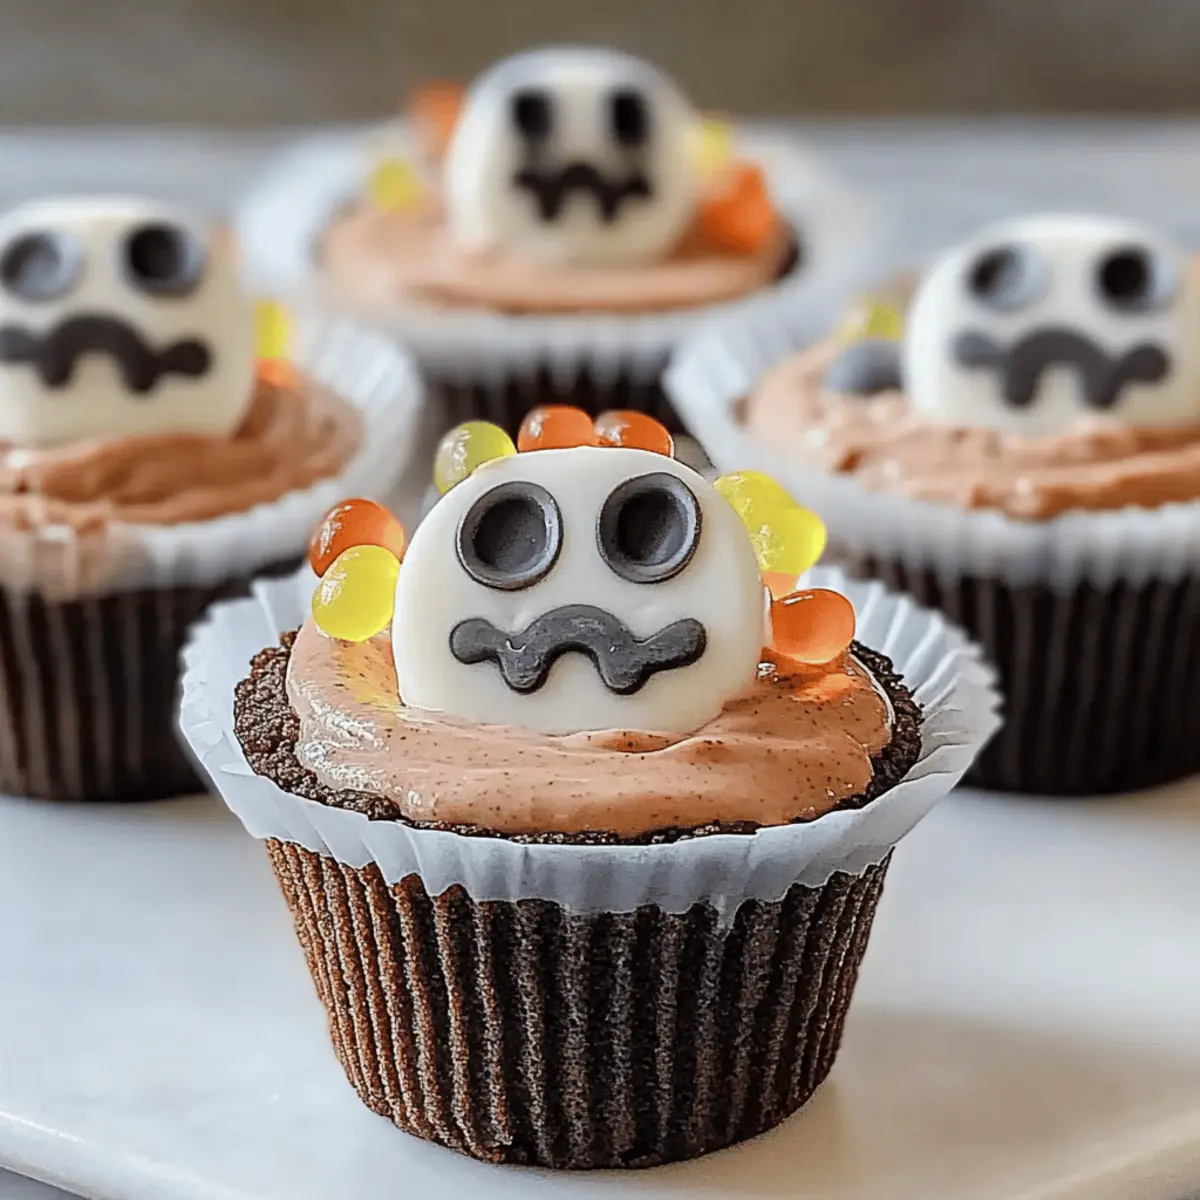
Seasonal Spirit: Incorporate seasonal candies like candy corn or pumpkin-shaped sweets for an autumn-themed touch. These festive additions will amp up the Halloween spirit!
-
Gluten-Free Goodness: For a gluten-free treat, utilize gluten-free cookie dough in place of regular cookie dough. Your gluten-sensitive friends can indulge in these spooky delights worry-free.
-
Heated Up: If you want to add a bit of heat, sprinkle some cinnamon or cayenne pepper into the pudding mix. It’s a surprising twist that will tantalize the tastebuds!
-
Creative Decor: Use edible glitter alongside your toppings for a magical effect. It adds an enchanting shimmer that kids and adults alike will adore.
Enhance your spooky spread even further by pairing these with delicious treats like Samoa Cookies Homemade or share the fun by making Fun Bake Cookie bites!
Storage Tips for Spooky Graveyard Pudding Cookie Cups
Fridge: Store leftovers in an airtight container for up to 3 days to maintain their freshness; the cookie cups may soften over time.
Freezer: For longer storage, freeze the unfilled cookie cups in a single layer; they can last up to 2 months. Thaw before serving and fill with pudding right before eating.
Filling Precision: Fill the cookie cups with pudding just before serving to prevent sogginess, ensuring your spooky treats maintain their delightful texture.
Reheating: If needed, you can briefly warm the cookie cups in a microwave for about 10 seconds before filling; this will enhance the chocolate flavor and maintain a cozy touch.
Make Ahead Options
These Spooky Graveyard Pudding Cookie Cups are perfect for busy home cooks looking to save time while still crafting a fun and festive treat! You can prepare the cookie cups up to 24 hours in advance by baking and cooling them completely, ensuring the cookies maintain their delightful crunch. Store the cooled cookie cups in an airtight container to keep them fresh. The creamy pudding filling can be whisked together and refrigerated up to 3 days before serving, just be sure to stir it well before spooning it into the cookie cups. When you’re ready to impress your guests, fill the cookie cups with pudding and top them with gummy worms and candy eyeballs. This way, you enjoy all the tasty fun with minimal last-minute effort!
What to Serve with Spooky Graveyard Pudding Cookie Cups
Create the perfect Halloween spread that will delight both kids and adults alike!
-
Crispy Apple Slices: The fresh crunch of tart apples provides a refreshing contrast to the creamy pudding cups.
-
Ghoulish Punch: A fruity Halloween-themed punch serves as the perfect, festive drink to make your gathering more spirited. With its vibrant color, it’s sure to catch the eye!
-
Chocolate Dipped Pretzels: The salty-sweet combo adds texture and a savory element that balances the dessert’s richness beautifully.
-
Mini Ghost Cupcakes: These adorable treats will charm every guest with their playful designs, enhancing your spooky theme effortlessly.
-
Graveyard Veggie Platter: A colorful array of veggies with a dip will provide a healthy option that complements the sweetness of the cookie cups.
-
Witch’s Brew Soup: Warm and comforting, this soup can be a fantastic starter, inviting fiber and warmth to the festivities.
-
Boozy Hot Chocolate: For the adults, a spiked hot chocolate pairs beautifully by pairing with a whimsical touch of nostalgia and indulgence.
Let your imagination run wild as you make your Halloween gathering a feast for both the eyes and the taste buds!
Expert Tips for Spooky Graveyard Pudding Cookie Cups
-
Cool Completely: Allow the cookie cups to cool fully before filling them with pudding; this prevents the filling from melting into the cookies and keeps them intact.
-
Experiment with Flavors: Don’t hesitate to mix and match pudding flavors! Try chocolate, butterscotch, or even pumpkin for a seasonal twist on your spooky Graveyard Pudding Cookie Cups.
-
Top Creatively: The toppings are where your creativity can really shine! Use crushed cookies for “dirt” or switch out gummy worms for other candies that fit the Halloween theme.
-
Make Ahead: Prepare the cookie cups a day in advance, but fill them only right before serving for optimal freshness and texture. This makes entertaining a breeze.
-
Storage Tips: Store any leftover cups in an airtight container in the refrigerator, but be mindful that they’re best enjoyed within three days for quality.
Spooky Graveyard Pudding Cookie Cups Recipe FAQs
How do I select the best chocolate chip cookie dough?
Absolutely! For the best results, choose cookie dough that’s fresh and has a well-balanced ratio of chocolate chips. If using store-bought, check for an expiration date and avoid any packages that show signs of freezer burn or dark spots.
How should I store the Graveyard Pudding Cookie Cups?
Store leftovers in an airtight container in the fridge for up to 3 days. This is vital to keep the cookie cups fresh, although they may soften over time. For longer storage, you can freeze unfilled cookie cups in a single layer for up to 2 months. Thaw them before serving and fill with pudding just before eating to maintain texture.
Can I freeze completed pudding cups?
I recommend against freezing filled cups. The pudding can change texture once frozen and then thawed. Instead, freeze the cookie cups without filling for the best results, then fill them fresh right before serving for that perfect creamy bite!
What are some troubleshooting tips for my cookie cups?
If your cookie cups spread too much while baking, try chilling the dough for about 30 minutes before pressing it into the muffin tin. This helps maintain their shape. Also, if the edges of your cups are too dark, bake for a shorter time next batch—about 10 minutes!
Are there any dietary considerations for Halloween treats?
Absolutely! These cookie cups can be made dairy-free by substituting whole milk with almond or oat milk. For those with gluten intolerances, opt for gluten-free cookie dough instead of regular. Just ensure all toppings are gluten-free as well, especially the candy!
How can I enhance the spooky presentation?
I often suggest adding crushed chocolate cookies on top as “dirt” layered beneath the gummy worms or candy eyeballs for an extra festive effect—adding a crunch that everyone will love! Get creative with different shapes and colors of candy to match your Halloween vibe!
Spooky Graveyard Pudding Cookie Cups Recipe for Halloween Fun
Ingredients
Equipment
Method
- Preheat the oven to 350°F (175°C) and line muffin tin with parchment paper.
- Scoop tablespoon-sized portions of cookie dough into muffin tin and press into the base and sides.
- Bake for 10-12 minutes until golden brown, then let them cool completely.
- Whisk together pudding mix and milk in a bowl until thickened, about 2-3 minutes.
- Fill cooled cookie cups with pudding to the top, making them slightly mounded.
- Decorate with gummy worms and candy eyeballs for a spooky effect.