
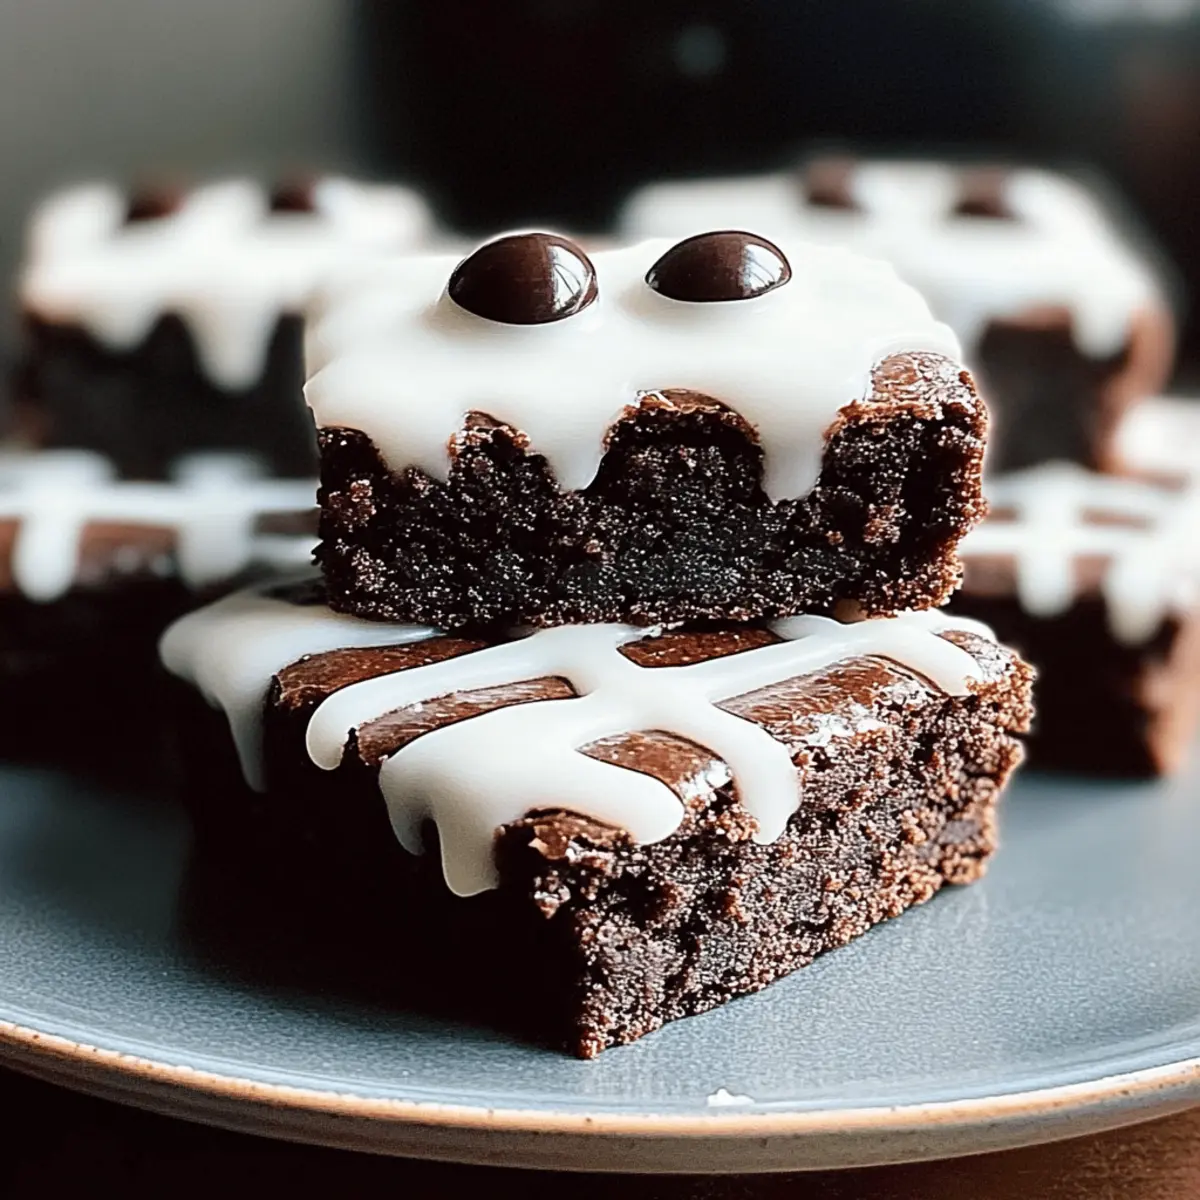
As the sun sets, the air fills with a delightful aroma that brightens the spooky season—it’s brownie-baking time! My Spooktacular Mummy Brownies are just the treat to get you in the Halloween spirit. These fudgy delights not only satisfy your sweet tooth but also bring a playful twist to any gathering with their charming mummy decorations. Whipping them up is a breeze, and trust me, they’re a crowd-pleaser, whether you’re serving them at a party or sneaking them into lunch boxes for your little ghouls. Plus, with easy customizable options for toppings, they can fit perfectly into your dietary preferences. Are you ready to face the fun of Halloween baking? Let’s dive into this spooktacular recipe!
Why Are Mummy Brownies a Must-Make?
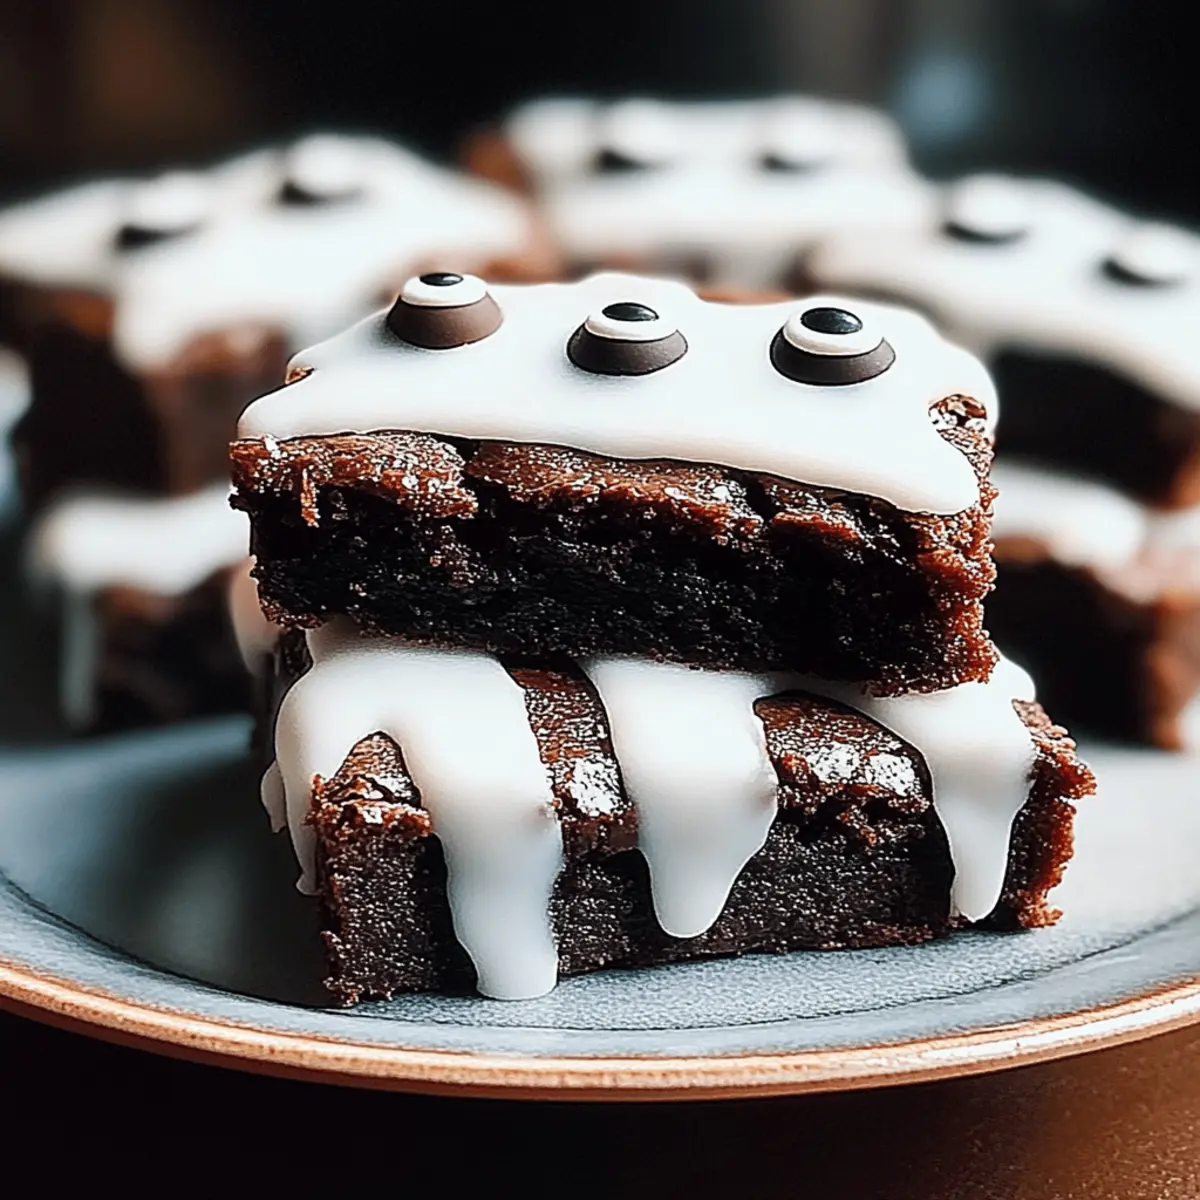
Irresistible Flavor: These brownies are not just any dessert; they’re rich, fudgy squares of chocolate heaven that will have everyone coming back for more.
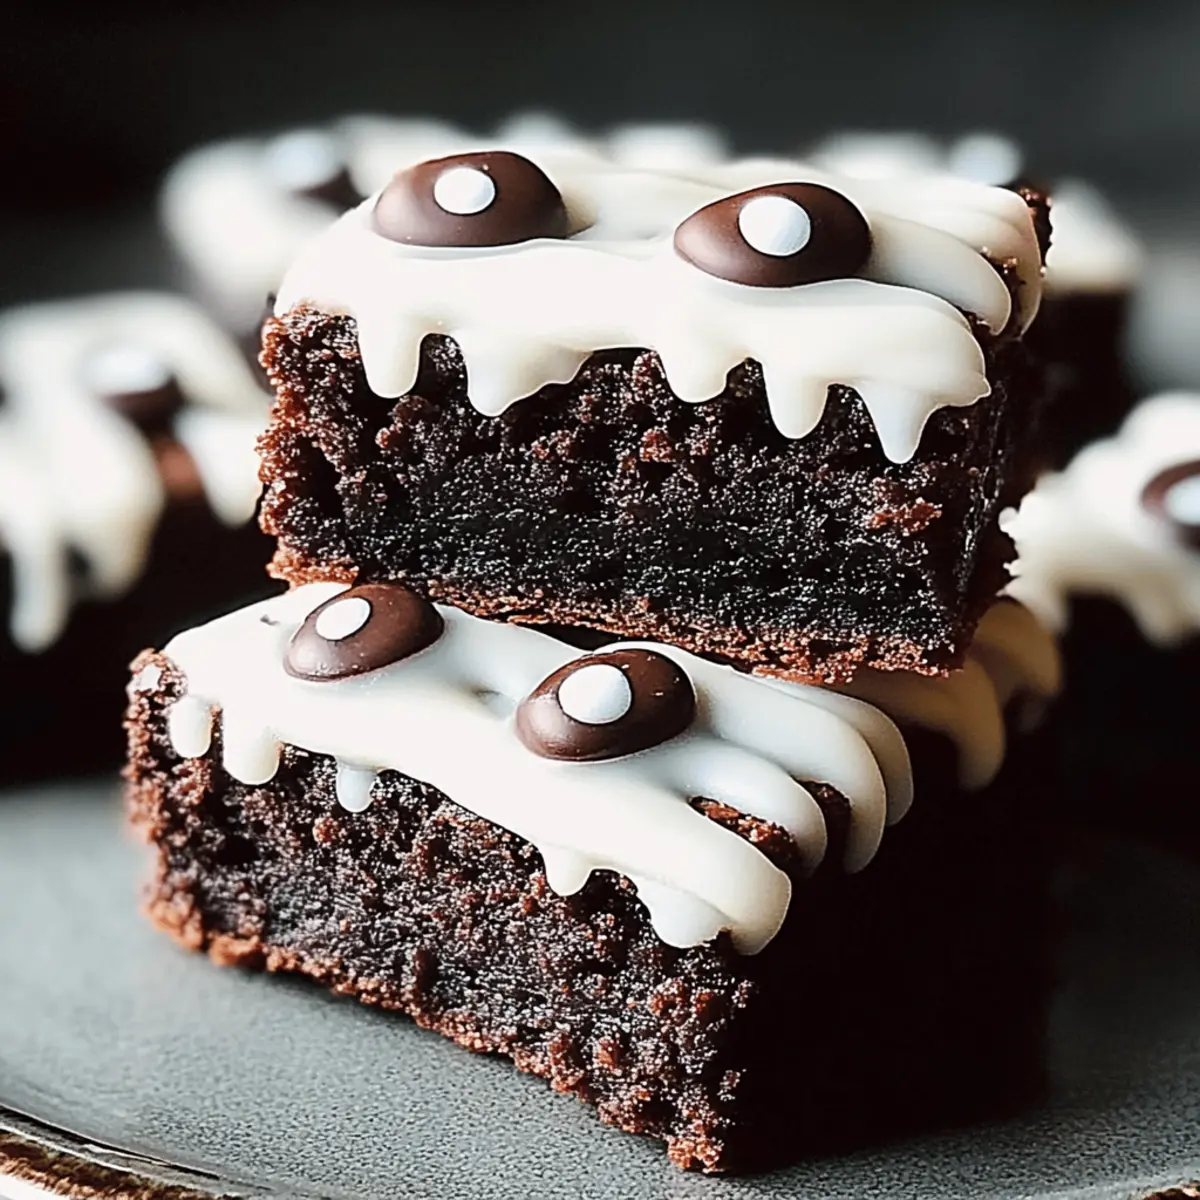
Festive Appeal: With their adorable mummy decorations, they add a fun and spooky vibe to any Halloween gathering.
Super Easy to Make: Whether you’re a novice or an experienced baker, this straightforward recipe lets you whip up delicious treats in no time, making them perfect for last-minute parties or school events.
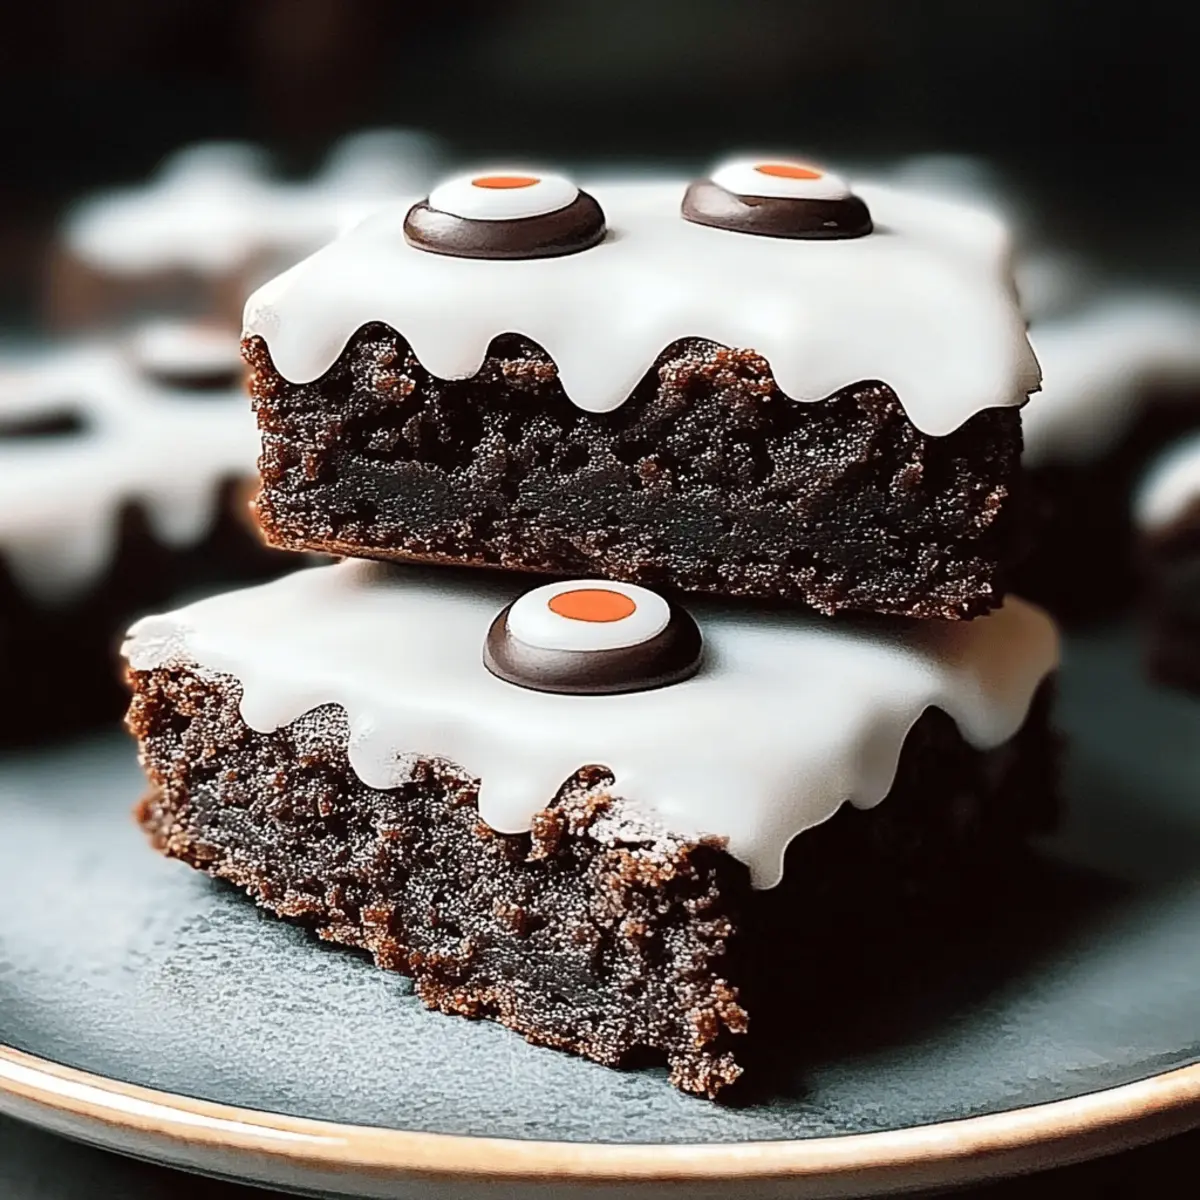
Versatile Options: Feel free to customize your Mummy Brownies! You can switch up the decoration with colored candy melts, or throw in some chocolate chips for added texture.
DIY Deliciousness: These brownies are sure to impress, whether you’re serving them at a party or surprising your kids with a fun treat in their lunchboxes.
The fun doesn’t stop here—check out my Chocolate Treats Delightful for more easy baking ideas this season!
Spooktacular Mummy Brownie Ingredients
• Get ready to bake these fun Halloween treats!
For the Brownies
- Unsweetened Cocoa Powder – Provides rich chocolate flavor and color; carob powder can be a different taste substitute.
- Granulated Sugar – Adds sweetness and helps create a fudgy texture; no direct substitutions recommended.
- All-Purpose Flour – Gives structure to the brownies; for gluten-free options, substitute with a gluten-free flour blend.
- Large Eggs – Binds ingredients and contributes to the chewy texture; no substitutions needed for this recipe.
- Unsalted Butter (melted) – Adds moisture and richness; swap with coconut oil for a dairy-free alternative.
For Decoration
- White Icing – Used for decoration to mimic mummy wrappings; can be replaced with colored candy melts for versatile themed treats.
Step‑by‑Step Instructions for Spooktacular Mummy Brownies – Easy Halloween Treats
Step 1: Preheat and Prepare
Begin by preheating your oven to 350°F (175°C). While it’s heating, grease or line an 8×8-inch baking pan with parchment paper. This will ensure your Spooktacular Mummy Brownies come out easily, making the decorating process a breeze later on.
Step 2: Mix Dry Ingredients
In a large mixing bowl, whisk together 1 cup of unsweetened cocoa powder, 1 cup of granulated sugar, and 1/2 cup of all-purpose flour, along with a pinch of salt. Stir these dry ingredients thoroughly until you see a uniform blend, ensuring that your brownies have that rich, fudgy texture that everyone loves.
Step 3: Combine Wet Ingredients
Gently melt 1/2 cup of unsalted butter and let it cool for a few minutes. In a separate bowl, whisk in 2 large eggs until fully incorporated and smooth. Then, pour the melted butter into the egg mixture, stirring continuously until combined, creating a luscious base for your brownie batter.
Step 4: Bring It All Together
Carefully pour the wet mixture into the bowl with the dry ingredients. Using a spatula, fold everything together gently until just combined; be cautious not to overmix. This step is crucial for achieving that desired fudgy texture in your Spooktacular Mummy Brownies—a little lumpiness is perfectly fine!
Step 5: Bake
Spread the batter evenly into the prepared baking pan. Bake in the preheated oven for 25-30 minutes. To check for doneness, insert a toothpick into the center; it should come out with a few moist crumbs clinging to it. Keep an eye on them towards the end to avoid overbaking for that perfect fudgy texture.
Step 6: Decorate
Once the brownies have cooled completely in the pan, remove them and cut them into squares. To create the mummy look, use a piping bag filled with white icing to pipe zigzag patterns across the top of each brownie. Finally, add small candies or chocolate chips for eyes, making your Spooktacular Mummy Brownies come to life with a fun and festive presentation!
How to Store and Freeze Spooktacular Mummy Brownies
Room Temperature: Store your Mummy Brownies in an airtight container at room temperature for up to 3 days to maintain their fudgy goodness and texture.
Fridge: If you prefer them chilled, you can keep the brownies in the fridge for up to a week. Be sure they’re in an airtight container to prevent them from drying out.
Freezer: For longer storage, freeze Mummy Brownies wrapped tightly in plastic wrap and then placed in a freezer-safe container for up to 2 months.
Reheating: To enjoy, simply thaw the brownies in the fridge overnight, then let them come to room temperature before serving, or warm slightly in the microwave for those gooey moments!
Spooktacular Mummy Brownies Variations & Substitutions
Feel free to get creative and make these brownies your own with some fun twists and swaps!
-
Gluten-Free: Substitute all-purpose flour with a gluten-free flour blend for brownies everyone can enjoy.
Going gluten-free? No worries! Just use a quality gluten-free blend to keep your brownies fudgy and delicious without missing a beat. -
Dairy-Free: Swap unsalted butter for coconut oil or a dairy-free butter alternative to make your brownies dairy-free.
This swap still keeps the richness while making it friendlier for dairy-sensitive guests. -
Flavor Boost: Add 1/2 cup of chocolate chips or nuts for an exciting crunch and richer taste.
Mix-ins like nuts or chocolate chips can take the texture from yummy to absolutely unforgettable, just like in my Chocolate Blossom Treats. -
Alternative Decorations: Use colored candy melts in place of white icing for fun, themed designs beyond Halloween.
Think of all the creative possibilities! You can design holiday-specific treats to keep the fun going all year long. -
Sweet Surprise: Integrate crushed Oreos or candy corn into your brownie batter to elevate the flavor profile.
Textures and surprises are what make these brownies even more delightful, making dessert a treat to look forward to! -
Spicy Kick: Add a pinch of cayenne pepper or chili powder for a surprising kick in your brownie base.
Embrace a little heat! It might just make your dessert the showstopper of the night. -
Decadent Layer: Spread a layer of peanut butter or Nutella between the brownie batter before baking for extra indulgence.
Rich and velvety layers of goodies create a satisfyingly sweet combination that complements the chocolate perfectly, much like the flavors in my Peanut Butter Dessert. -
Festive Add-Ins: Consider mixing in seasonal ingredients like pumpkin puree for a fall twist or mint extract for a fresh winter flavor.
These seasonal ingredients not only make your Mummy Brownies festive but also add a delightful twist to their usual taste.
Expert Tips for Spooktacular Mummy Brownies
• Avoid Overmixing: Mix until just combined to prevent cakey brownies; a fudgy texture is key for your Spooktacular Mummy Brownies.
• Customizable Decorations: Get creative with toppings! Use colored candy melts or different candies for a unique twist on your mummy design.
• Use Quality Chocolate: Higher quality cocoa powder enhances the chocolate flavor in your brownies, making them even more decadent and irresistible.
• Check Doneness Carefully: Insert a toothpick about 5 minutes before the suggested baking time; you want gooey, fudgy brownies without under-baking.
• Cool Completely: Let brownies cool fully before decorating to ensure the icing holds its shape and doesn’t melt into the chocolatey goodness.
What to Serve With Spooktacular Mummy Brownies
Indulge in a full Halloween spread that complements these rich and fudgy treats!
-
Pumpkin Spice Latte: This cozy beverage enhances the seasonal vibe, bringing warmth and spice that pairs perfectly with the chocolate.
-
Sweet Apple Cider: A chilled glass of apple cider offers a crisp contrast to the brownies’ richness while keeping a festive autumnal touch throughout.
-
Vanilla Ice Cream: Topping a brownie square with creamy vanilla ice cream creates a delightful contrast of temperatures and textures—think fudgy warmth against cold creaminess.
-
Chocolate Chip Cookies: Classic cookies echo the brownie’s flavor, while their chewy texture makes for a fun treat duo. Great for satisfyingly stacking on a plate!
-
Caramel Sauce Drizzle: A warm drizzle of caramel adds a luscious sweetness that takes these Halloween brownies to the next level, making every bite a treat.
-
Green Salad with Nuts: A fresh salad with mixed greens, nuts, and a light vinaigrette balances the brownie indulgence with crisp and nutty flavors.
-
Halloween-Themed Fruit Platter: Serve a colorful assortment of apple slices, grapes, and oranges garnished with fun Halloween shapes, bringing a burst of freshness and festive flair.
-
Hot Chocolate: Embrace the cozy vibes with a rich hot chocolate topped with whipped cream; it’s a classic pairing that enhances the chocolate experience.
-
Milk: A cold glass of milk never goes out of style! It’s the perfect classic companion to wash down the sweetness of your Spooktacular Mummy Brownies.
Make Ahead Options
Preparing your Spooktacular Mummy Brownies ahead of time is a fantastic way to save time during the busy Halloween season! You can mix the brownie batter up to 24 hours in advance and refrigerate it until you’re ready to bake. Just remember to cover the mixing bowl tightly to preserve moisture and prevent any unwanted odors. Additionally, you can fully bake the brownies and refrigerate them for up to 3 days. When you’re ready to enjoy, simply let them come to room temperature, decorate with icing and candies, and serve. This method ensures your brownies remain just as fudgy and delicious, making your Halloween festivities stress-free and sweet!
Spooktacular Mummy Brownies Recipe FAQs
How do I select the best ingredients for my Mummy Brownies?
Absolutely! For the best flavor, choose high-quality unsweetened cocoa powder; it will enhance the chocolate richness of your brownies. When selecting your eggs, look for ones that are free-range or organic for the freshest taste. If you’re aiming for gluten-free Mummy Brownies, seek out a gluten-free flour blend that lists a combination of flours on the label to achieve a similar texture.
What’s the best way to store leftover Mummy Brownies?
Very simple! Store your Mummy Brownies in an airtight container at room temperature for up to 3 days. They’ll retain their fudgy goodness! If you want to keep them longer, place them in the fridge for up to a week, but be sure they’re in a tightly sealed container to avoid drying out.
Can I freeze Mummy Brownies, and how do I do it?
Absolutely, you can freeze them! To freeze your Spooktacular Mummy Brownies, first wrap each brownie square tightly in plastic wrap, then place them in a freezer-safe container or a zip-top bag. They can be frozen for up to 2 months. When you’re ready to enjoy, thaw them in the refrigerator overnight and let them sit at room temperature for about 30 minutes before serving.
How can I troubleshoot if my brownies turn out too cakey?
Oh no! If your brownies turn out cakey, it’s likely due to overmixing. When combining wet and dry ingredients, fold gently until just combined. Additionally, make sure your measurements are precise. If you suspect you’ve baked them too long, try inserting a toothpick about 5 minutes before the full baking time. Ideally, you want it to come out with a few moist crumbs to ensure that fudgy texture.
Are there any dietary considerations for Mummy Brownies?
Very much so! If you’re making these for a gathering, consider asking about allergies first. Ensure the ingredients are gluten-free if necessary by using a gluten-free flour blend. Additionally, substituting butter with coconut oil makes them dairy-free. Just remember, if you’re using chocolate for decoration, check that it’s free from allergens like nuts or dairy, depending on your guests’ needs.
Spooktacular Mummy Brownies – Easy Halloween Treats for Fun
Ingredients
Equipment
Method
- Preheat your oven to 350°F (175°C). Grease or line an 8x8-inch baking pan with parchment paper.
- In a large mixing bowl, whisk together cocoa powder, sugar, flour, and a pinch of salt until uniform.
- Melt the butter and let it cool. In another bowl, whisk eggs, then mix in the melted butter until combined.
- Pour the wet mixture into the dry ingredients and fold gently until just combined, without overmixing.
- Spread the batter in the prepared pan and bake for 25-30 minutes until a toothpick comes out with moist crumbs.
- Let the brownies cool completely in the pan. Cut into squares and pipe icing to create mummy designs.