
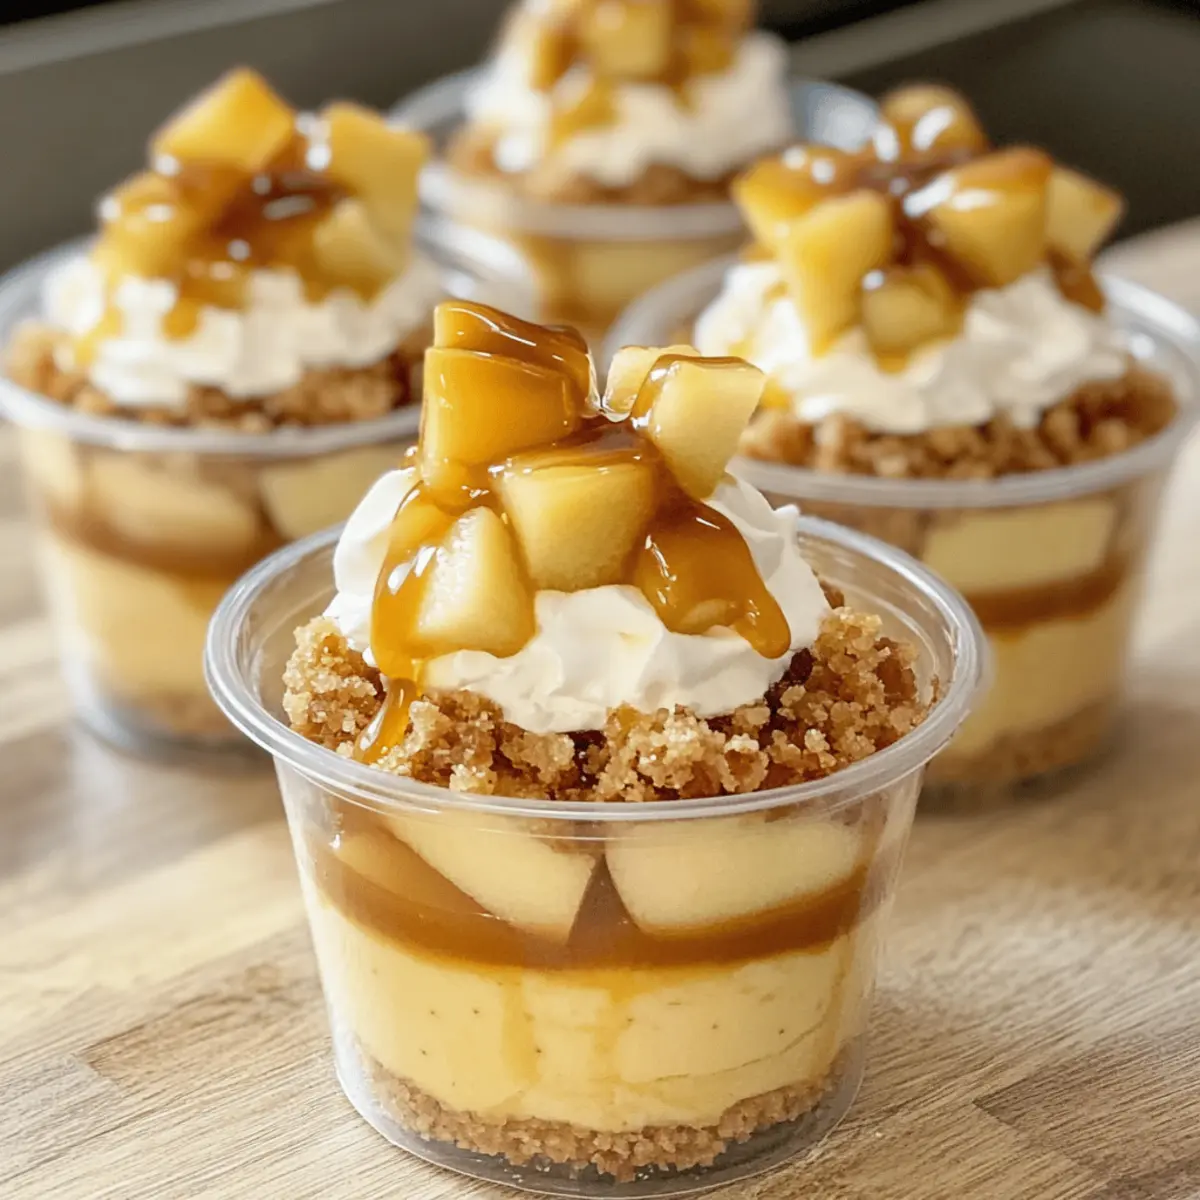
As the leaves begin to turn and a crisp breeze fills the air, it’s the perfect time to indulge in something comforting and luscious: Caramel Apple Dessert Cups. This delightful treat is not only easy to prepare, but it also transforms simple ingredients into a cozy fall masterpiece that will warm your heart and satisfy your sweet tooth. With the perfect balance of sweet caramel and tart apples, these cups make for an impressive dessert at your next gathering or a cozy night in. Plus, they can be made in just a few simple steps, so you won’t spend hours in the kitchen. Are you ready to elevate your fall dessert game with this delightful treat? Let’s dive in!
Why are Caramel Apple Dessert Cups a Must-Try?
Comforting Flavor: The combination of sweet caramel and tart apples captures the essence of cozy fall desserts, perfect for satisfying your cravings.
Quick and Easy: With just a few simple steps, you can whip up these delightful cups in no time—ideal for busy weeknights!
Versatile Options: Customize with toppings like nuts or swap whipped cream for vanilla ice cream for a fresh twist. Create your perfect dessert could serve as another fun idea to explore!
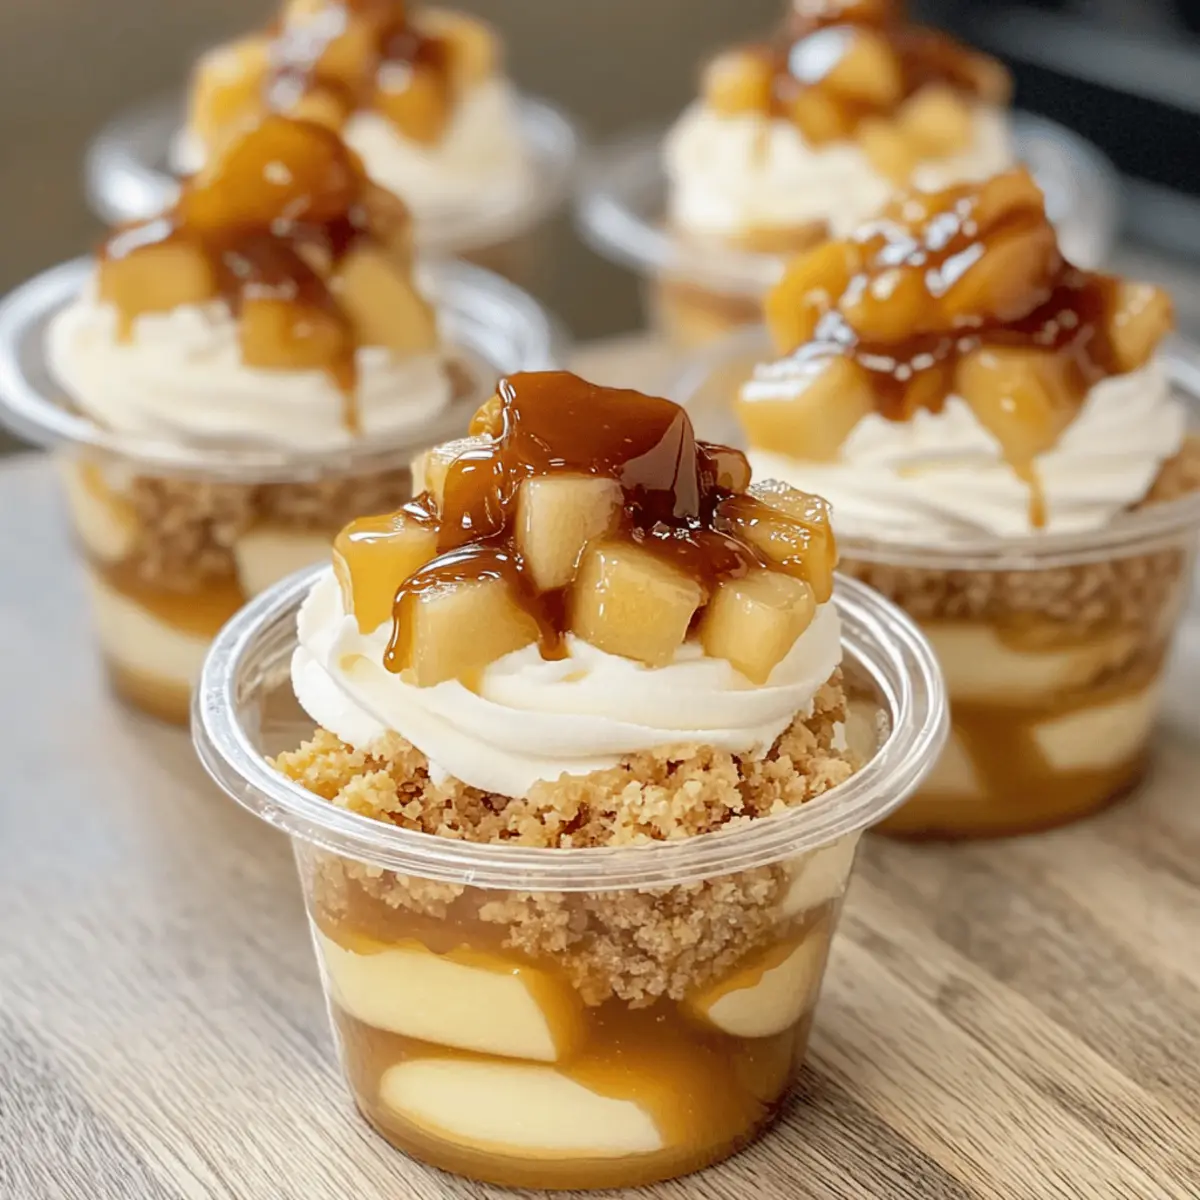
Crowd-Pleaser: Individually served in dessert cups, these treats are ideal for gatherings, leaving everyone impressed and wanting more.
Time-Saving: They chill for just 30 minutes before serving, letting you focus on enjoying time with loved ones rather than slaving in the kitchen.
Caramel Apple Dessert Cups Ingredients
For the Apples
• Peeled and Chopped Apples – Adds natural sweetness and a tart bite; using tart varieties like Granny Smith enhances flavor.
• Brown Sugar – Enhances sweetness and gives a caramelized flavor; no substitutes needed, but light brown sugar works best.
• Ground Cinnamon – Provides warm, spicy notes that complement the apples; using freshly ground cinnamon yields a stronger flavor.
• Butter – Adds richness and helps in caramelizing the apples; can be substituted with coconut oil for a dairy-free option.
For the Whipped Topping
• Whipped Cream – Offers lightness and creaminess that balances the sweetness; swapping it for vanilla ice cream brings a different texture.
• Caramel Sauce – Drizzled on top for added sweetness and flavor contrast; use homemade or store-bought as preferred.
Step‑by‑Step Instructions for Caramel Apple Dessert Cups
Step 1: Melt the Butter
In a medium skillet, melt 2 tablespoons of butter over medium heat, allowing it to sizzle gently. You’ll know it’s ready when the butter is fully melted and shimmers in the pan, creating a rich, golden pool. This base will help the apples caramelize beautifully, enhancing the flavor of your Caramel Apple Dessert Cups.
Step 2: Sauté the Apples
Once the butter is melted, add 4 cups of peeled and chopped tart apples, stirring to coat them evenly. Sprinkle in 1/2 cup of brown sugar and 1 teaspoon of ground cinnamon; cook this mixture for 8 to 10 minutes. Stir occasionally until the apples become tender and caramelized, glistening with a golden brown hue that signifies their sweet transformation.
Step 3: Cool the Mixture
After the apples are perfectly caramelized, remove the skillet from heat and allow the mixture to cool slightly for about 10 minutes. This step is key, as it helps the apples to retain their shape and flavor without getting mushy, ensuring your Caramel Apple Dessert Cups will have a delightful texture.
Step 4: Assemble the Cups
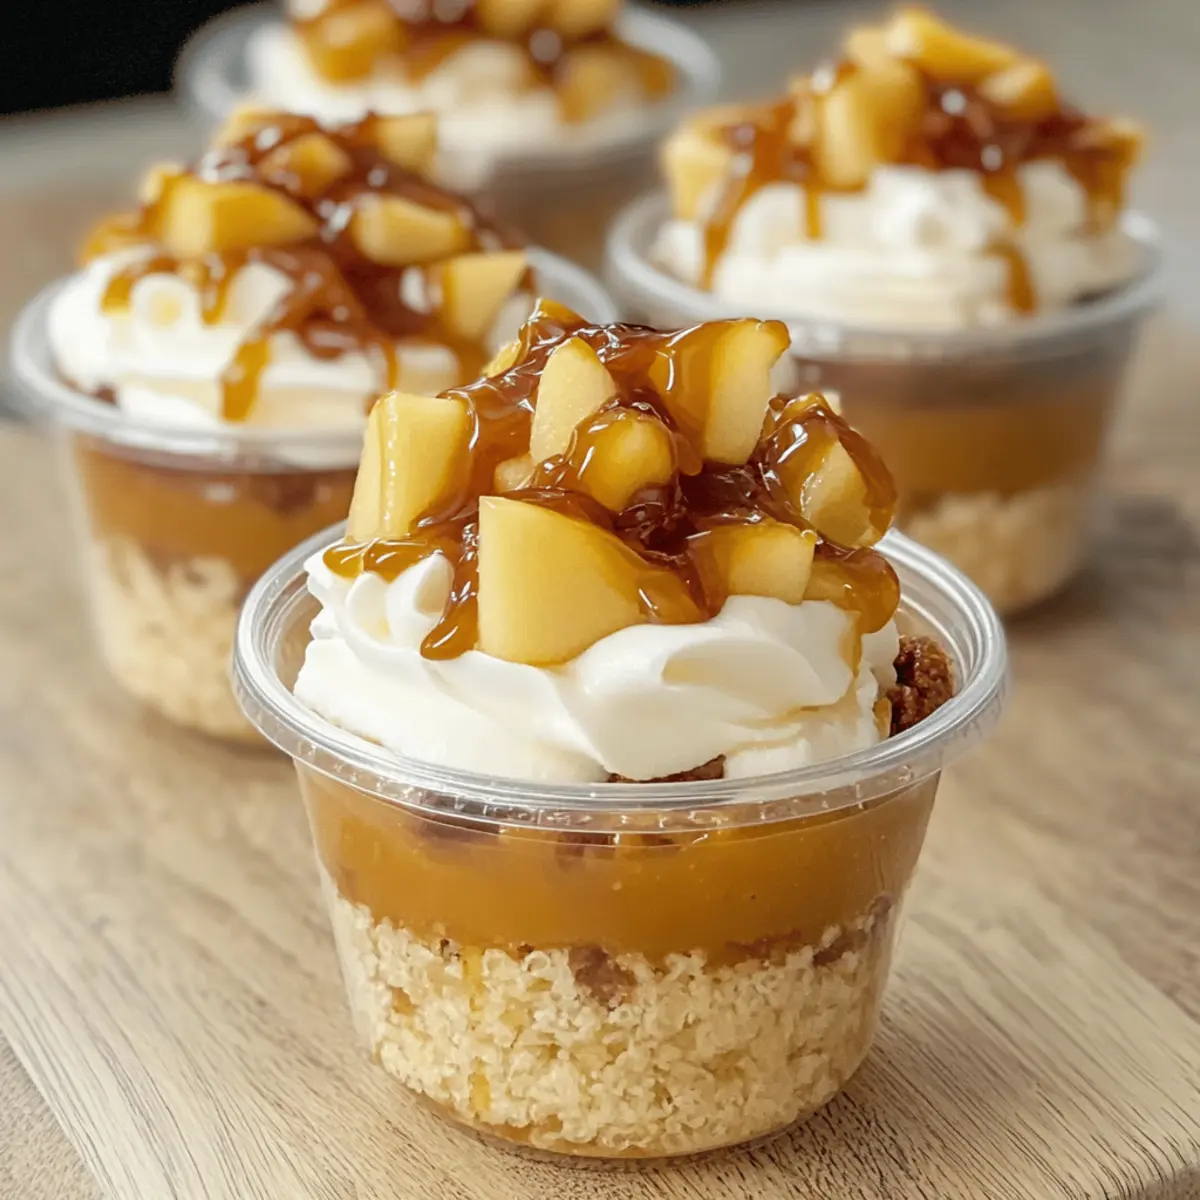
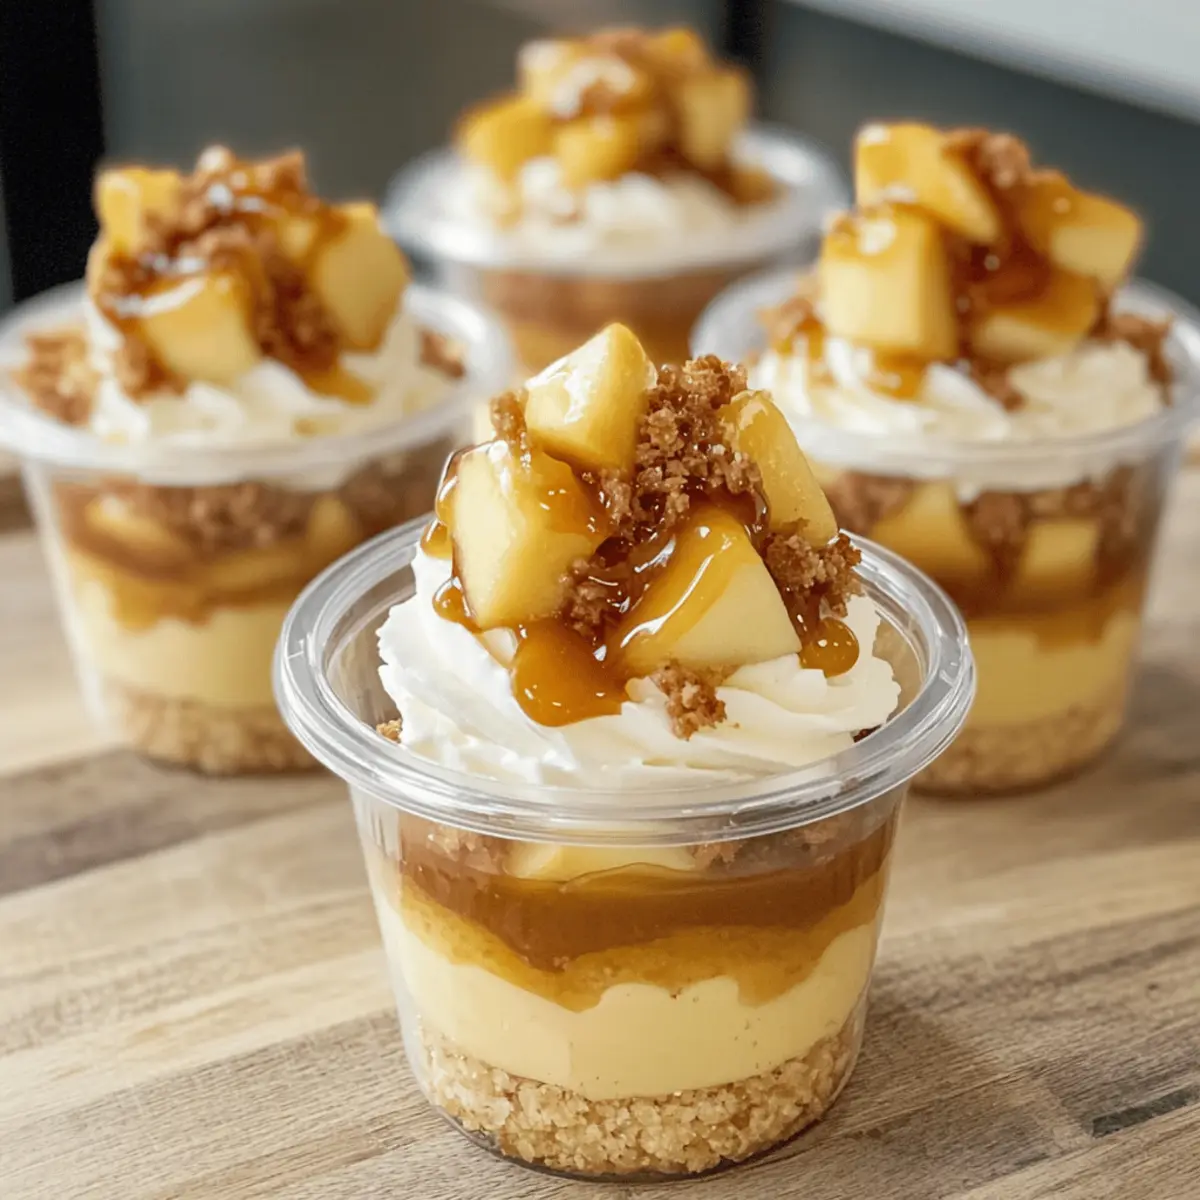
In individual dessert cups, layer 1/2 cup of the cooled caramelized apples followed by a generous dollop of whipped cream. Use a spoon to gently create layers, allowing the rich colors to peek through. This presentation makes each Caramel Apple Dessert Cup visually appealing and prepares them for the delicious toppings to come.
Step 5: Drizzle with Caramel
Finish off each dessert cup by drizzling with store-bought or homemade caramel sauce. Aim for a light, even drizzle that enhances the flavor without overwhelming the dessert. The luscious caramel pool atop the whipped cream adds both sweetness and an indulgent touch to your Caramel Apple Dessert Cups.
Step 6: Chill Before Serving
Place the assembled cups in the refrigerator for at least 30 minutes to chill. This chilling time not only allows the flavors to meld together beautifully but also sets the dessert for a refreshing treat. After chilling, your Caramel Apple Dessert Cups will be ready to serve, bringing delightful autumn vibes to the table.
Make Ahead Options
These Caramel Apple Dessert Cups are perfect for busy home cooks looking to save time! You can prepare the caramelized apples up to 3 days in advance; simply cool them fully after cooking, then cover and refrigerate. The whipped cream can also be made ahead—store it in an airtight container for up to 24 hours. When you’re ready to serve, layer the chilled apples in individual cups, add a dollop of whipped cream, and drizzle with caramel sauce before serving. This way, you’ll enjoy just as delicious results without the last-minute rush, allowing you more quality time with family and friends!
Storage Tips for Caramel Apple Dessert Cups
Fridge: Store any leftover Caramel Apple Dessert Cups in an airtight container in the fridge for up to 3 days to maintain freshness and flavor.
Freezer: Although it’s best to enjoy these cups fresh, you can freeze the caramelized apples separately for up to 2 months. Just thaw and assemble before serving.
Reheating: If you prefer your dessert warm, gently reheat the caramelized apples in the microwave for 30 seconds; then layer them again with whipped cream and fresh caramel before serving.
Chilling Time: Ensure that assembled cups chill for at least 30 minutes before serving to enhance texture and let the flavors meld perfectly.
What to Serve with Caramel Apple Dessert Cups
Create a memorable meal experience with delightful pairings that enhance the cozy flavors of your dessert.
- Vanilla Ice Cream: A scoop adds creamy richness that complements the sweetness and tartness, taking the dessert to another level.
- Cinnamon Sugar Donuts: These soft, spiced donuts provide a delightful contrast of textures and flavors, enhancing the fall vibe.
- Warm Apple Cider: This cozy drink pairs beautifully, echoing the flavors in the dessert and enveloping you in autumn comfort.
- Pecan Crumble: The crunch of pecans offers added texture, with its nutty flavor contrasting nicely with the smooth caramel and apples.
- Chocolate Sauce: Drizzling chocolate sauce creates a rich melding of flavors, bringing a decadent twist to each bite.
- Pumpkin Spice Latte: This warm beverage with notes of spice pairs perfectly, creating a sweet and aromatic feel that enhances the overall experience.
- Cheesecake Bites: Light and fluffy, these add a creamy texture, creating a balance against the caramelized apples’ sweetness.
- Chai Tea: The aromatic spices in chai resonate with the cinnamon in your dessert, making every sip and bite harmonious.
- Caramel Popcorn: This sweet and salty treat adds fun and crunch, elevating your dessert while keeping the flavor theme intact.
Expert Tips for Caramel Apple Dessert Cups
• Choose Tart Apples: Opt for Granny Smith or another tart variety to perfectly balance the sweetness of the caramel.
• Don’t Rush the Caramelization: Take your time when cooking the apples; proper caramelization enhances their natural flavor and texture.
• Control the Caramel Drizzle: A little goes a long way! Use a light drizzle of caramel sauce to keep the dessert well-balanced and visually appealing.
• Chill for Best Results: Allow your assembled cups to chill for at least 30 minutes to help the flavors meld and set, elevating your Caramel Apple Dessert Cups.
• Experiment with Toppings: Consider adding nuts, granola, or even a sprinkle of sea salt to enhance the crunch and depth of flavor.
Caramel Apple Dessert Cups Variations
Feel free to unleash your creativity and make this recipe your own with these delightful twists!
- Dairy-Free: Substitute butter with coconut oil and use coconut whipped cream for a creamy, plant-based option that still satisfies.
- Nutty Delight: Top your dessert cups with chopped pecans or walnuts for a satisfying crunch that enhances the caramel and apple flavors.
- Granola Crunch: Add a sprinkle of granola on top for a delightful texture contrast that makes each bite feel like a mini adventure.
- Spiced Twist: Incorporate nutmeg or ginger to the caramelized apple mix for an unexpected warmth that sings autumn in every bite.
- Chocolate Drizzle: For chocolate lovers, drizzle melted dark chocolate over the whipped cream for a rich and decadent layer of flavor that pairs beautifully with the apples.
- Reduced Sugar: Swap out brown sugar for a sugar alternative, like stevia or monk fruit, to create a lighter version without sacrificing taste.
- Gourmet Touch: Try adding a splash of bourbon or rum to the apple mix while cooking for a warm, indulgent flavor perfect for cozy evenings.
- Apple Pie Flavor: Add a touch of vanilla extract to the caramel sauce for an extra layer of comforting flavor reminiscent of classic apple pie.
These variations not only add excitement to your Caramel Apple Dessert Cups but also allow you to cater to different dietary preferences, ensuring everyone can enjoy this fall favorite. For a related indulgence, consider trying the Apple Crumble Cheesecake for another cozy dessert option, or mix things up with Pudding Tiramisu Caramel to satisfy your sweet tooth!
Caramel Apple Dessert Cups Recipe FAQs
What type of apples are best for Caramel Apple Dessert Cups?
Absolutely! For the best flavor, I recommend using tart apple varieties like Granny Smith. Their natural tartness beautifully balances the sweetness of the caramel, creating a harmonious blend in every bite.
How should I store leftover Caramel Apple Dessert Cups?
You should store any leftover cups in an airtight container in the fridge for up to 3 days. This method keeps the flavors fresh, and it’s perfect for a quick sweet treat later on!
Can I freeze Caramel Apple Dessert Cups?
While it’s best to enjoy these cups fresh, you can freeze the caramelized apples separately for up to 2 months. To freeze them, simply let the caramelized apples cool completely, then transfer them to an airtight container or freezer bag. When you’re ready to enjoy, thaw them in the fridge overnight and assemble with whipped cream and caramel sauce just before serving.
What should I do if the apples don’t caramelize properly?
No worries! If the apples aren’t caramelizing as they should, try cooking them on medium heat a bit longer, stirring frequently. Make sure the heat isn’t too low, as that can prevent caramelization. Aim for apples that are tender and have absorbed that yummy brown sugar and cinnamon flavor, taking about 8-10 minutes of cooking time.
Are there any dietary considerations I should keep in mind?
Very! If you’re making these dessert cups for someone with dietary restrictions, consider using coconut oil instead of butter for a dairy-free option. Additionally, be mindful of allergies to nuts if you choose to add chopped nuts as a topping. Always check for gluten-free whipped cream and caramel sauce if needed.
Delicious Caramel Apple Dessert Cups for Cozy Fall Nights
Ingredients
Equipment
Method
- Melt the Butter: In a medium skillet, melt 2 tablespoons of butter over medium heat until fully melted.
- Sauté the Apples: Add the apples, brown sugar, and cinnamon; cook for 8 to 10 minutes until tender and caramelized.
- Cool the Mixture: Remove from heat and allow to cool for about 10 minutes to retain texture.
- Assemble the Cups: Layer 1/2 cup of cooled caramelized apples followed by whipped cream in individual cups.
- Drizzle with Caramel: Finish each cup with a light drizzle of caramel sauce.
- Chill Before Serving: Refrigerate the assembled cups for at least 30 minutes before serving.