
The aroma of crispy sausage balls wafts through the kitchen, instantly elevating my mood. It’s funny how a simple gathering can turn into a memorable feast with just three ingredients. These Easy Bisquick Sausage Balls are not only quick to whip up but also a guaranteed crowd-pleaser that your friends and family will rave about. In just 30 minutes, you can transform a few pantry staples into savory bites that are perfect for any occasion, whether it’s game day or a cozy brunch. Plus, with options for gluten-free substitutions, everyone can join in on the deliciousness. Are you ready to make your new favorite appetizer? Let’s dive into this delightful recipe together!
Why Are Bisquick Sausage Balls a Must-Try?
Simplicity at its Best: With just three ingredients, these Easy Bisquick Sausage Balls are incredibly straightforward to prepare—perfect for busy cooks.
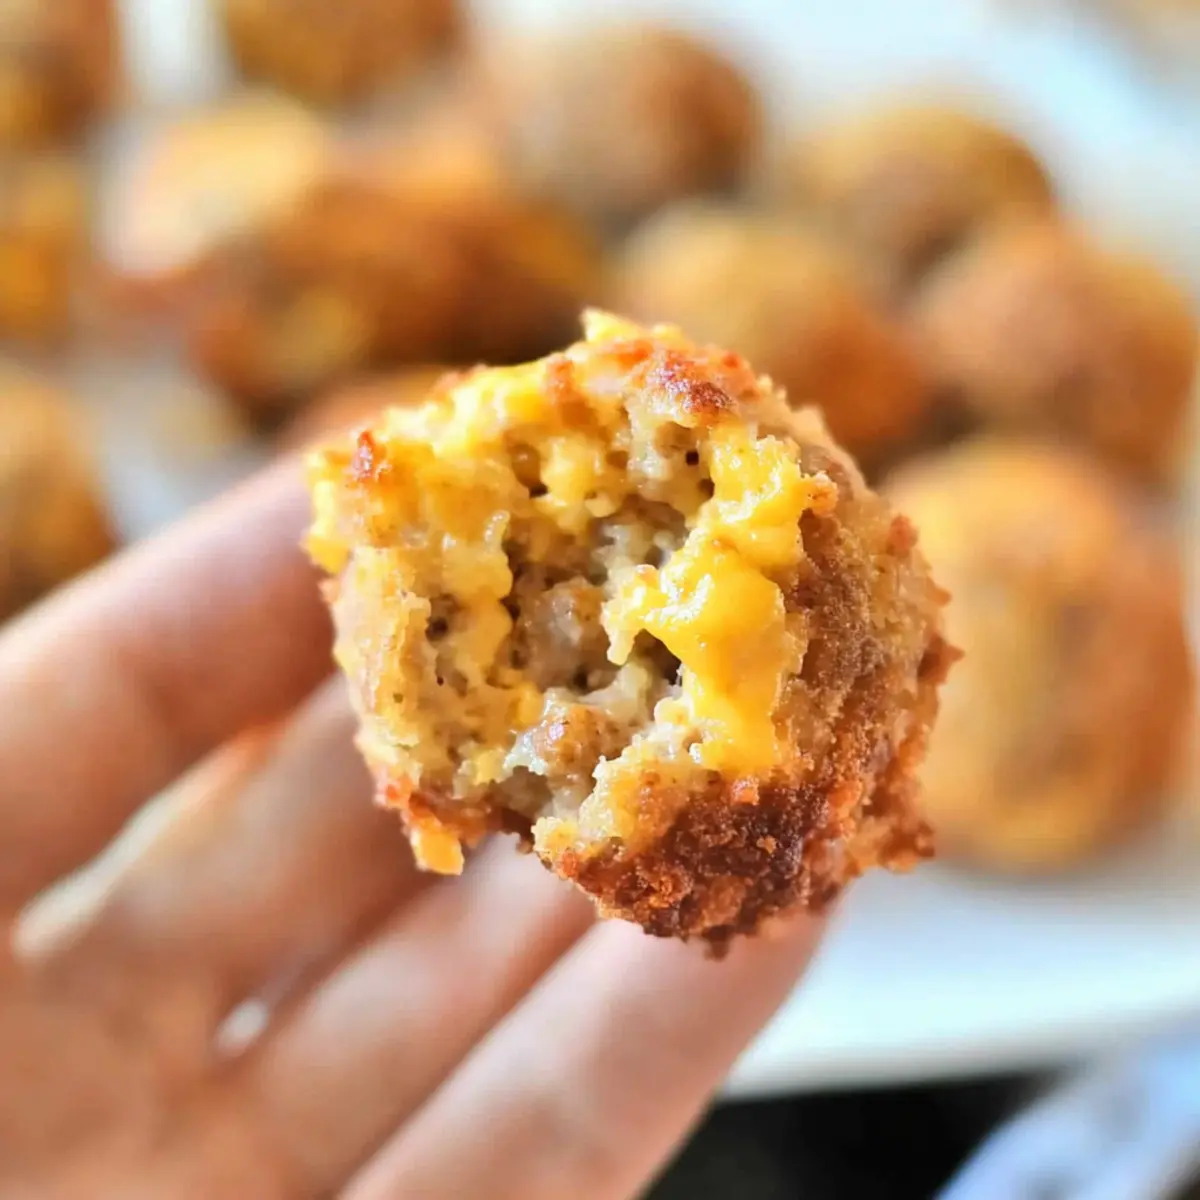
Savory Delight: The rich flavors of sausage and cheddar come together to create mouthwatering bites that are sure to satisfy your cravings. Don’t be surprised if you make a second batch!
Versatile Options: Whether you’re sticking with the classic recipe or experimenting with variations like turkey sausage or pepper jack cheese, these savory morsels can cater to everyone’s taste.
Quick Cooking: Ready in just 30 minutes, they make the perfect quick snack for unexpected guests or game day festivities.
Crowd-Pleaser: Everyone will be reaching for seconds, and you’ll love hearing the compliments! For a delightful dessert to follow, consider whipping up some White Chocolate Raspberry cheesecake balls to finish off your gathering.
These sausage balls truly elevate any occasion!
Bisquick Sausage Balls Ingredients
For the Dough
• Bisquick – This convenient mix forms the base for a perfectly textured dough; you can swap it with gluten-free Bisquick for a delicious alternative.
• Ground Pork Sausage (Spicy preferred) – Adds that robust flavor we love; feel free to use ground turkey for a leaner option without sacrificing taste.
• Cheddar Cheese (Shredded) – Infuses each ball with creaminess; for a dairy-free version, try vegan cheese, keeping in mind it may not melt as perfectly.
• Milk (or water) – Ensures a moist, fluffy bite; using whole milk is best, but water can substitute in a pinch if needed.
These Bisquick Sausage Balls are all about simplicity and scrumptiousness!
Step‑by‑Step Instructions for Easy Bisquick Sausage Balls
Step 1: Preheat the Oven
Begin by preheating your oven to 350°F (175°C). This ensures that your Easy Bisquick Sausage Balls will bake evenly and achieve that delicious golden-brown color. While waiting for the oven to heat, gather your ingredients and a mixing bowl, making sure everything is within reach for a smooth cooking experience.
Step 2: Mix the Ingredients
In a large mixing bowl, combine the Bisquick, ground sausage, and shredded cheddar cheese. Pour in the milk to bring everything together. Using your hands, mix the ingredients thoroughly until they form a well-blended dough, ensuring there are no dry patches. The mixture should feel moist and slightly sticky, ready to be shaped into balls.
Step 3: Form the Sausage Balls
Using your hands, take portions of the mixture and roll them into balls about 2-3 tablespoons in size. The goal is to create uniform balls for even baking. Place each ball gently on a greased baking sheet, leaving ample space between them to allow for expanding as they bake. You should be able to fit around 12 balls on one sheet.
Step 4: Bake the Sausage Balls
Slide the baking sheet into your preheated oven and set a timer for 23 to 25 minutes. Keep an eye on them as they bake; they should become golden brown and firm to the touch. To ensure they are fully cooked, check that the internal temperature has reached 160°F (71°C) using a meat thermometer.
Step 5: Cool and Serve
Once done, remove the baking sheet from the oven and let the Easy Bisquick Sausage Balls cool slightly for about 5 minutes. This cooling time allows the flavors to settle and prevents burns when you take that first bite. Serve them warm as a delightful snack, or alongside your favorite dipping sauces for an extra kick!

Expert Tips for Easy Bisquick Sausage Balls
-
Mix Thoroughly: Ensure your ingredients are mixed well to avoid dry patches. This is key for achieving deliciously fluffy Bisquick Sausage Balls.
-
Uniform Size: Roll the sausage balls into consistent sizes for even baking; aim for balls about 2-3 tablespoons each.
-
Check Temperature: Use a meat thermometer to guarantee the internal temperature reaches 160°F (71°C) for safe and tasty bites.
-
Crispier Texture: For a crunchier exterior, consider air frying them at 380°F for around 10-12 minutes!
-
Store Wisely: Keep leftovers in the fridge for up to three days or freeze uncooked balls for up to four months to enjoy later.
What to Serve with Easy Bisquick Sausage Balls
Nothing pairs better with these savory bites than a selection of sides and drinks that will elevate your gathering!
-
Creamy Ranch Dip: This classic cool dip balances the savory sausage flavors, creating a delightful contrast that invites endless scooping. It’s a perfect companion for your guests!
-
Fresh Veggie Platter: Crisp cucumbers, sweet bell peppers, and crunchy carrots add a refreshing crunch, complementing the richness of the sausage balls while promoting a colorful presentation on your table.
-
Spicy Honey Mustard: Drizzling or dipping these sausage balls in tangy honey mustard provides just the right kick, enhancing the overall flavor profile and adding a touch of sweetness to each bite.
-
Cheesy Potato Casserole: The creamy, cheesy goodness of this casserole brings heartiness to your meal, creating a satisfying pairing that will have everyone reaching for more.
-
Zesty Coleslaw: This crunchy, tangy slaw acts as a refreshing contrast to the savory meatiness of the sausage balls, adding a nice balance to the overall spread.
-
Sweet Iced Tea: A chilled glass of sweet iced tea gives a southern twist that perfectly complements these savory bites, rounding out your gathering with a delightful sip.
-
Mini Cornbread Muffins: These fluffy muffins provide a slight sweetness that pairs wonderfully with the sausage balls, creating a comforting bite that’s perfect for any gathering.
-
Dessert Option – Brownie Bites: For a sweet finish, serve rich brownie bites to satisfy your sweet tooth after indulging in these tasty sausage balls. Their fudgy texture will be a delightful contrast!
Storage Tips for Bisquick Sausage Balls
-
Fridge: Store leftover Bisquick Sausage Balls in an airtight container for up to 3 days, keeping them fresh and ready for snacking.
-
Freezer: For longer storage, place uncooked sausage balls on a baking sheet to freeze individually before transferring them to a freezer bag. They can be stored for up to 4 months.
-
Reheating: To reheat, bake the refrigerated sausage balls at 350°F (175°C) for 10-12 minutes, or if frozen, bake from frozen until heated through, about 15-20 minutes.
-
Make Ahead: Feel free to prepare the mixture ahead of time and shape it into balls, storing them in the fridge overnight before baking for a quick, delicious appetizer.
Bisquick Sausage Balls: Fun Variations
Feel free to get creative! These tasty sausage balls are a blank canvas, inviting you to add your unique touch.
- Gluten-Free: Swap regular Bisquick for gluten-free Bisquick to cater to gluten-sensitive friends. They won’t miss out on any of the deliciousness!
- Turkey Sausage: For a healthier twist, use ground turkey instead of pork sausage. This lighter option still captures fantastic flavor while reducing fat content.
- Spicy Pepper Jack: Opt for pepper jack cheese in place of cheddar to infuse a delightful heat that spices things up. This variation can turn your appetizer into a flavor-packed experience!
- Add Herbs: Mix in fresh herbs like parsley or chives for a garden-fresh aroma and taste that elevates these sausage balls. The extra flavor will surprise and delight your guests!
- Sweet Potato Twist: Add grated sweet potato into the mixture for a subtly sweet flavor and a boost of nutrients. It adds moisture and an intriguing new layer to the dish.
- Honey Glaze: After baking, drizzle a honey glaze over the sausage balls for an unexpected sweet and savory combination that will have everyone craving just one more!
- Air Fryer Variation: Cook the sausage balls in an air fryer at 380°F. This results in an even crispier texture in a fraction of the time, making it a great option!
- Dipping Sauce: Serve with your favorite sauces like ranch or BBQ to complement their savory goodness. Think about pairing these with a creamy dipping sauce for an irresistible appetizer. For dessert, whip up some delightful White Chocolate Raspberry cheesecake balls to round out the meal!
With these variations, each batch of Bisquick Sausage Balls will bring something new to the table, keeping your taste buds excited!
Make Ahead Options
These Easy Bisquick Sausage Balls are perfect for meal prep, allowing you to savor delicious snacks without the last-minute rush! You can prepare the sausage ball mixture up to 24 hours in advance; simply combine the Bisquick, ground sausage, cheese, and milk in a bowl, then refrigerate the mixture tightly wrapped. For longer storage, you can form the balls and freeze them for up to 4 months—just place them on a baking sheet to harden, then transfer to a freezer bag. When you’re ready to bake, there’s no need to thaw—simply pop them straight into the oven, adding an extra minute or two to the cooking time. This way, your savory Bisquick Sausage Balls will be just as delicious and ready to impress your guests!

Bisquick Sausage Balls Recipe FAQs
What type of Bisquick should I use?
You can use regular Bisquick for this recipe, but if you’re looking for a gluten-free option, gluten-free Bisquick works beautifully as a substitute. It offers the same great taste and texture, making everyone happy at the table!
How long can I store leftovers?
Store leftover Bisquick Sausage Balls in an airtight container in the refrigerator for up to 3 days. They should remain delicious and ready for snacking, perfect for when those late-night cravings hit!
Can I freeze the sausage balls, and how?
Absolutely! To freeze, first shape the uncooked sausage balls and place them individually on a baking sheet. Freeze them for about 1-2 hours until solid. Then, transfer the frozen balls to a freezer bag, where they will keep well for up to 4 months. When ready to enjoy, bake directly from the freezer, adding an extra 5-10 minutes to the cooking time.
What should I do if the mixture feels too dry?
If your sausage ball mixture feels too dry, simply add a little more milk, one tablespoon at a time, until it reaches the desired moistness. Remember that the mixture should feel just slightly sticky, allowing you to form nice balls without them crumbling apart.
Are there any dietary considerations I should keep in mind?
Yes! If you or your guests have dietary restrictions, you can easily make adjustments. Use gluten-free Bisquick for those with gluten intolerance and switch ground pork sausage for ground turkey for a lighter option. For vegetarian or dairy-free guests, consider using vegan sausage and cheese alternatives. Just keep in mind that substitutions may slightly alter the flavor and texture.
How can I make the sausage balls spicier?
To give your Bisquick Sausage Balls an extra kick, try incorporating some spicy seasonings such as crushed red pepper flakes or use hot sausage instead of mild. You can also experiment with shredded pepper jack cheese for a delightful heat that will enhance every bite!

Savory Bisquick Sausage Balls: Easy, Cheesy Bliss Await!
Ingredients
Equipment
Method
- Preheat your oven to 350°F (175°C).
- In a large mixing bowl, combine the Bisquick, ground sausage, and shredded cheddar cheese. Pour in the milk and mix until a well-blended dough forms.
- Roll the mixture into balls about 2-3 tablespoons in size and place them on a greased baking sheet.
- Bake in the preheated oven for 23 to 25 minutes until golden brown and firm.
- Allow to cool for 5 minutes before serving.