
The rich aroma of fall fills the air as I slice into plump Bosc pears, ready to transform them into Roasted Maple Pears—an easy and delightful gluten-free dessert that celebrates the season’s bounty. With just a handful of ingredients, including warm apple cider, real maple syrup, and a dash of cinnamon, this recipe not only promises a comforting and indulgent experience but also comes together in a flash, freeing you from the clutches of fast food. Imagine serving these sweet, caramelized delights warm, perhaps with a scoop of creamy vanilla ice cream or a dollop of cottage cheese to elevate your sweet cravings. Are you ready to embrace the cozy flavors of autumn with this simple yet irresistible treat?
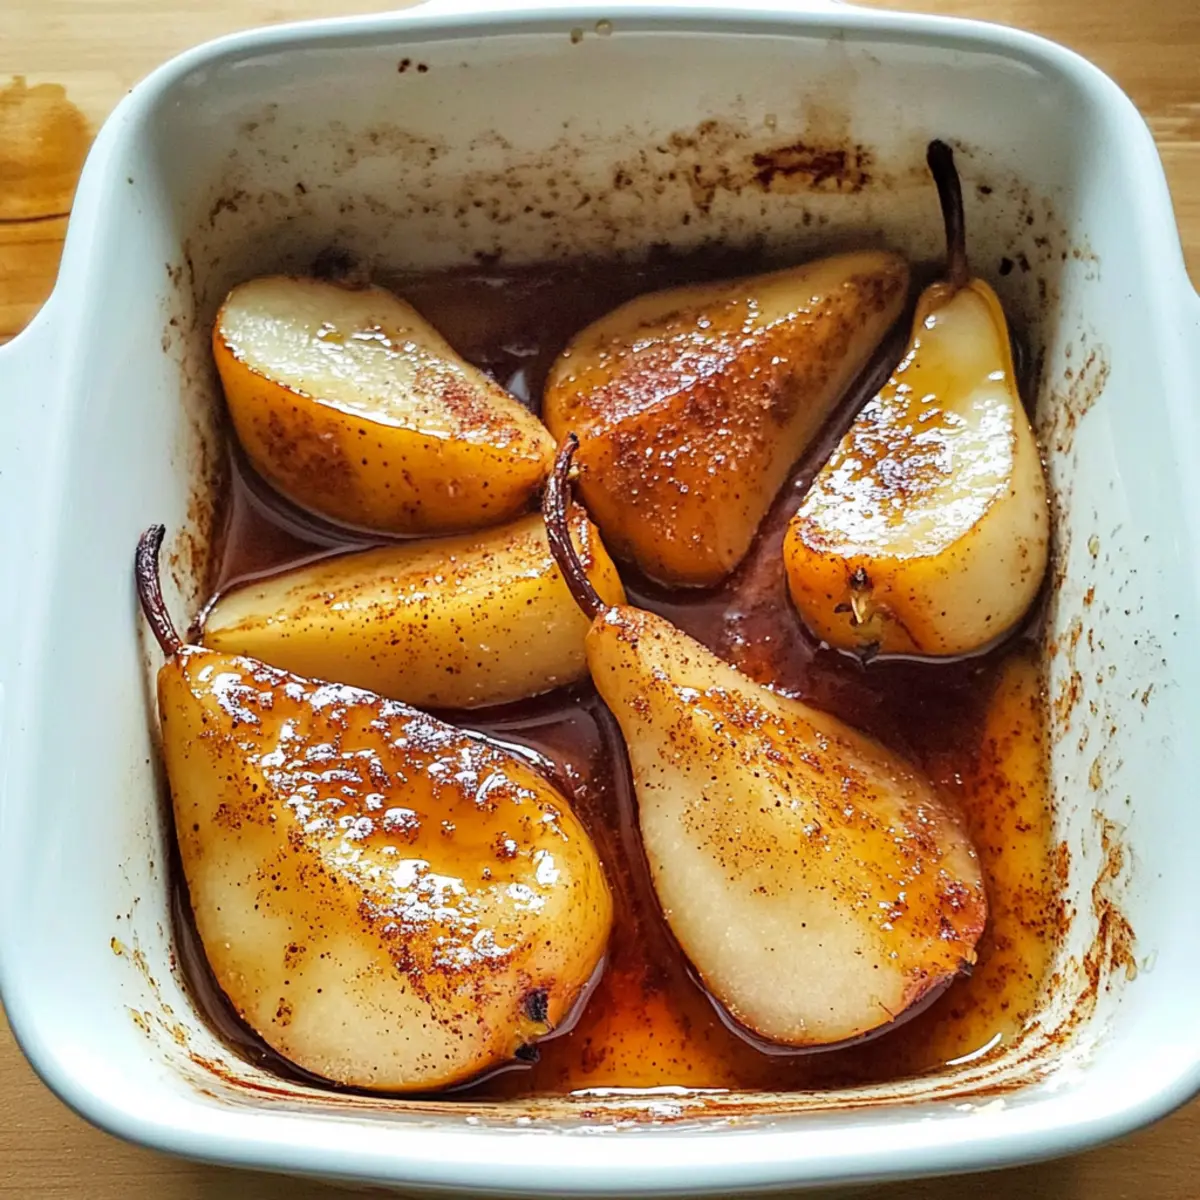
Why Are Roasted Maple Pears Irresistible?
Simplicity is key in this delightful dessert — just a few ingredients come together effortlessly to create a mouthwatering dish. Warm, sweet aromas waft through your kitchen as the pears roast, making it perfect for cozy gatherings. Versatile options to personalize your pears abound, allowing you to mix in nuts or spices for added flair. Plus, this gluten-free treat is a healthy alternative for those looking to indulge without guilt. Serve them warm with ice cream or cottage cheese for a truly heavenly experience that will impress your guests! For a delightful seasonal twist, try pairing them with Roasted Butternut Squash as part of a fall-themed menu!
Roasted Maple Pears Ingredients
• A delightful dish made with essential ingredients for a cozy dessert!
For the Pears
- Bosc Pears – These pears maintain their shape and texture when roasted; Anjou pears can be used if needed.
- Apple Cider – Enhances sweetness and flavors; fresh-pressed apple juice is a fine substitute.
For the Roasting Mixture
- Butter – Provides a rich base for caramelization; replace with coconut oil for a dairy-free option.
- Maple Syrup – Adds distinctive sweetness; always opt for real Grade A maple syrup—avoid imitations!
- Cinnamon – Infuses warmth and spice; adjust according to your taste for the perfect balance.
This simple yet scrumptious recipe for Roasted Maple Pears captures the essence of fall with its rich flavors, making it a healthy gluten-free dessert option for everyone.
Step‑by‑Step Instructions for Roasted Maple Pears
Step 1: Preheat the Oven
Begin your culinary journey by preheating your oven to 400°F (200°C). This ensures that your Roasted Maple Pears will cook evenly and achieve that perfect caramelization. While the oven heats up, you can gather all your ingredients and equipment, making the process seamless and enjoyable.
Step 2: Prepare the Cider Mixture
In a microwave-safe bowl, heat the apple cider for about 1 minute until warm. Once heated, add the sliced butter to the cider and stir gently until it melts completely. This rich mixture will create a delicious base for the roasted pears, enhancing their natural sweetness as they bake.
Step 3: Prepare the Pears
Take your Bosc pears and cut them in half lengthwise. Carefully scoop out the seeds and core, ensuring that the pear halves remain intact. Arrange the pear halves neatly in a small baking dish, cut-side up, ready to absorb the wonderful flavors you’ll add next.
Step 4: Add Flavor to the Pears
Pour the warm cider and butter mixture evenly over the prepared pears. Sprinkle each half with a generous dash of cinnamon for warmth and spice, and drizzle real maple syrup on top. This combination promises a heavenly flavor profile that will elevate your Roasted Maple Pears to perfection.
Step 5: Bake the Pears
Place the baking dish in your preheated oven and bake the pears for about 30 minutes. Every 10 minutes, take the dish out to baste the pears with the juices at the bottom. This not only keeps the pears moist but also intensifies their flavor, ensuring they turn golden and tender.
Step 6: Serve Warm
After 30 minutes, remove your Roasted Maple Pears from the oven. They should be beautifully caramelized and fork-tender—ready to impress. Serve them warm, and consider pairing them with a scoop of creamy vanilla ice cream or a dollop of cottage cheese for an extra touch of indulgence.
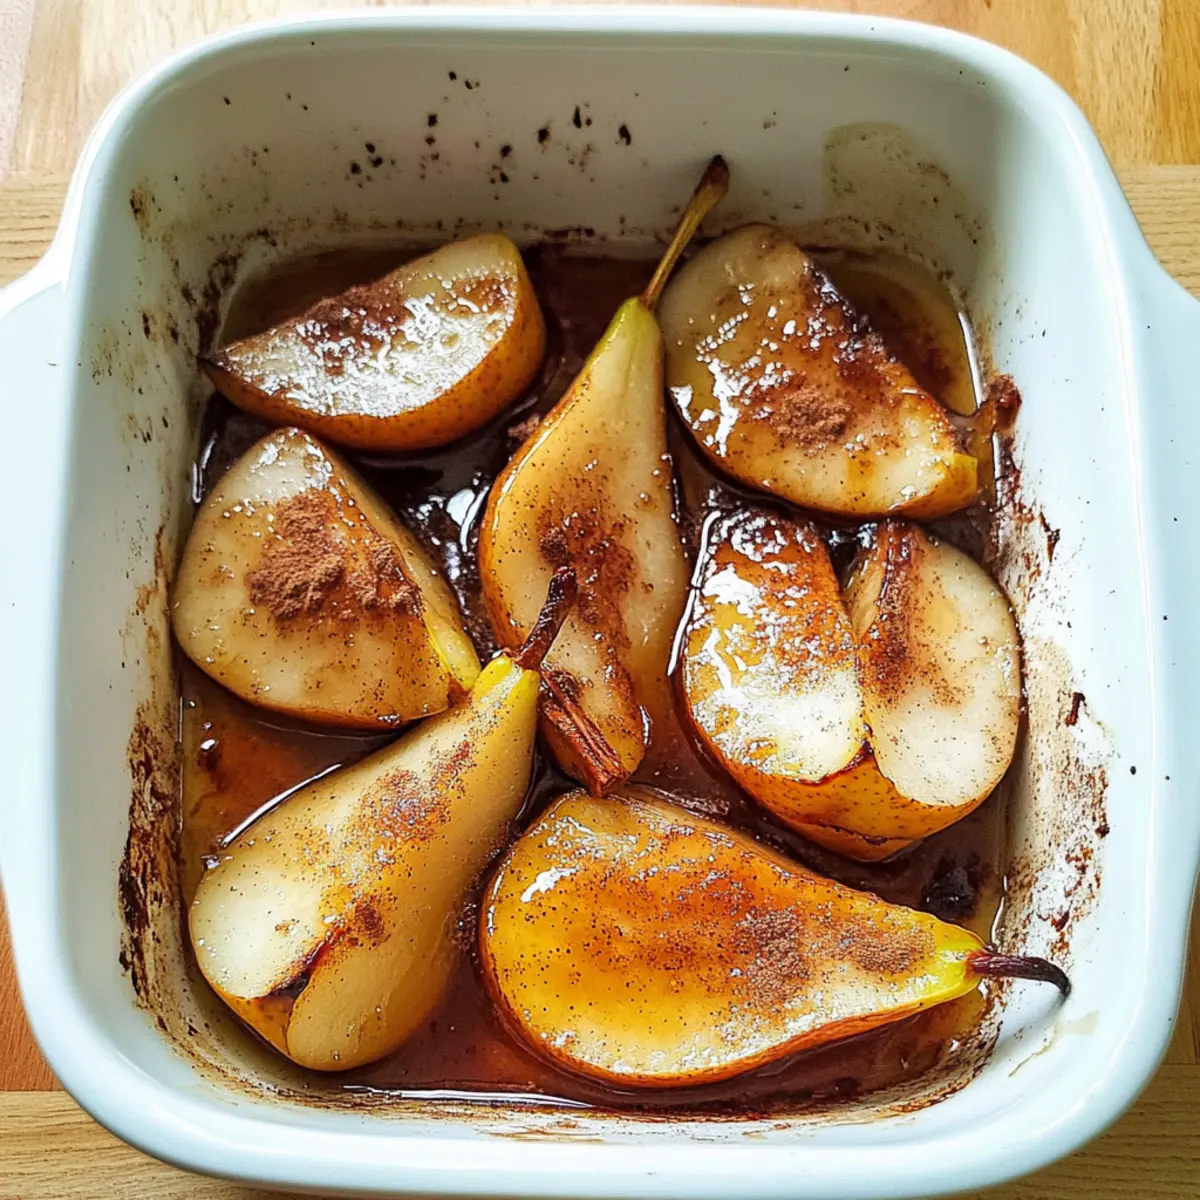
Roasted Maple Pears Variations
Feel free to get creative and make these Roasted Maple Pears your own by incorporating any of these delightful twists!
- Dairy-Free: Substitute butter with a vegan butter or coconut oil for a creamy dairy-free option.
- Sweetener Substitution: Try using honey or agave syrup instead of maple syrup for a unique twist on sweetness.
- Flavor Enhancements: Add a splash of vanilla extract, or sprinkle in nutmeg, cloves, or cardamom to deepen the flavor profile.
- Textural Additions: Toss in some chopped nuts like pecans or walnuts, or sprinkle dried fruits such as raisins or cranberries for added crunch and complexity.
- Boozy Twist: Enhance the richness with a splash of bourbon or rum mixed into the cider before pouring over the pears—it’s like an adult dessert!
- Fruit Medley: Mix in other fruits like apples or figs along with the pears for a colorful, flavor-packed bake.
- Savory Spin: Drizzle with balsamic reduction or add a pinch of sea salt for an unexpected savory contrast to the sweetness.
- Herb Infusion: Experiment with fresh herbs like thyme or rosemary sprinkled on top before baking to add an aromatic layer.
These variations can elevate your Roasted Maple Pears even further, making them perfect for any family gathering or cozy night in. Pair them with some Roasted Apples Blue for an irresistible dessert duo!
Make Ahead Options
These Roasted Maple Pears are perfect for meal prep and can save you valuable time on busy weeknights! You can prepare the cider and butter mixture up to 24 hours in advance; simply refrigerate it in an airtight container. Additionally, you can cut the pears and arrange them in the baking dish, covering them with lemon juice to prevent browning. When you’re ready to bake, combine the prepared mixture with the pears, drizzle with maple syrup, and bake as directed. This way, you’ll achieve a comforting dessert that’s just as delicious as when made fresh, all while allowing you more time to enjoy with your family!
What to Serve with Roasted Maple Pears?
Indulge your senses and create a complete meal by pairing these delectable, caramelized treats with delicious side dishes and drinks.
-
Creamy Vanilla Ice Cream: The cool and creamy texture contrasts beautifully with the warm, tender pears, enhancing the dessert experience. Imagine each bite bringing together warmth and chill, a perfect harmony!
-
Cottage Cheese: Offering a subtly tangy flavor and creamy texture, cottage cheese makes a lovely backdrop for the sweetness of the pears. It adds a protein boost, balancing the sweet indulgence.
-
Honeyed Yogurt: A dollop of honey-infused yogurt adds a rich creaminess, with a hint of sweetness that complements the roasting syrup. It’s a delicious way to enhance the dessert with probiotics too.
-
Toasted Pecans: Crunchy and slightly sweet, toasted pecans add great texture and a nutty flavor that pairs beautifully with the soft pears. They bring a satisfying crunch and elevate your dish to the next level.
-
Cranberry-Orange Salad: This fresh, tangy salad with its citrusy notes contrasts perfectly with the rich flavors of roasted pears. The zesty brightness lightens the meal, making it feel more vibrant.
-
Mulled Wine: A warm glass of spiced mulled wine is the ultimate cozy drink to accompany your dessert. Its warm spices mirror the cinnamon in the pears, creating a delightful pairing.
-
Pumpkin Spice Latte: For a seasonal touch, a pumpkin spice latte brings in warm flavors reminiscent of fall, making it a comforting complement to your decadent roasted pears.
-
Gingery Oatmeal Cookies: These soft, chewy cookies provide a delightful chew and a warming spice that pairs well with the sweet, syrupy pears. They’re perfect for a cozy dessert platter.
How to Store and Freeze Roasted Maple Pears
Fridge: Store leftovers in an airtight container in the refrigerator for up to 3 days, ensuring the pears retain their delicious caramelization and flavor.
Freezer: For longer storage, freeze the Roasted Maple Pears in a single layer on a baking sheet until solid, then transfer to a freezer-safe bag for up to 3 months.
Reheating: To enjoy the pears again, thaw overnight in the fridge and reheat gently in the oven at 350°F (175°C) until warmed through, basting with any remaining juices.
Flavor Maintenance: Remember, reheating may slightly alter the texture, but those warm, sweet notes will still shine through, making it a comforting treat even after freezing!
Expert Tips for Roasted Maple Pears
-
Basting is Key: Baste the pears every 10 minutes to coat them in the flavorful juices, enhancing moisture and richness as they roast.
-
Doneness Test: Check for tenderness by poking a pear with a fork; they should be soft yet firm and caramelized to perfection.
-
Choose the Right Pears: Opt for Bosc pears that hold up well during roasting; if unavailable, Anjou pears are a reliable substitute for your Roasted Maple Pears.
-
Cinnamon Variety: Adjust the cinnamon amount based on your taste; too much can overpower the dish, while the right balance adds warmth without taking the spotlight.
-
Serving Suggestions: For a blissful experience, serve your Roasted Maple Pears warm with ice cream or cottage cheese, adding a lovely contrast in temperature and texture.
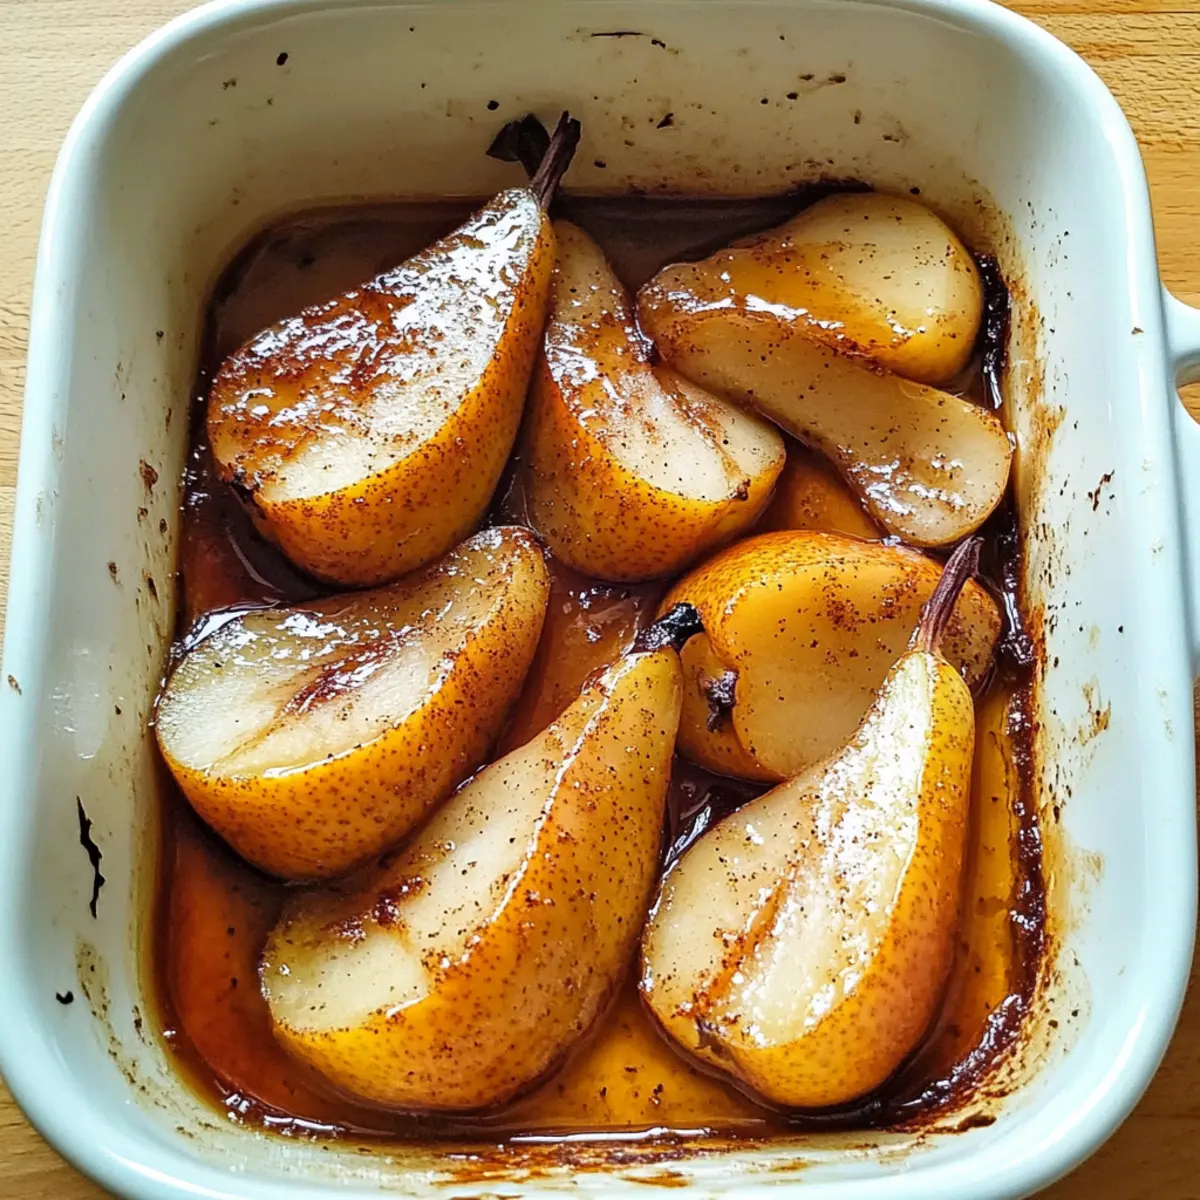
Roasted Maple Pears Recipe FAQs
What type of pears should I use for Roasted Maple Pears?
I recommend using Bosc pears, as they hold up very well during roasting, providing a satisfying texture. If you can’t find Bosc pears, Anjou pears are a great substitute. Just make sure they are ripe but firm for the best results!
How should I store leftover Roasted Maple Pears?
After enjoying your delicious Roasted Maple Pears, store any leftovers in an airtight container in the refrigerator for up to 3 days. To ensure they remain sweet and tasty, cover them well so the caramelization doesn’t dry out.
Can I freeze Roasted Maple Pears for later use?
Absolutely! To freeze your Roasted Maple Pears, place them in a single layer on a baking sheet and freeze until solid. Afterwards, transfer them to a freezer-safe bag or container. They can be stored in the freezer for up to 3 months. When you’re ready to enjoy them, thaw them overnight in the fridge and reheat them gently to retain their succulent flavors.
What should I do if my pears are too hard after baking?
If your pears aren’t tender as expected after baking, try continuing to roast them, checking every 5 minutes. Make sure to baste them with the juices during this time; this will add flavor and moisture. You can cover the dish loosely with foil to help them steam and soften without drying out.
Are Roasted Maple Pears safe for pets?
While pears are generally safe for dogs in moderation, it’s important to ensure that they don’t consume the seeds, as they contain cyanogenic compounds that can be harmful. Always consult with your vet if you’re unsure about introducing new foods to your pet’s diet!
Is this recipe suitable for people with allergies?
This Roasted Maple Pears recipe is gluten-free and can be made dairy-free by substituting butter with coconut oil or vegan butter. However, always check for potential allergies related to specific ingredients, such as nuts, especially if you decide to add them as toppings!
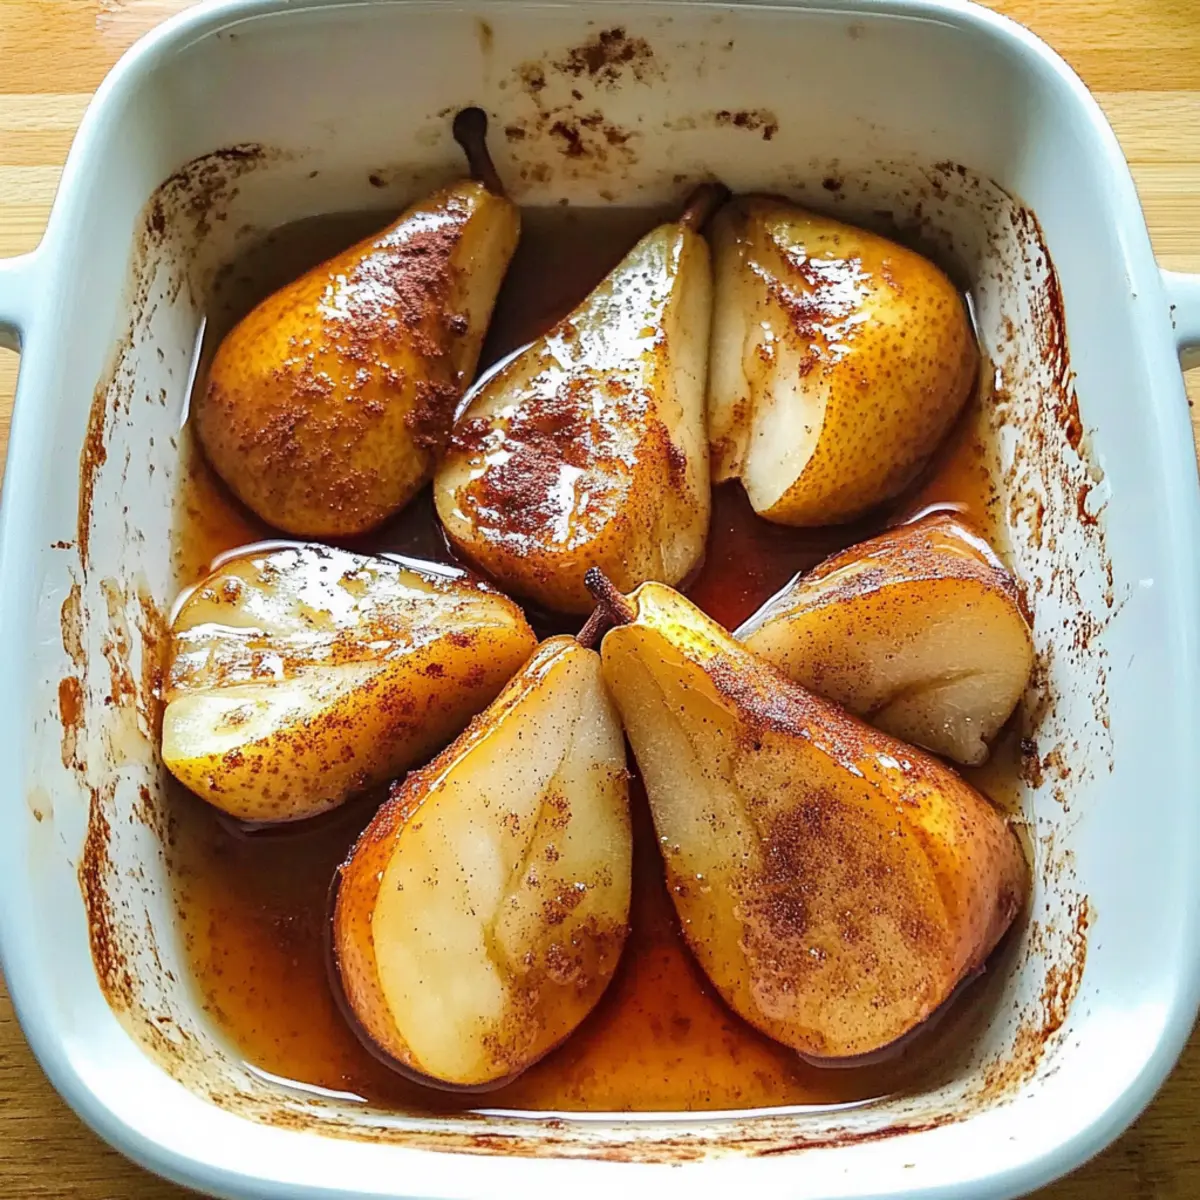
Heavenly Roasted Maple Pears for a Cozy Fall Dessert
Ingredients
Equipment
Method
- Preheat your oven to 400°F (200°C).
- In a microwave-safe bowl, heat the apple cider for about 1 minute until warm. Add sliced butter and stir until melted.
- Cut the Bosc pears in half lengthwise, remove the seeds and core, and arrange in a small baking dish, cut-side up.
- Pour the cider and butter mixture over the pears. Sprinkle with cinnamon and drizzle maple syrup on top.
- Bake for about 30 minutes, basting every 10 minutes with juices.
- Remove from oven and serve warm, optionally with ice cream or cottage cheese.